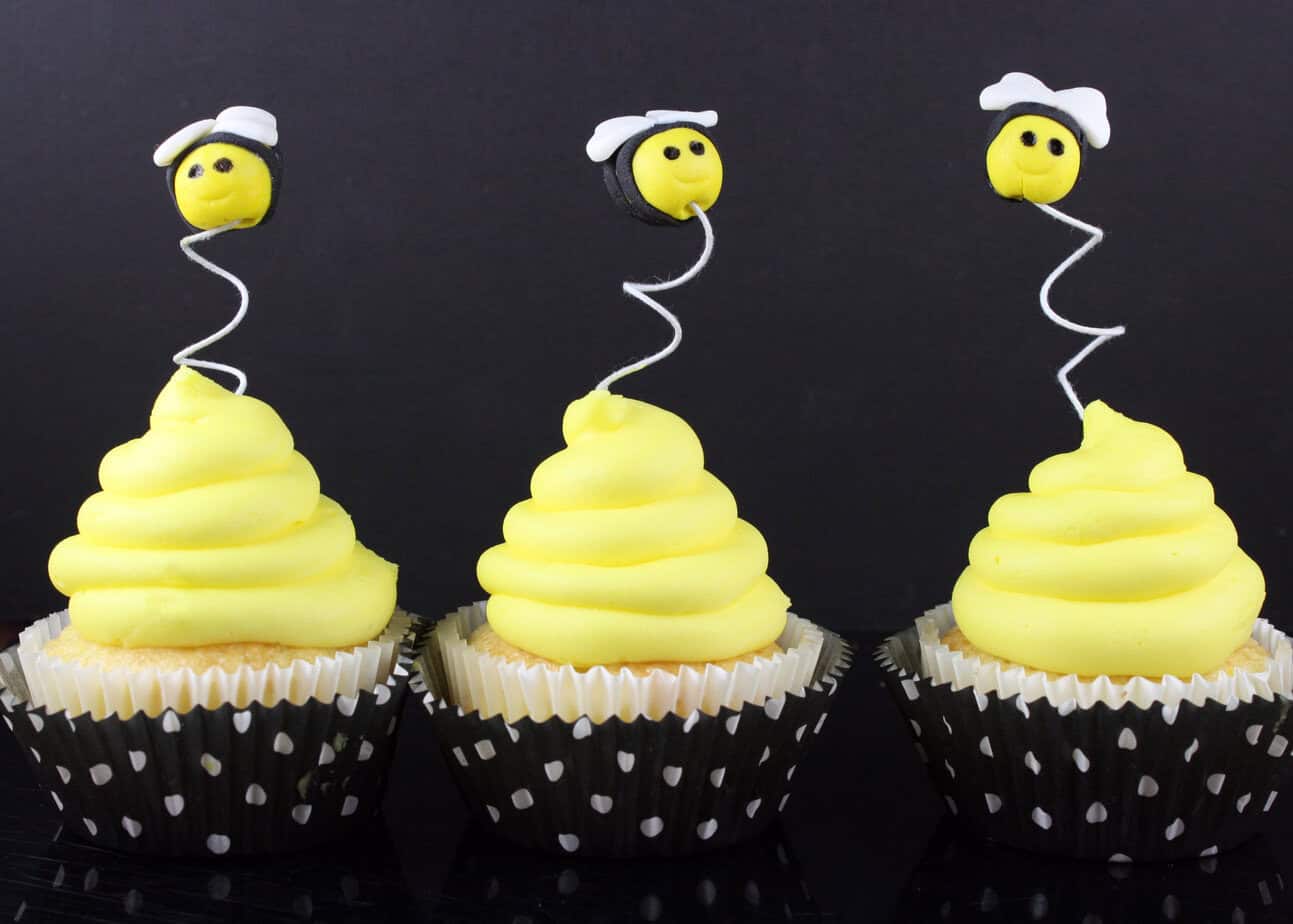
How to Make Bee Cupcake Toppers
Today I’m sharing this really fun tutorial for How to Make Bee Cupcake Toppers! These are so cute and versatile!
Here’s what you’ll need:
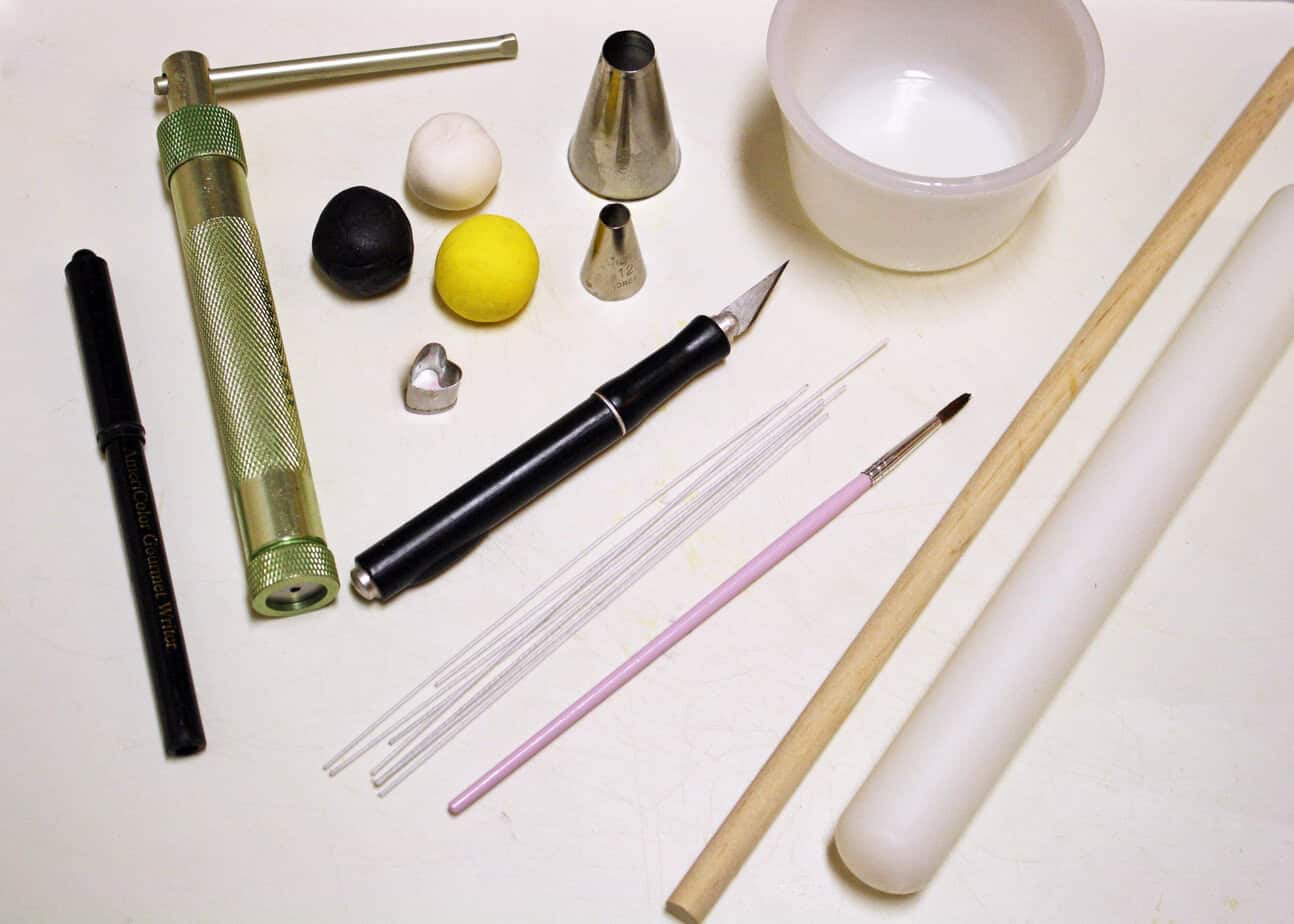
- Yellow, Black and White Fondant (or gum paste)
- Extruder
- Water (or sugar glue would work perfectly)
- Small brush
- Xacto Knife
- Small Rolling Pin
- Miniature Heart Cutter
- Black Food Marker
- #12 Wilton Frosting Tip (or other tool to make half circle indention for the smile)
- 1/2″ Dowel Rod
- 6″ wires Coffee Straws (not pictured)
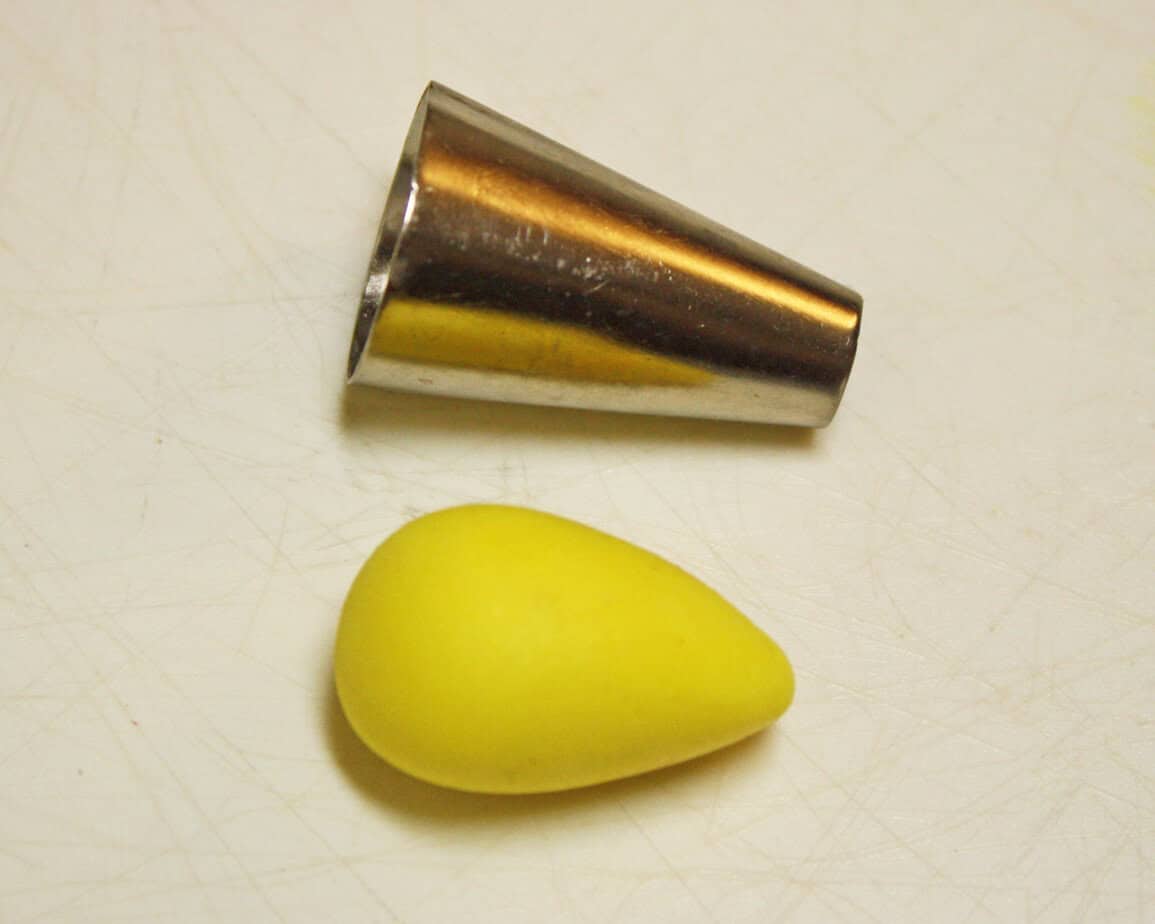
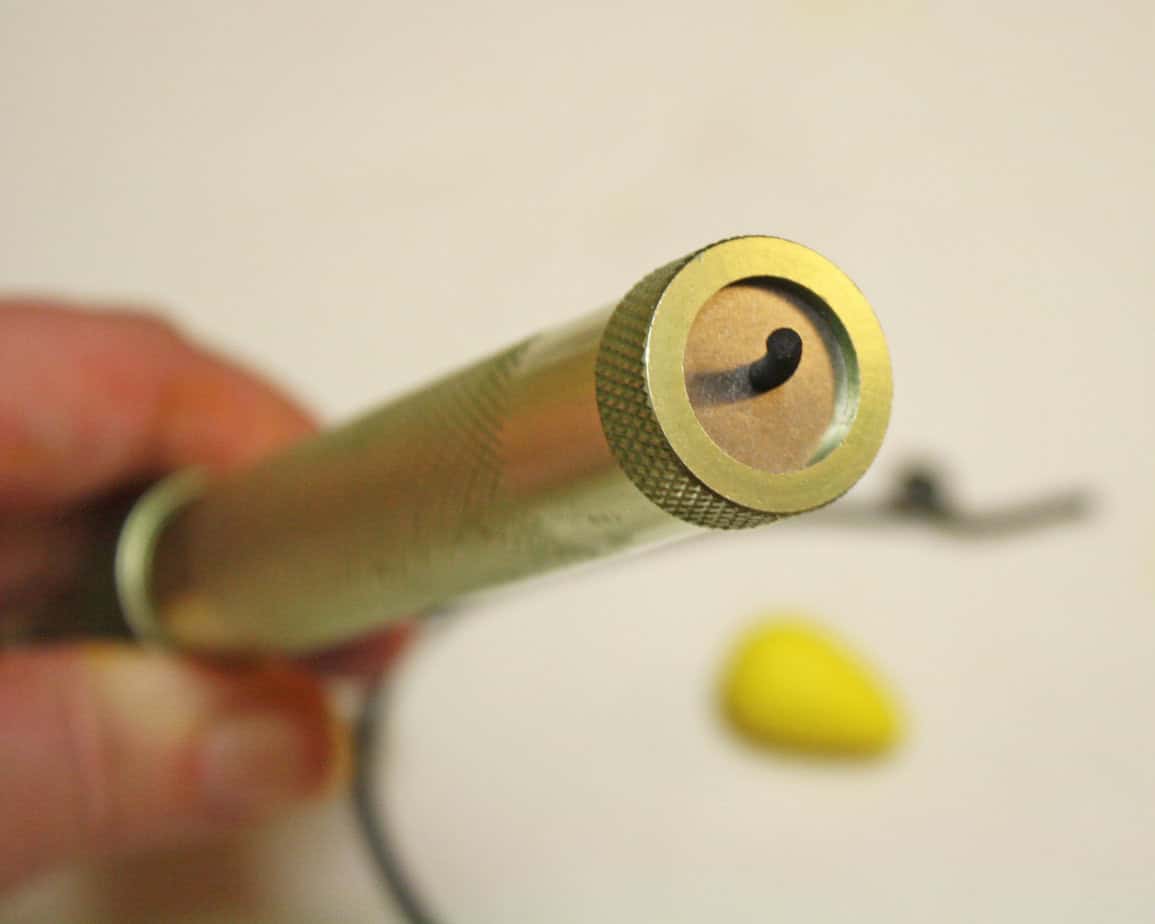
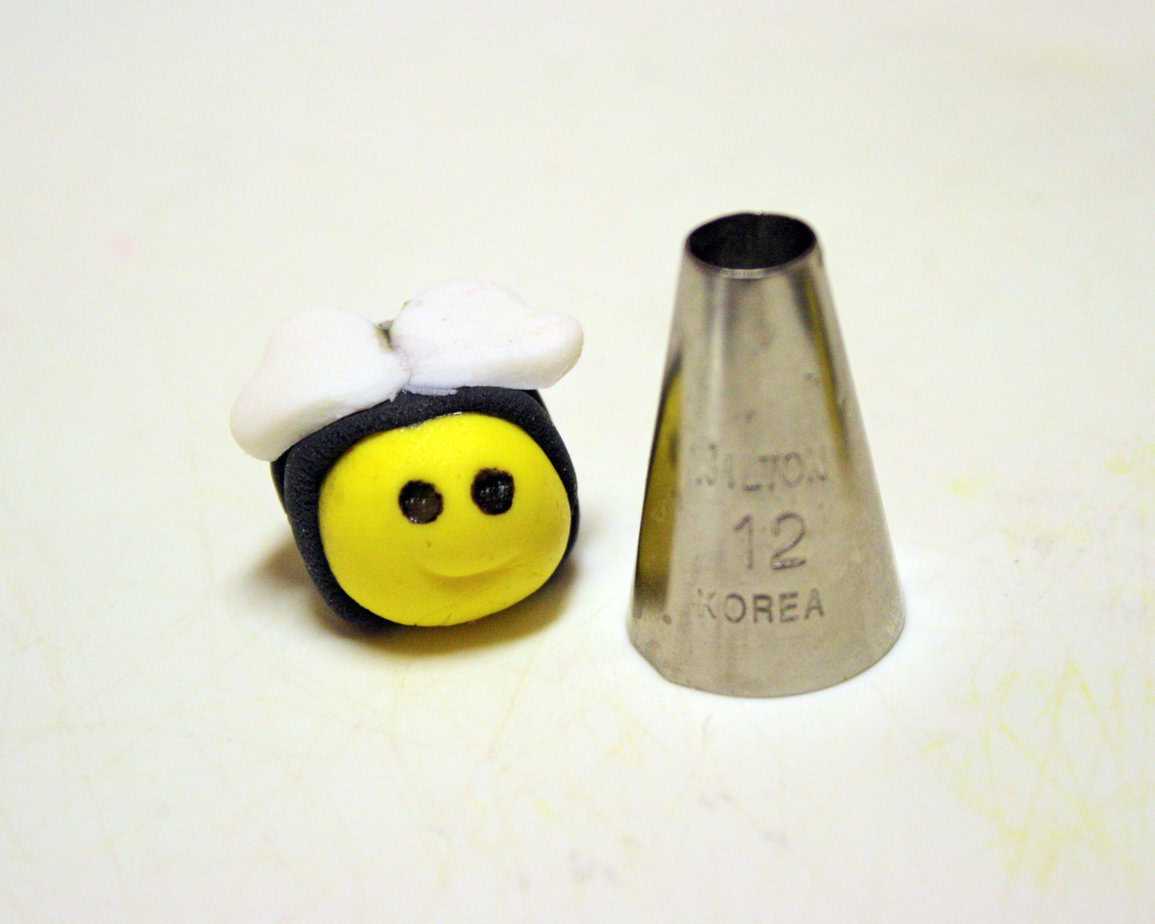
Once you have everything gathered, it’s time to get started. Step 1: First up, you’ll want to get a ball of fondant that’s just over half an inch in diameter. I used my #12 tip to give you an idea of the size I used.

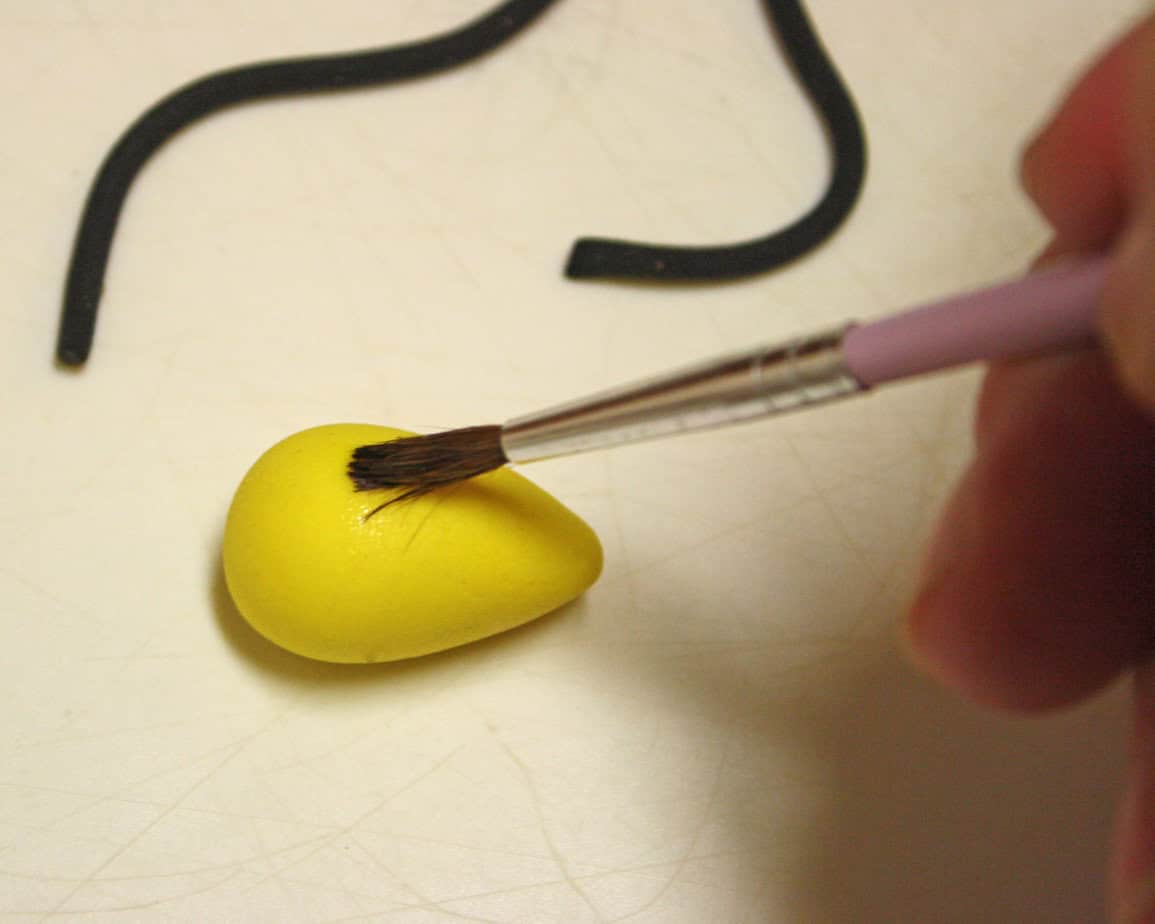
Step 2: To make the bee’s body, shape that ball into a tear drop. I use my pointer finger to roll it on my mat to flatten out the one end and get it pointy.
Step 3: Next you’ll need a tiny rope of black fondant. I use my extruder to do this – it makes the job so easy!
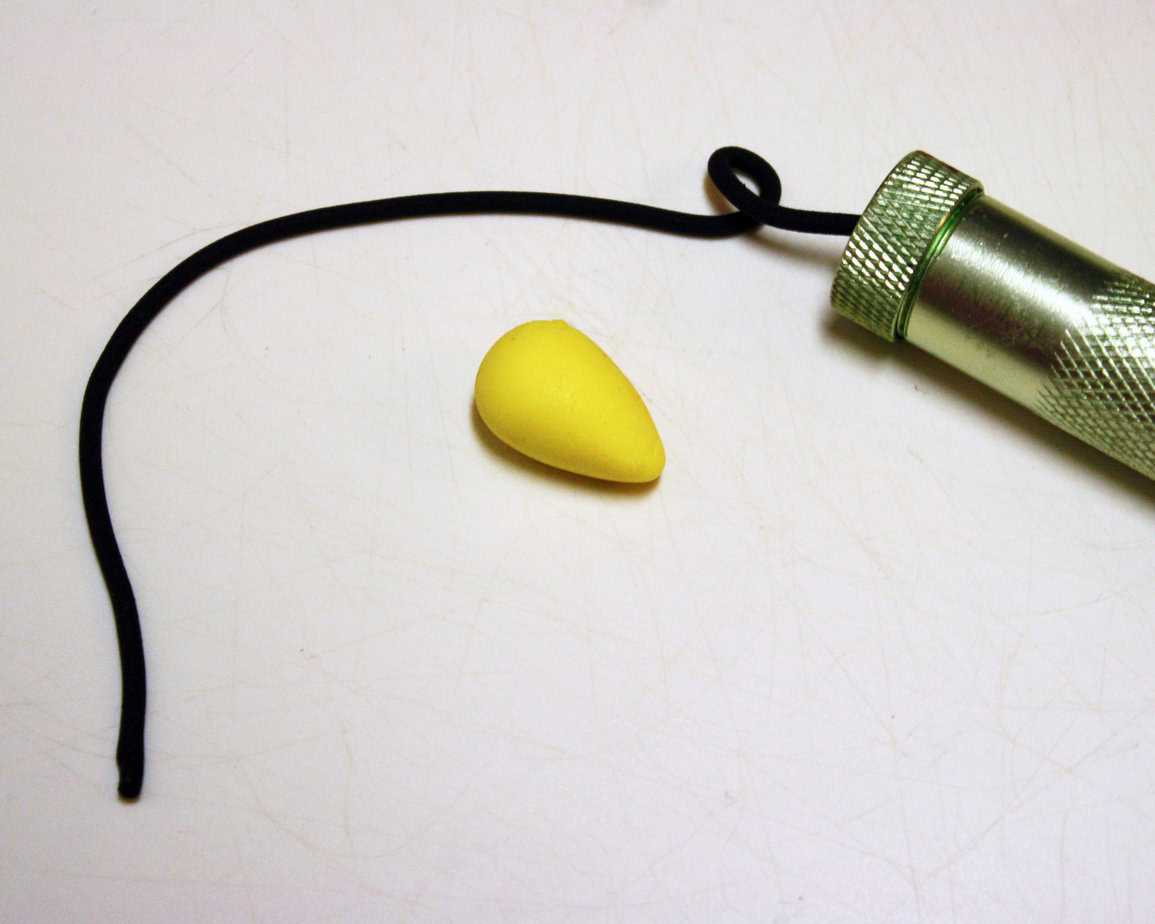
Step 4: I use one of the larger hole disks that came with my extruder.
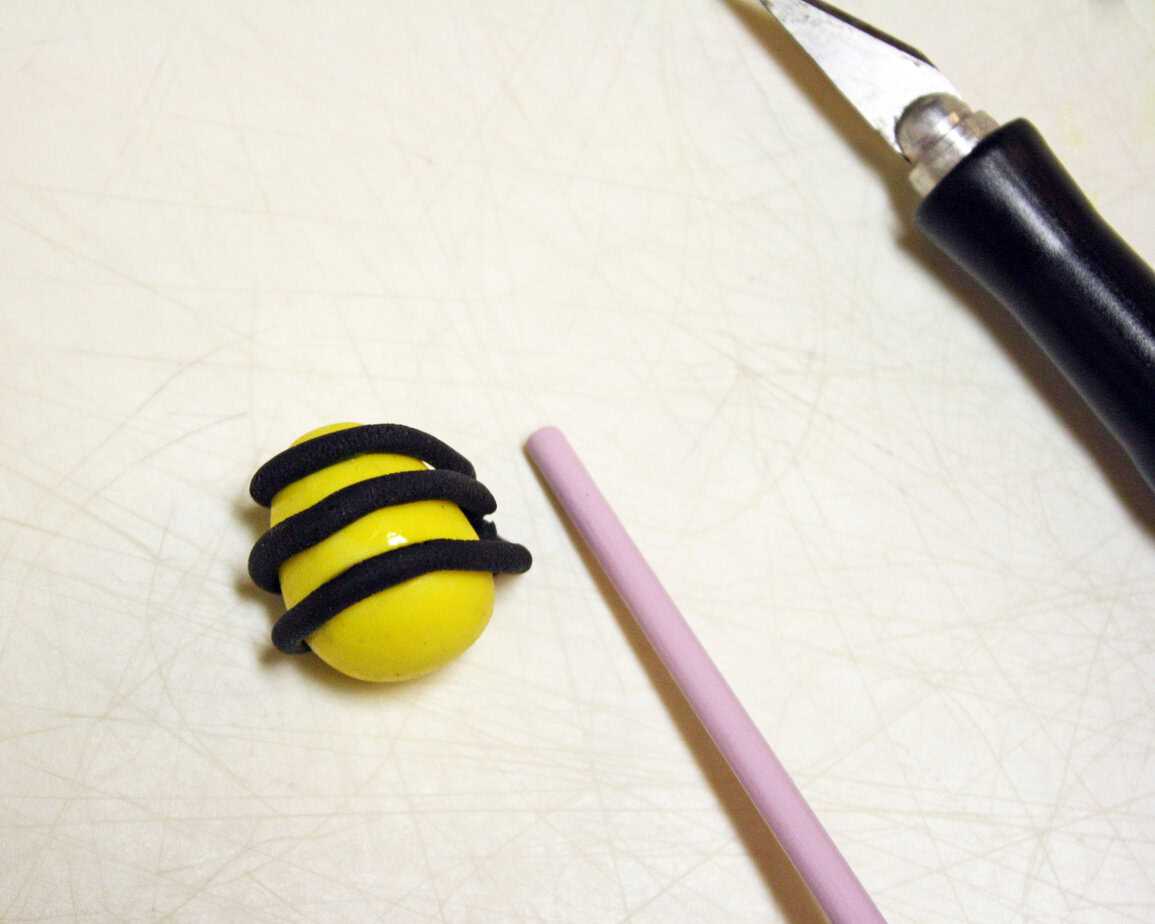
Step 5: To get the bee body ready for the stripes, take your brush and paint on a tiny bit of water. You don’t want to get it too wet, just dampen it.
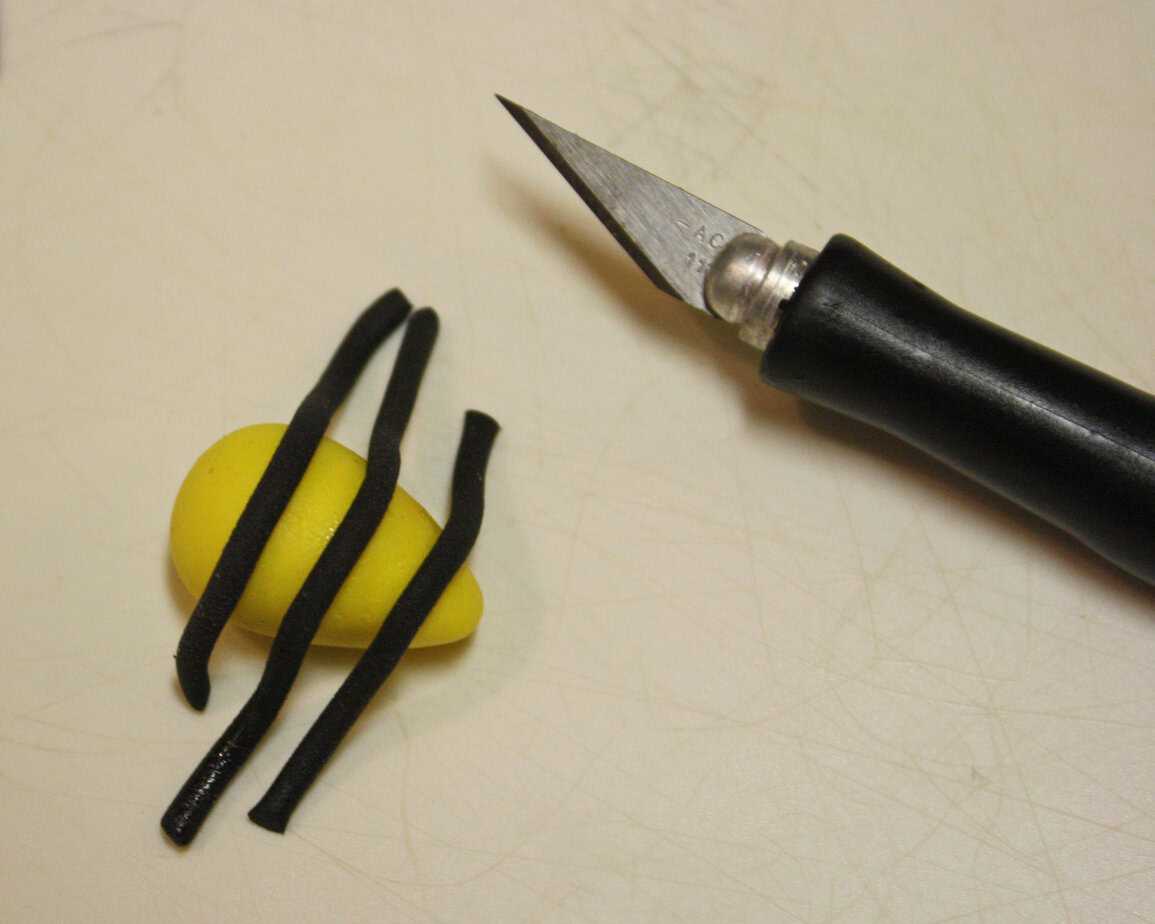
Step 6: Cut your rope of fondant into 3 strips… maybe 2 inches long each. It doesn’t have to be exact. Then lay the stripes over bee’s body on the damp area.
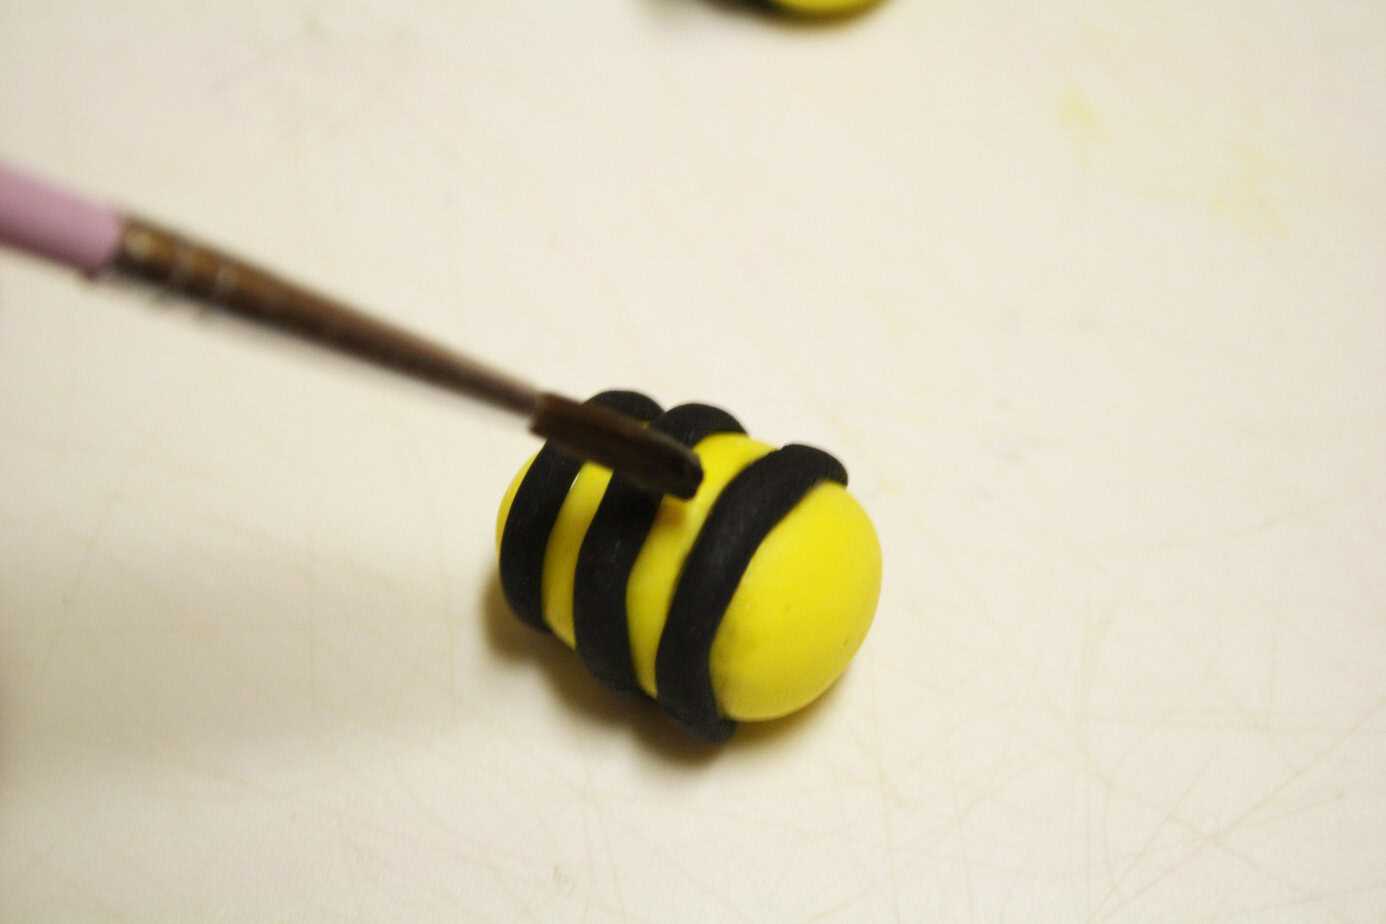
Step 7: Then you’ll want to tuck the ends underneath the bee. I use the handle of my paint brush to roll down the sides and tuck it under.
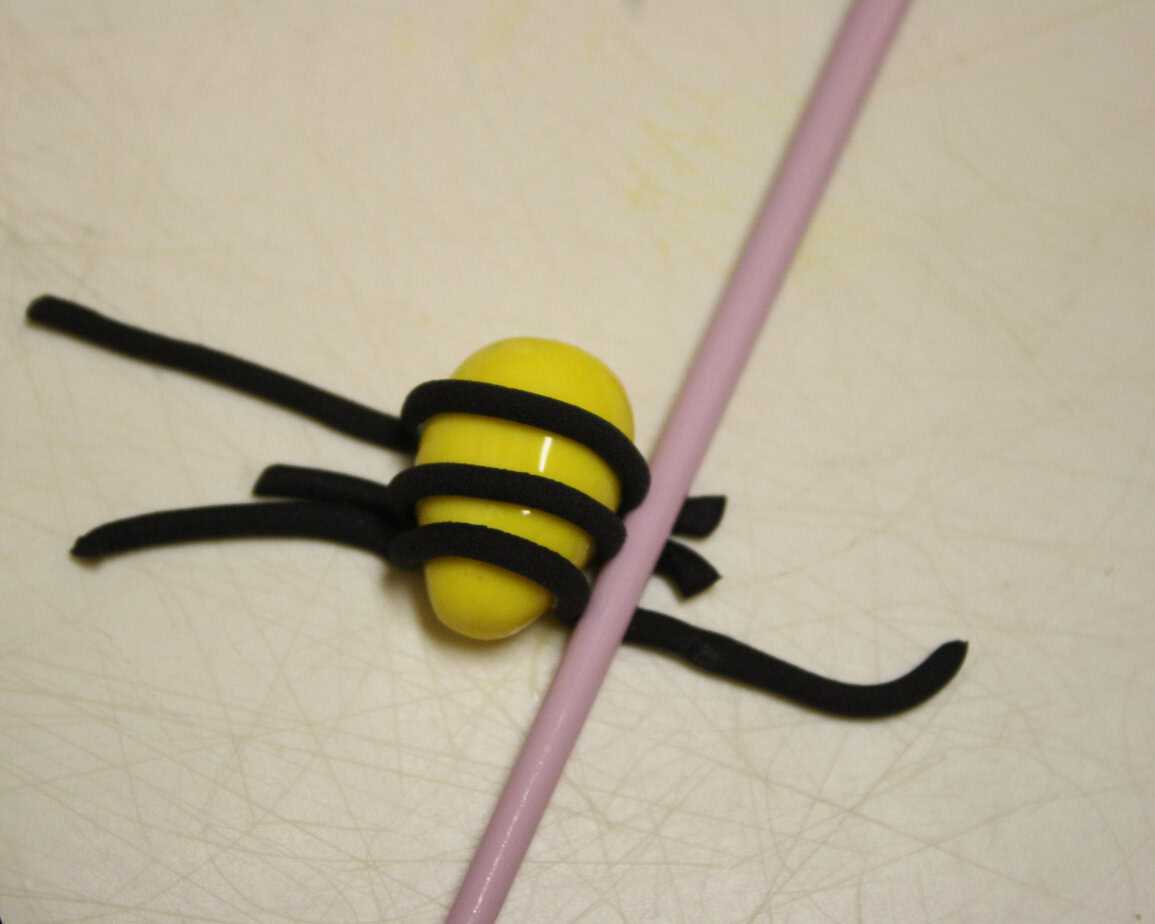
Step 8: Once you’ve got it tucked, you’ll need to roll it over, careful not to flatten the stripes. Then use your Xacto blade to cut the extra off and make the ends meet underneath.
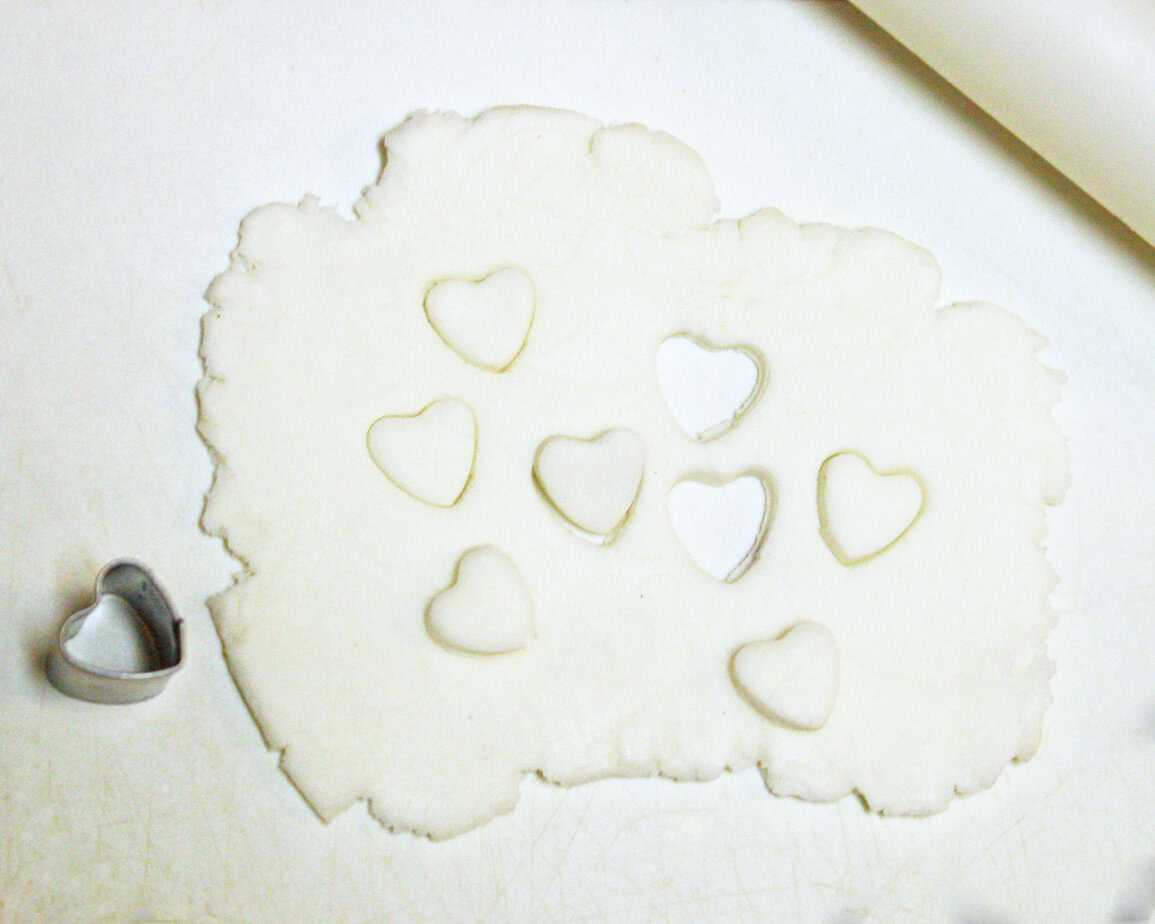
Step 9: Now you’re ready to make some wings for your little bee. Roll out a small ball of white fondant and cut out tiny hearts. These make perfect little wings! Note: you could also use a tiny tear drop cutter or even an oval… I just thought the hearts add a whimsical feel to the bees.
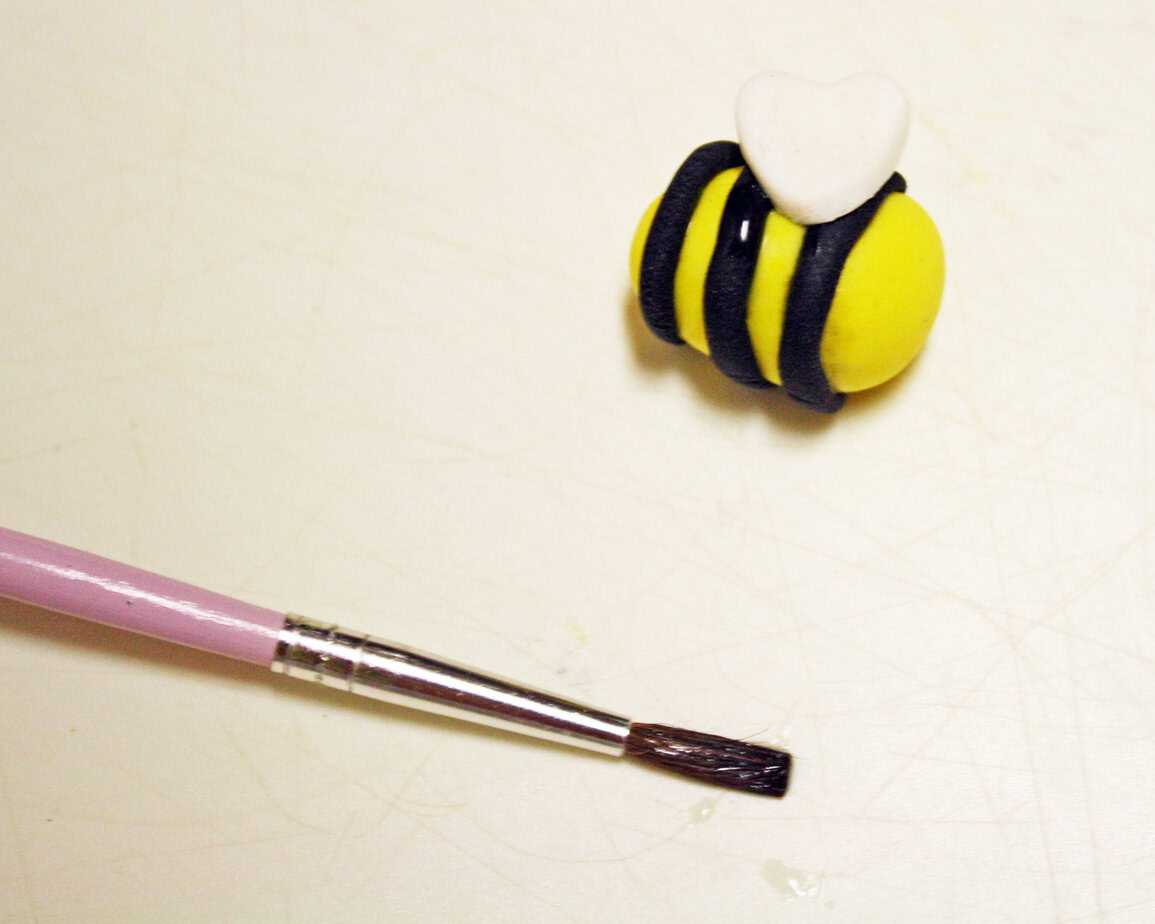
Step 10: Add a tiny dot of water to the top/front of your bee and attach the wings (two hearts) there…slightly overlapping the pointy part of the hearts (see the overlapping in the next picture).
Step 11: You’re almost done! Take a food safe marker and draw on some eyes. You could also use tiny balls of fondant here, but the markers make it so easy!
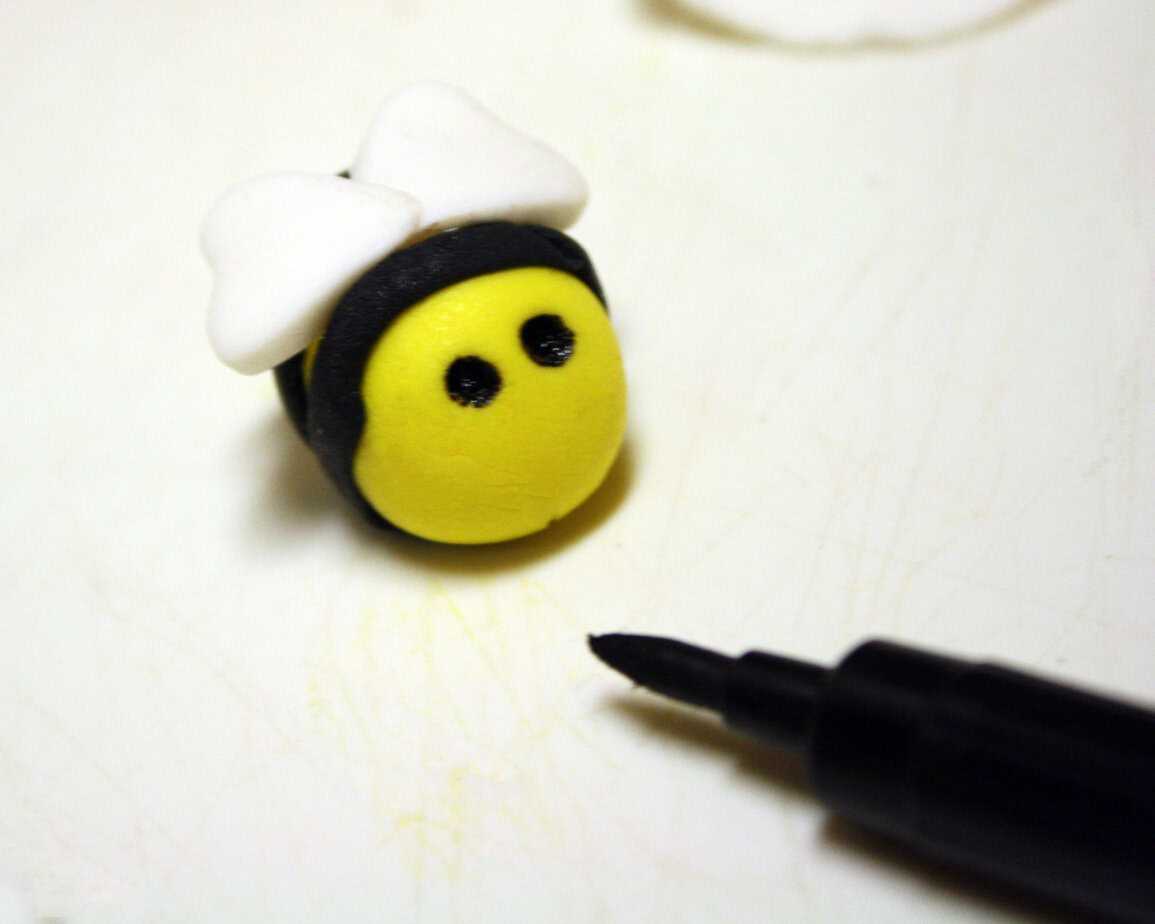
Step 12: To finish your bee, use a #12 Wilton frosting tip (the small end) to make a half-circle indention that will be a smile!!
Step 13: At this point, you could add the bees directly to a cake or cupcake and they would be super cute! But if you’d like to really make them shine, you can put them in flight!
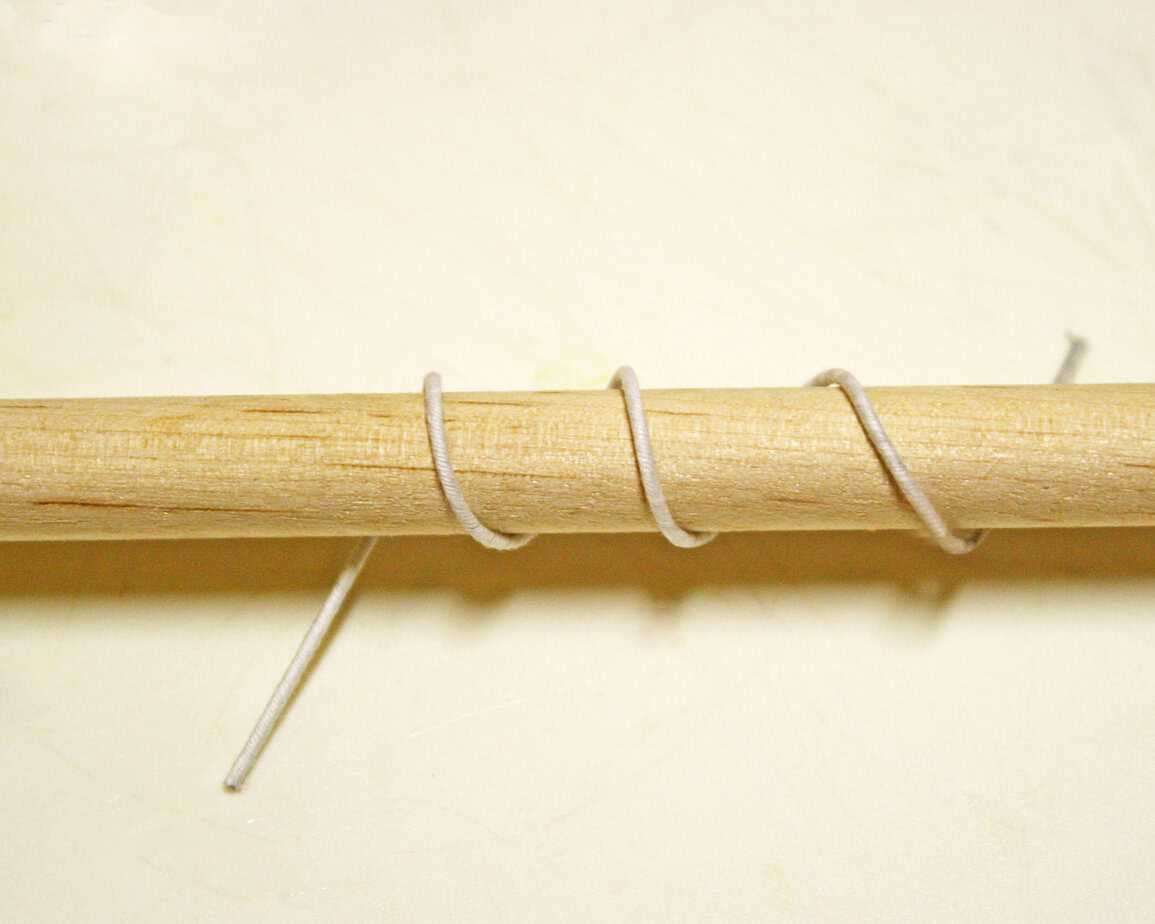
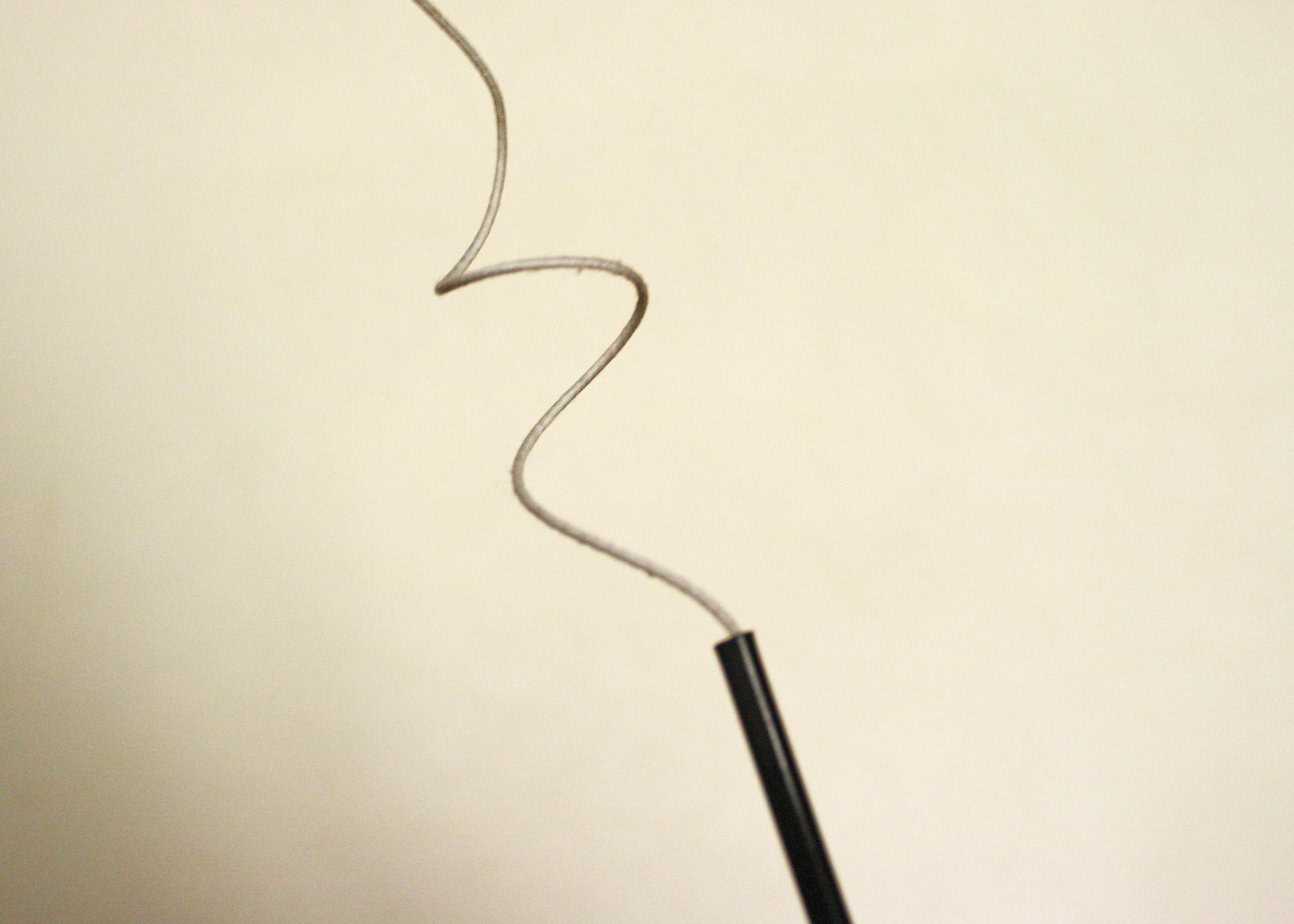
For this, you’ll want to take a 6″ wire and wrap it around a dowel rod to make it curly. Be sure to only curl about 1/2-2/3 of the wire – you’ll want one end straight to insert into your cake or cupcake. (I had to uncurl that one a little bit… it wrapped too much of it!)
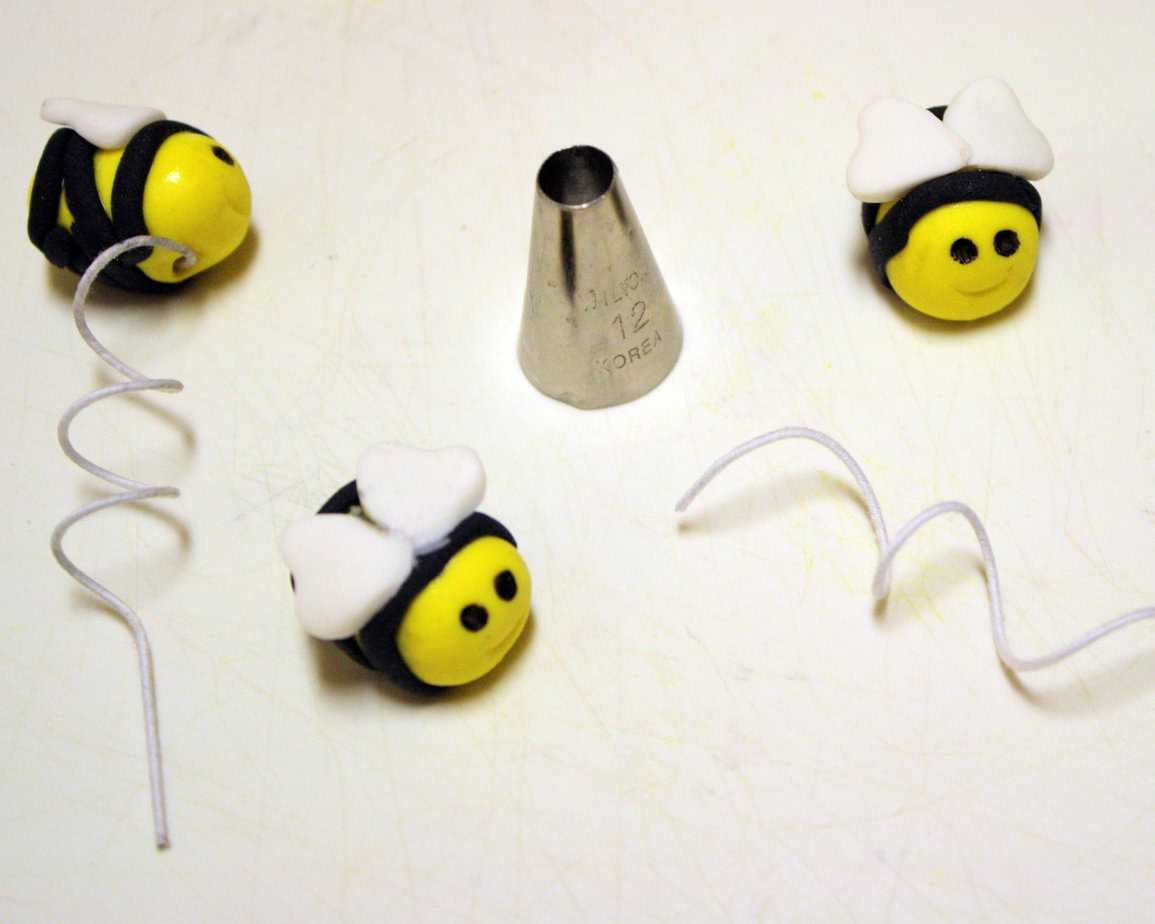
Step 14: To attach the bee, put a little water (or edible sugar glue) on the end of the wire and insert it into the underside of the bee. And it’s ready to go!

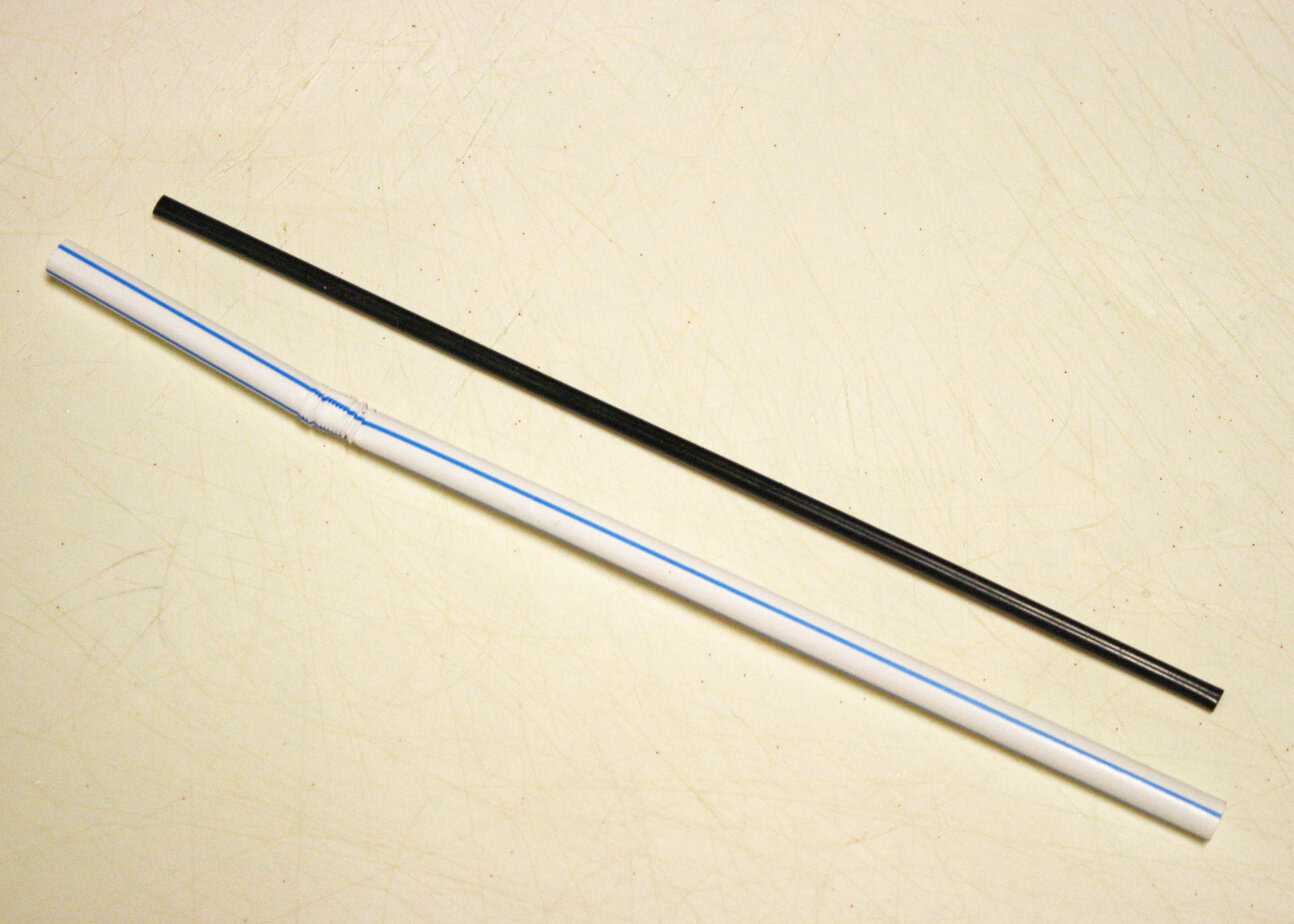
Step 15: For actually placing the bee (on a wire) on a cake or cupcake, I like to put the end of the wire into a coffee straw and then insert that into the cake/cupcake. Like this…
Tip! Coffee straws can be found in the paper products aisle of most grocery stores (near the regular straws) and they’re just smaller than a standard straw … perfect for wires.
See? Also, the straw is food safe and it also helps the wire to not tear the cake or cupcake!
That’s it! I’d love to hear about any bee cakes you’ve done or please leave any questions in the comments!
Happy Caking! Rose


Very cute. What were they having?
Both girls!
These are SOOOOO cute! We are going to share with our FB Fans! Adorable!
Thank you!! x
How much in advance can you make the bees? Can they be made a week in advance and kept fresh in an airtight container?
They could easily be made days or weeks in advance. I’d let them dry a few days in a cool dark place (without being sealed), then put them in an airtight container.