Candied Orange Slices (Chewy, Sugar-Coated & So Pretty!)
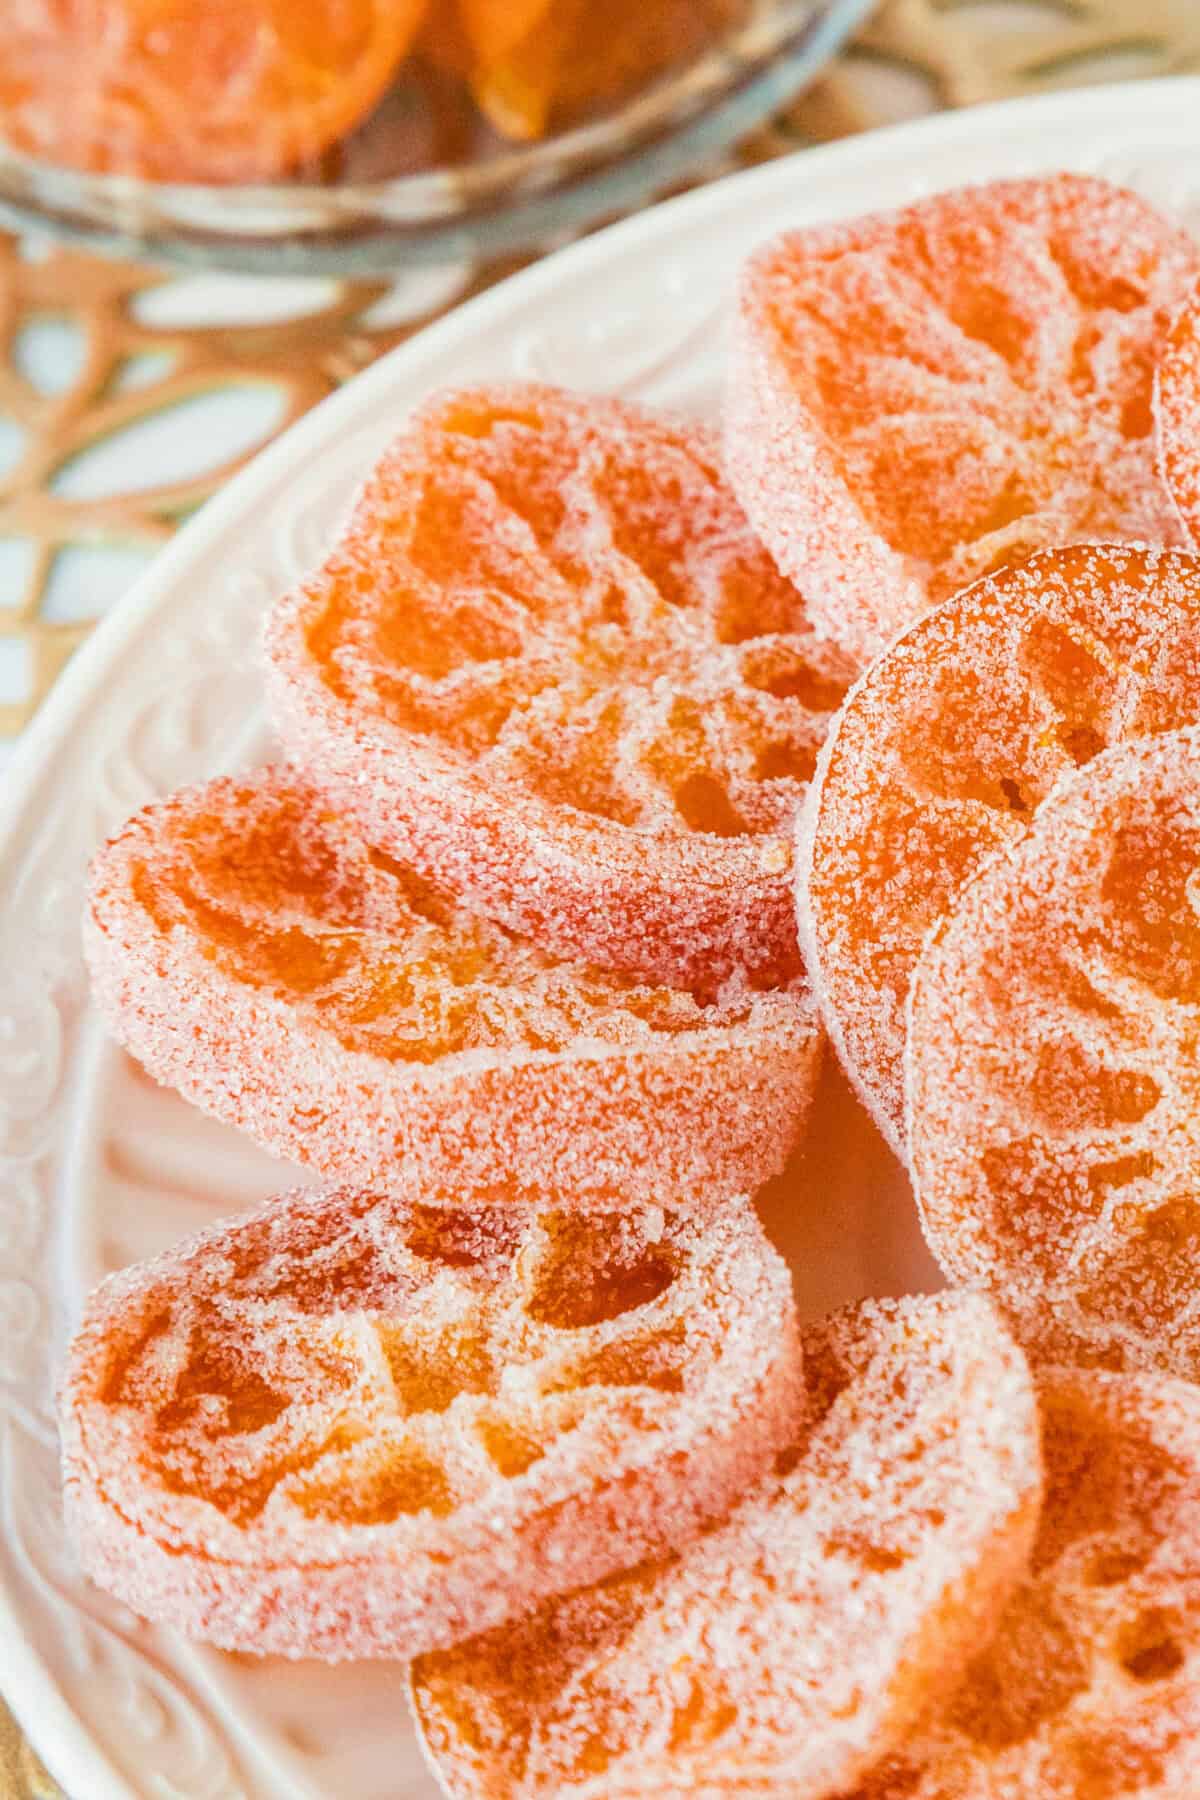
These Homemade Candied Orange Slices are the prettiest sweet treat of the holiday season! The orange slices simmer low and slow in a simple syrup until the peel turns glassy and translucent, then dry at room temperature on a wire rack before getting an optional sparkly sugar coating. They’re perfect for Christmas cookie boxes, homemade gifts, elegant garnishes on top of cakes, and cocktail garnishes for your holiday parties. Best of all, they’re budget-friendly, beginner-friendly, and look like they came straight from a fancy bakery.
Candied Orange Slices
I’ve been sharing a LOT of Christmas cookie recipes lately, and every time I picture a cookie box, I picture a few of these candied oranges tucked in the corner. They just make everything look so special!
As a cake decorator, I love anything that makes a dessert look fancy without needing any extra decorating skills. A few candied citrus slices on top of an orange pound cake or a plain frosted cake instantly turn it into something you’d see in a bakery window (and nobody has to know how simple it was).
The candying process itself is really easy… it just takes a little patience. Most of the time is hands-off while the slices dry, so you can make them a couple of days before you need them and let them do their thing while you get on with your day.
And the texture is my favorite part. These are soft and chewy, with that perfect mix of sweet and bright citrus flavor, but they won’t get stuck in your teeth like a store-bought gummy candy does.
Why You’ll Love This Recipe
You only need a few simple ingredients. There’s no corn syrup, no candy thermometer, and nothing you’ll have to hunt down at a specialty store. You probably have almost everything in your pantry right now, and the fresh oranges are easy to find at any grocery store this time of year. You can even use extra oranges you have laying around – no need to buy anything special.
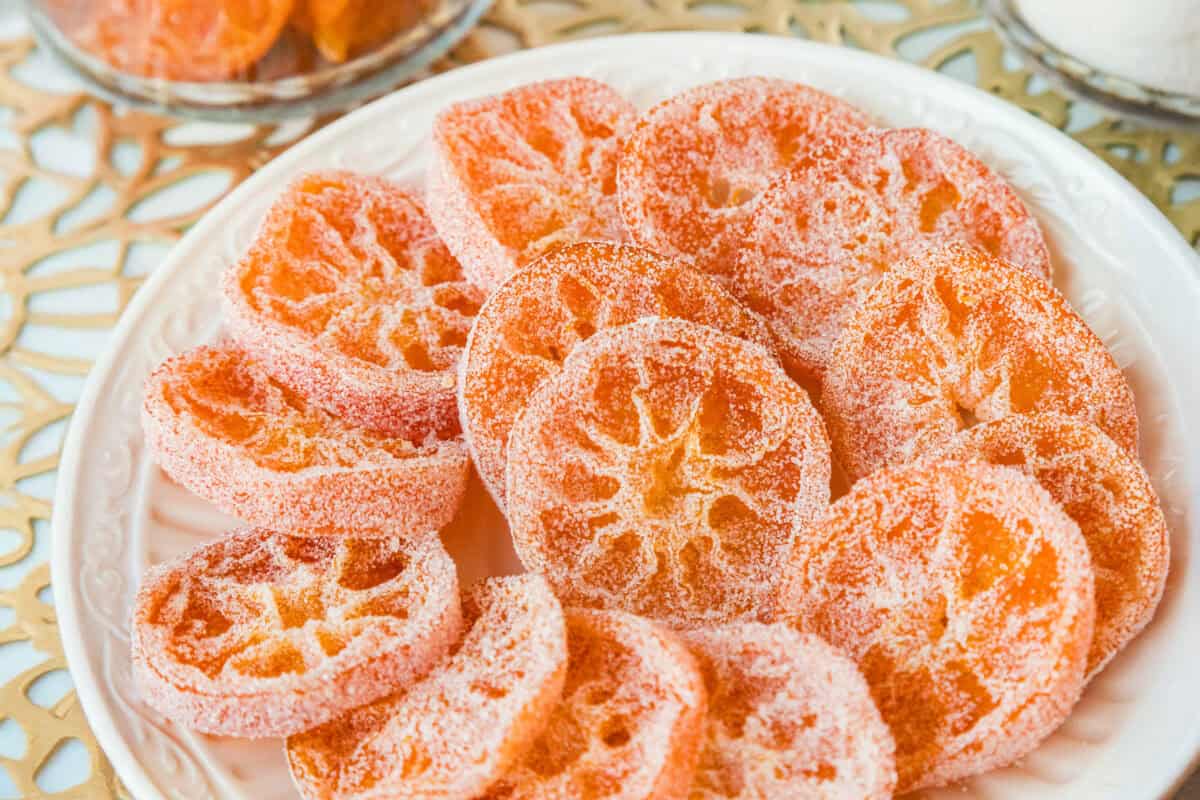
They make the prettiest edible garnish. These candied orange slices look like little stained glass windows when the light hits them! Use them on top of cakes, cupcakes, cheesecakes, and cocktails, or dip them in chocolate for a dessert all on their own.
They’re perfect for holiday gifting. Candied oranges keep for a whole month in an airtight container, so they’re wonderful for making ahead. Pack them in a cute jar or a cookie tin and you’ve got a thoughtful homemade gift for teachers, neighbors, and friends.
Tools Needed
- Large pot or large saucepan
- Small serrated knife (or a very sharp knife)
- Cutting board
- Slotted spoon or tongs
- Wire cooling rack
- Large baking sheet
- Small bowl (for the sugar coating)
- Parchment paper (for storing or chocolate dipping)
- Airtight container
Ingredients
You only need a handful of simple ingredients, and you can swap in just about any citrus you like!
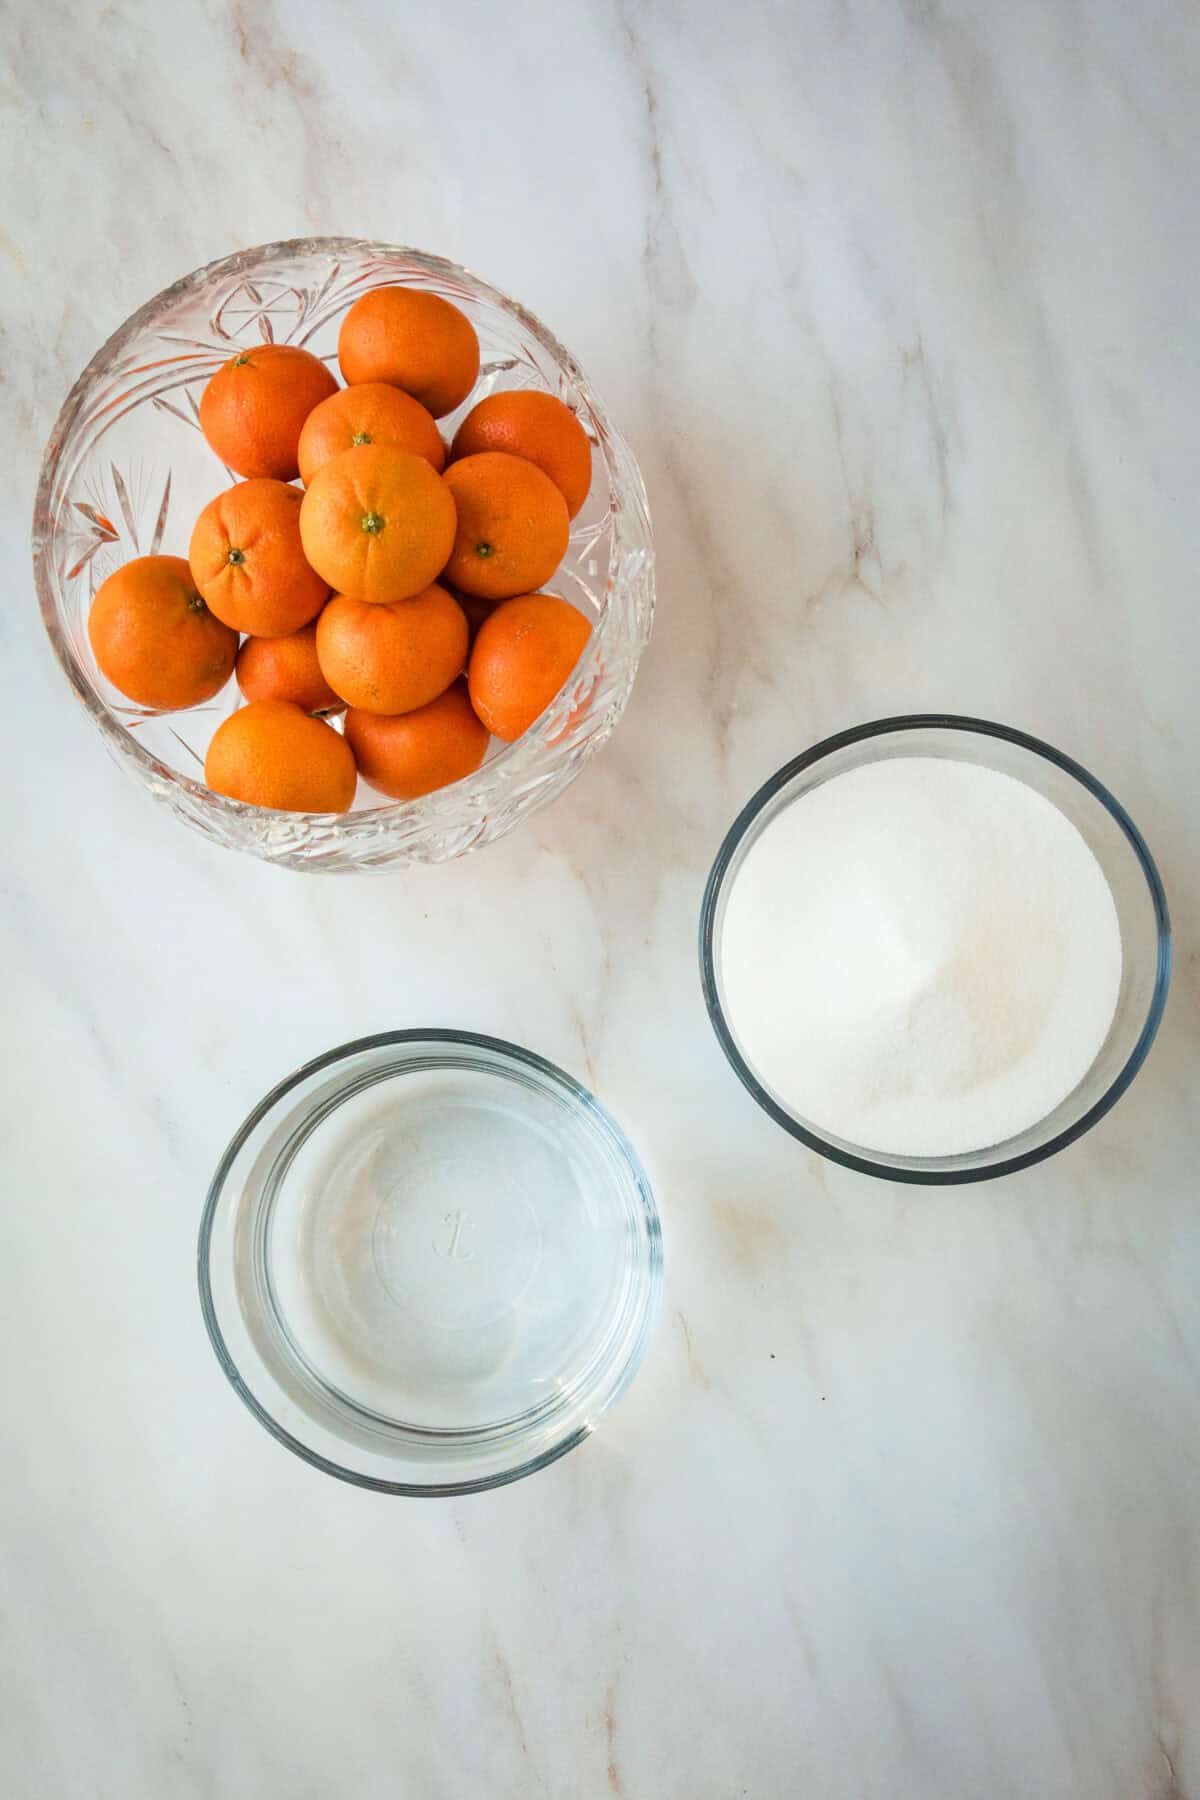
- Mandarins – I like using mandarins because their small size makes the cutest slices, but any type of orange works. Navel oranges, cara cara oranges, and blood oranges are all beautiful, and you can even use lemon slices or lime slices.
- Water – you’ll use some to blanch the slices and the rest for the sugar syrup.
- Granulated sugar – for the syrup, plus a little extra for coating the finished slices (optional).
Find the full recipe with ingredient measurements in the recipe card below.
How to Make Candied Orange Slices
This orange recipe comes together in a few simple steps. The longest part is the drying process, so plan ahead and let time do most of the work for you.
- Prep the oranges. Wash your oranges and dry them well with paper towels or a clean kitchen towel.
- Boil the water. Add 4 cups of water to a large pot and bring it to a boil over high heat.
- Slice the oranges. While the water heats up, slice oranges crosswise into thin slices about 1/4 inch thick. A small serrated knife and a small sawing motion work best (see my Pro Tips below about mandolines). You can toss the end pieces that are mostly peel and keep the juicy middle slices. I usually keep a couple of the end pieces and discard the rest.
- Blanch the slices. Add the orange slices to the boiling water and boil for 2 minutes, then remove them with a slotted spoon. This quick step takes away the bitterness from the peel, so don’t skip it!
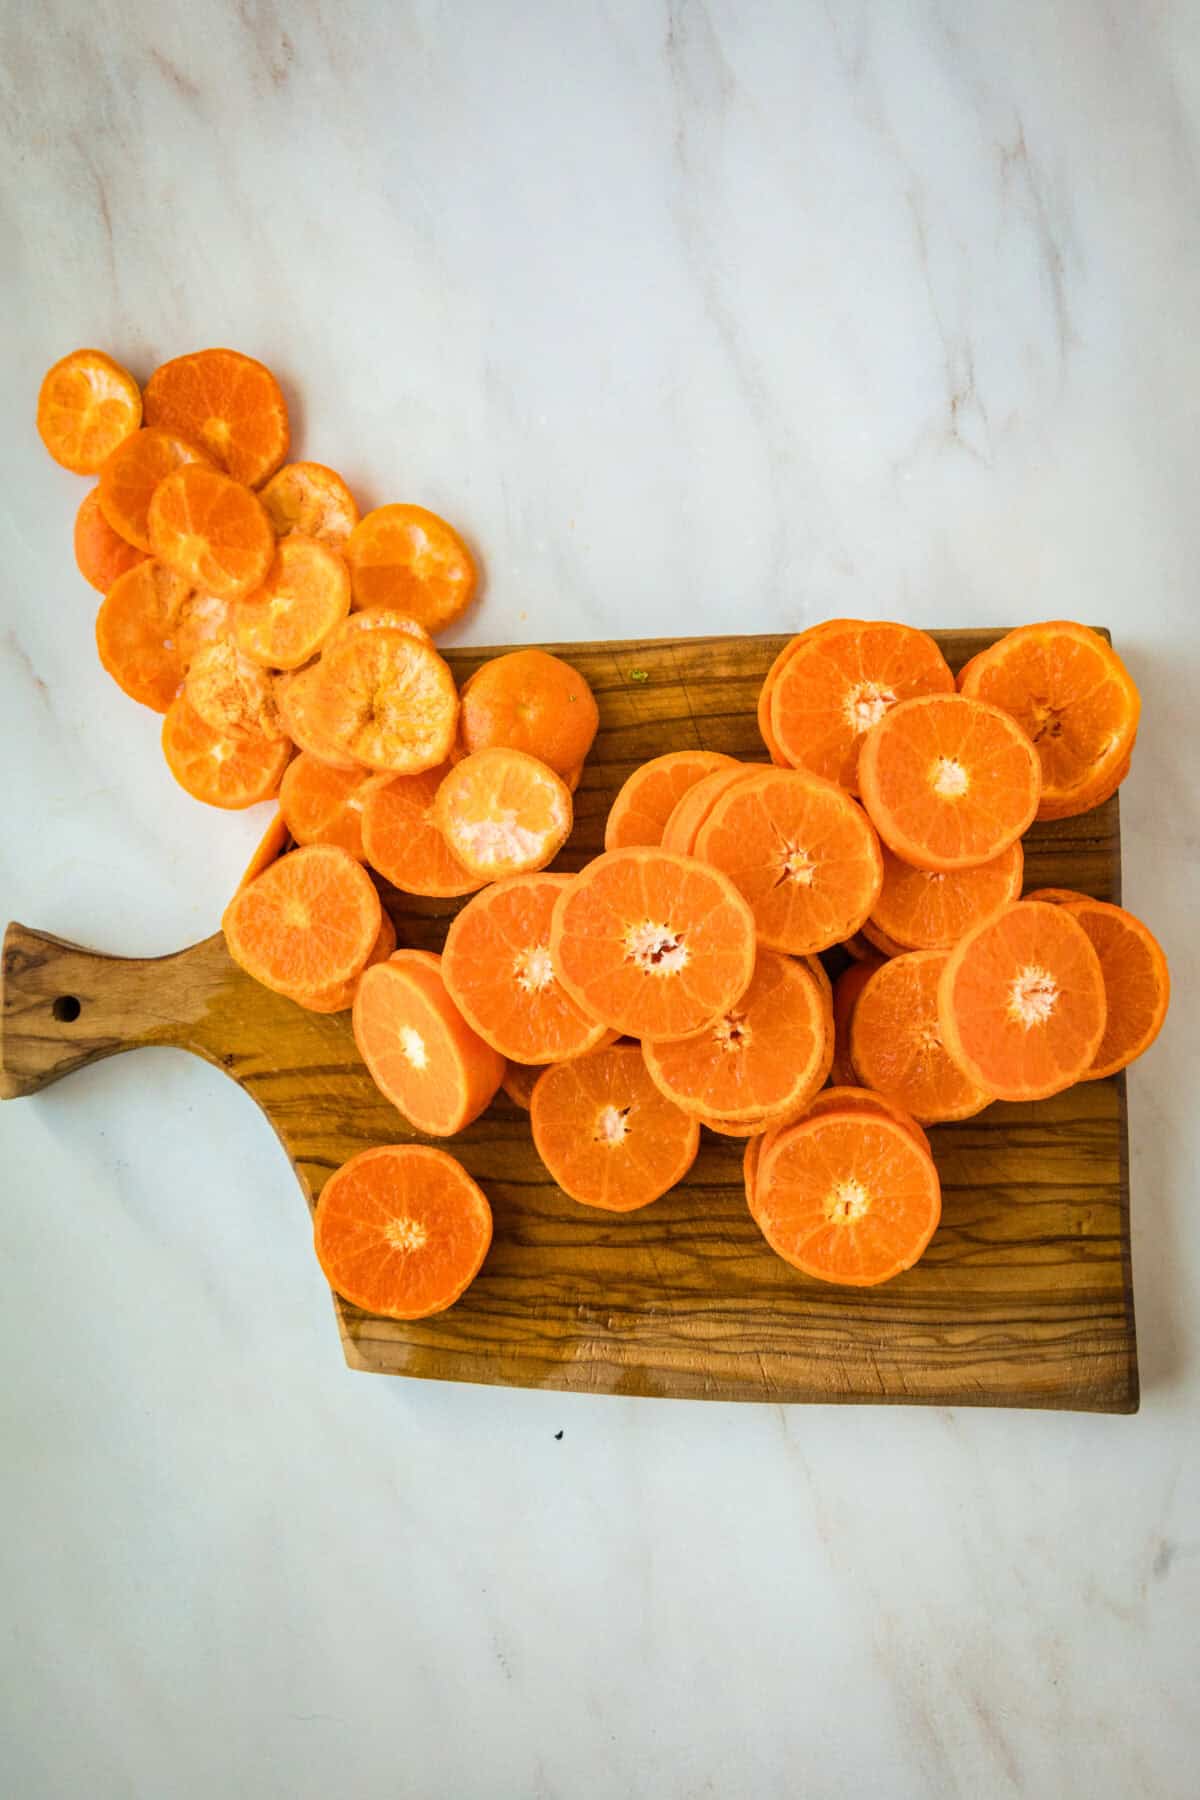
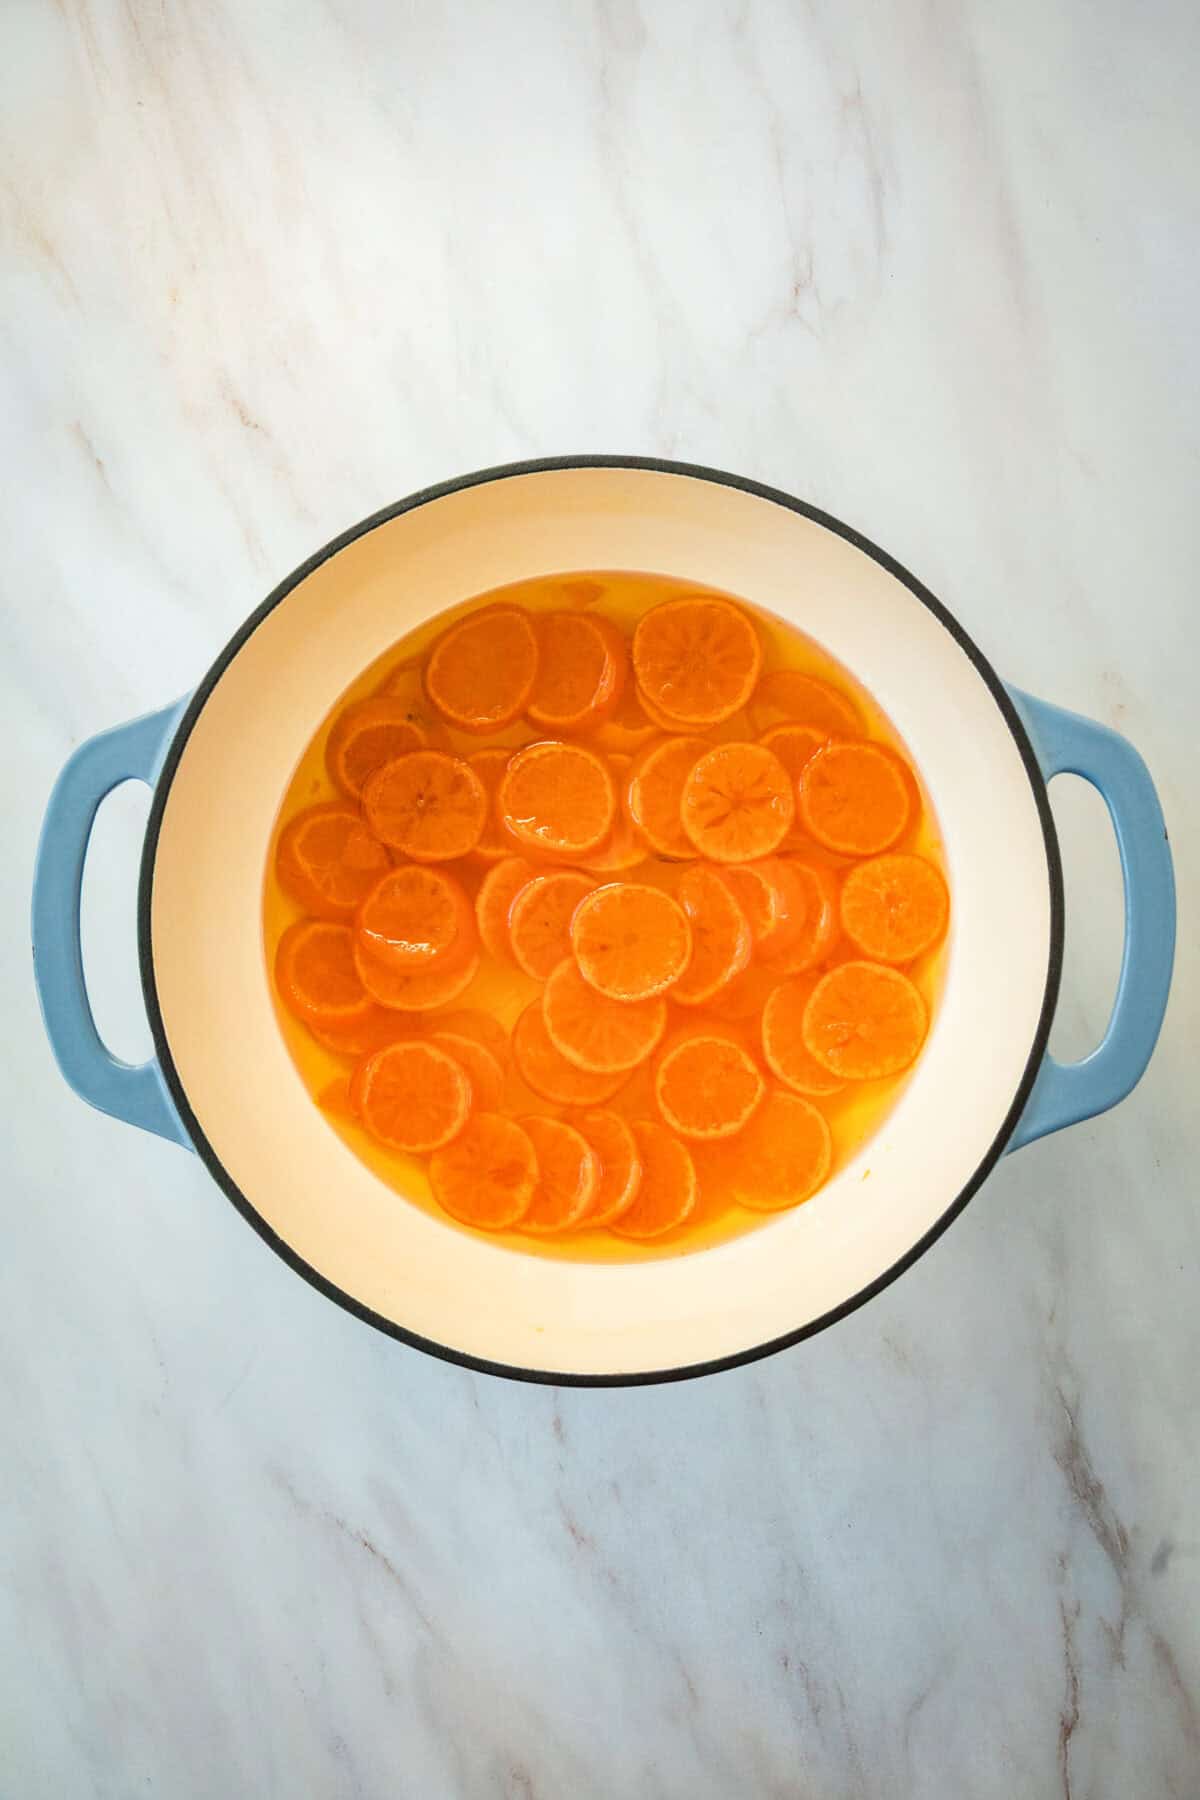
- Make the sugar syrup. Pour out the blanching water. Combine sugar and the remaining 4 cups of water to the pot and bring the sugar mixture to a boil over medium-high heat, stirring until the sugar dissolves.
- Simmer. Add the orange slices back to the pot and lower the heat so the syrup stays at a gentle simmer (not a boil). Simmer for 45 to 60 minutes, gently stirring every 15 minutes or so.
- Get your rack ready. While the oranges simmer, set a wire cooling rack on top of a large baking sheet.
- Check for doneness. The candied orange slices are ready when the peel looks translucent and the orange syrup is thick and glossy.
- Arrange in a single layer. Use your slotted spoon or tongs to lift the slices out of the syrup and arrange them in a single layer on the cooling rack. Save that leftover syrup (more on that below)!
- Let them dry. Let the slices dry at room temperature for at least 24 hours. They’ll still feel a little sticky or tacky when they’re done, and that’s exactly what you want.
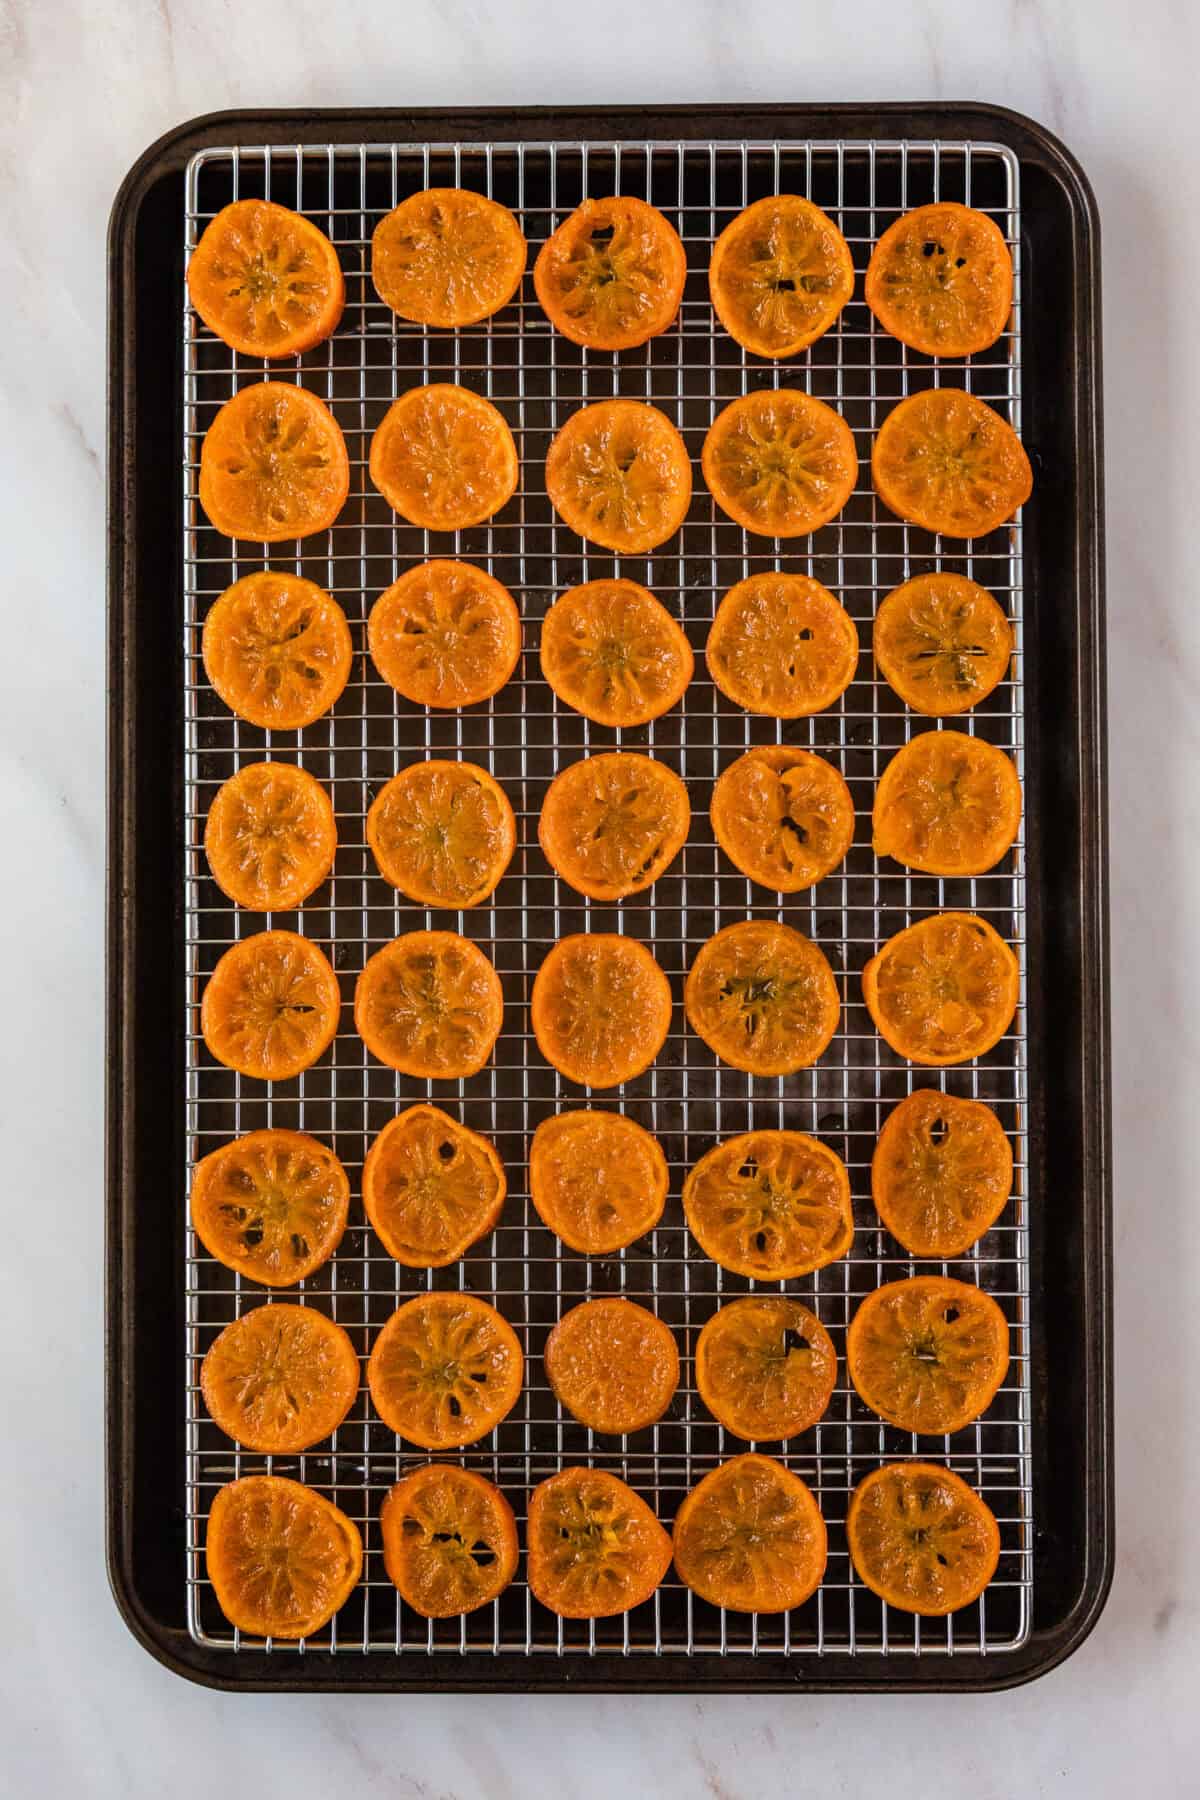
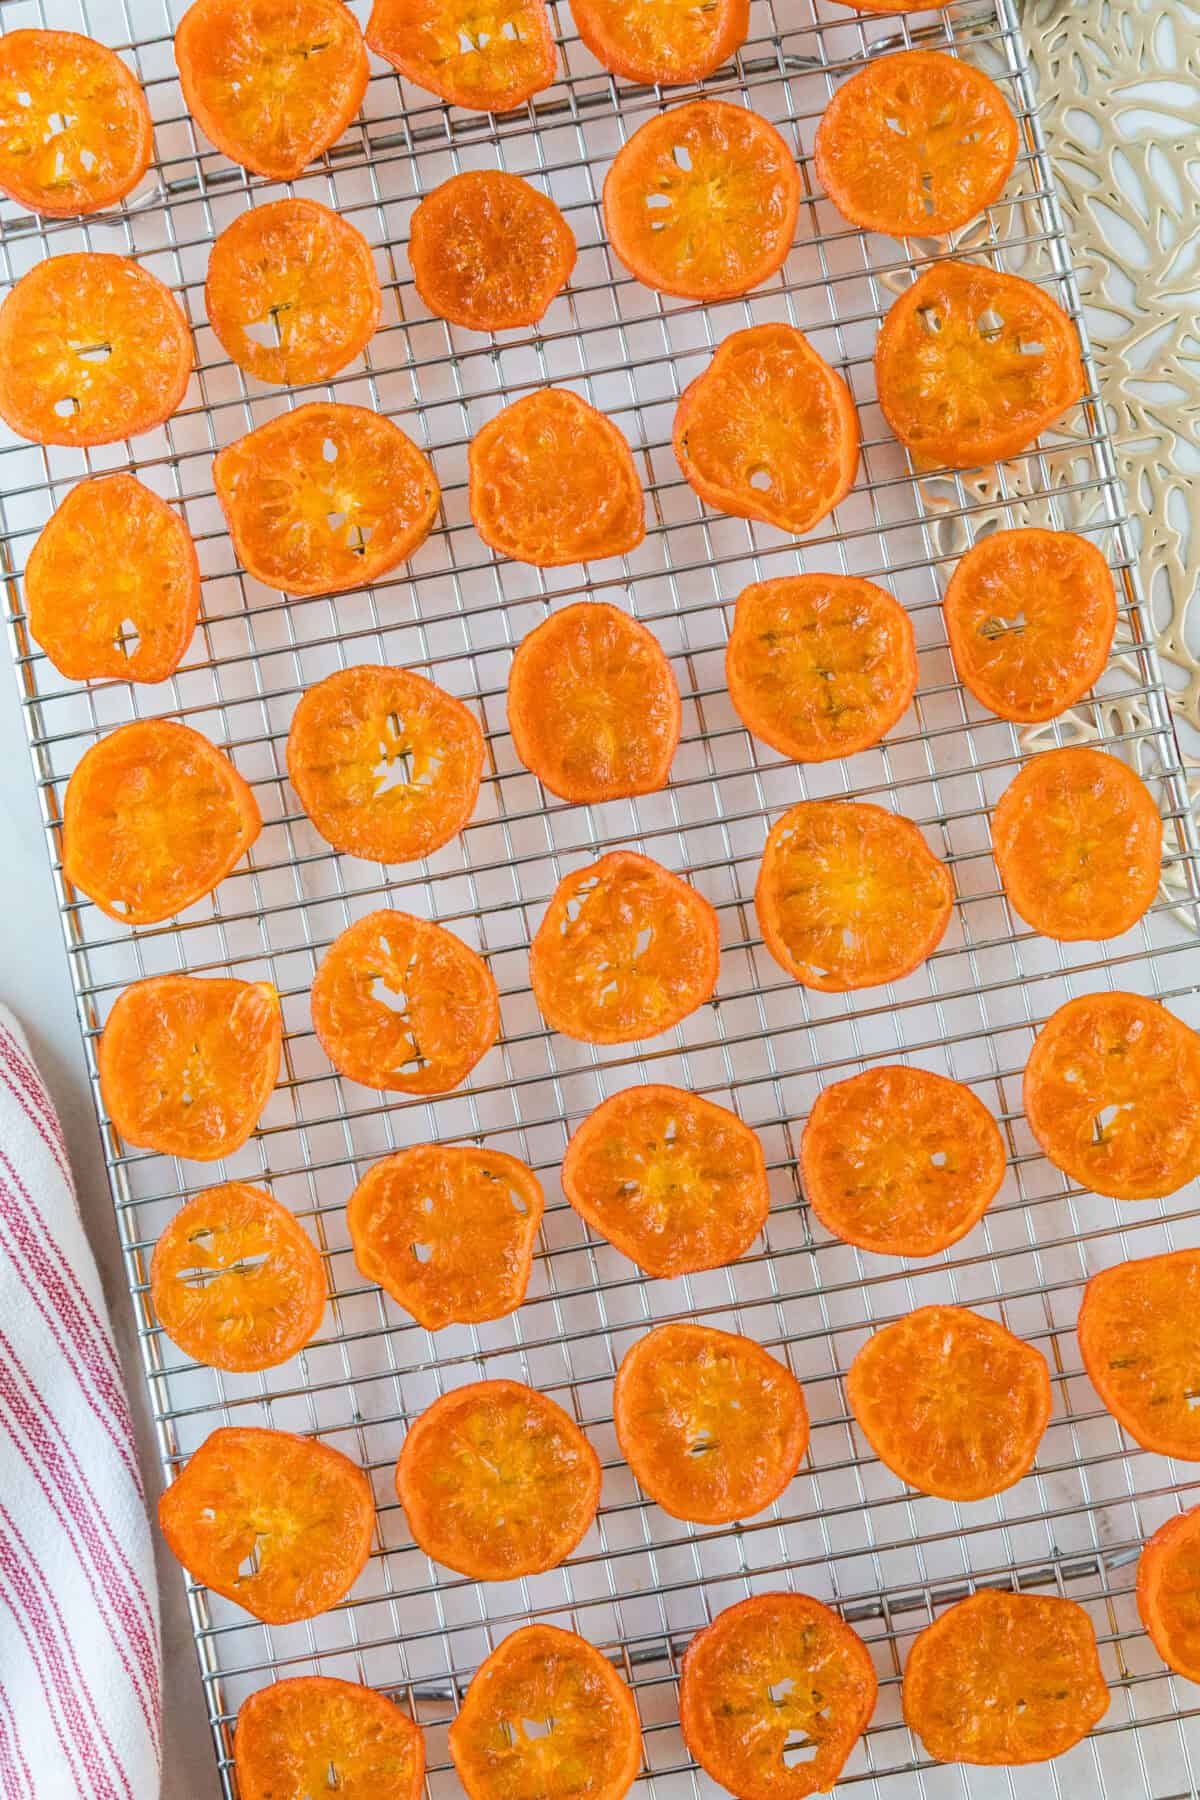
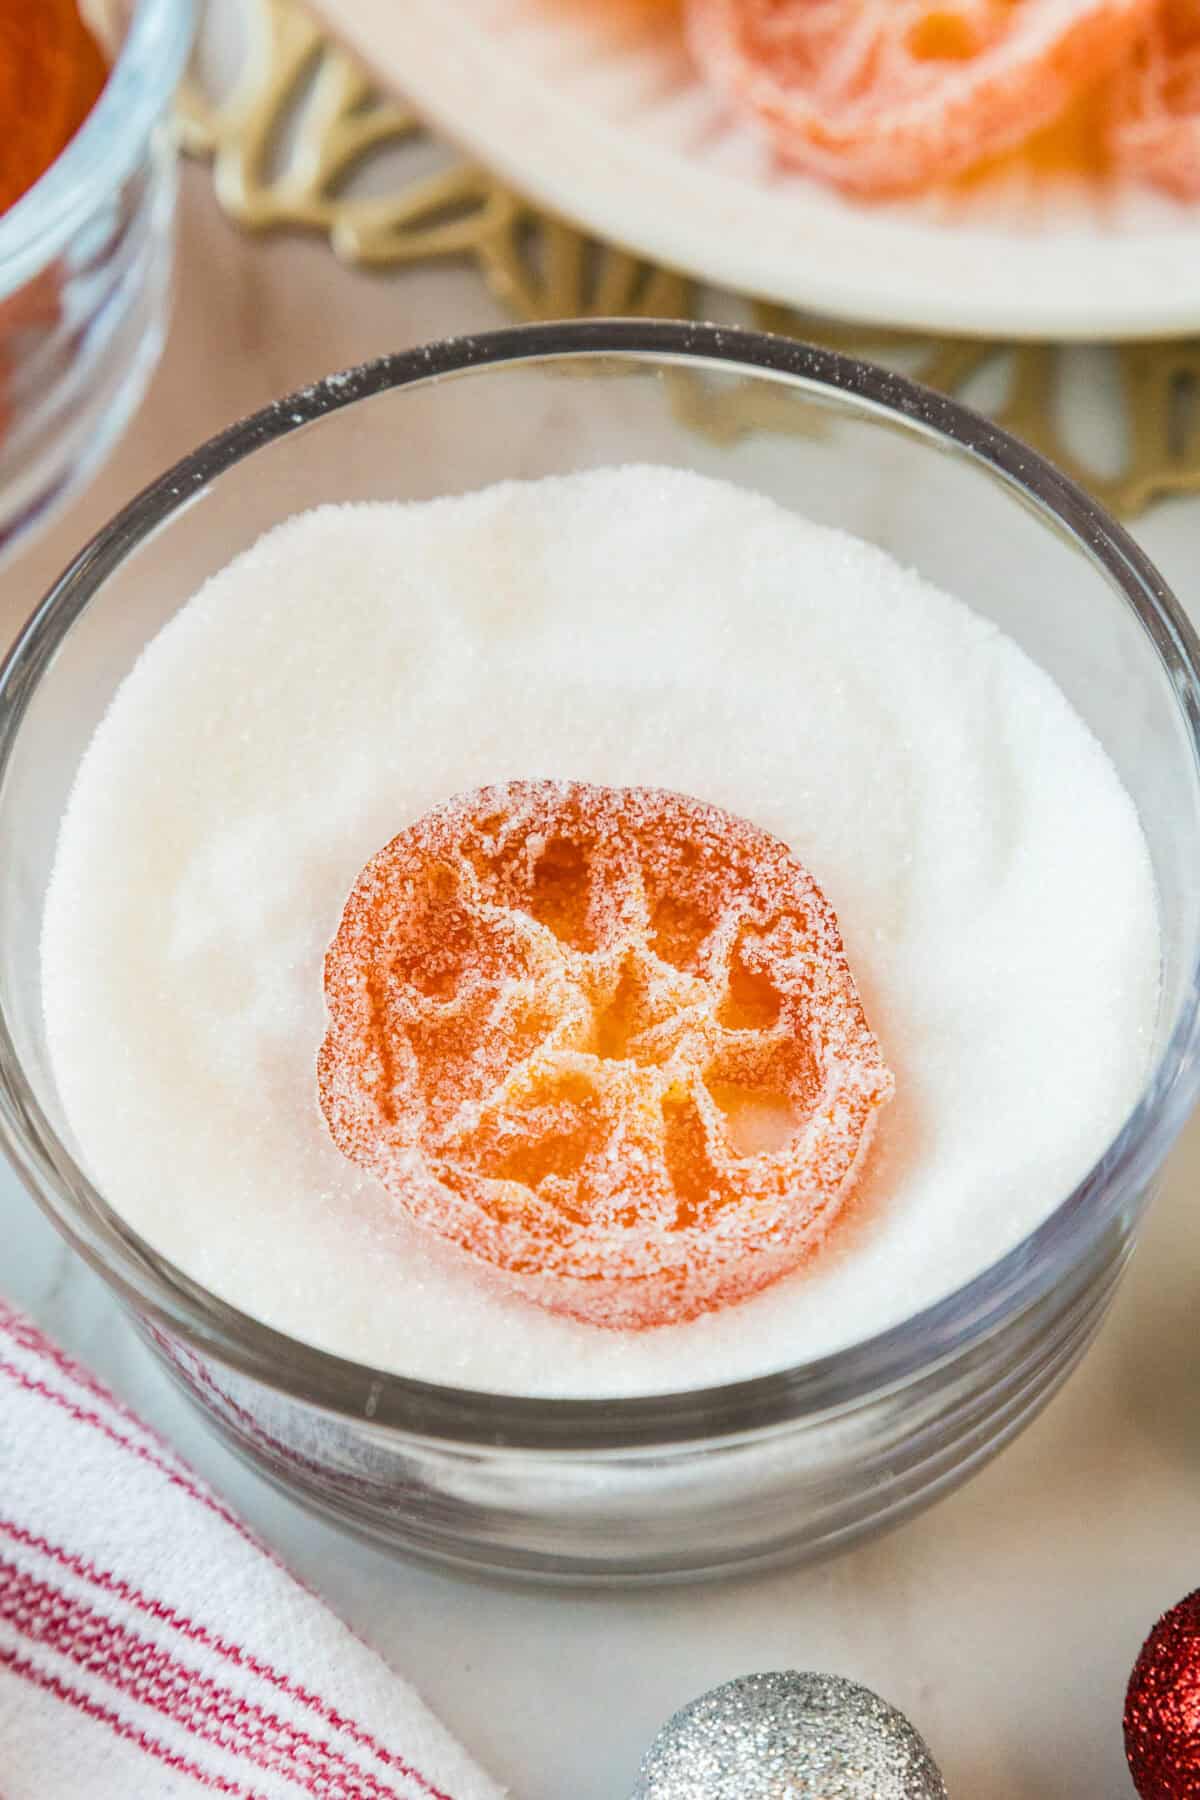
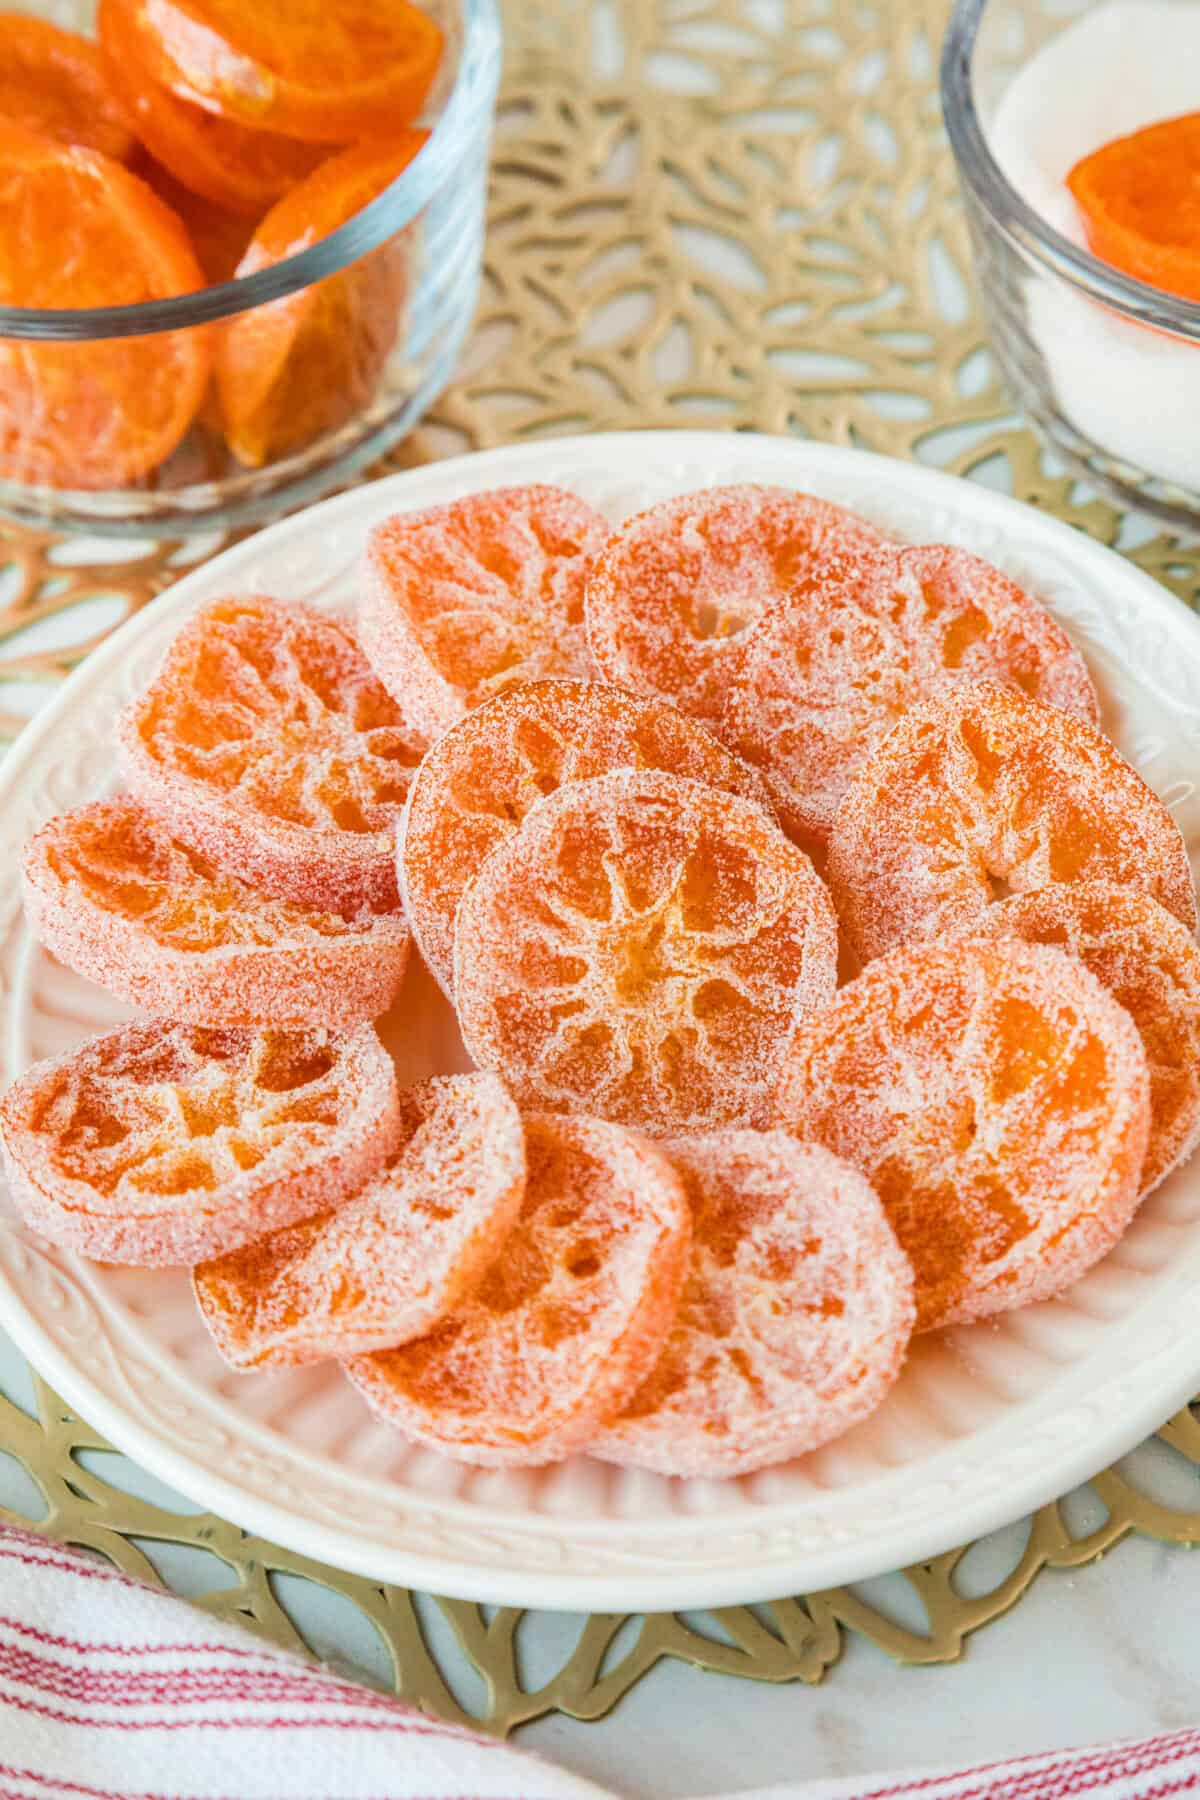
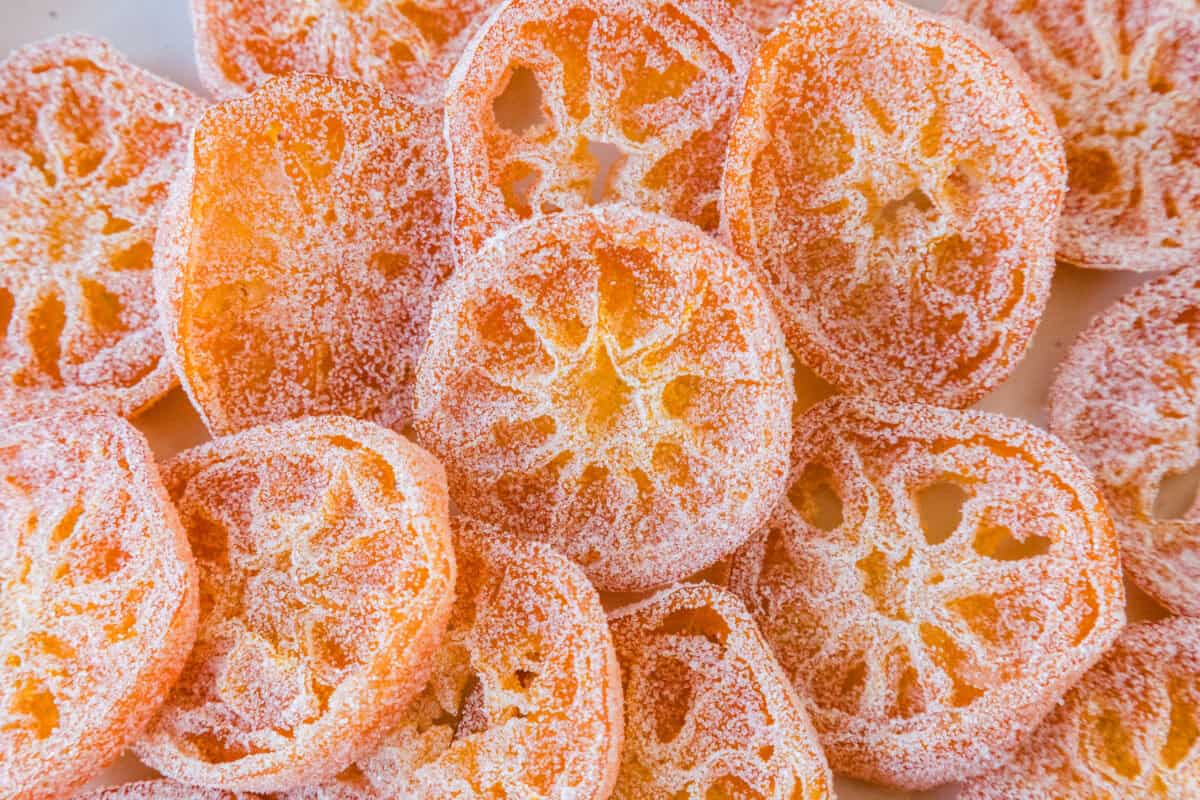
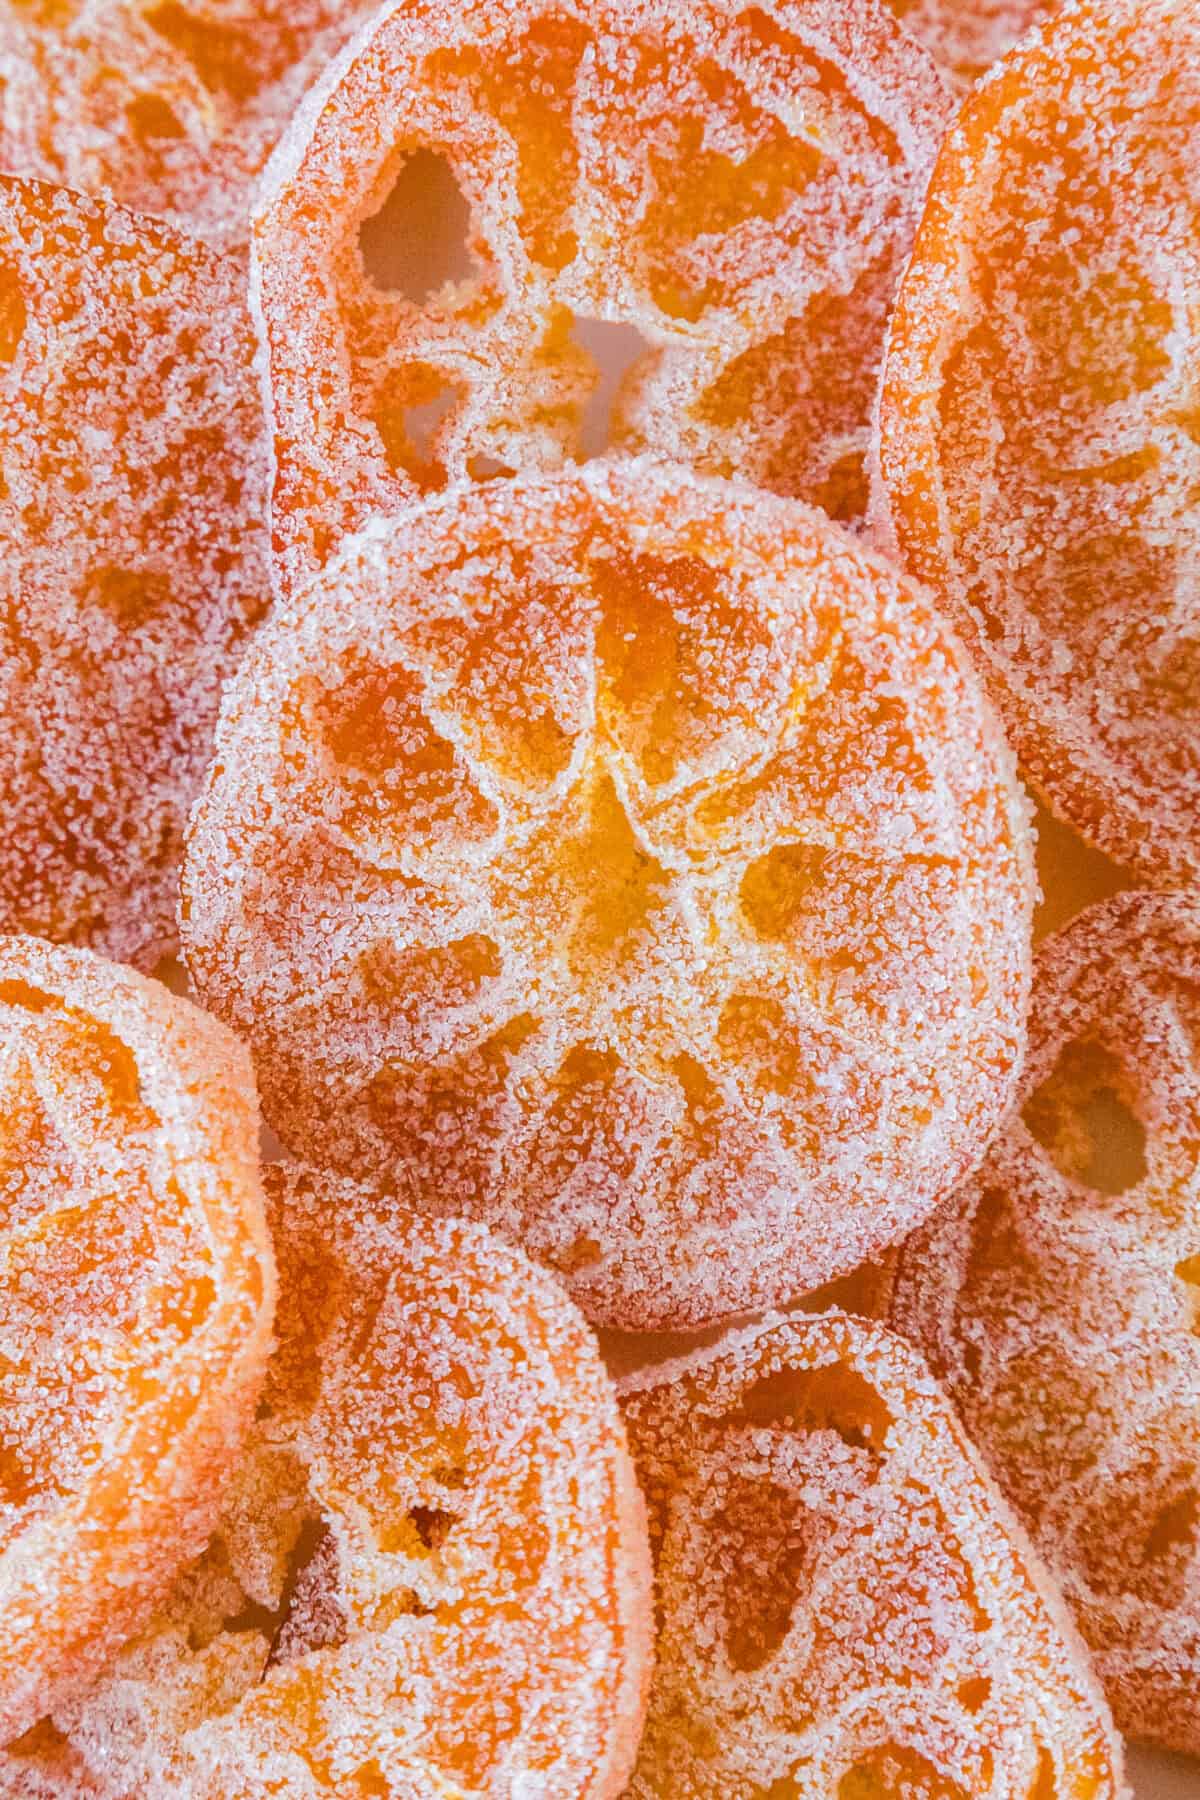
- Add the sugar coating (optional). For a frosted, sparkly look, fill a small bowl with sugar and press each slice into it, front and back. This takes away the stickiness and gives them the prettiest texture.
Chocolate Dipped Candied Orange Slices
Want to take these up a level? Dip them in chocolate! Dark chocolate is a classic with orange, but milk chocolate is delicious too.
- Let your candied orange peels dry completely first (skip the sugar coating for these).
- Melt your chocolate in a microwave-safe bowl in 30-second increments, stirring in between, until smooth.
- Dip each slice halfway into the melted chocolate and let the extra drip off.
- Lay the slices on a sheet of parchment paper and add a tiny sprinkle of salt if you’d like. It really brings out the orange flavor!
- Let the chocolate set completely before storing.
Pro Tips
- Use a serrated knife. A mandoline sounds like the perfect shortcut, but unless you have a super sharp, high-end one, it will crush the soft oranges instead of slicing them. A small serrated knife works so much better.
- Keep your slices even. Slices that are too thin can fall apart in the syrup, and thick slices take longer to candy. Aim for about 1/4 inch so they all finish at the same time.
- Keep it at a gentle simmer. When the heat is too high, the syrup can start to caramelize and the slices can break apart. Low and slow is the way to go here.
- Don’t reduce the sugar. The sugar draws the water out of the oranges, preserves the fruit, and gives them that chewy texture. Using less sugar will give you a more tart end product that takes longer to candy, stays softer or stickier, and won’t keep as long.
- Making a double batch? The leftover syrup can be reused for one more batch of oranges. After that, start over with fresh sugar water, because the sugar concentration, flavor, and clarity get less predictable the more you use it.
- Glossy or frosted, your choice. Without the sugar coating, the slices dry bright and glossy, which is beautiful for garnishing desserts. Just be sure to store them with parchment paper between the layers so they don’t stick together.
Troubleshooting
- Slices are still opaque – keep simmering gently until the peel turns translucent.
- Slices are falling apart – turn down the heat, handle them less, and check that your slices aren’t too thin.
- Syrup is getting too thick or dark – lower the heat and make sure the syrup isn’t reducing too fast.
- Finished slices are too sticky – give them more drying time before coating or storing.
- The peel tastes bitter – blanch the slices in fresh boiling water before candying. A second blanch can help too.
- The sugar coating dissolves – let the slices dry longer before pressing them into the sugar.
Variations
- Try different citrus fruits. Lemon slices, lime slices, blood oranges, and cara cara oranges all candy beautifully. A mix of citrus slices looks gorgeous together on a platter!
- Dip them in chocolate. Dark chocolate, milk chocolate, or even white chocolate all work.
- Add a pinch of salt. A light sprinkle of salt on top brings out the orange flavor.
- Leave them glossy. Skip the sugar coating for a shiny, jewel-like finish that’s perfect for garnishing cakes.
Serving Suggestions
There are so many simple ways to use these delicious candied orange slices!
- On top of cakes, especially an orange pound cake, a chocolate cake, or a simple bundt cake
- Tucked into Christmas cookie boxes and holiday treat trays
- Chopped up and sprinkled over ice cream
- As cocktail garnishes or a garnish for sparkling water
- On a holiday dessert board with chocolates and cookies
- Packed in a jar or tin as a homemade gift
And don’t throw out that leftover syrup! Strain it and keep it in the fridge to use as an orange-infused simple syrup. It’s wonderful in tea, sparkling water, and cocktails, or brushed on a cake as a glaze.
Storage Instructions
Store your candied orange slices in an airtight container at room temperature or in the fridge for up to one month. Sugar-coated slices can be stacked, but glossy (uncoated) slices need a sheet of parchment paper between the layers so they don’t stick together.
FAQ
Can I use other citrus fruits? Absolutely! Navel oranges, cara cara oranges, blood oranges, lemons, and limes all work with this same method. Just keep the slices about 1/4 inch thick.
Why do my candied oranges taste bitter? The bitterness comes from the white pith in the peel. Blanching the slices in boiling water before candying takes care of most of it, and you can blanch them a second time in fresh water when needed.
Can I use less sugar? I don’t recommend it. The sugar is what preserves the fruit and gives these their chewy texture. With less sugar, the slices will be more tart and softer and won’t keep as long.
How long do candied orange slices take to dry? Plan on at least 24 hours at room temperature. They should still feel a little tacky when they’re ready. When they still feel wet or very sticky, give them more time.
What can I do with the leftover syrup? So many things! Strain it and keep it in the fridge to use in tea, sparkling water, and cocktails, or as a glaze for cakes. You can also reuse it one time for another batch of candied orange slices.
Do candied orange slices need to be refrigerated? Nope! They keep well in an airtight container at room temperature for up to a month, but you can store them in the fridge too.
Candied Orange Slices for the Holidays
These candied orange slices are such a fun little project for the holiday season, and they make everything they touch look extra special. Whether you’re decorating a cake, filling cookie boxes, or wrapping up a few jars for friends, I hope you love them as much as I do. Make them glossy, make them sparkly, or dip them in chocolate… and make them your own!

Candied Orange Slices
Description
Chewy, sweet candied orange slices simmered in a simple syrup, dried until glossy, and finished with an optional sugar coating. Perfect for gifting, cookie boxes, and decorating cakes and cocktails.
Ingredients
- 4 pounds mandarins (or any oranges or citrus), washed and dried
- 8 cups water, divided
- 4 cups granulated sugar
- About 1/4 cup granulated sugar for coating (optional)
Instructions
- Bring 4 cups of water to a boil in a large pot over high heat.
- Slice the mandarins crosswise into 1/4-inch slices using a small serrated knife. Discard most of the end pieces that are mostly peel.
- Add the slices to the boiling water and boil for 2 minutes. Remove the slices with a slotted spoon and discard the water.
- Add the remaining 4 cups of water and 4 cups of sugar to the pot. Bring to a boil over medium-high heat, stirring until the sugar dissolves.
- Return the slices to the pot, reduce the heat, and keep at a gentle simmer for 45 to 60 minutes, stirring gently every 15 minutes, until the peel is translucent and the syrup is glossy.
- Meanwhile, set a wire cooling rack on a large baking sheet.
- Remove the slices from the syrup and arrange in a single layer on the rack. Let dry at room temperature for at least 24 hours.
- Optional: Once dried (they’ll still be slightly tacky), press each side of the slices into a small bowl of sugar.
Notes
- Keep the syrup at a gentle simmer, not a boil, or it can caramelize and break the slices apart.
- Don’t reduce the sugar. It preserves the fruit and creates the chewy texture.
- Skip the sugar coating for a glossy finish, and store with parchment paper between layers.
- Strain the leftover syrup and refrigerate to use in tea, sparkling water, cocktails, or as a cake glaze. You can reuse it once for a second batch.
- For chocolate-dipped slices, dip the dried slices halfway in melted chocolate and let set on parchment paper.
- Store in an airtight container at room temperature or in the fridge for up to one month.
- The nutrition information is an estimate. Most of the sugar syrup stays in the pot (or you can save it for tea and cocktails!), so the numbers are based on roughly 1¼ cups of sugar instead of the full amount. Your slices may come out a little higher or lower depending on your oranges’ size and how much syrup they soak up.
Nutrition
- Serving Size: 3 slices
- Calories: 53
- Sugar: 12.3 g
- Sodium: 2.9 mg
- Fat: 0.1 g
- Carbohydrates: 13.5 g
- Fiber: 0.8 g
- Protein: 0.4 g
- Cholesterol: 0 mg