How to Make a Gingerbread Village Cake + Spice Cake Recipe with Cinnamon Cream Cheese Frosting
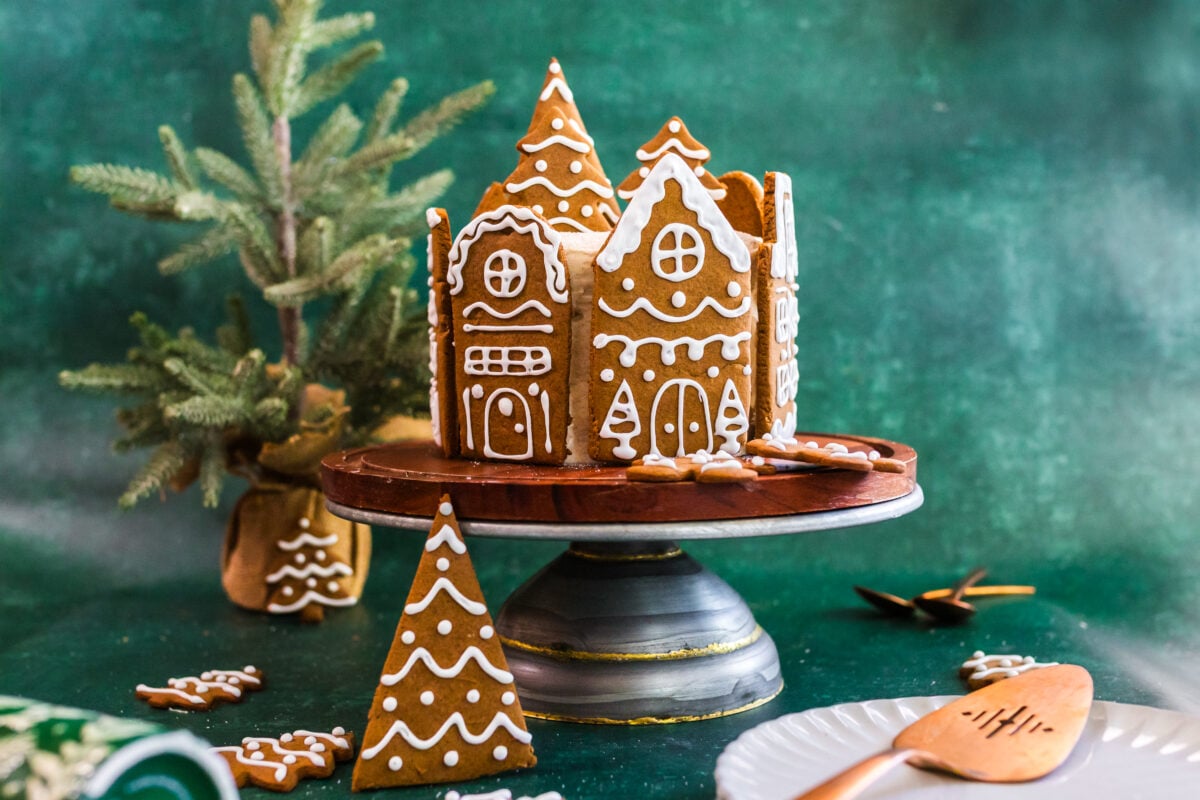
I’m sharing all the details you’ll need for How to Make a Gingerbread Village Cake. Starting with an easy Spice Cake Recipe (doctored cake mix) with delicious cream cheese frosting. This will be the perfect centerpiece for all of your Christmas celebrations and the kids will love it too!!
Gingerbread Village
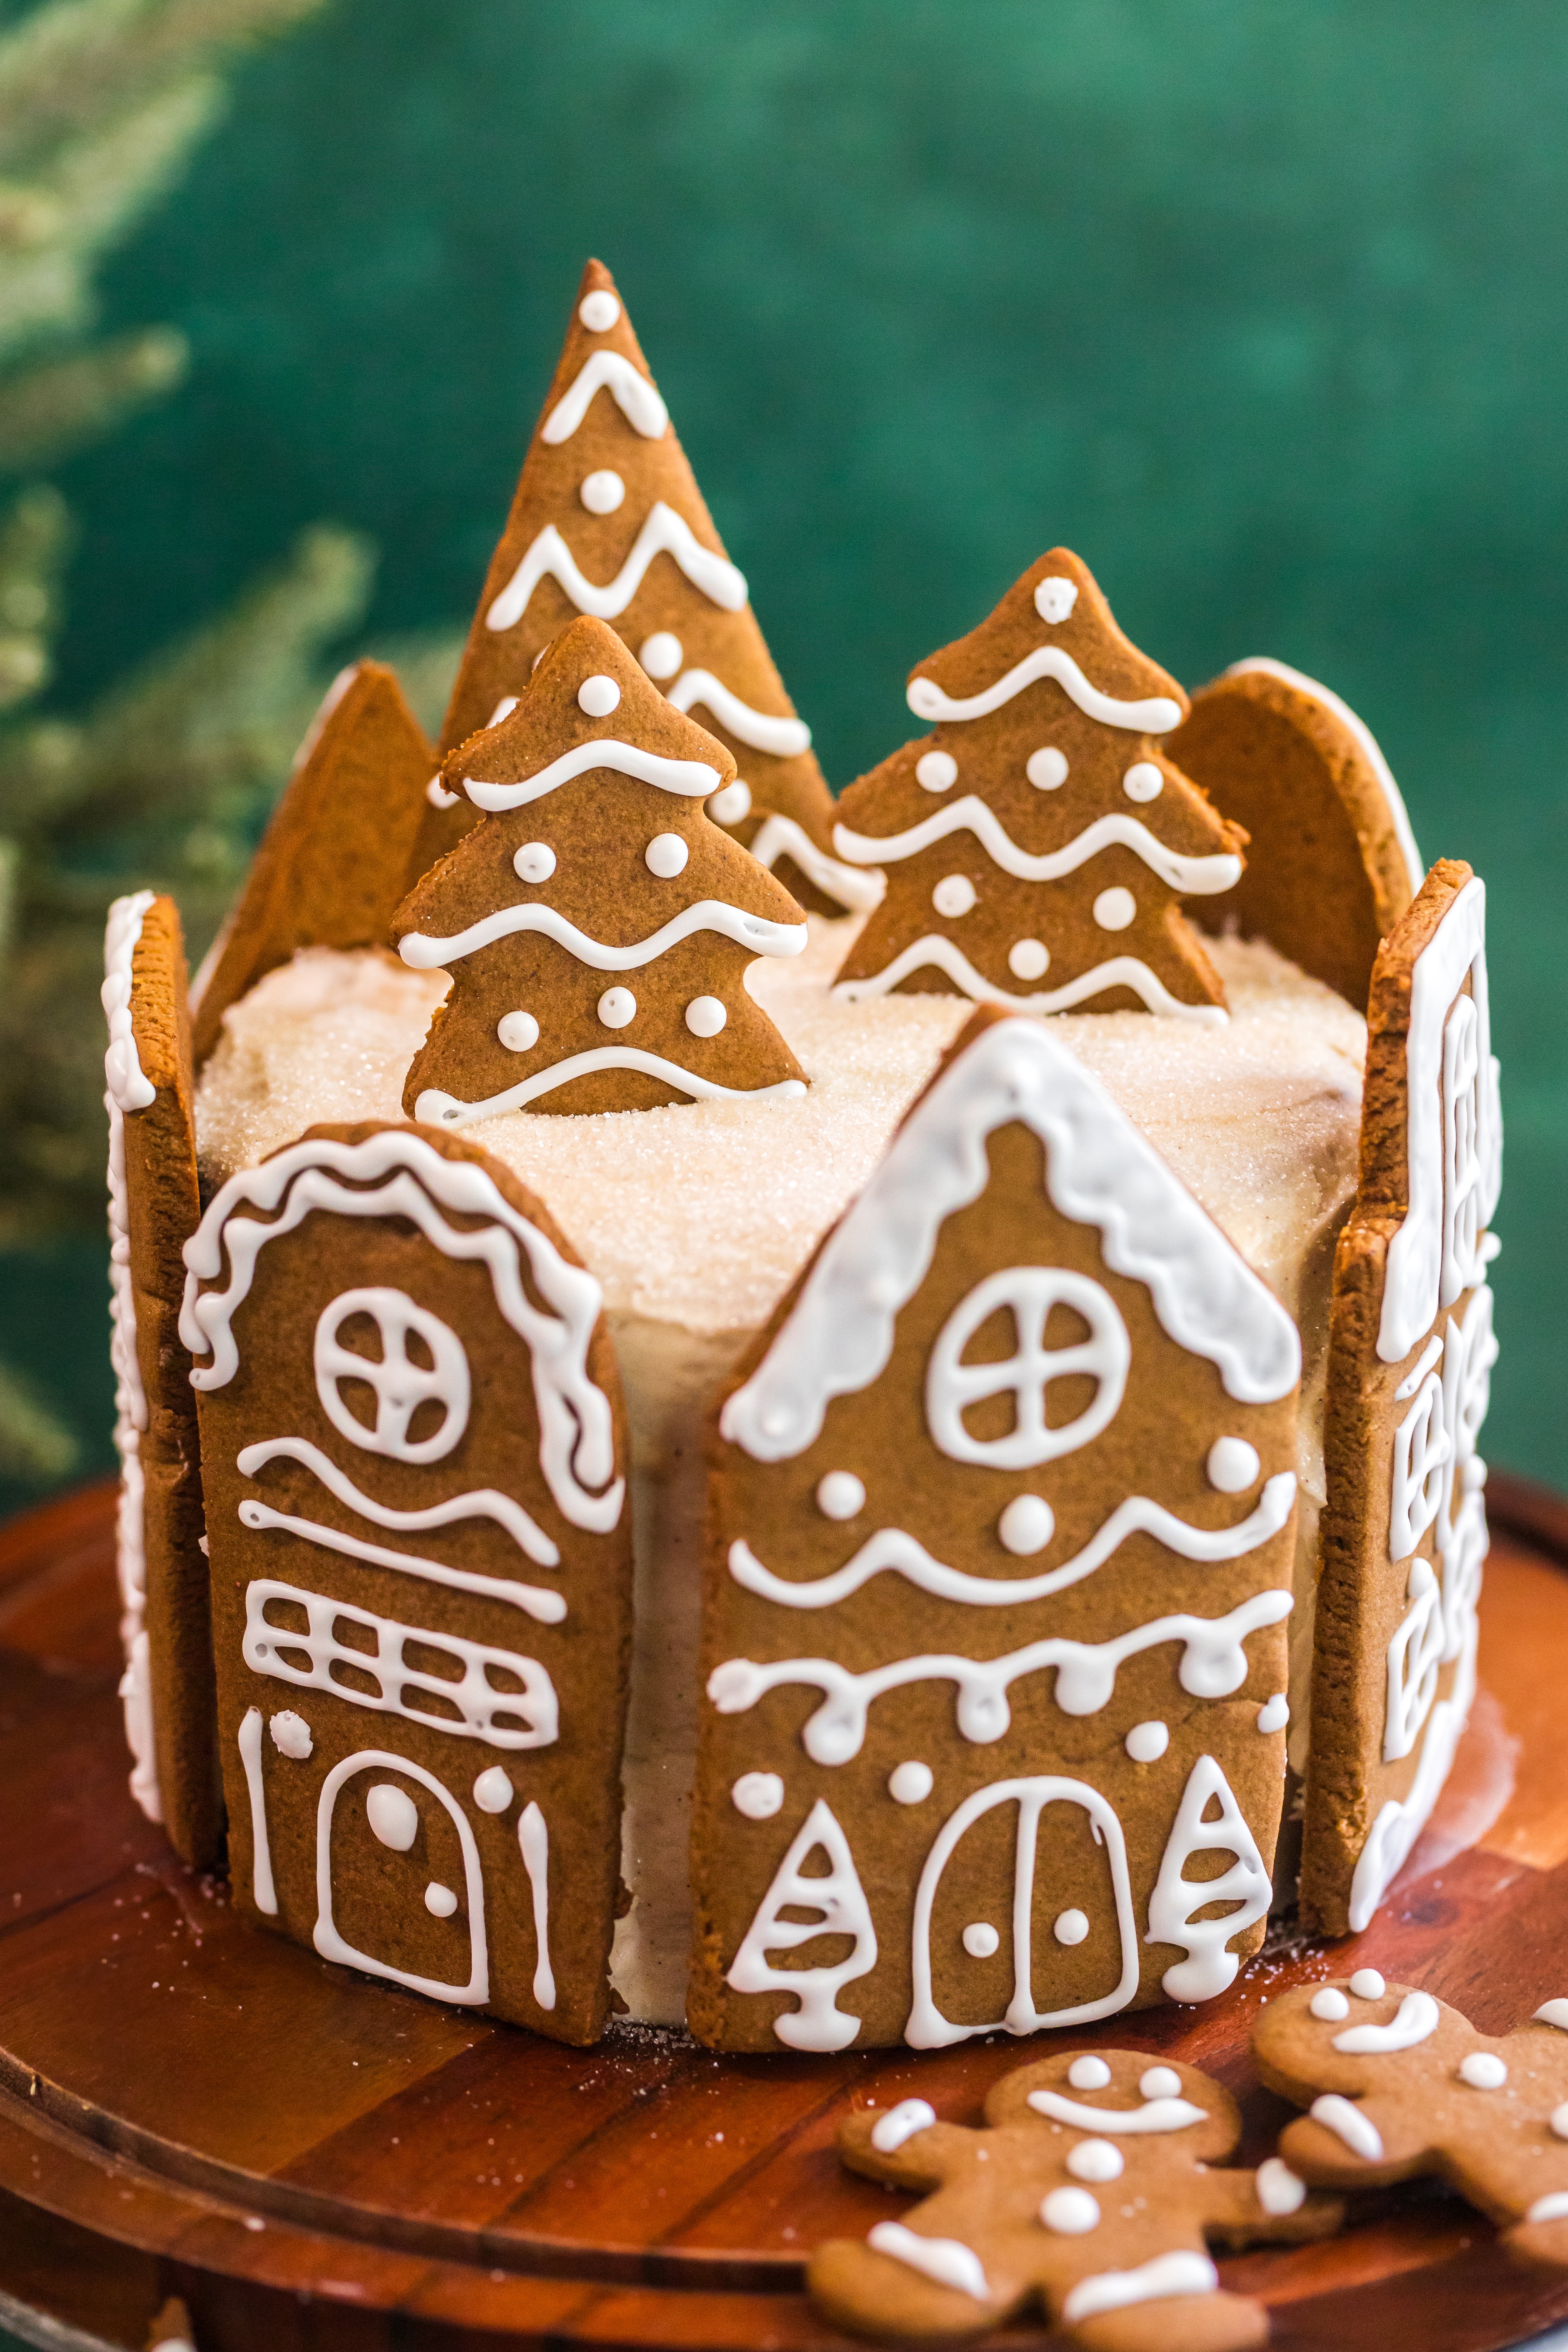
This Gingerbread Village Spiced Cake takes a doctored spice cake mix and turns it into the prettiest Christmas centerpiece on the table. And if you love the flavor of gingerbread, this cake will be a favorite!
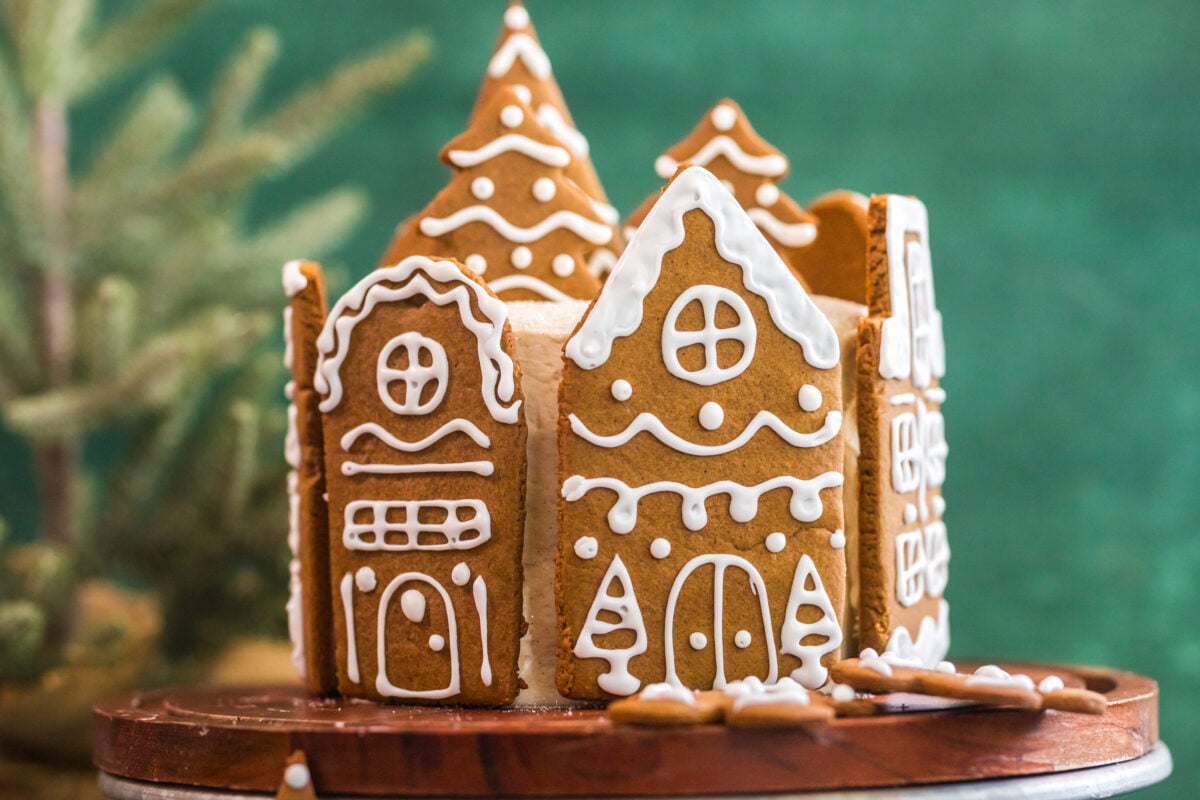
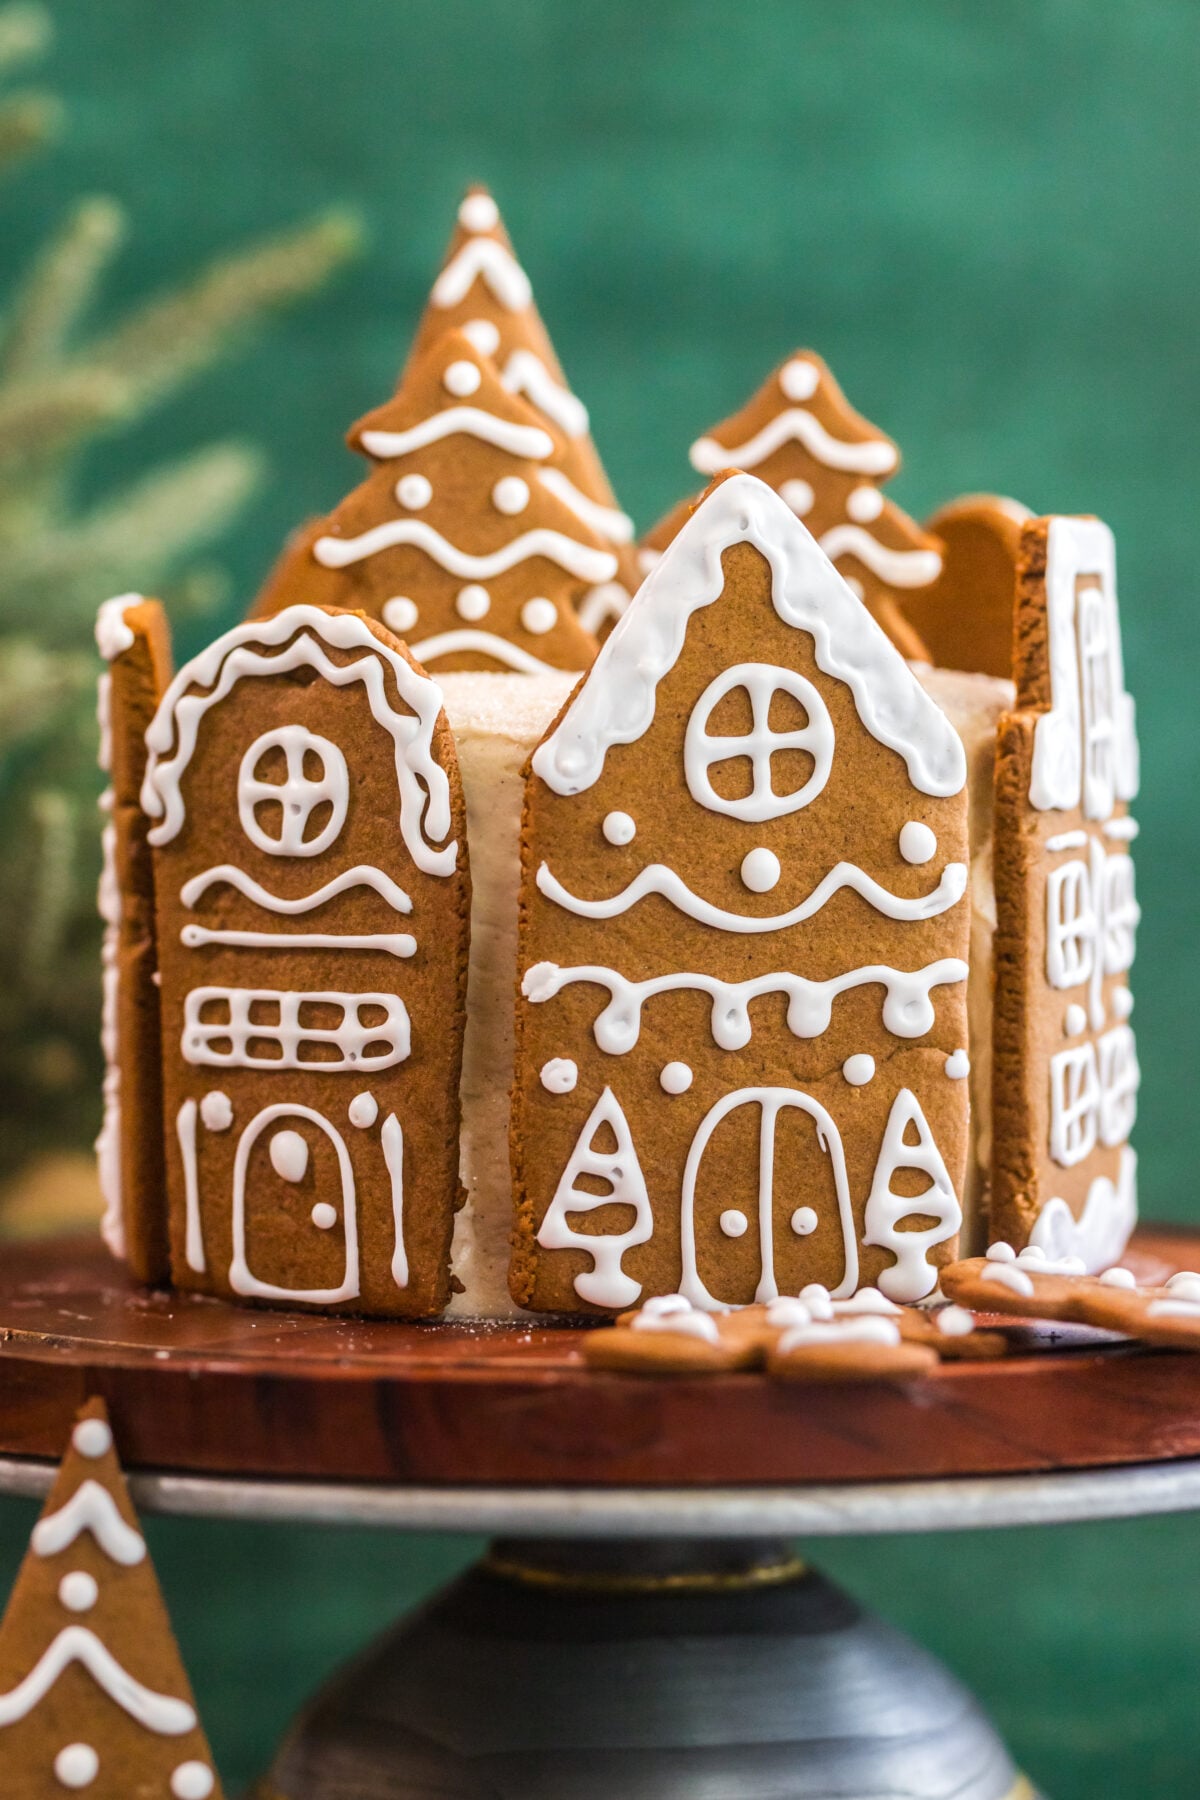
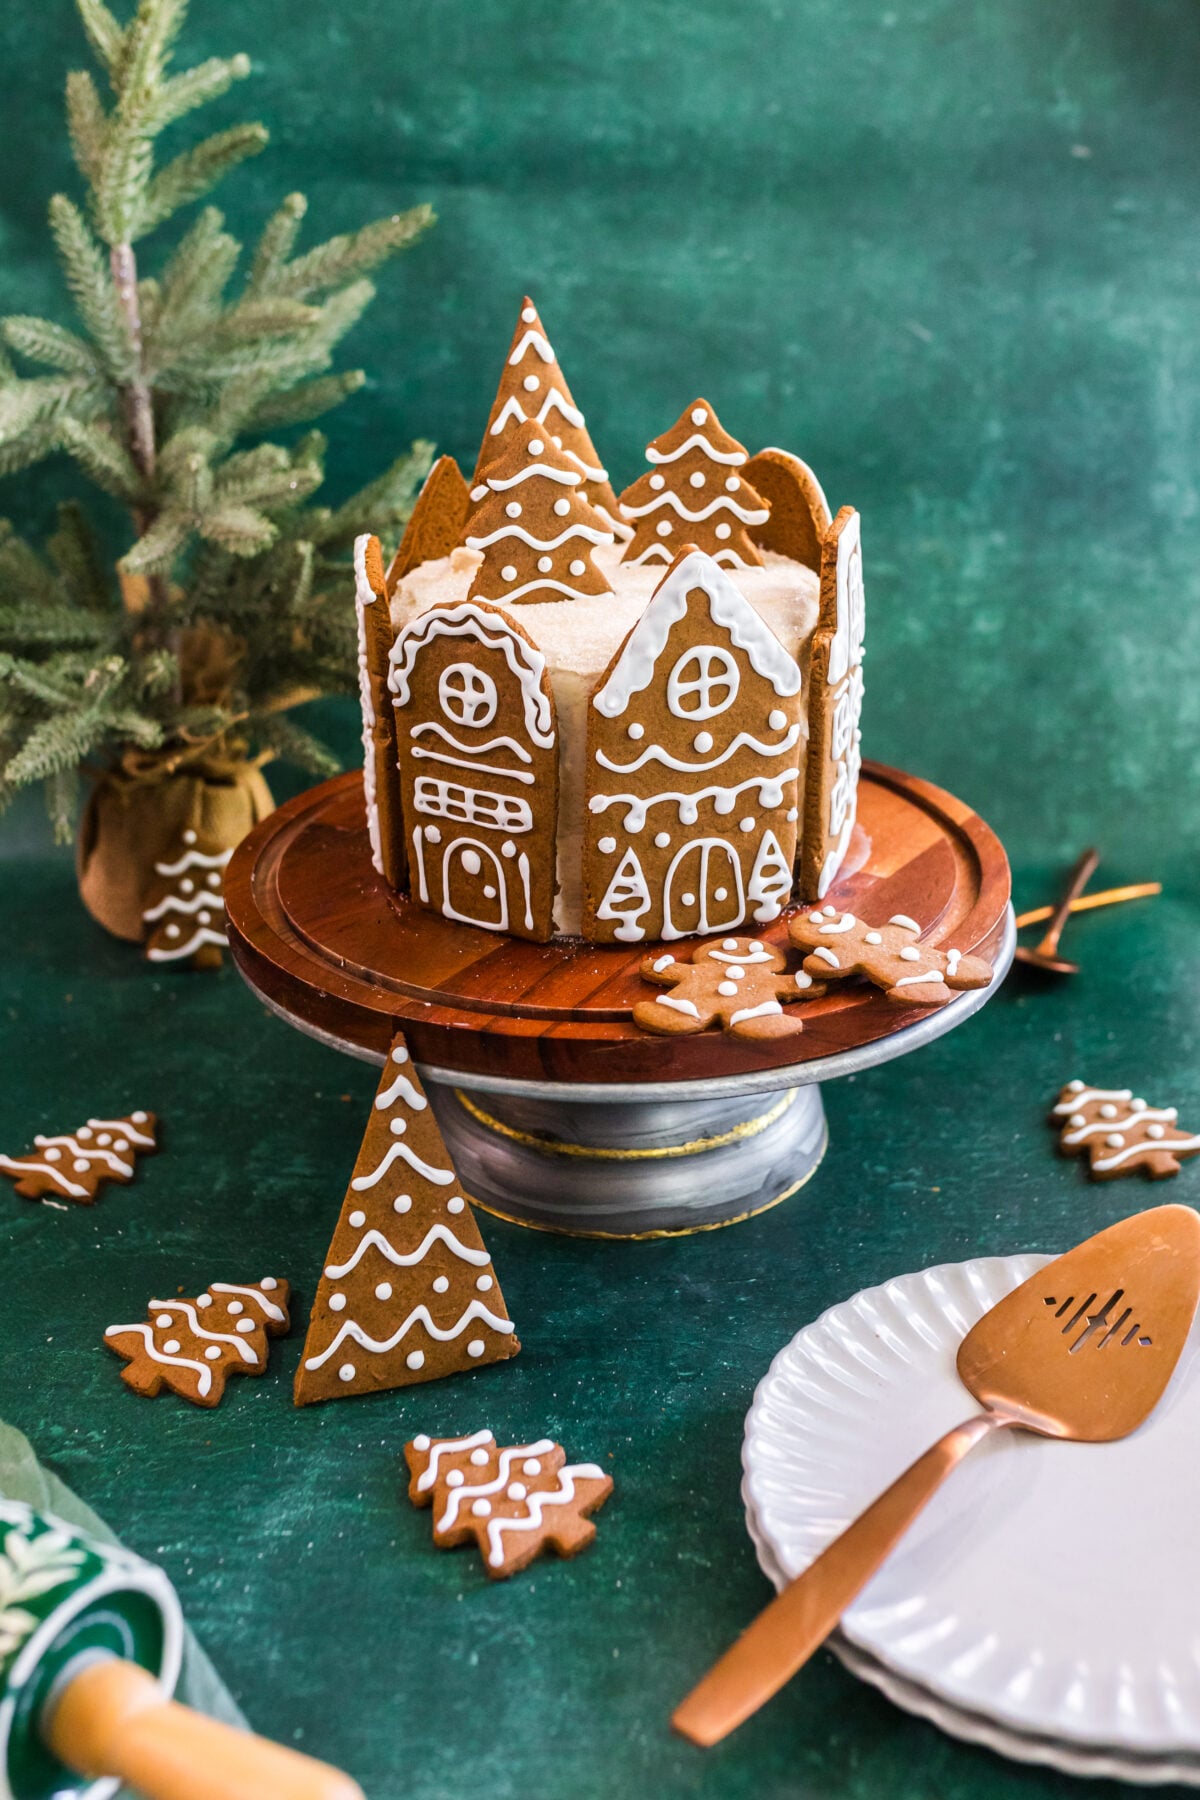
Three six-inch maple spice cake tiers get stacked and covered in a cinnamon cream cheese frosting, then a whole little village of iced gingerbread houses stands up all the way around the sides, with gingerbread Christmas trees on top.
It’s perfect for Christmas dinner, a holiday party, a cookie exchange, or any time you want a showstopper without a whole weekend of work. Easy, budget-friendly, and so much simpler than building an actual gingerbread house.
Video
Gingerbread Cookies
We’ve been having gingerbread house competitions with our kids for years, and I can tell you from experience… gingerbread houses are one of those Christmas projects that look absolutely adorable in the pictures… and then somebody’s roof slides off before supper. So this is the version where nobody cries. 😂
The houses are flat gingerbread cookies. They lean against the sides of the cake, the frosting holds them right where you put them, and there is no royal icing engineering happening anywhere. You get the whole cozy village look, and you get to eat it too.
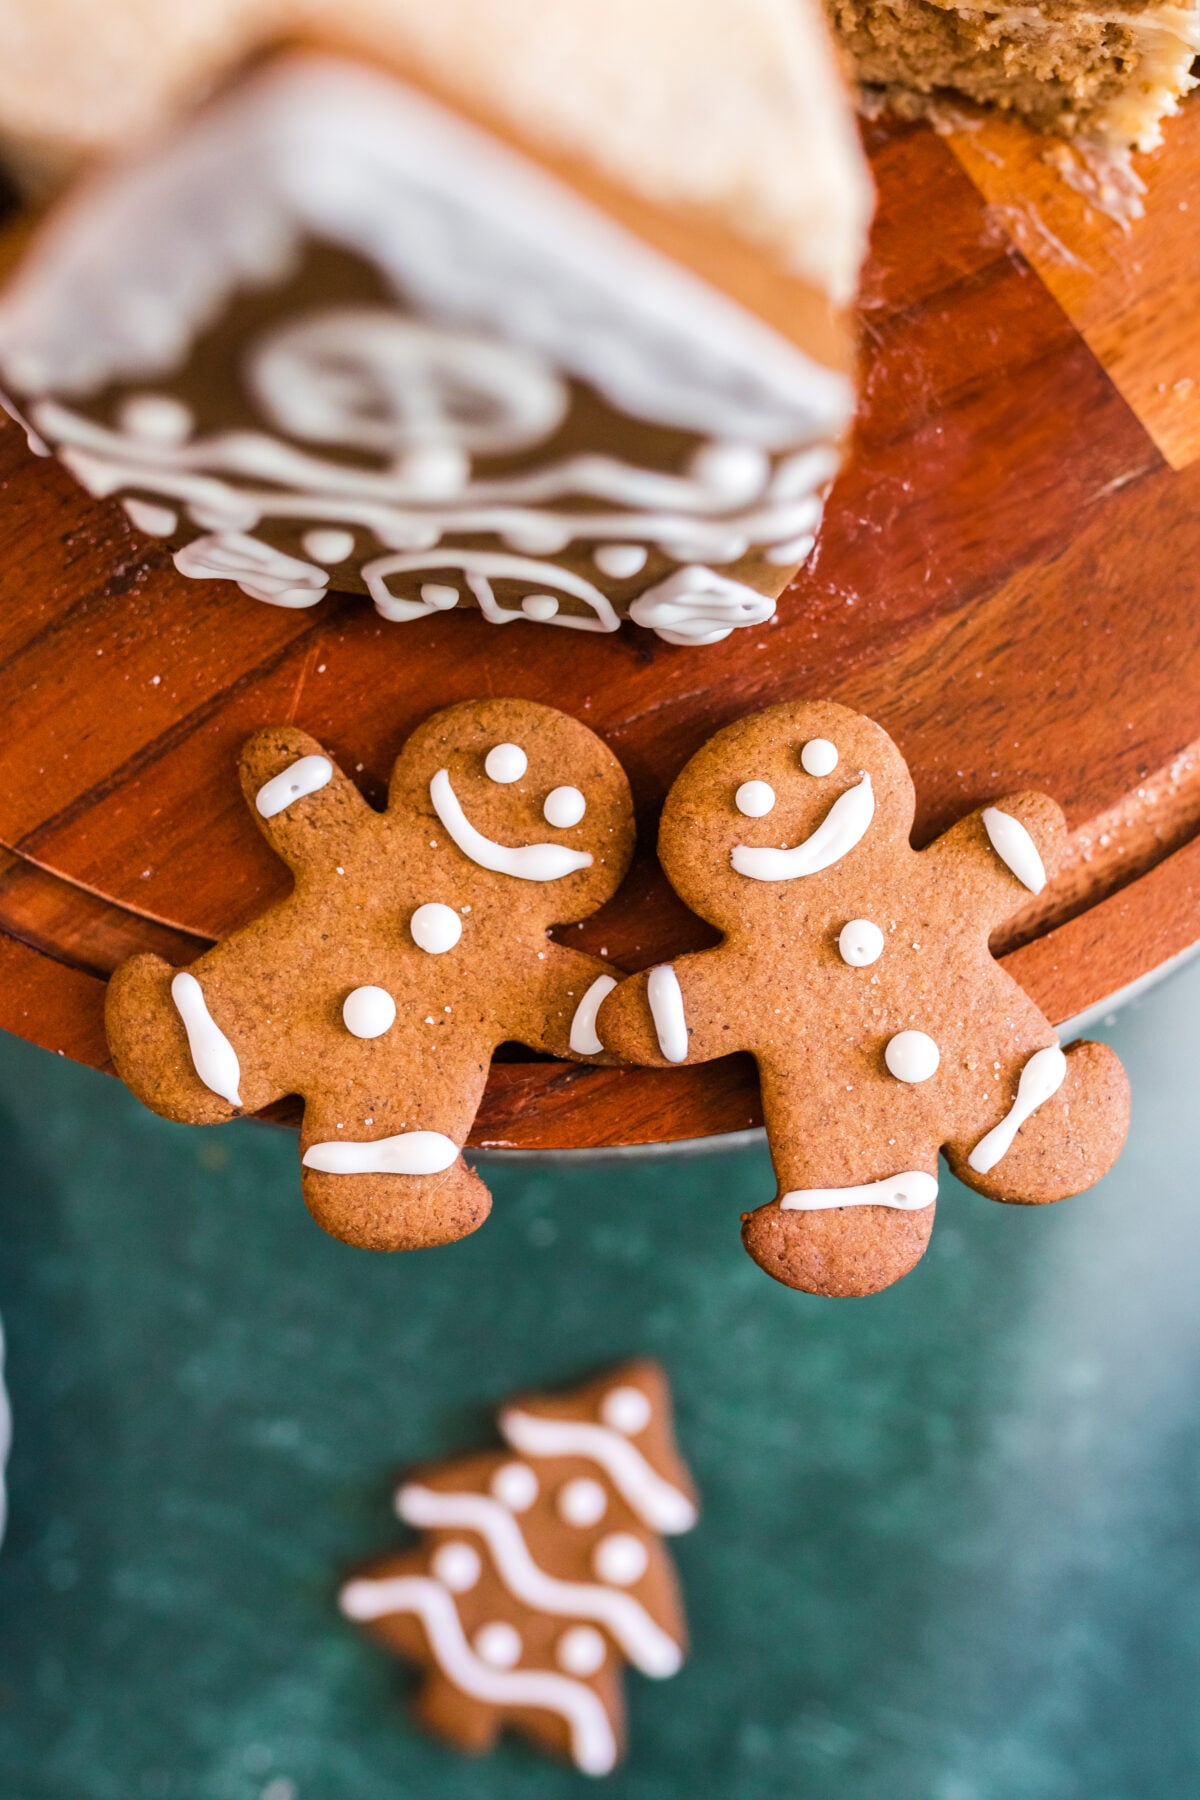
The gingerbread cookie dough is the same dough I use for my Iced Gingerbread Cookies, just rolled a little thicker and cut into buildings instead of gingerbread men. So you can make both from one batch and be the most festive person you know.
Gingerbread Spice Cake
If you love a moist ginger spice cake for the holiday season, this recipe is going to make you so happy! But the best parts are the cream cheese frosting and the added fun of turning the cake into a festive gingerbread village.
This cake starts with a box of Betty Crocker spice cake mix, doctored up with melted butter, extra eggs, and a little maple extract. Nobody at your Christmas table is going to ask you whether it came from scratch.
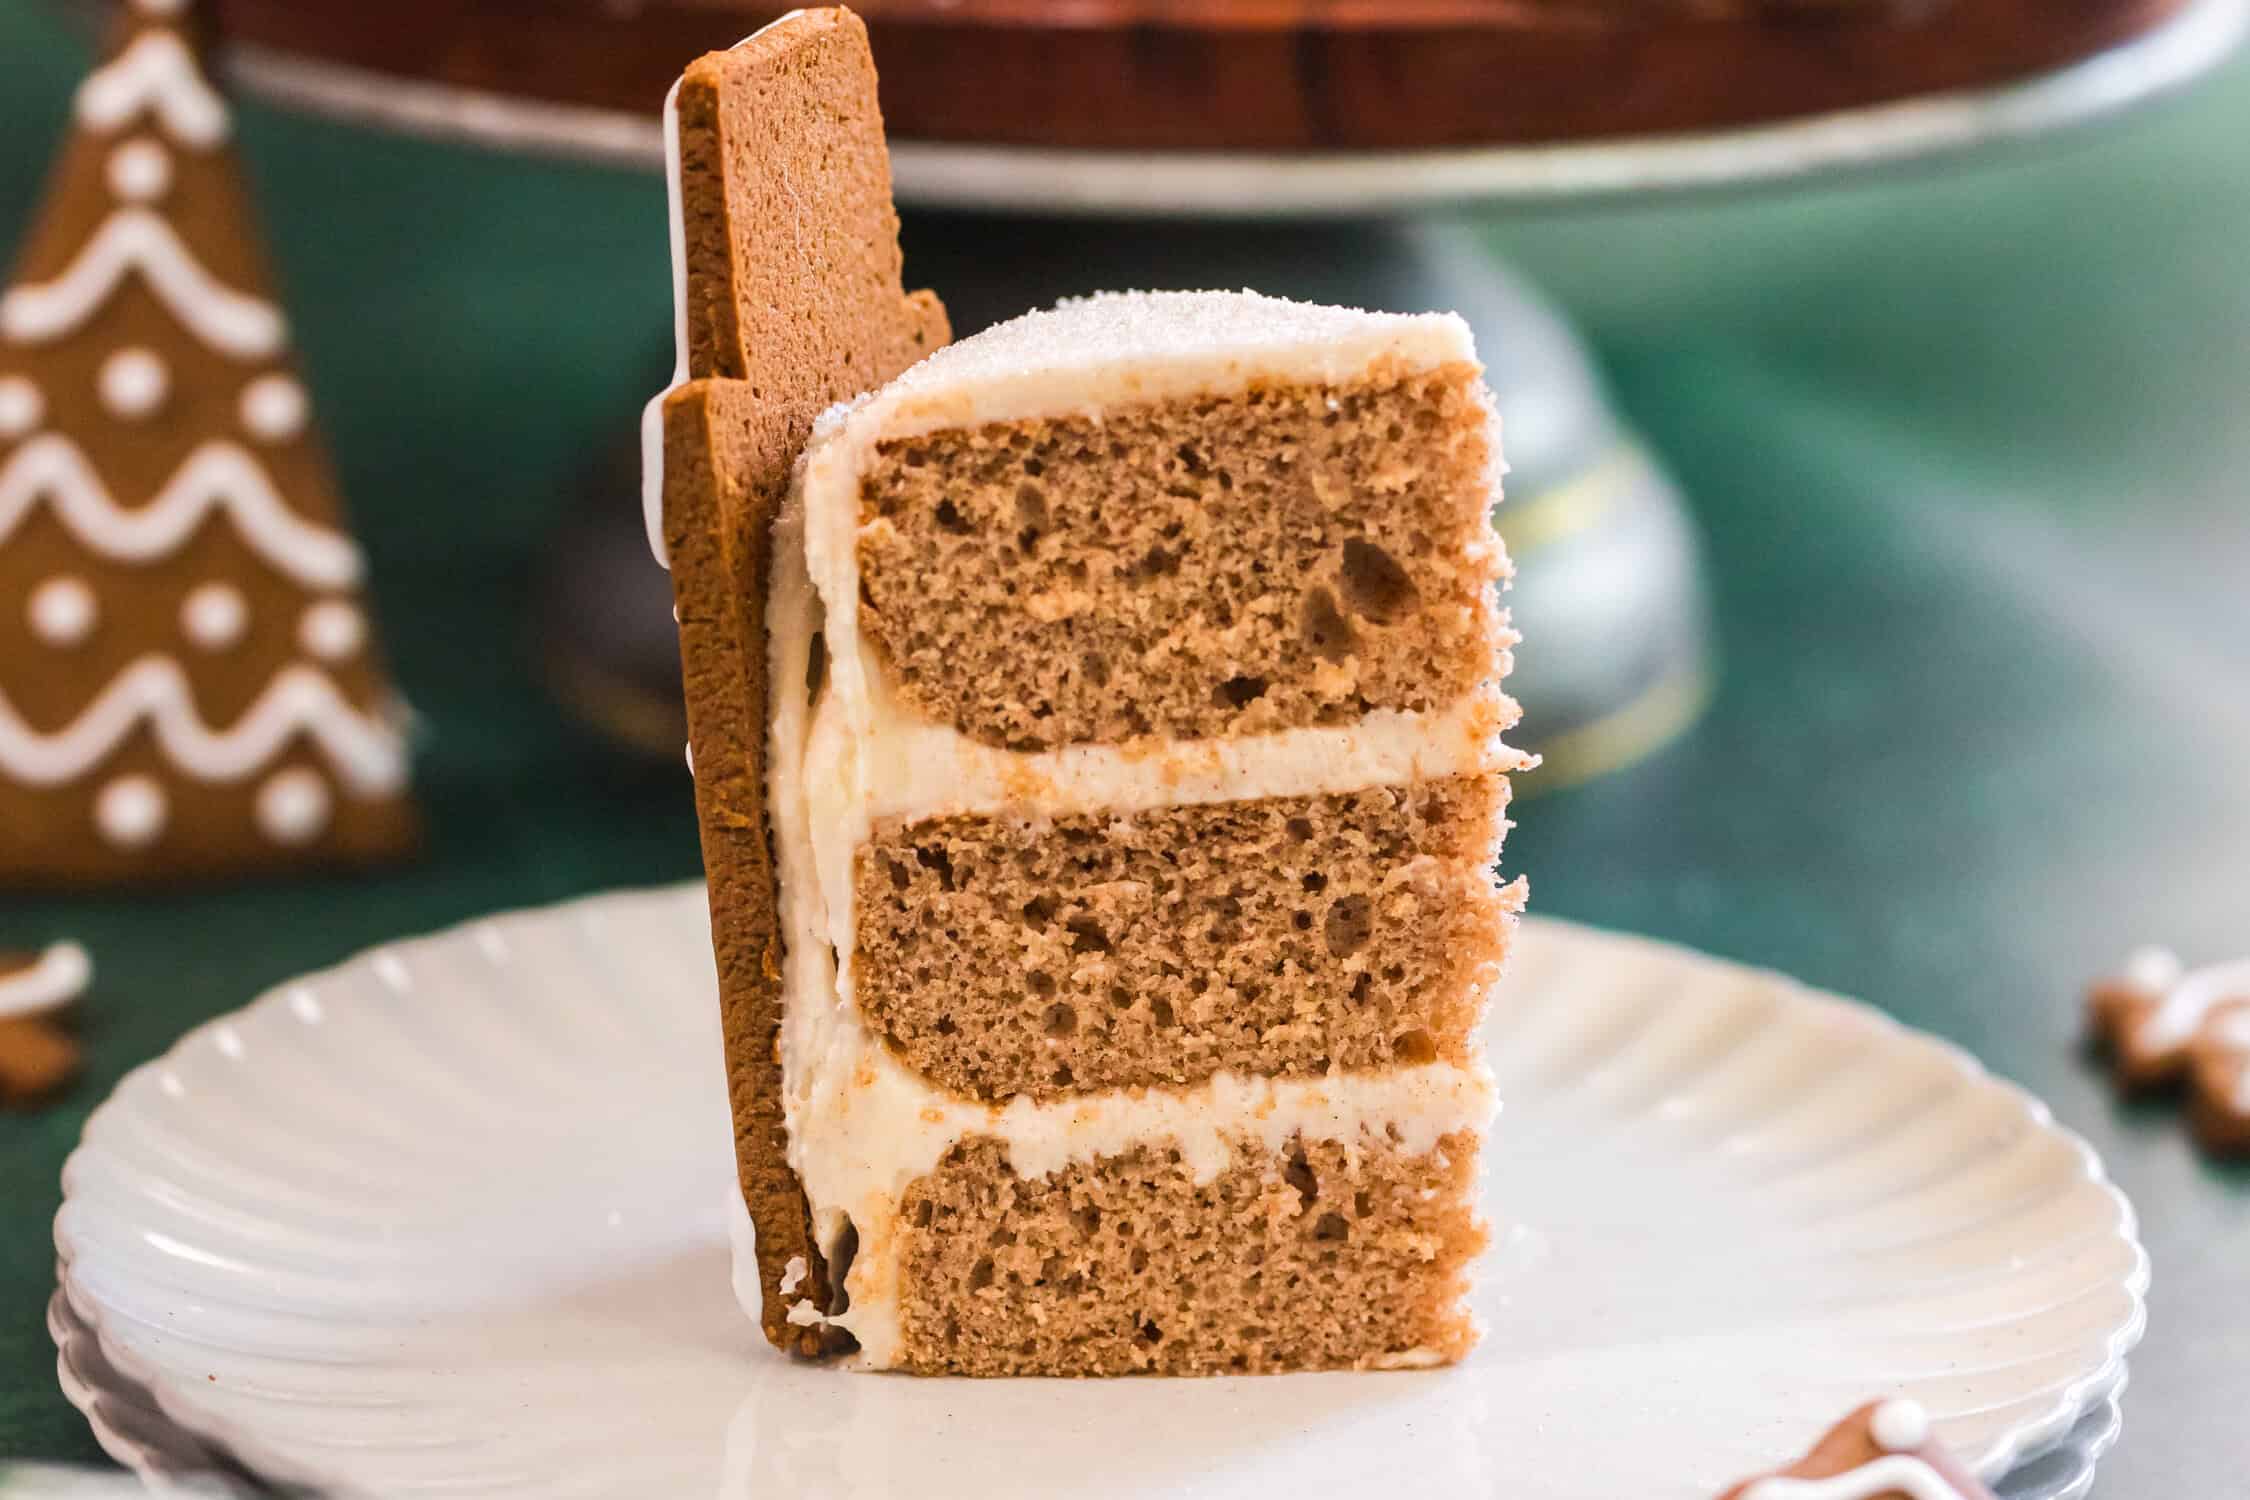
Why You’ll Love This Gingerbread Cake Recipe
It looks like it took all day. It doesn’t. The cake tiers come from a box, the frosting is five ingredients, and the buildings are cut freehand with a knife. Easy peasy, and it still makes people gasp a little when you set it down.
Every piece of it is edible. No cardboard, no dowels, no fondant. The village comes off the cake and gets passed around with the slices, which my crowd has always loved way more than a decoration they have to set aside.
The kids can help with the fun part. Cutting out buildings and icing on little windows and doors is exactly the kind of job kids are good at. With six of mine, I learned a long time ago that a slightly crooked window drawn by a seven-year-old is the best part of the whole cake.
Tools Needed
- Measuring cups and spoons
- Three 6-inch round cake pans
- Stand mixer (or a hand mixer works fine)
- Rolling pin
- Baking sheet with parchment paper or a silicone mat
- Sharp paring knife
- Christmas tree cookie cutter
- Cake scraper
- Offset spatula
- Cake stand or cake board
- Piping bags or squeeze bottles for the cookie icing (if you make your own)
Ingredients
I’ve broken the ingredients down into sections for each part of the cake.
Gingerbread House Cookies
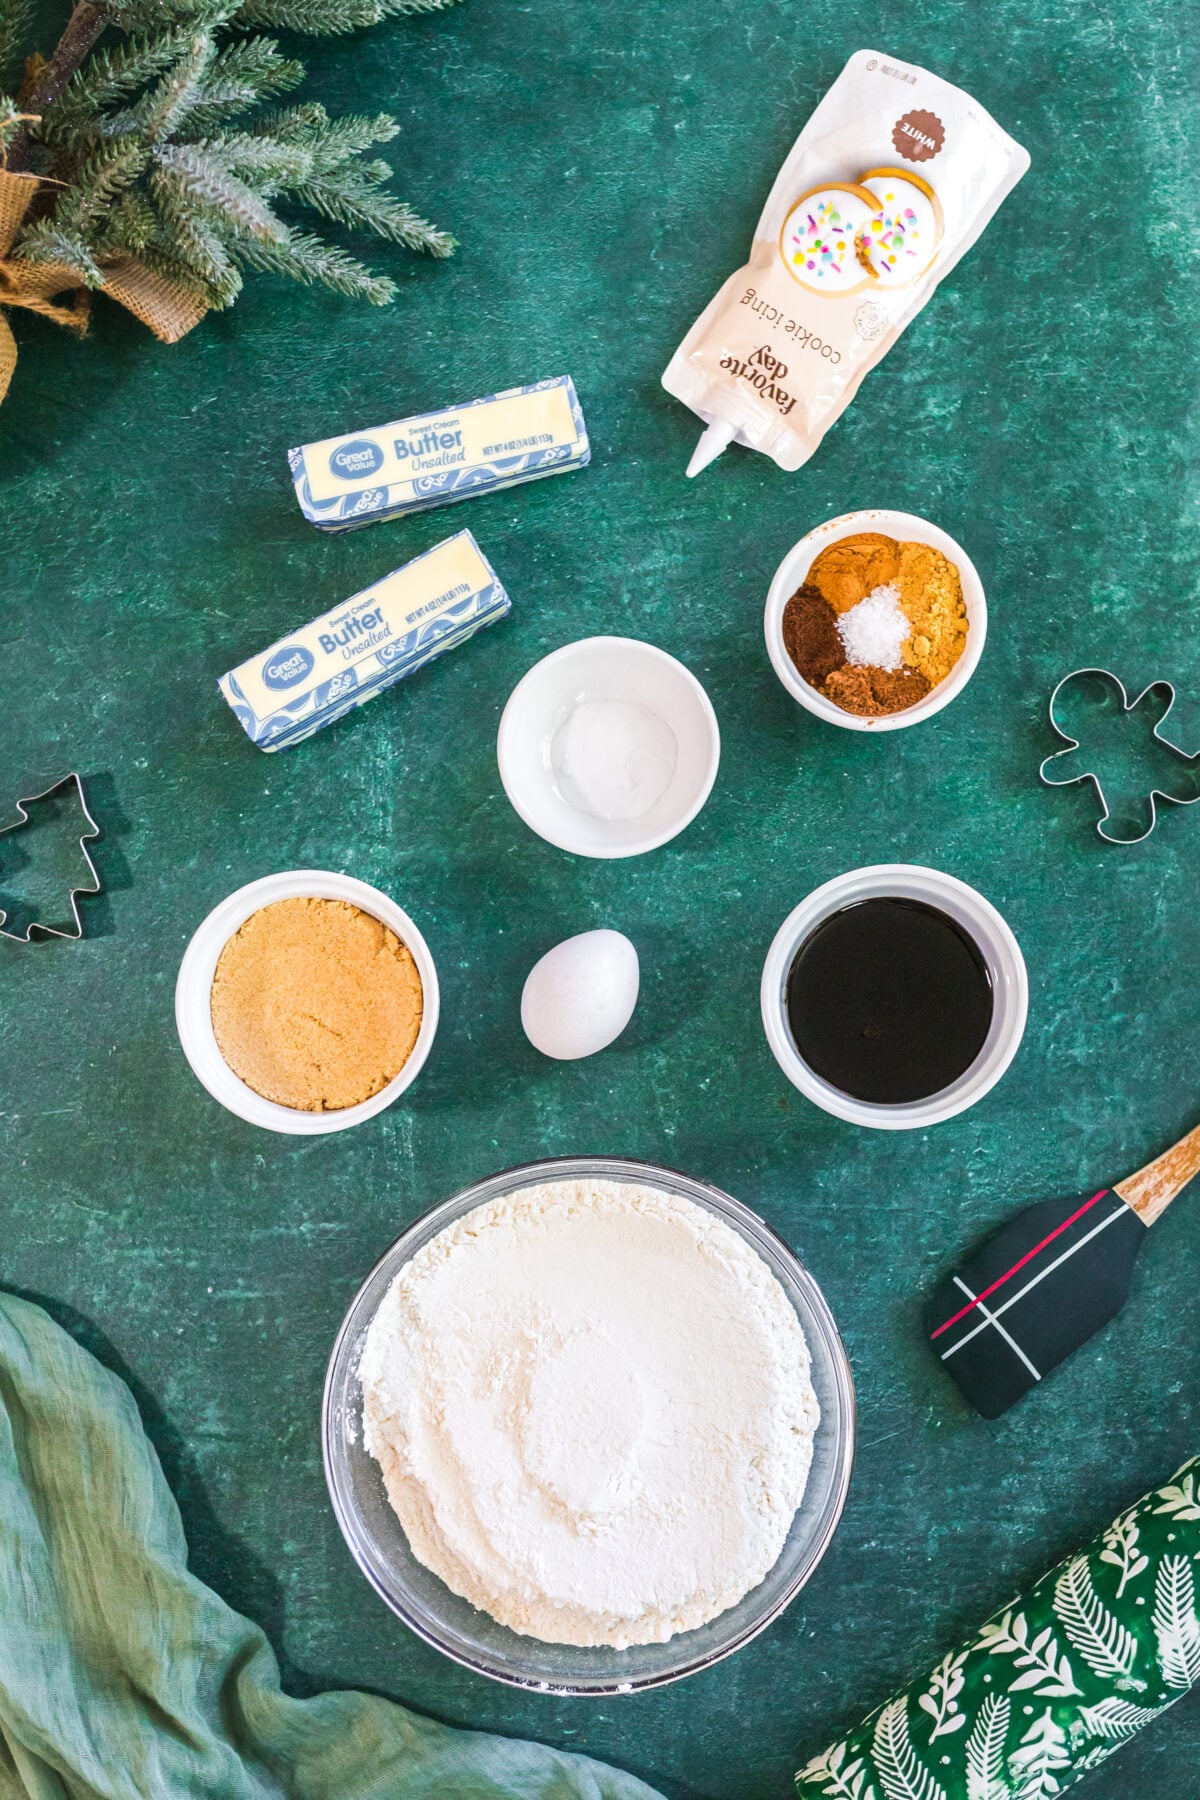
I recommend making the gingerbread house cookies a day ahead of the cake or at least earlier in the day so you have time to let them cool, decorate them, etc. before starting on the cake! Find the full recipe and tutorial here or you can use any recipe for a classic gingerbread cookie that you already love to make the house cookies.
For the gingerbread buildings:
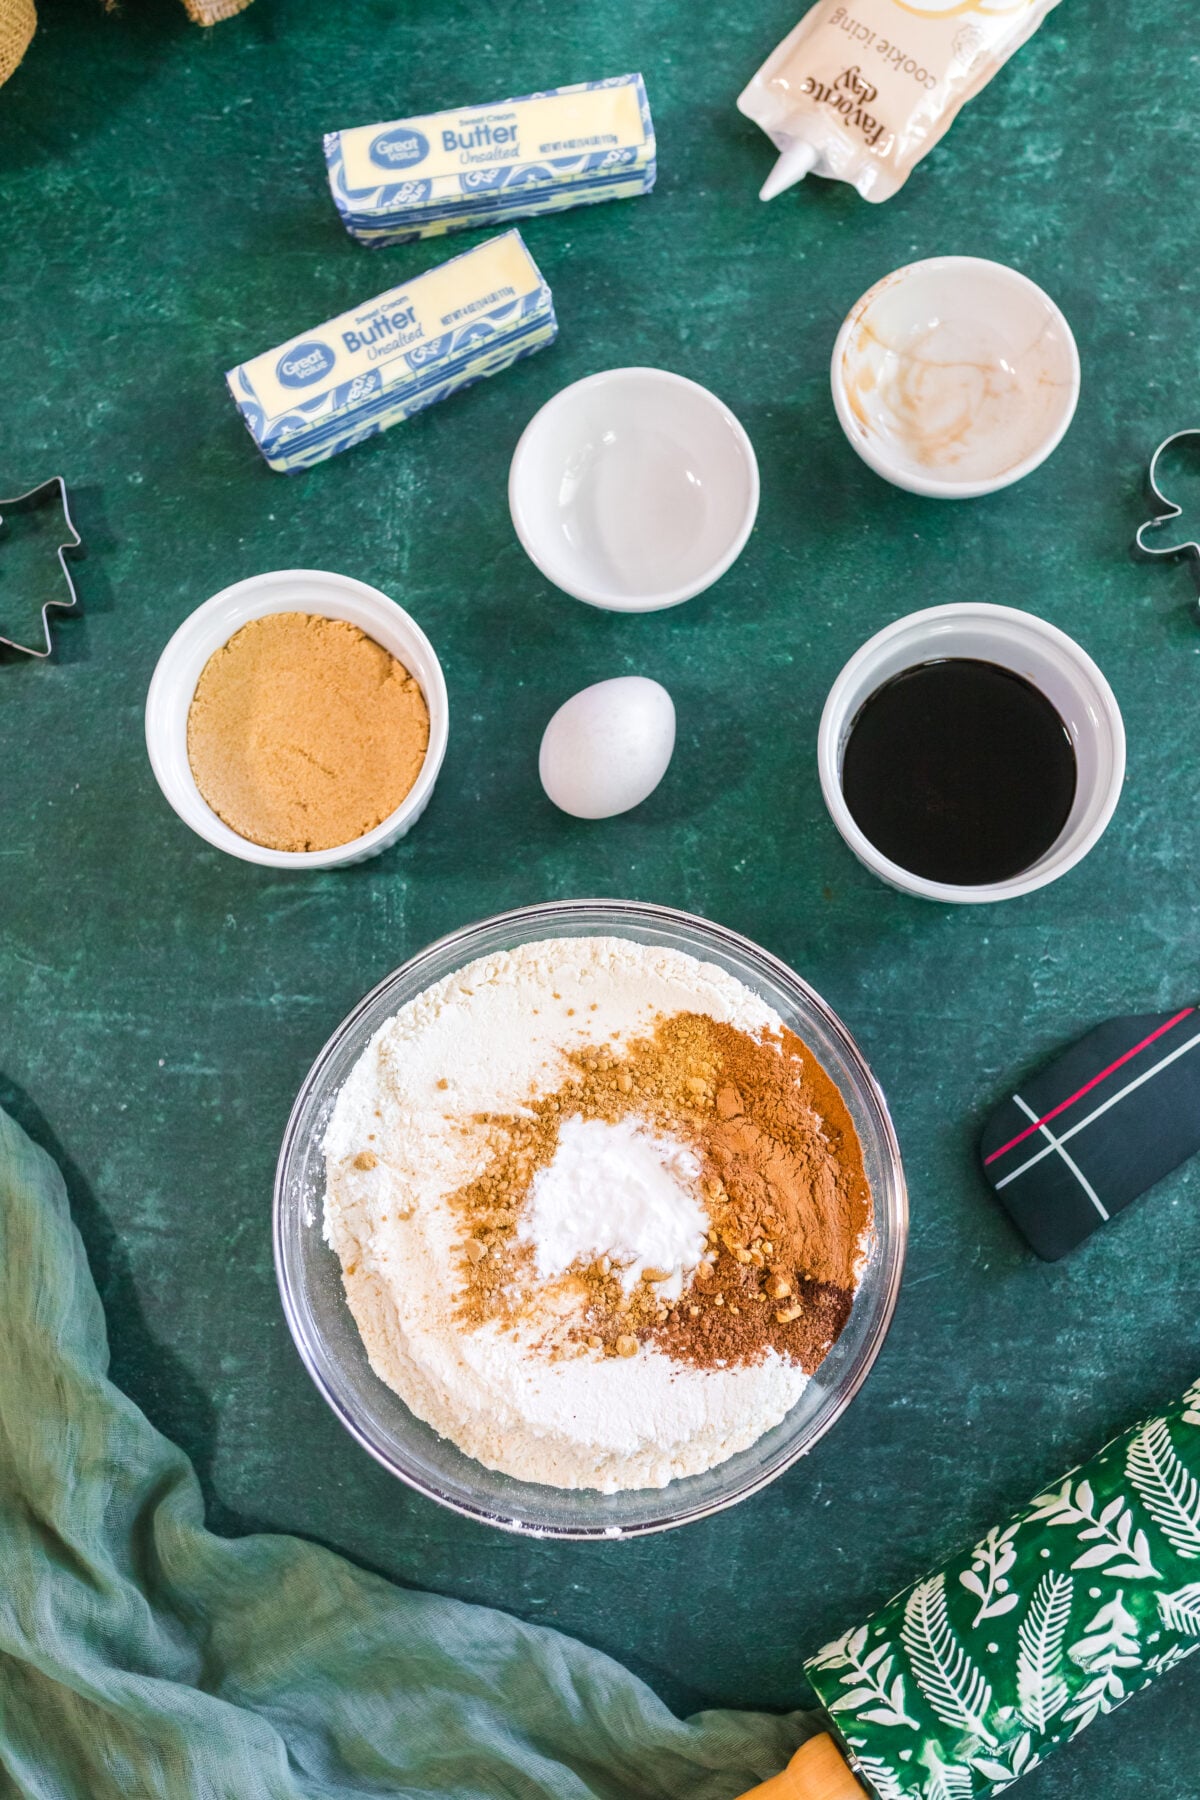
- Unsalted butter, softened
- Brown sugar
- Egg, room temperature
- Molasses (we like mild molasses)
- All-purpose flour
- Baking soda
- Ground ginger
- Ground cinnamon
- Ground cloves
- Ground nutmeg
- Finely ground sea salt
For the cookie icing:
Store-bought icing (for simplicity) or make your own:
- Powdered sugar
- Milk
- Vanilla extract
For the spice cake layers:
- Betty Crocker spice cake mix (any brand of spice cake mix will work)
- Melted butter – I prefer salted, but unsalted butter works just as well and won’t noticeably change the recipe. You can also substitute 1/3 cup of oil for the butter in a pinch, but the butter tastes so much better!
- Eggs
- Water
- Maple extract (vanilla is a fine substitute; you’ll just lose a little of that warm maple note)
Note: You could also use a gingerbread cake mix if you can find one!
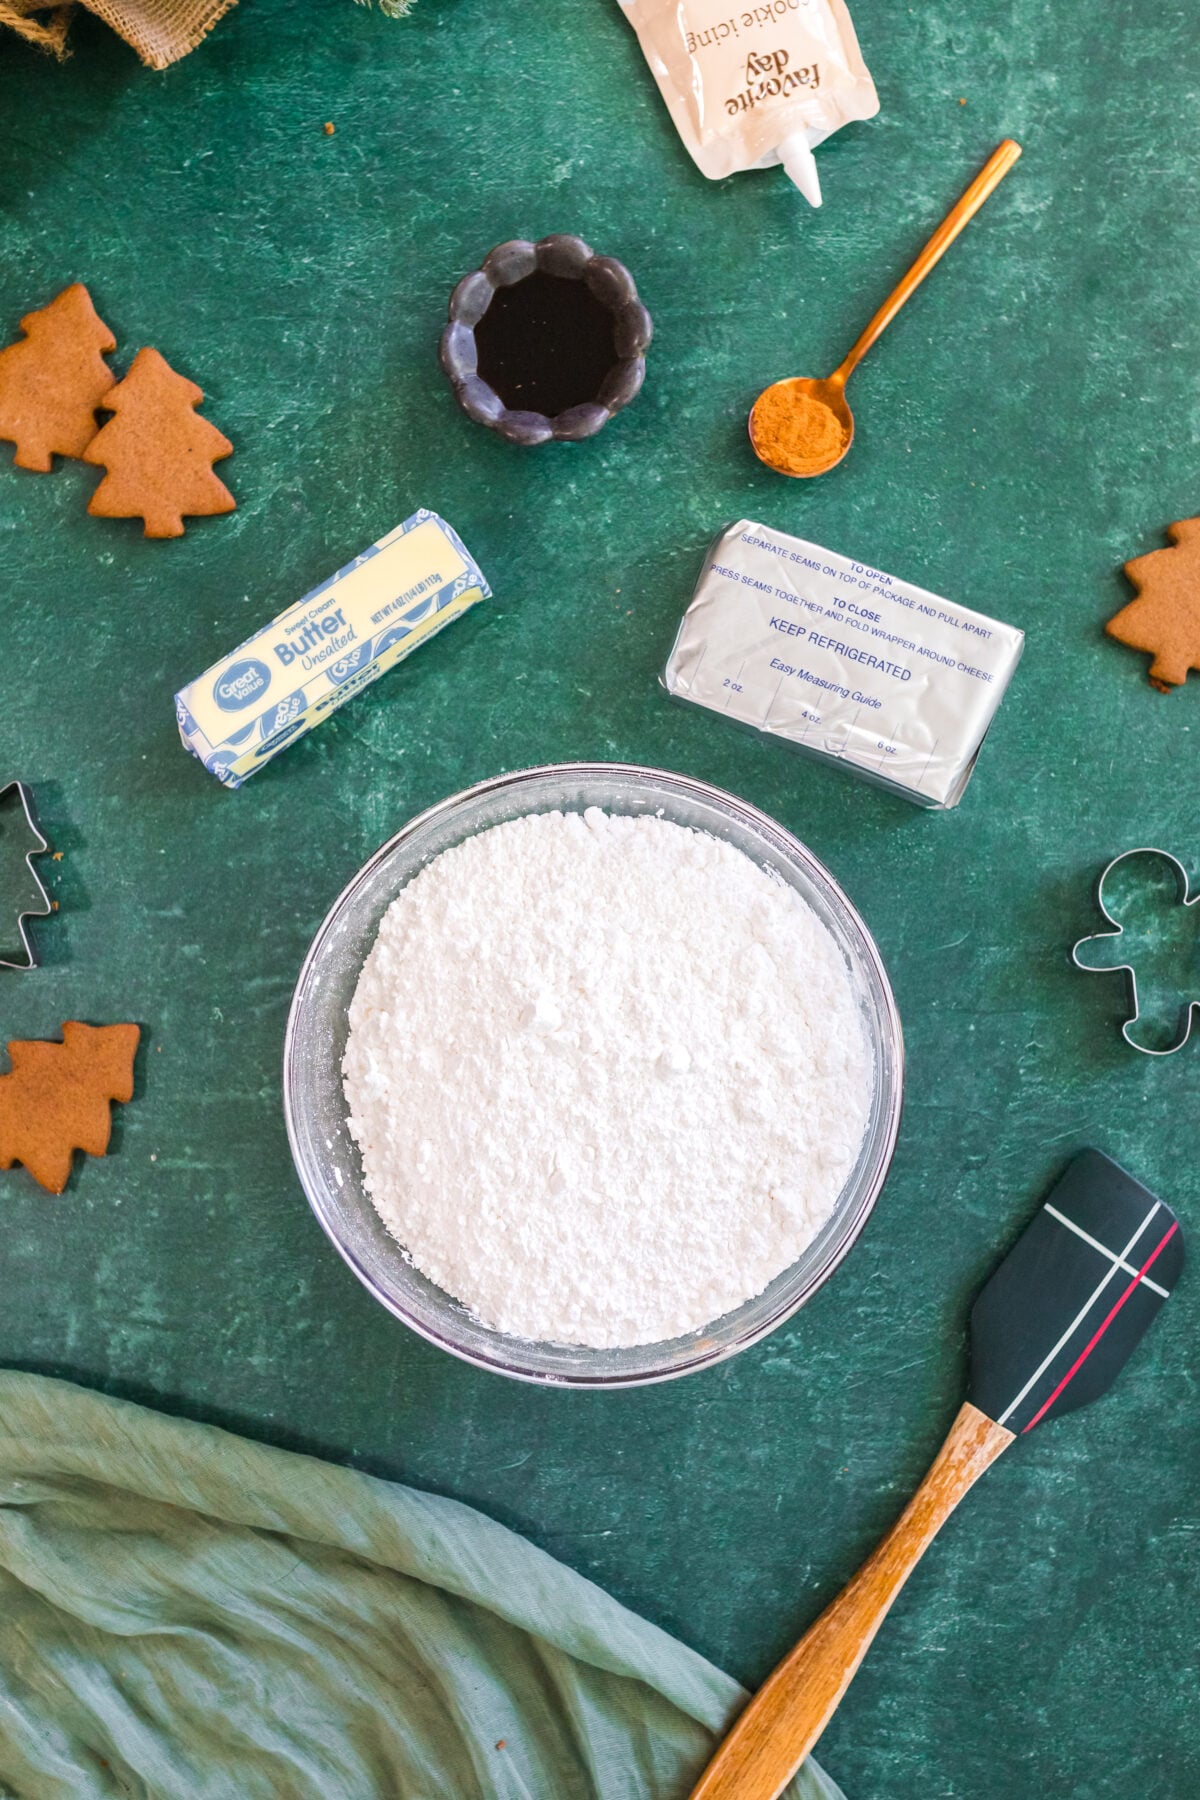
For the cinnamon cream cheese frosting:
- Cream cheese, room temperature (full-fat blocks, not the tub kind)
- Unsalted butter, room temperature
- Powdered sugar
- Ground cinnamon
- Vanilla bean paste (regular vanilla extract works too)
Want to change it up? You could also use this amazing Brown Sugar Frosting on this spice cake!
Find the complete recipe with ingredient measurements in the recipe card below.
How to Make a Gingerbread Village Spice Cake
Read this part before you start, because the order matters more than you’d think.
Day 1: Make the gingerbread buildings – see this post for step-by-step photos.
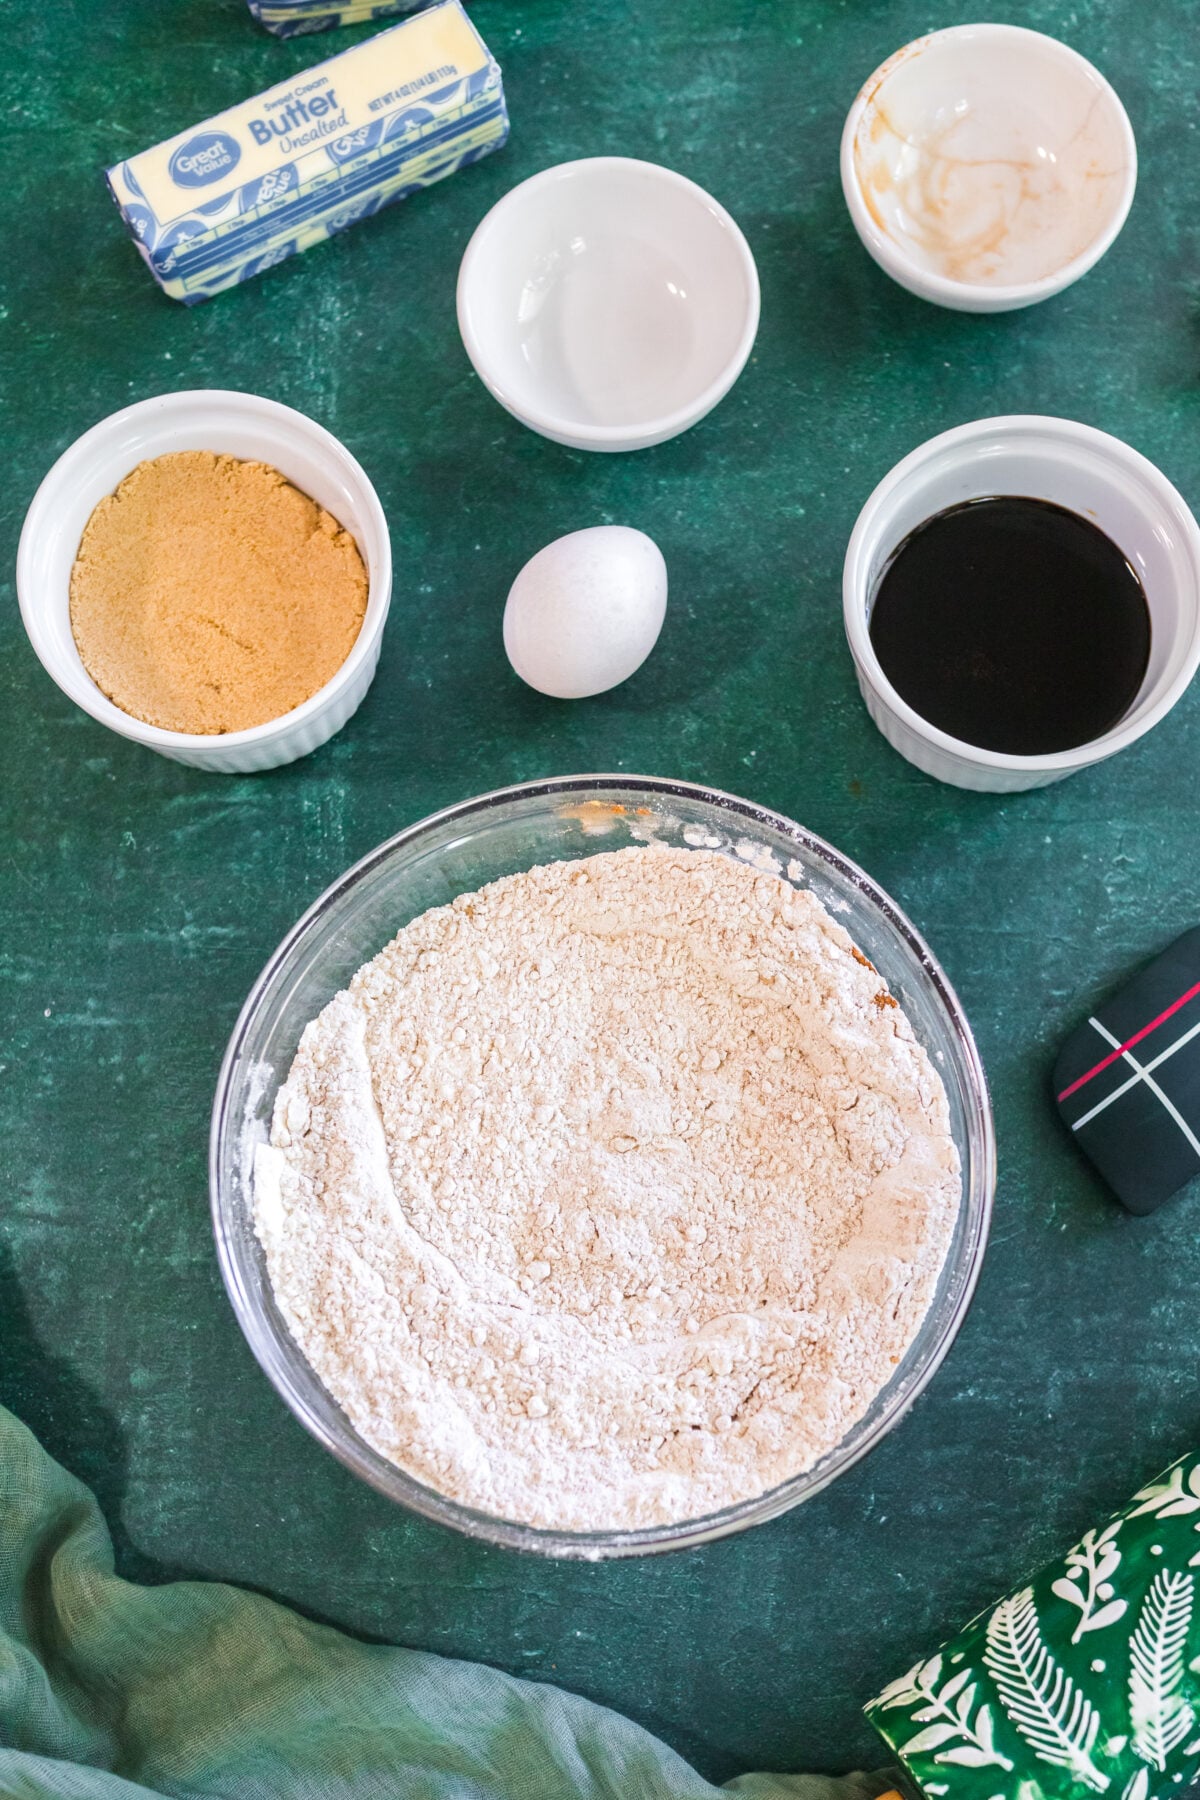
- Combine the flour, ginger, cloves, cinnamon, nutmeg, sea salt, and baking soda.
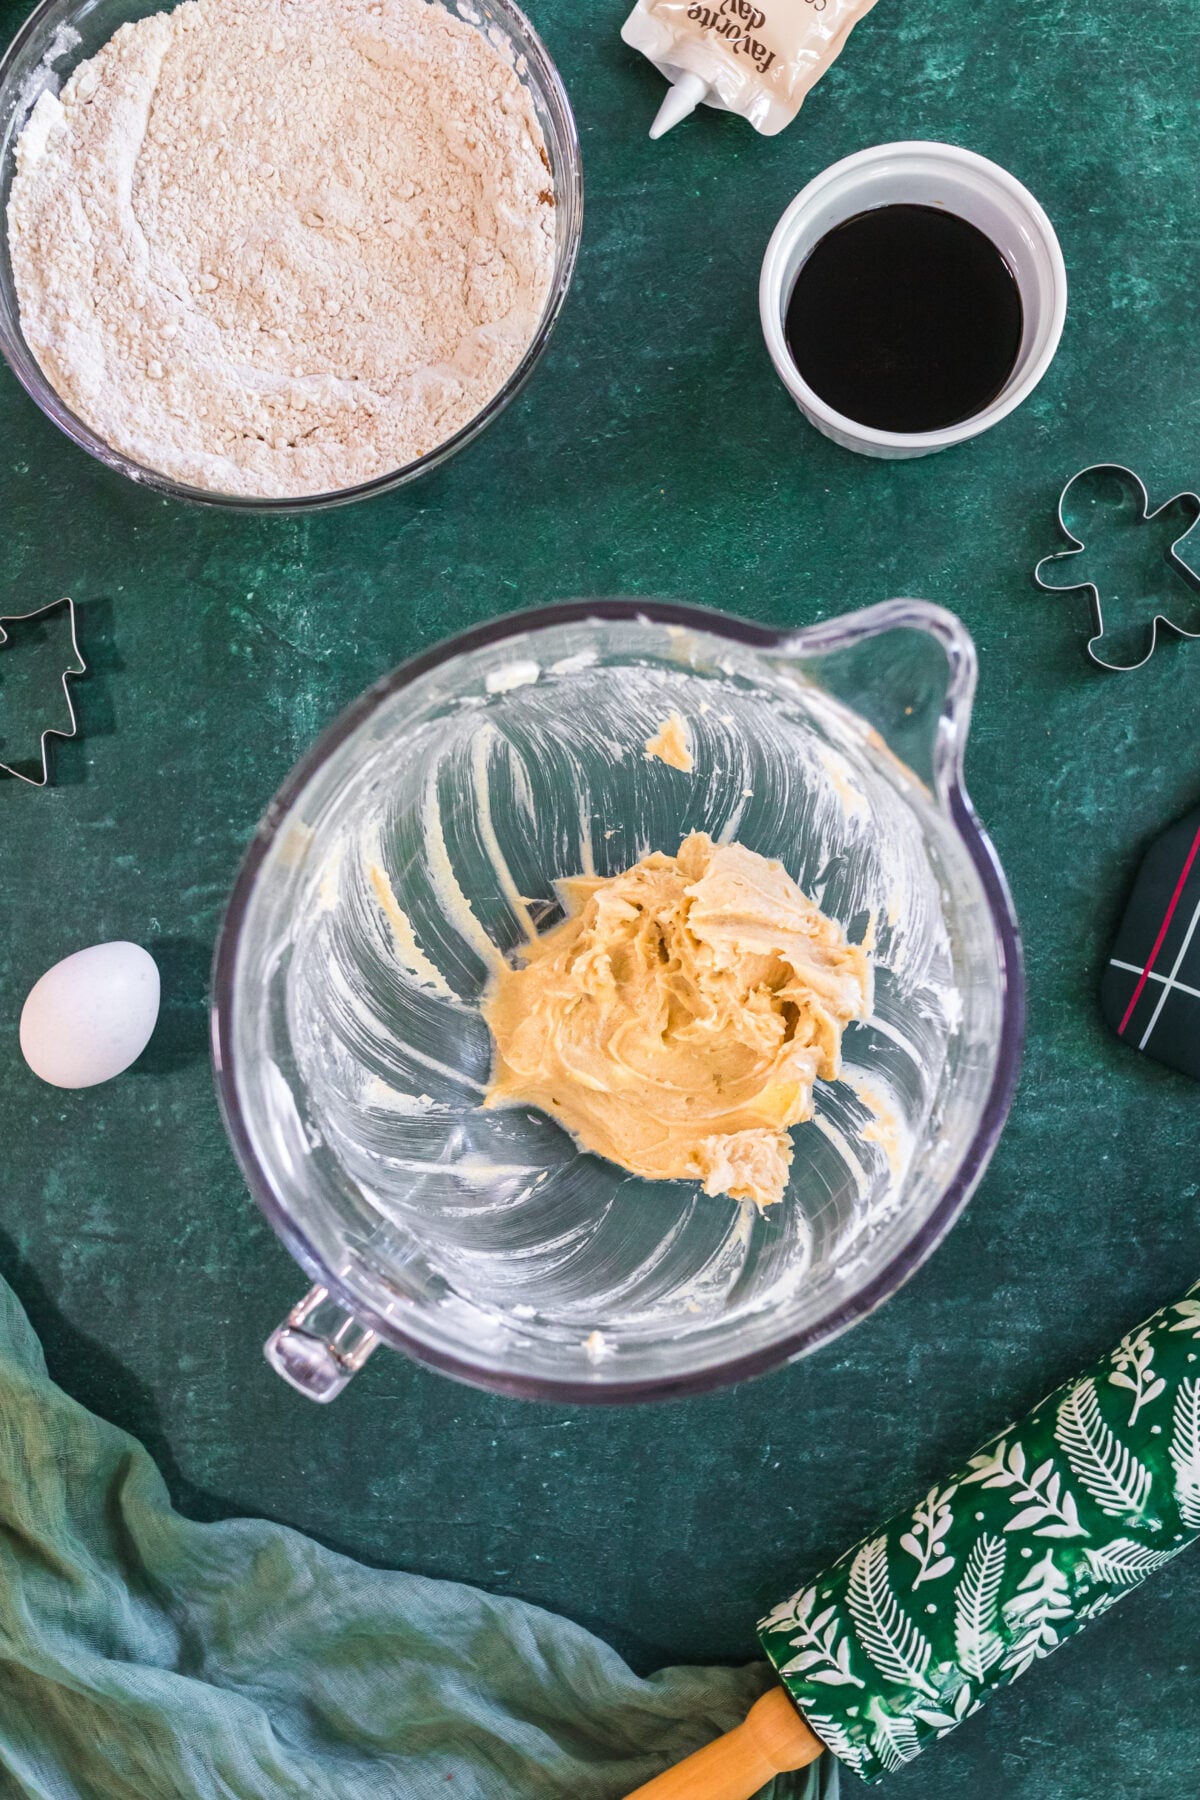
- In a separate bowl, cream the butter and brown sugar together until smooth.
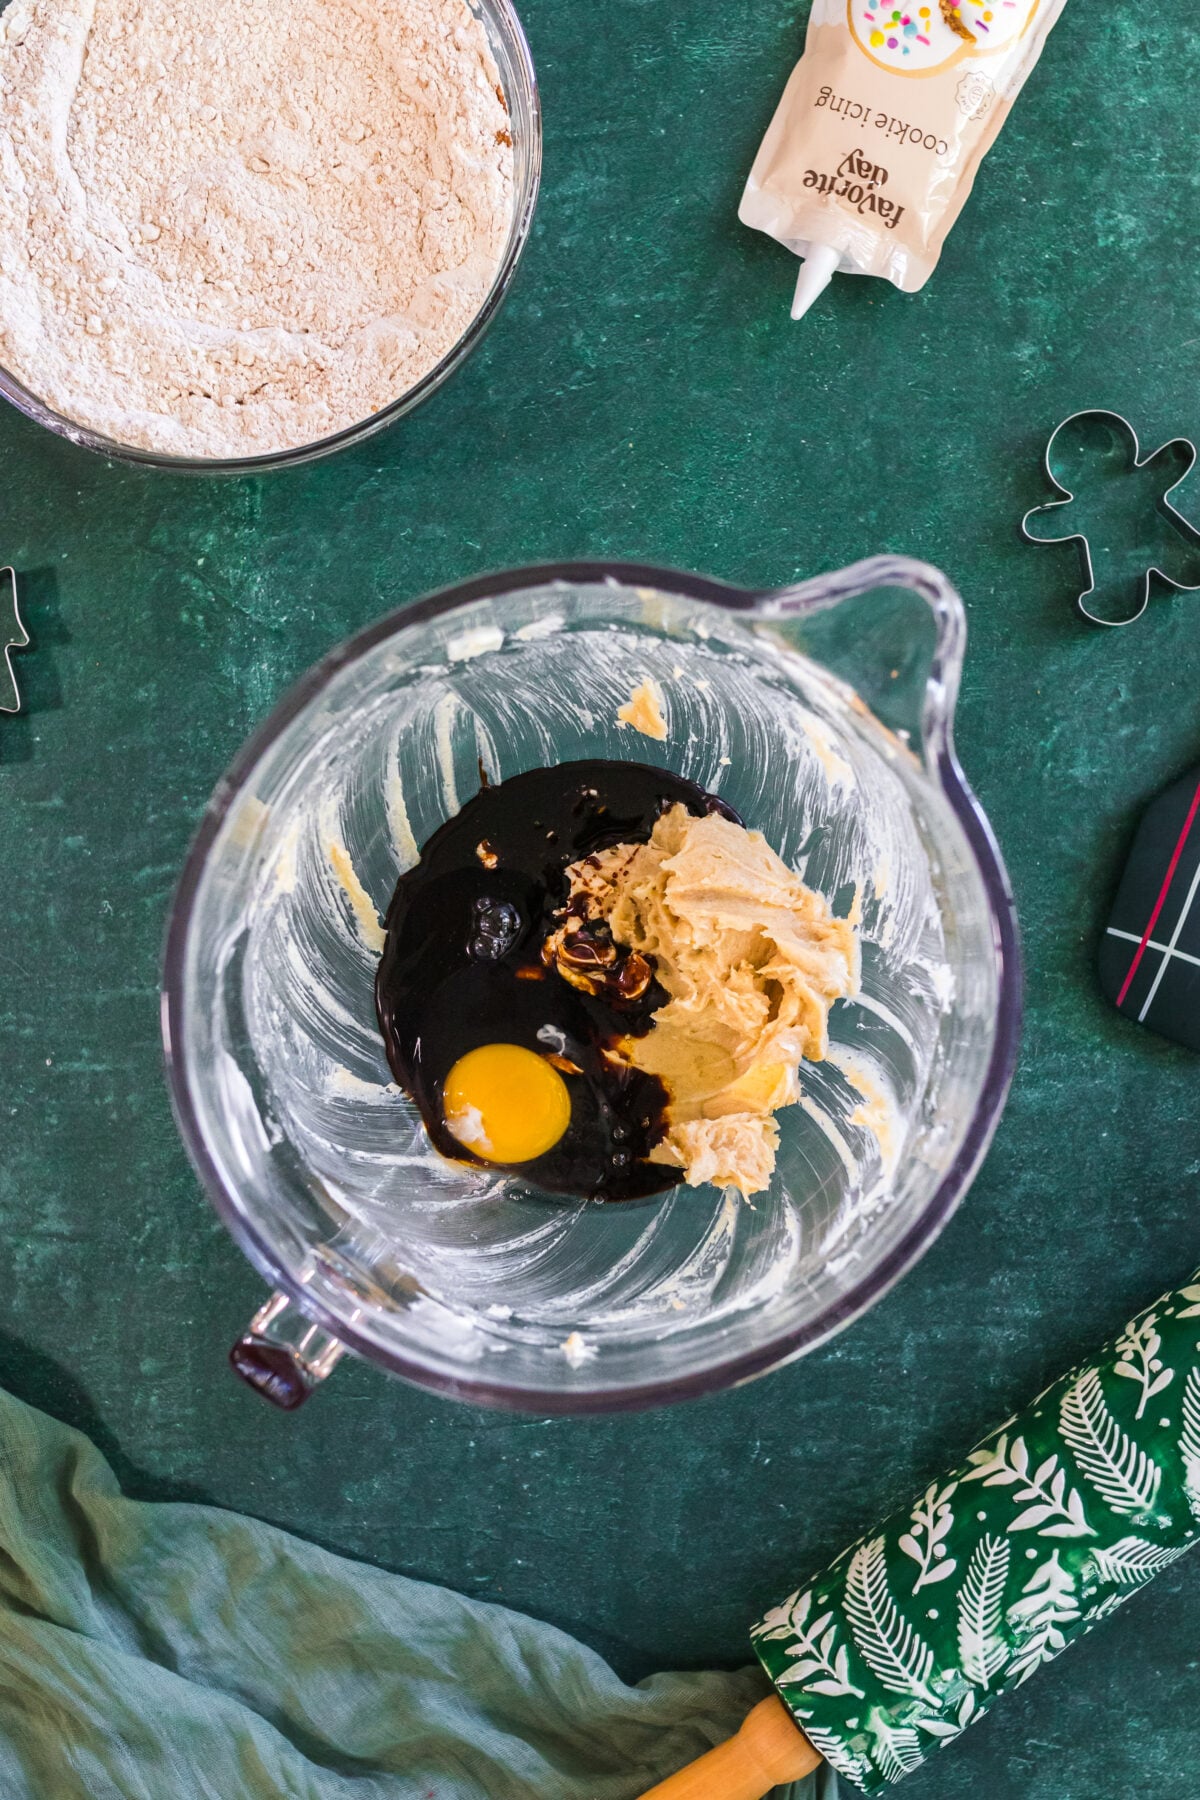
- Add the molasses and egg to the creamed butter mixture and mix until incorporated.
- With your mixer on low or medium, slowly add the flour mixture to the creamed butter mixture. Bump the speed up as the dough thickens.
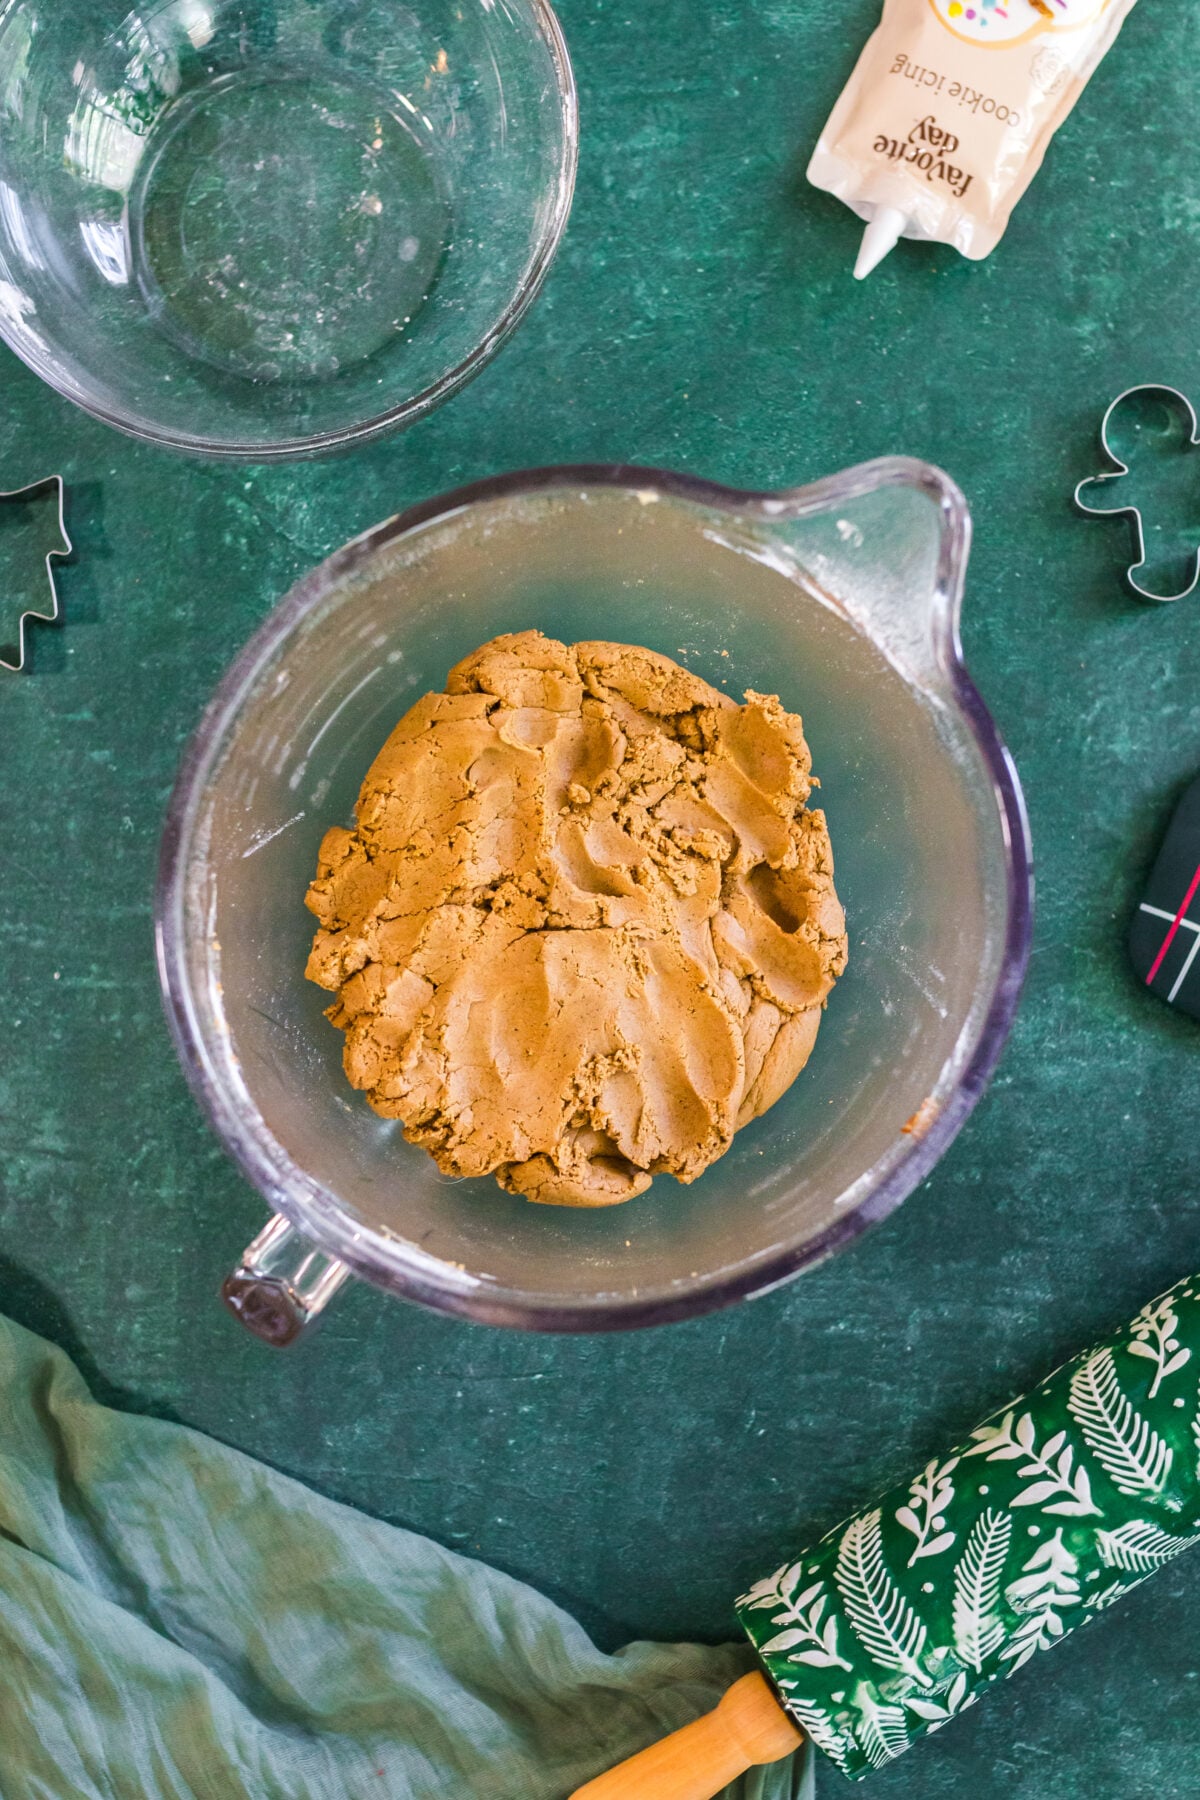
- Wrap the dough in cling film and chill it in the fridge for 10 minutes.
- Line a baking sheet with parchment or a silicone mat.
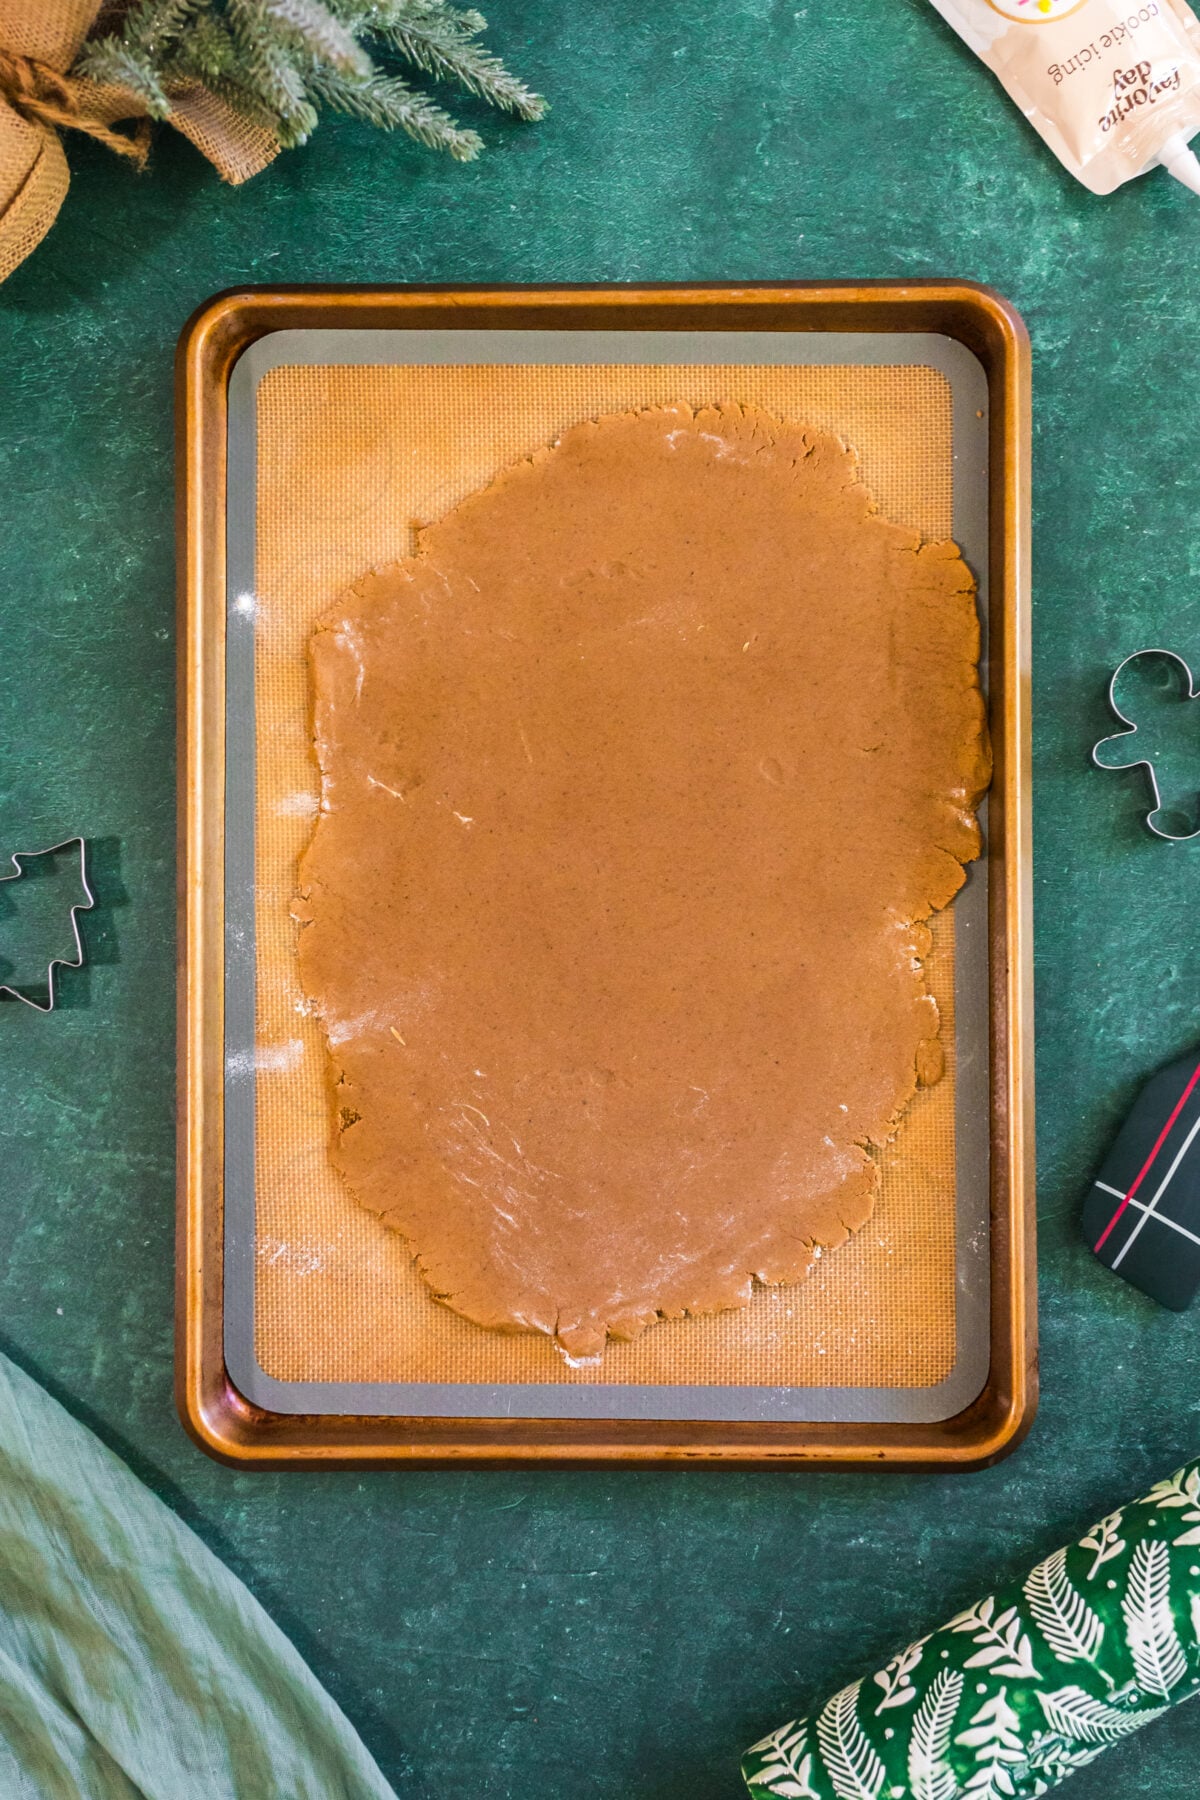
- Roll the dough out on a floured surface to ¼ inch thick. It helps a lot to split the dough in half and roll one piece at a time.
- Use a toothpick to trace the outline of your buildings, about 6 inches tall each. Simple shapes are best… a square with a triangle roof looks exactly like a little house.
- Cut the buildings out with a sharp knife and use your Christmas tree cutter to cut a few trees too.
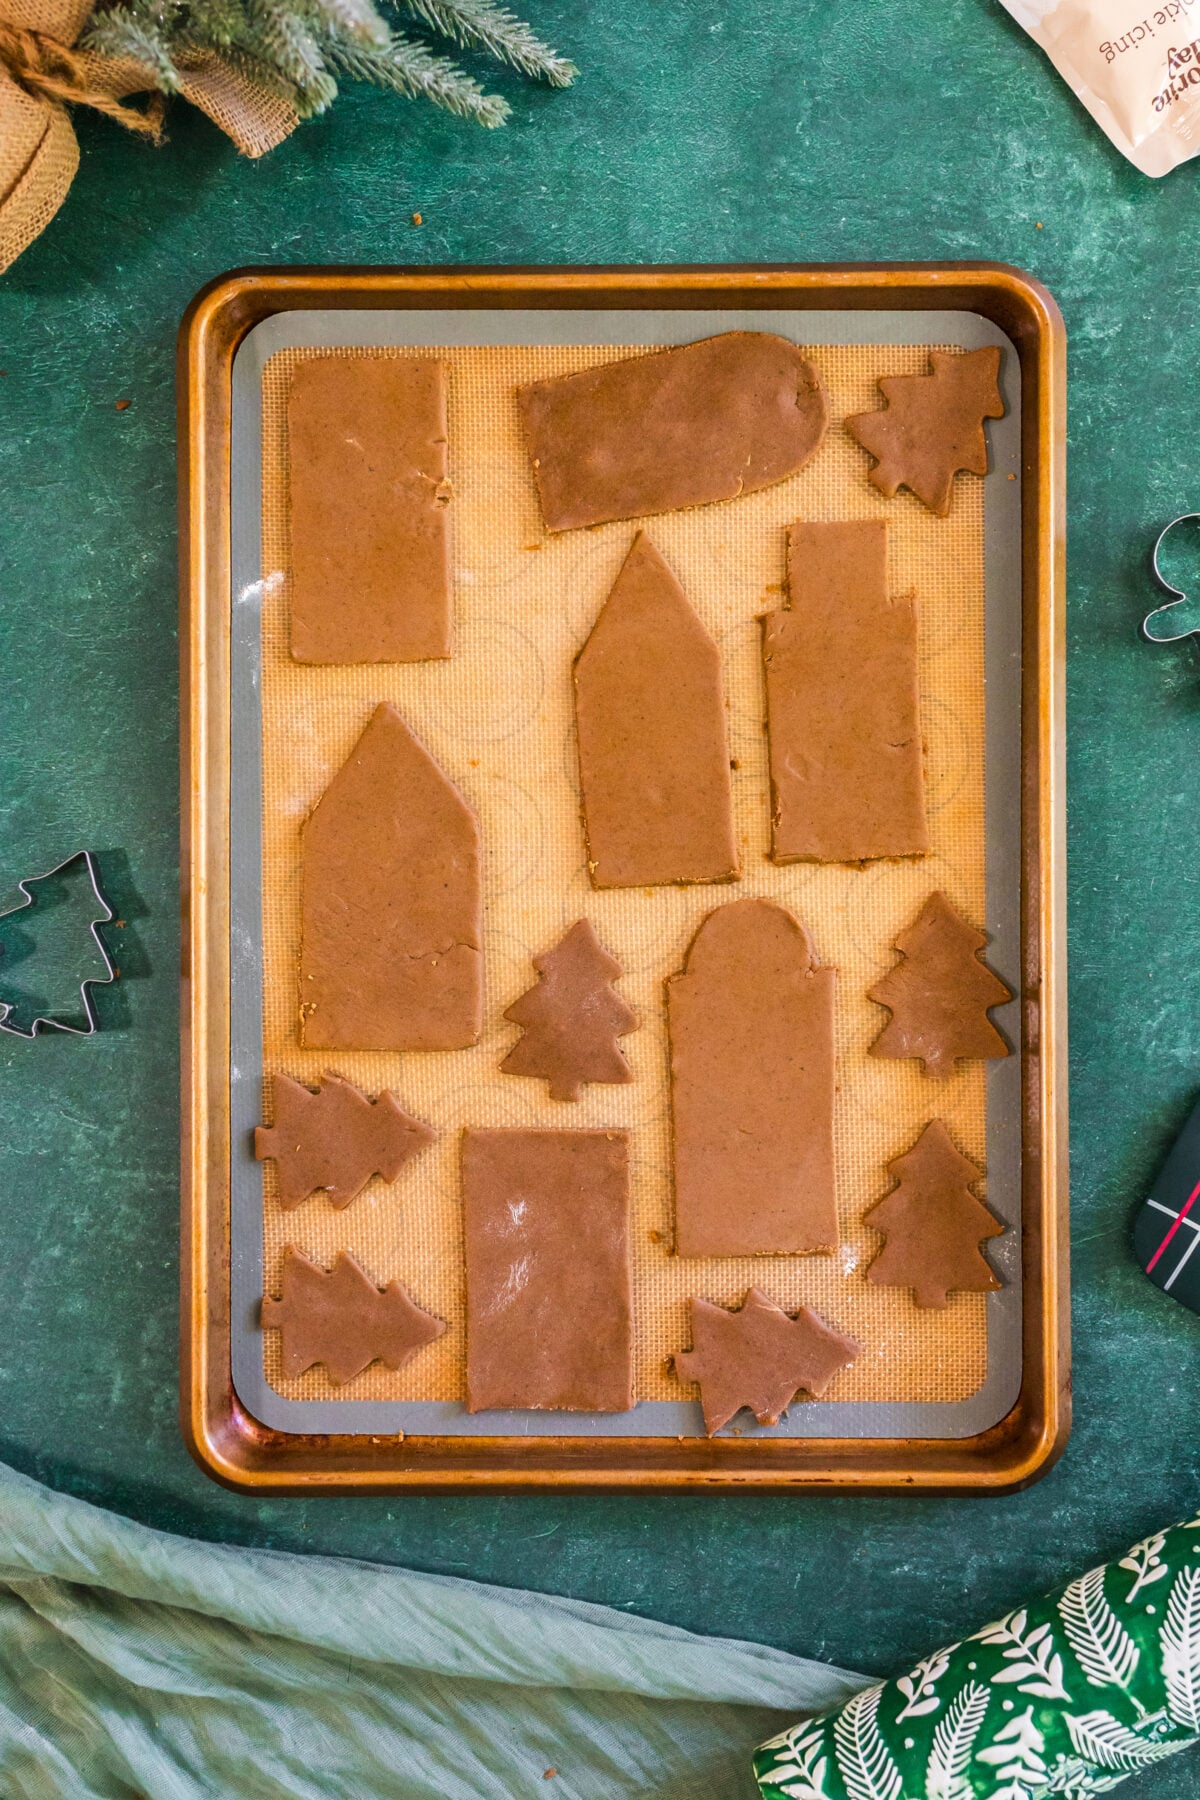
- Bake for 10 minutes, then let them cool completely.
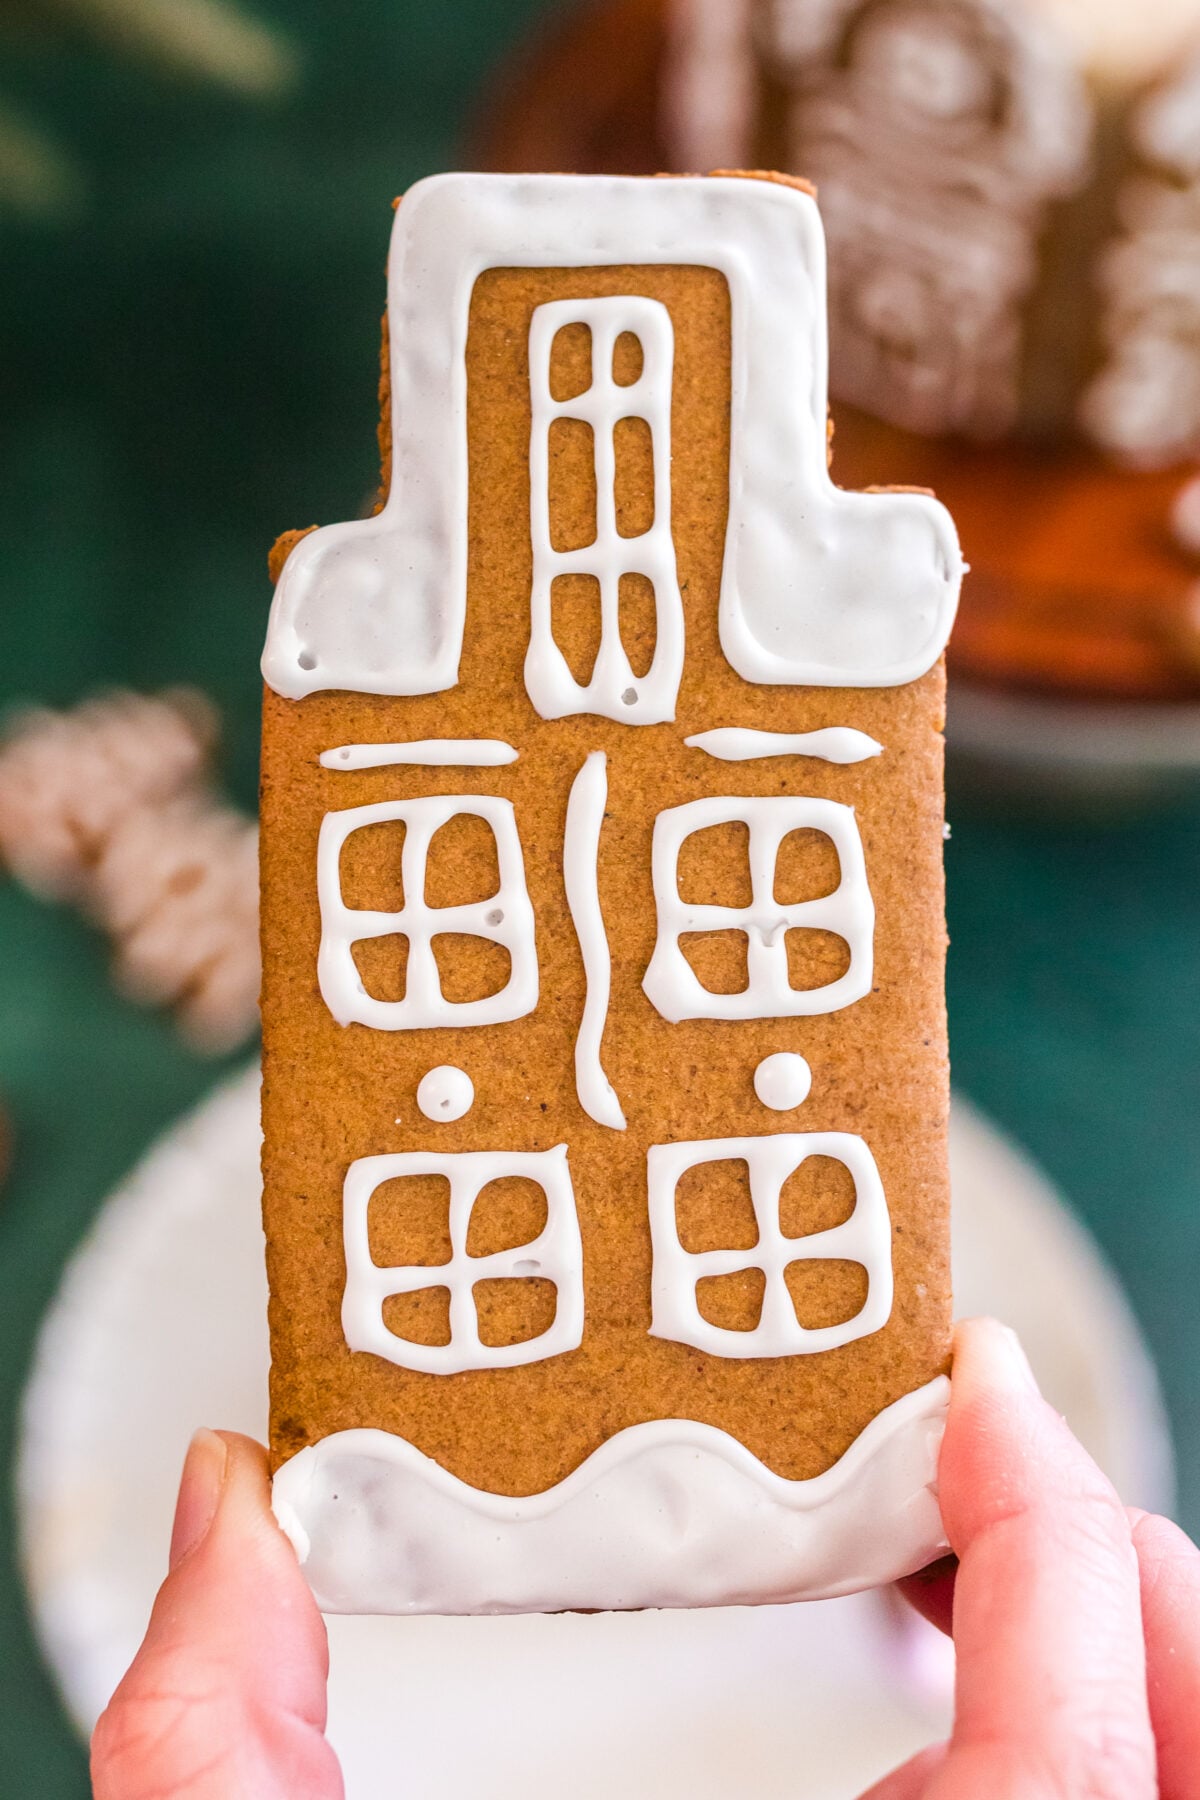
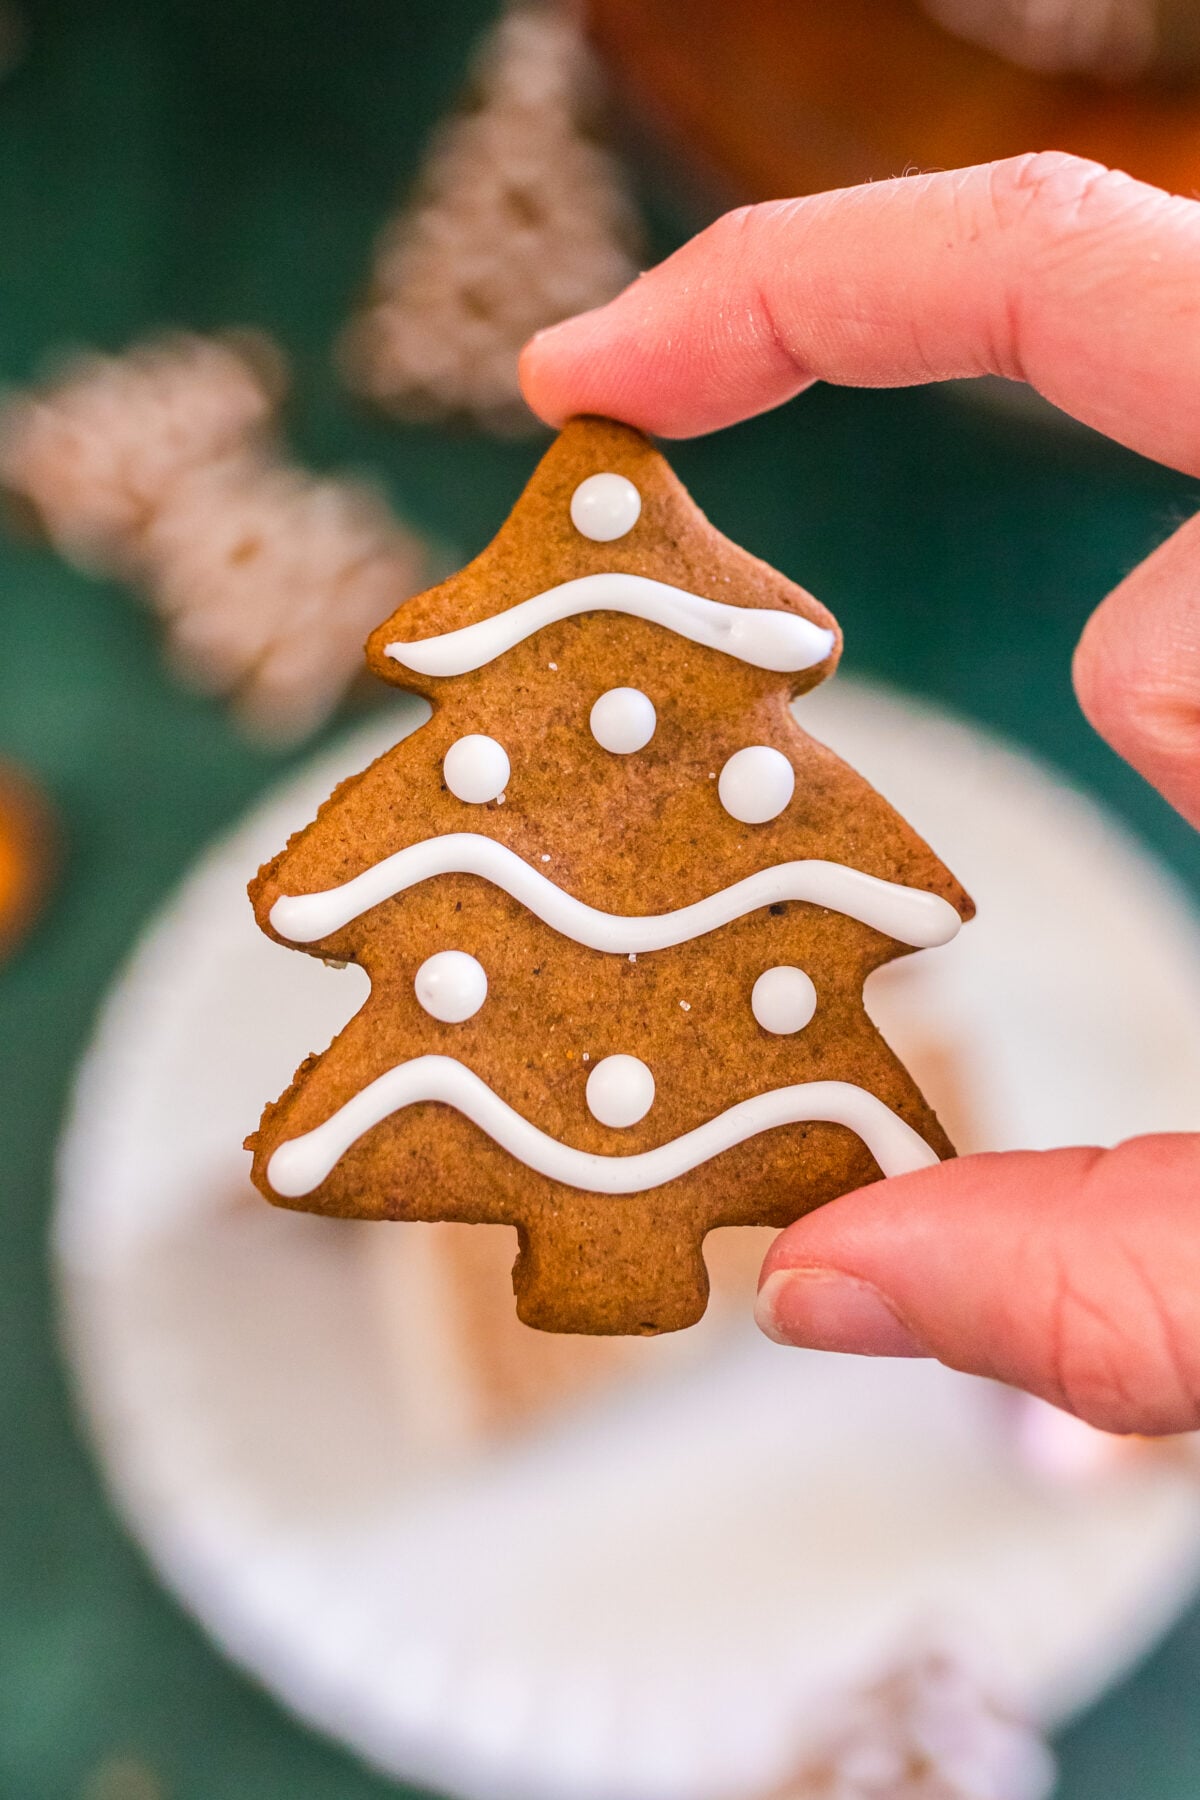
- Ice your buildings however you want. Windows, doors, wreaths, snowy roofs, whatever makes you happy.
- Leave the iced cookies out on a flat surface overnight so the icing sets up hard as a rock. Once they’re firm, store them flat in an airtight container until you’re ready to build.
Day 1 or 2: Bake the Cake Tiers
Because it starts with a cake mix, this easy Gingerbread Cake only has a few steps and you’ll have it in the oven baking in no time! The frosting is also an easy recipe that will melt in your mouth.
- Preheat oven to 350°F and prepare three 6-inch round cake pans with cake release spray (like Baker’s Joy) or paint with homemade goop. Set the prepared cake pans aside.
- Add all of the cake ingredients to a large bowl. Mix on low speed with an electric mixer. Mix just until smooth and the eggs are completely incorporated, but don’t overmix.
- Divide the cake batter evenly between each prepared pan and bake for 30-35 minutes or until a toothpick or cake tester inserted in the middle comes out clean.
- Let the cake cool for 15 minutes before flipping it out onto a cooling rack to completely cool. I prefer to chill my cakes for at least one hour before assembly – but you can assemble them at room temperature.
- Level the tops with a serrated knife once they’re cool. Don’t skip this part, flat tiers are what keep your village from tilting.
- If baking these a day ahead, wrap them in plastic wrap and refrigerate overnight before frosting on day 2. If frosting the same day, let them cool completely before you begin frosting, or it will melt off.
Day 2: Frosting
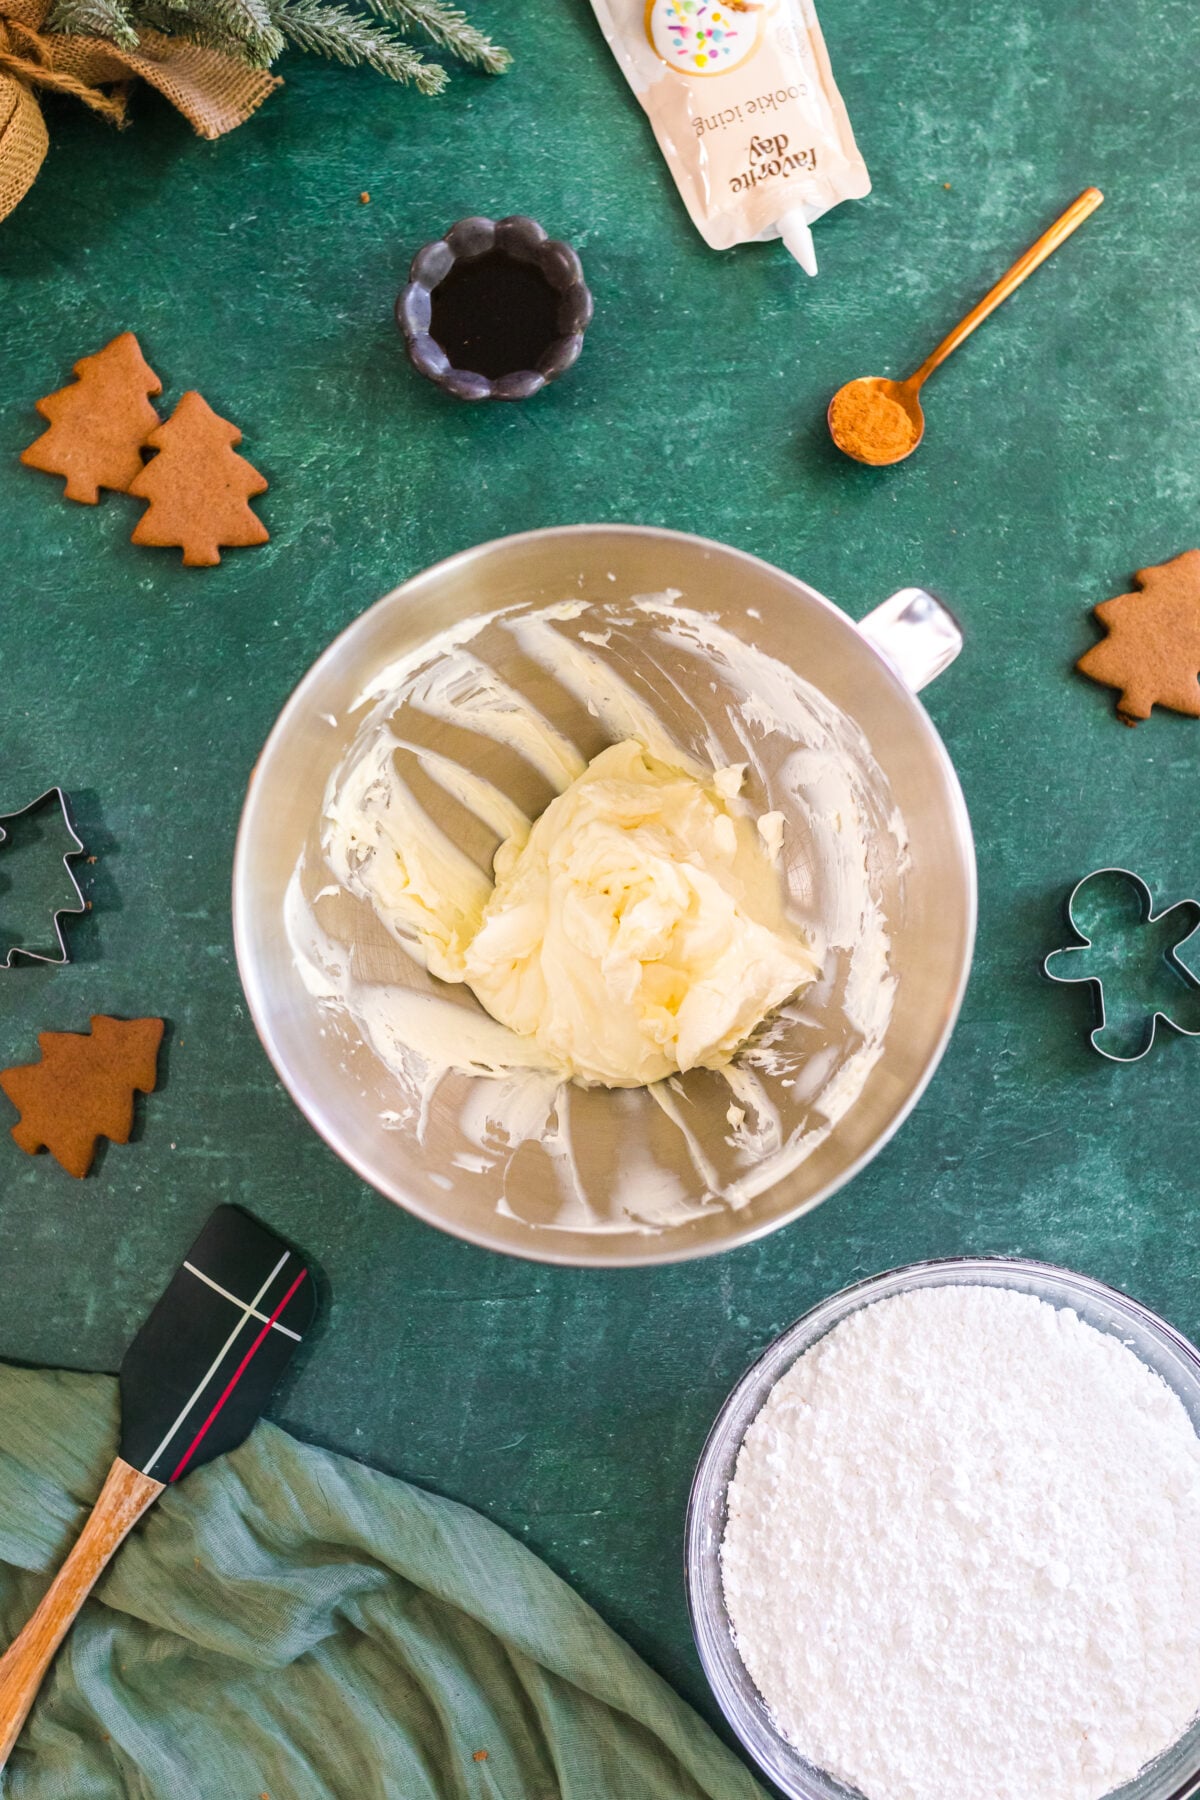
- In a separate mixing bowl, or the bowl of a stand mixer (or using your hand mixer again), cream together the butter and cream cheese.
- Add vanilla and mix again until smooth and lump-free. I use the paddle attachment if using my stand mixer because the whisk attachment adds too much air to the frosting.
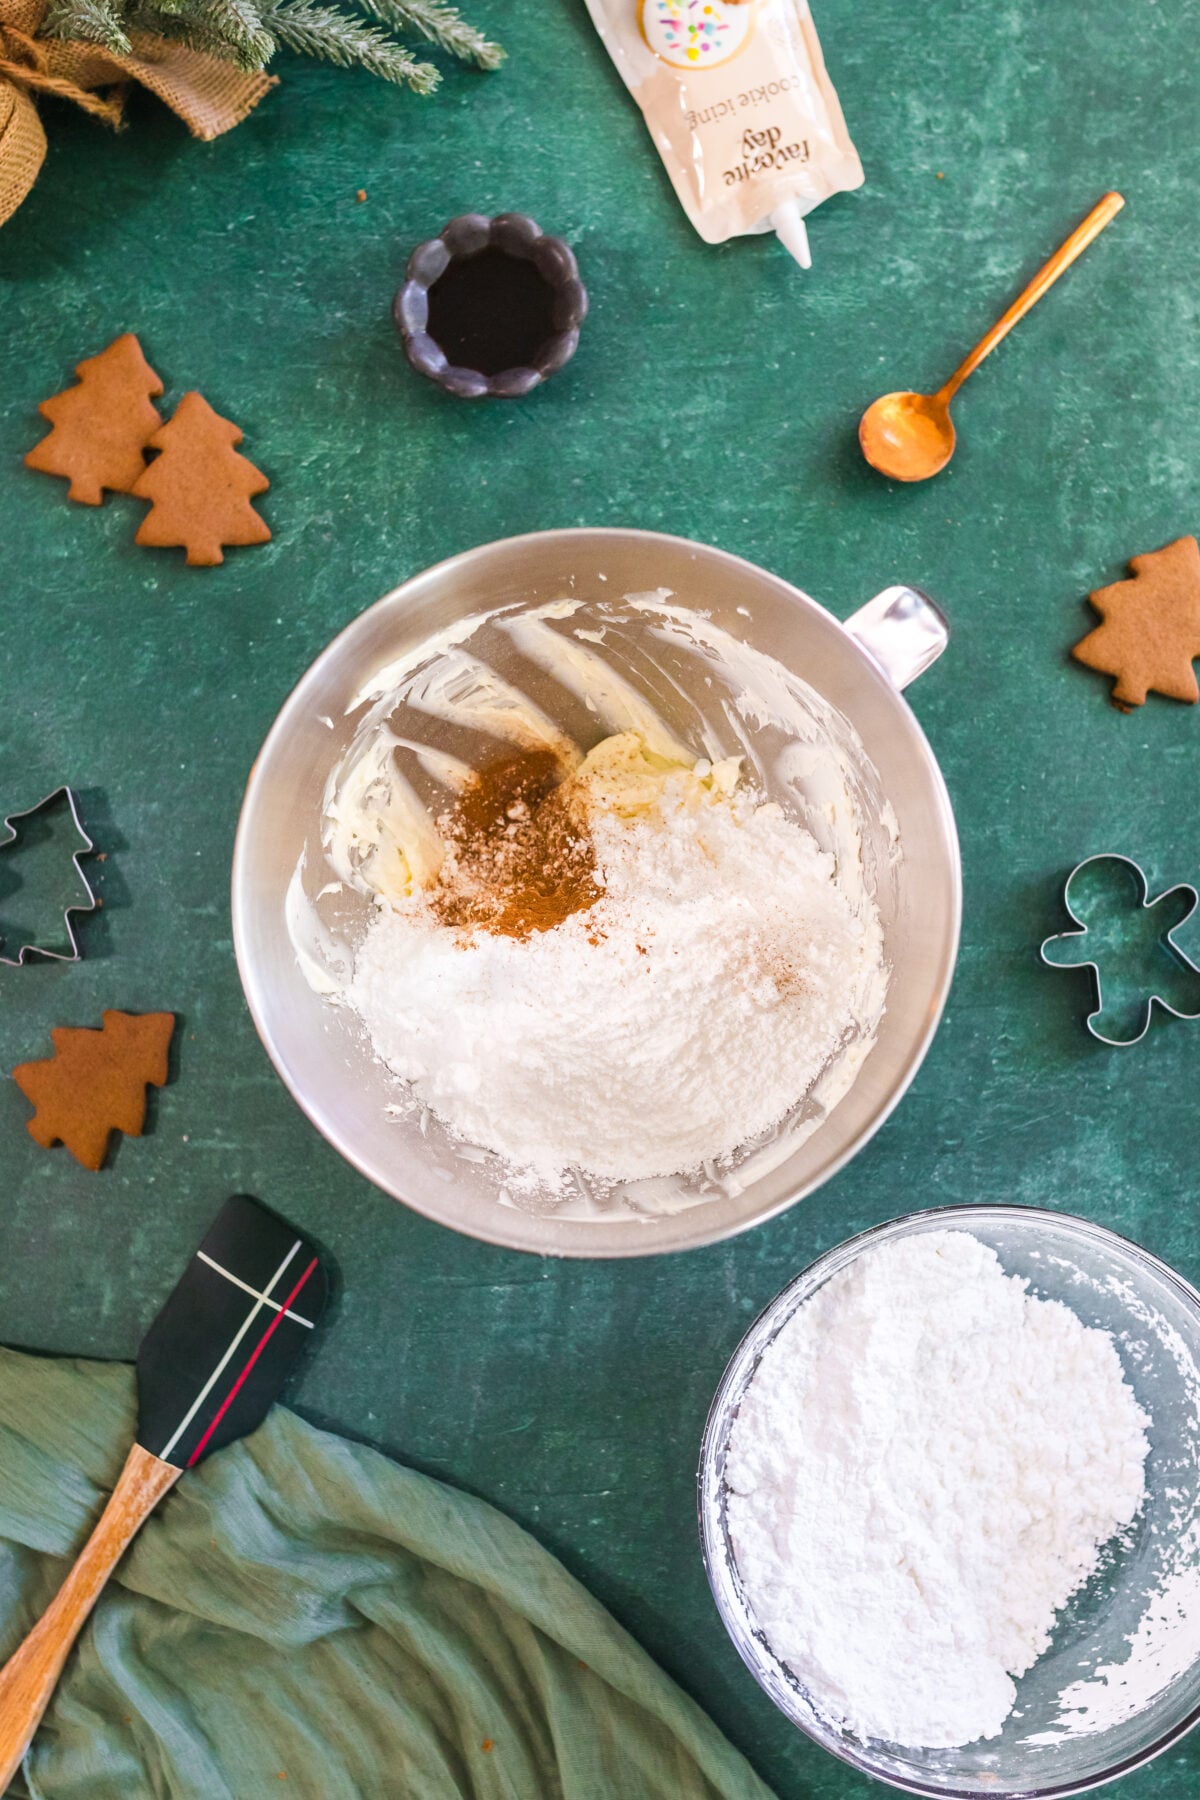
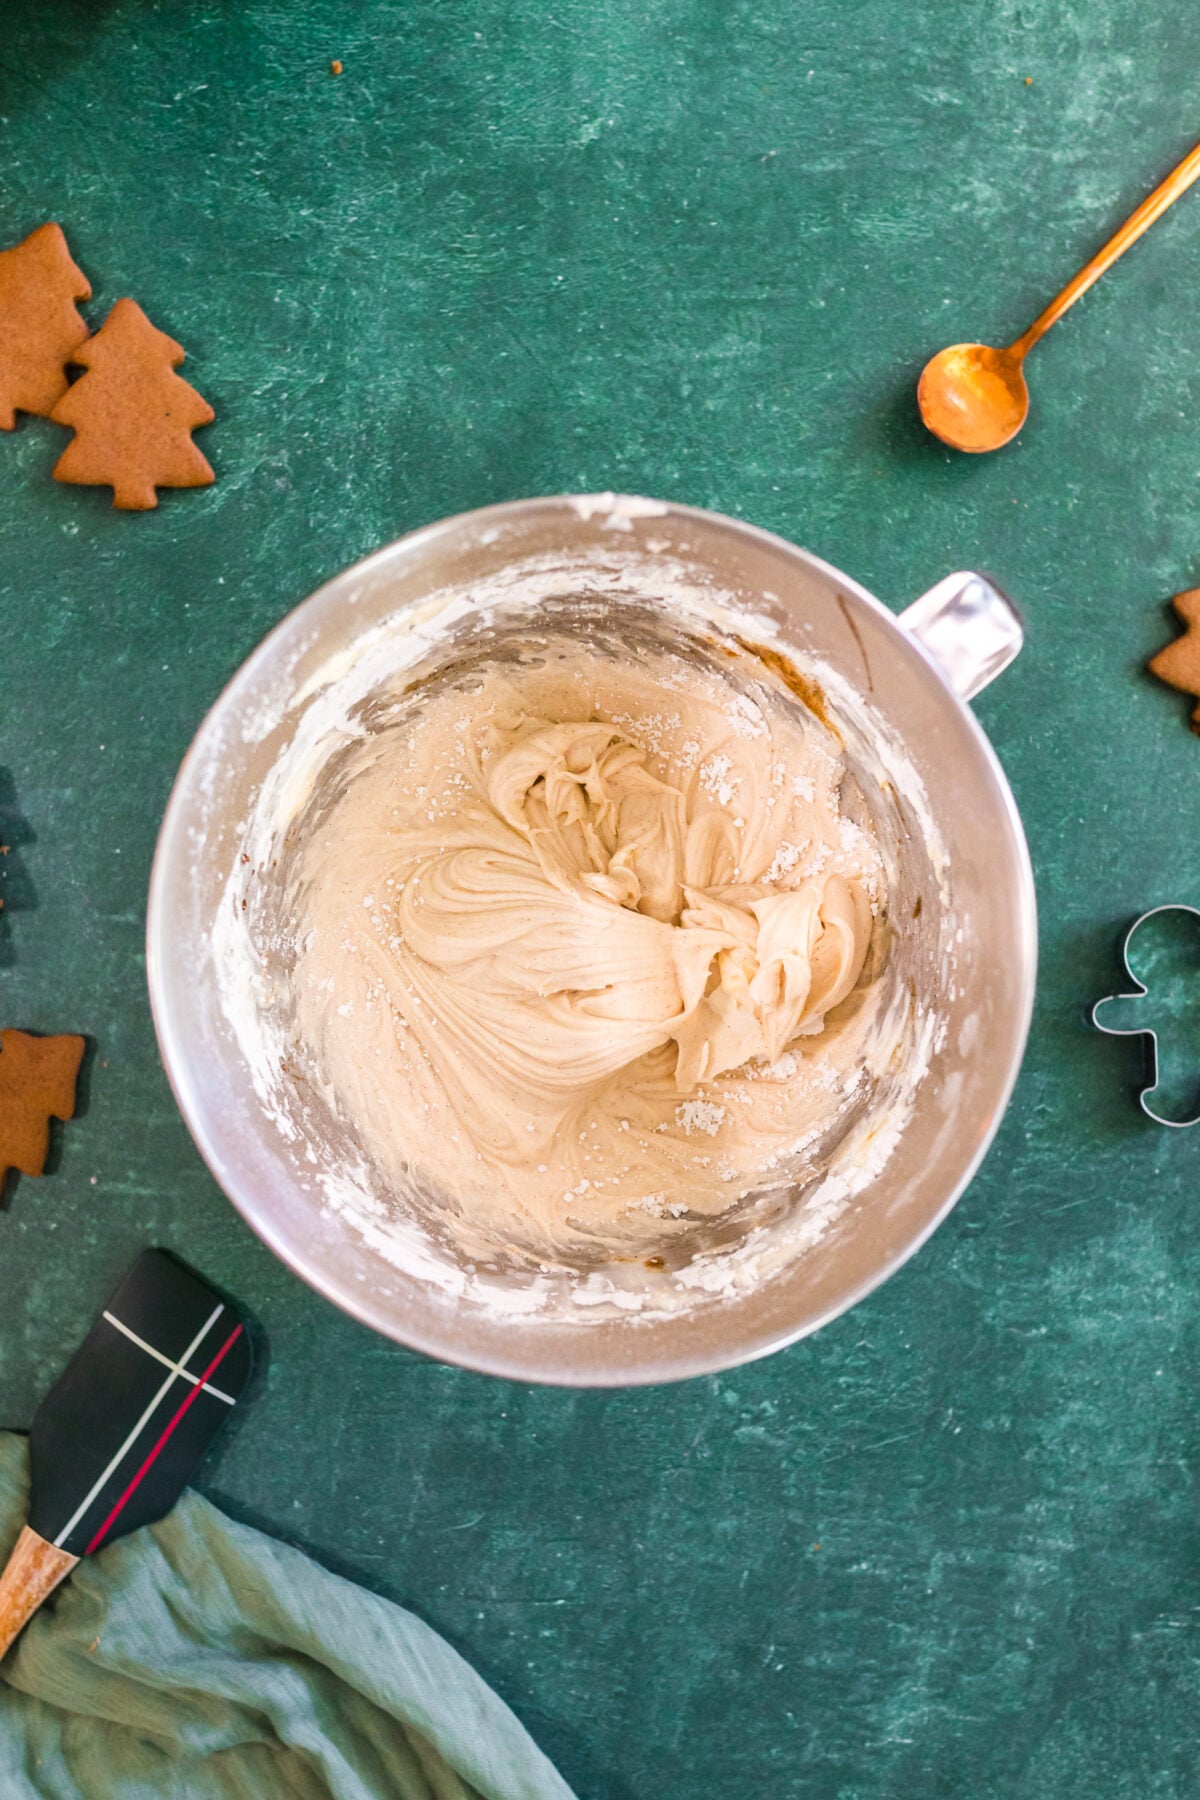
- Add in the cinnamon and powdered sugar, one cup at a time, until you’ve reached your desired consistency. If it gets too stiff to spread, add a few drops of milk or water to soften it back up.
Day 2: Cake Construction
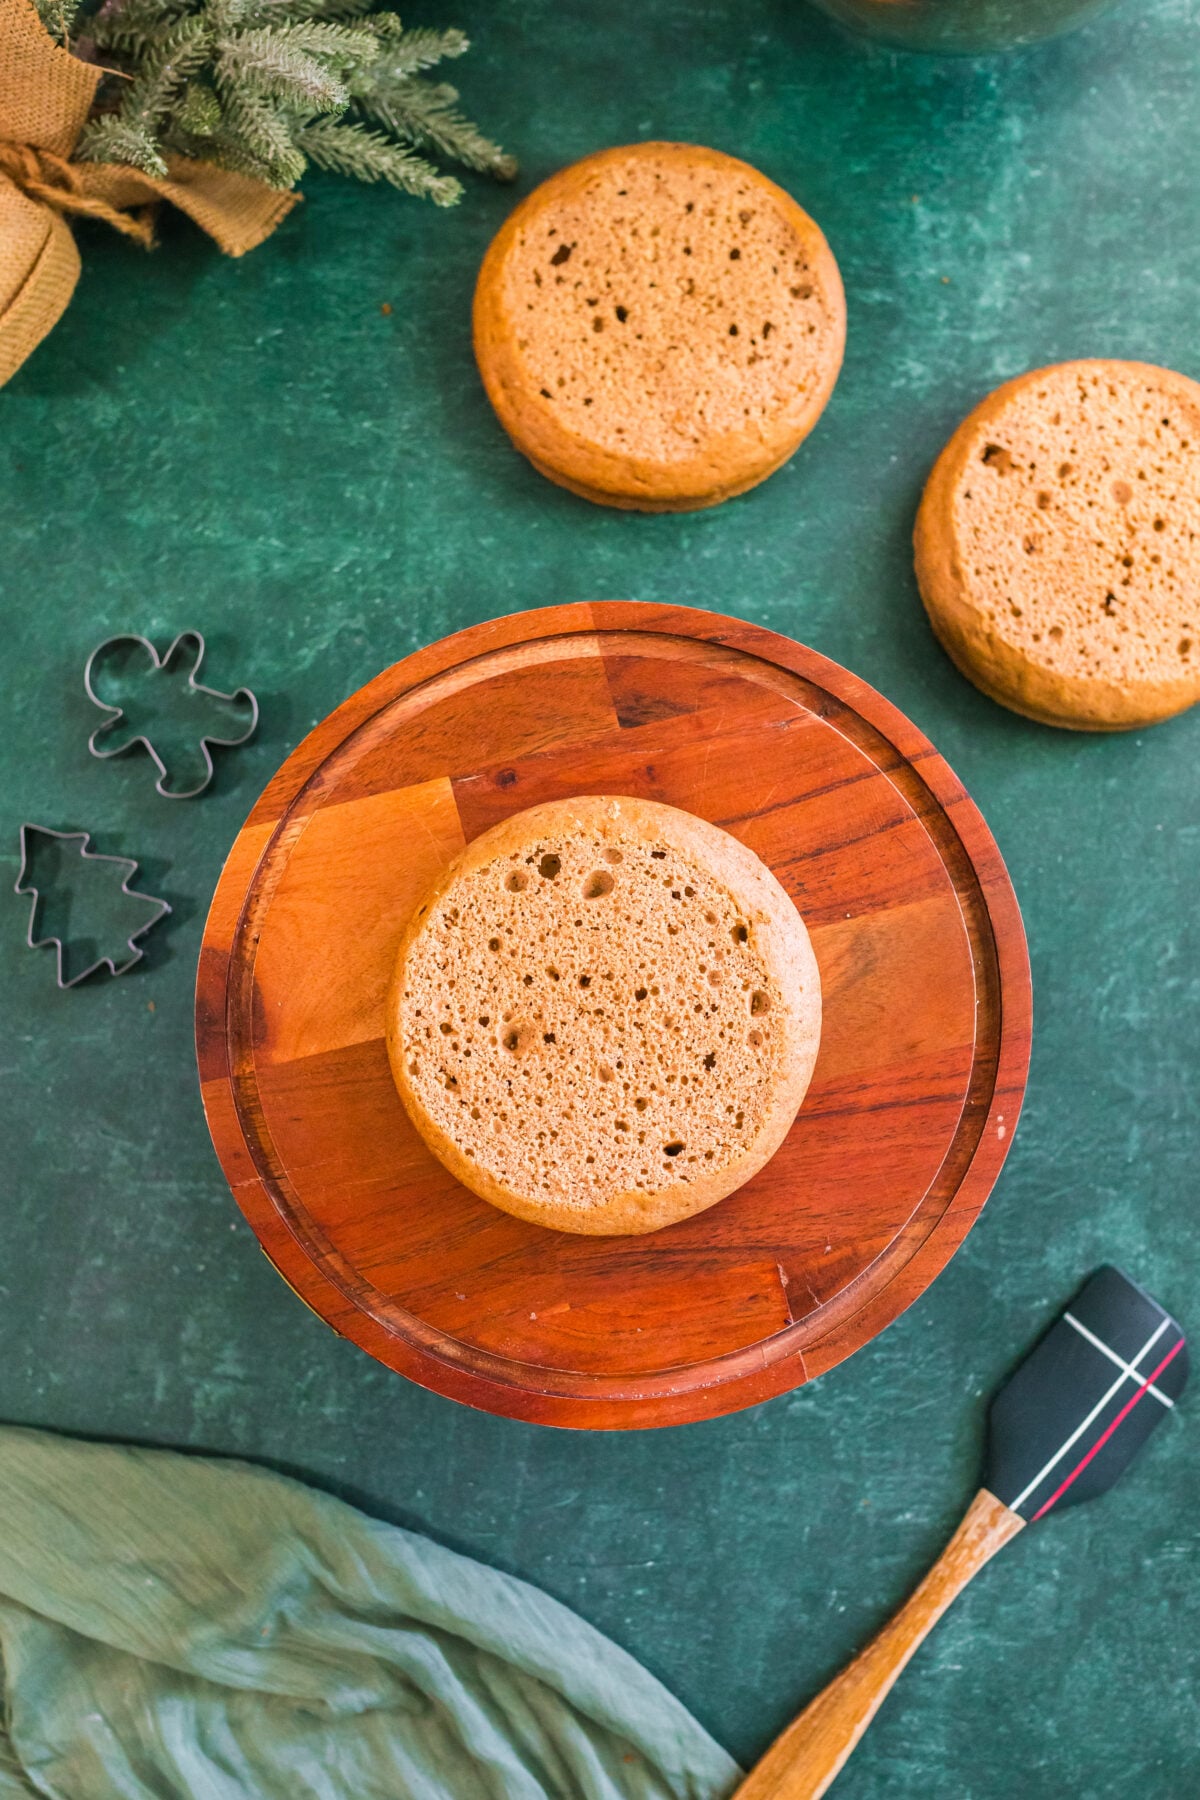
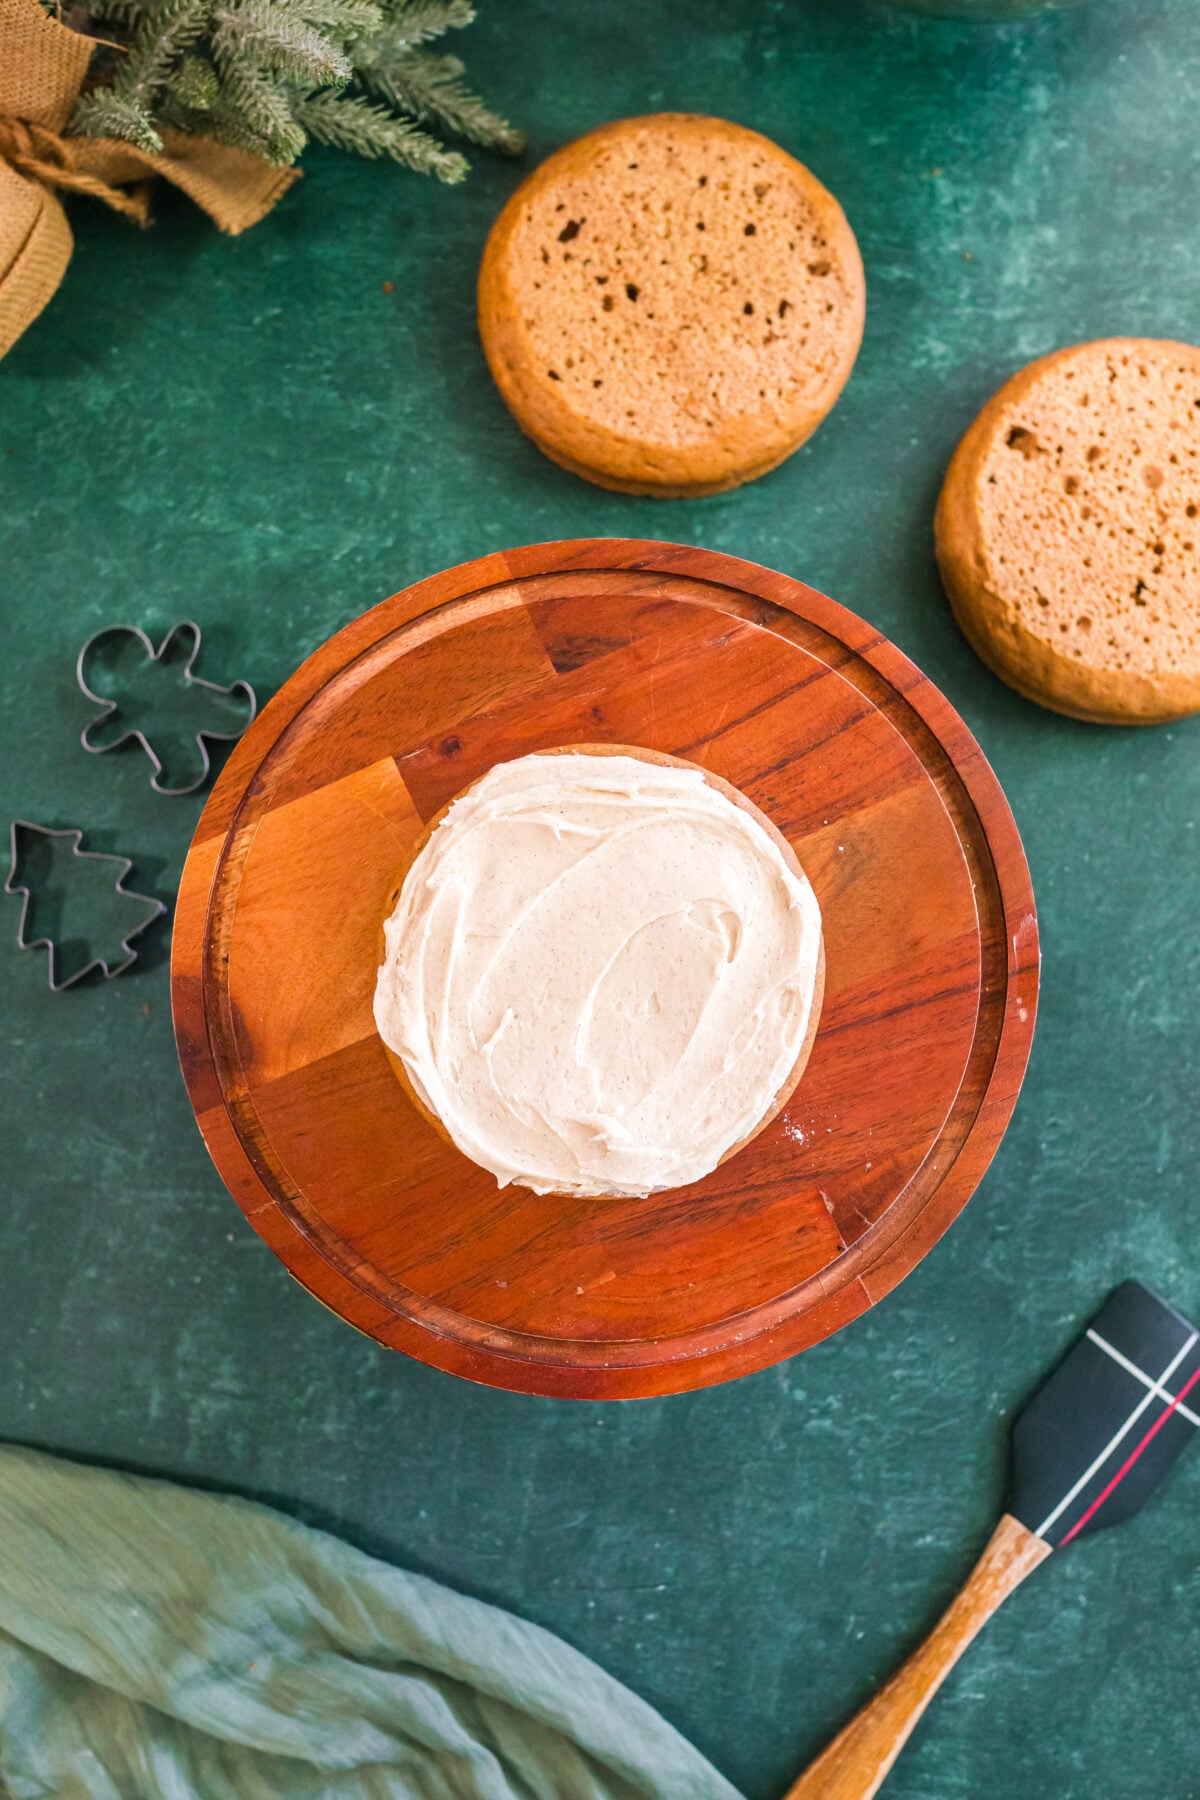
- In the center of a cake stand, spread about 1 tbsp of frosting.
- Place your first cake layer on the cake stand, in the center.
- Generously frost the top of the cake, then add the second layer.
- Frost that top too then add the third layer.
- Frost the entire cake in a thin layer, scraping it smooth with a cake scraper. This will be your crumb coat.
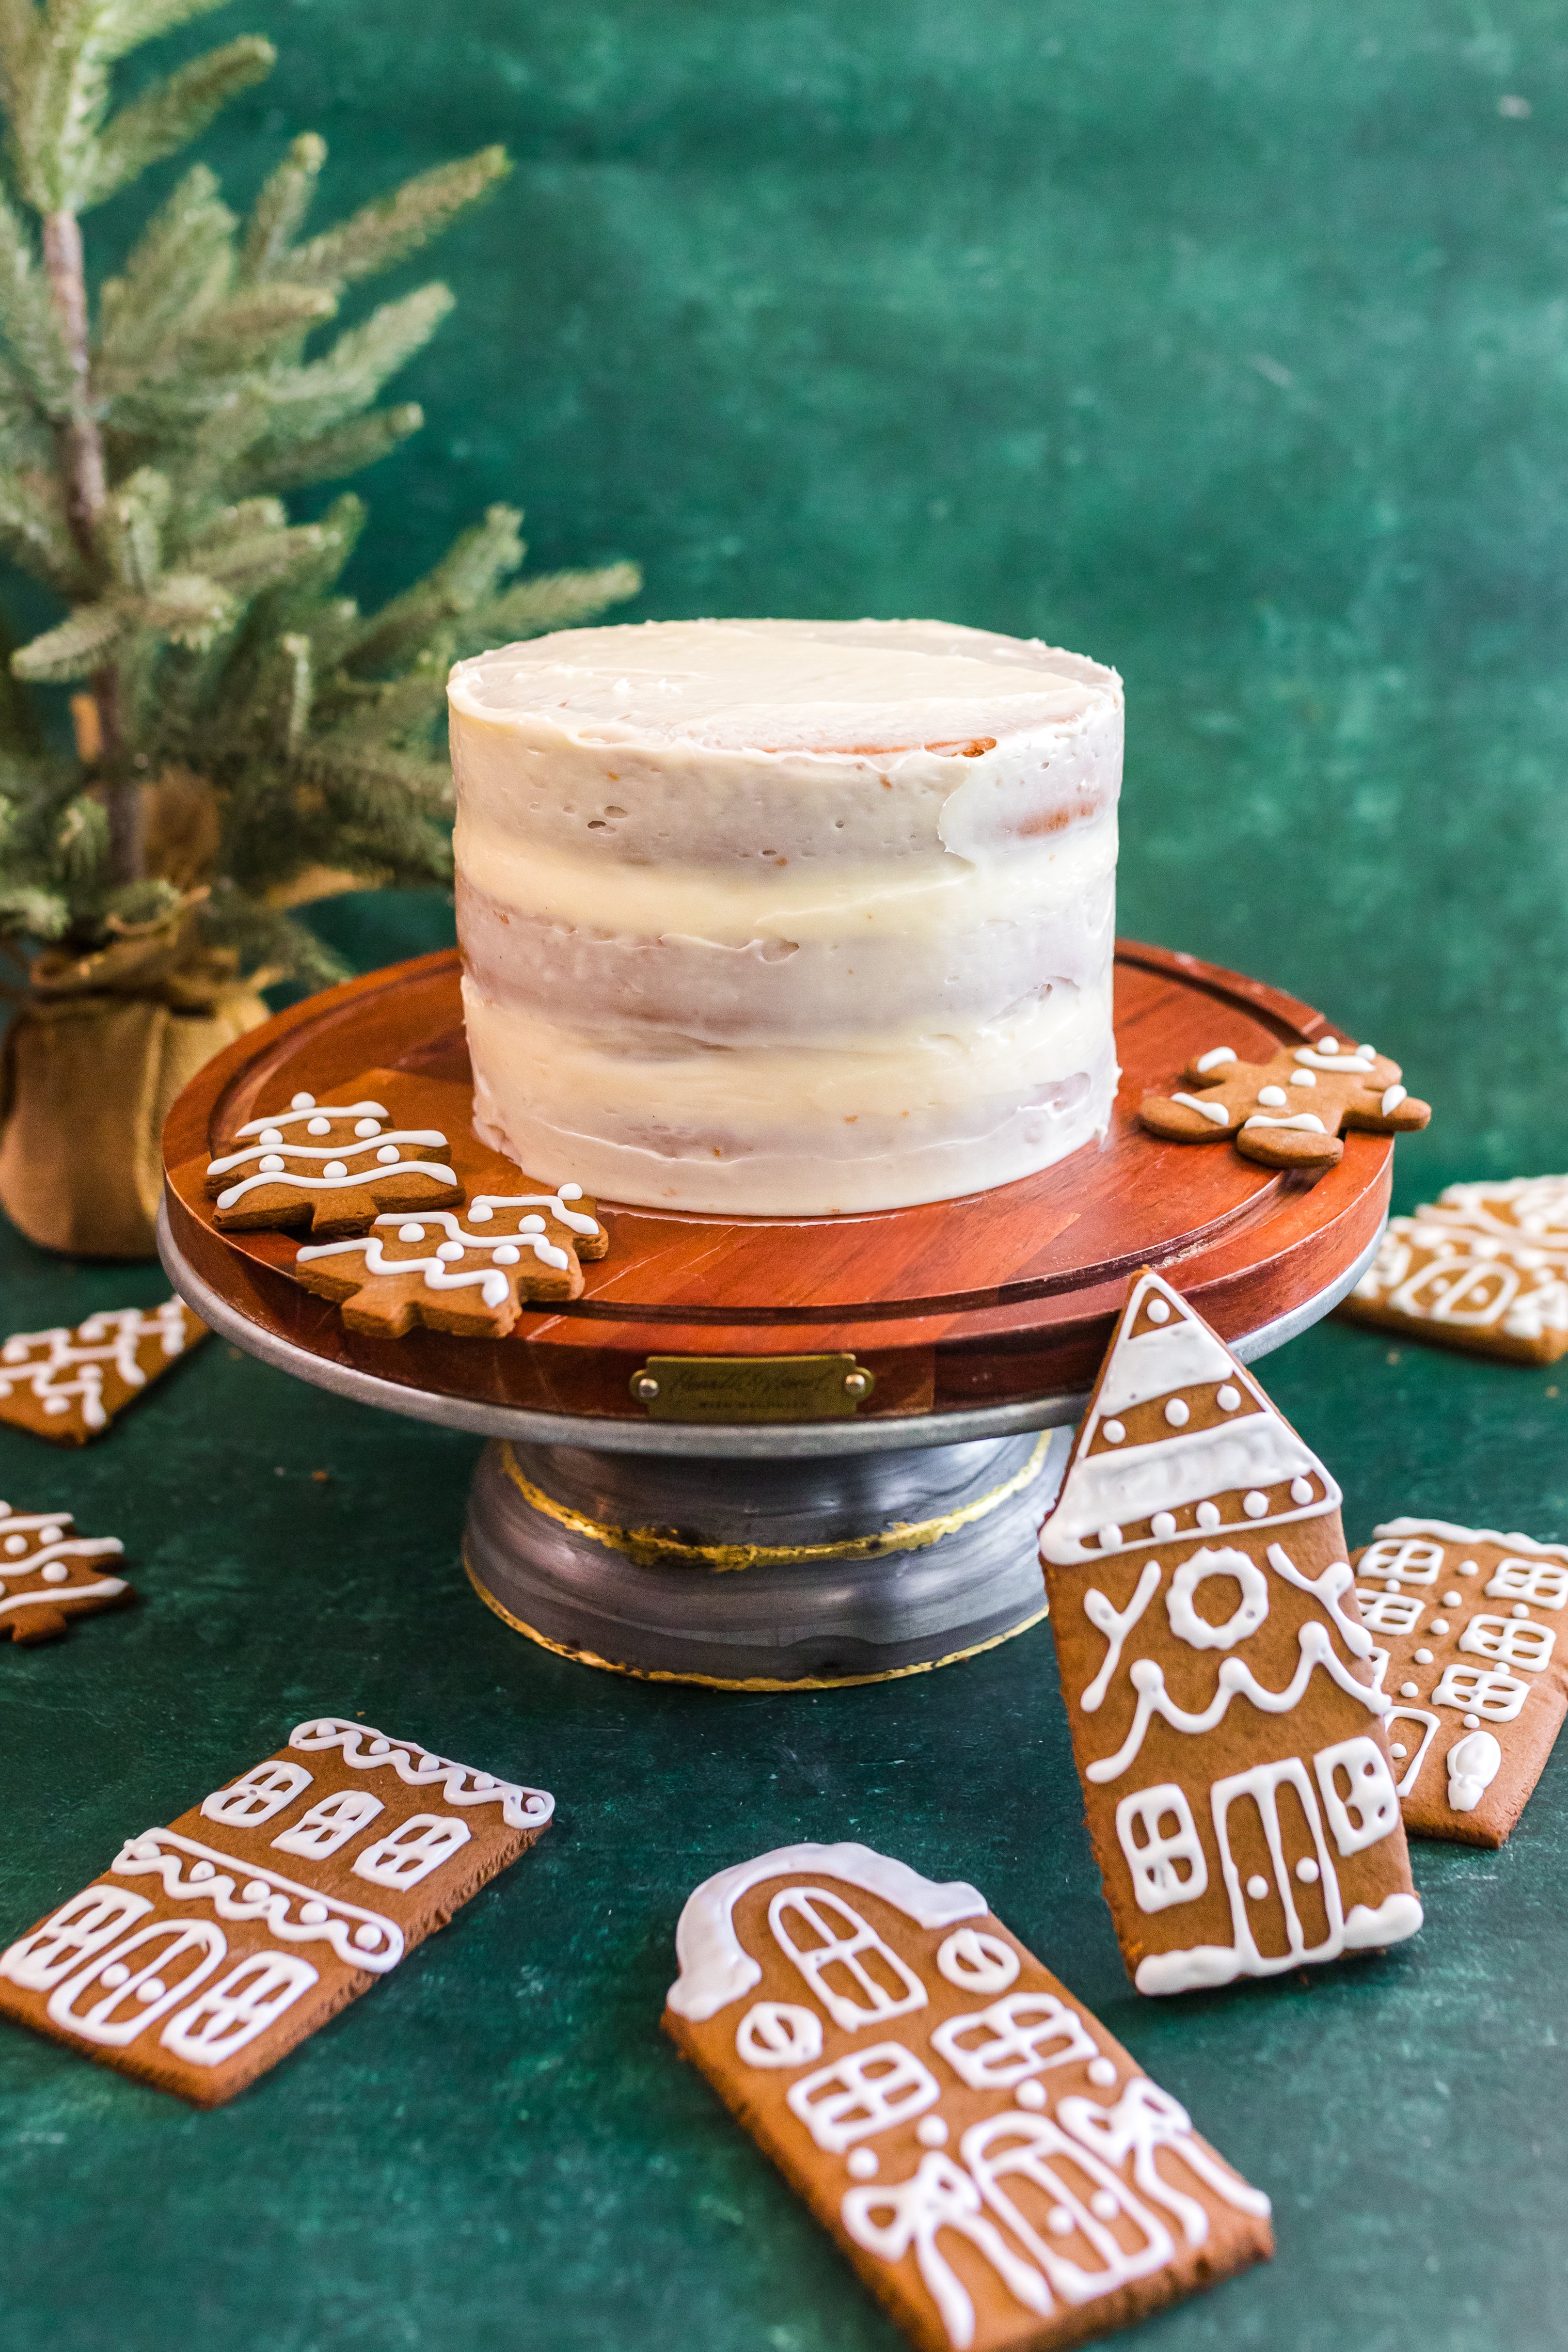
- Place the entire cake in the fridge for about 15 minutes.
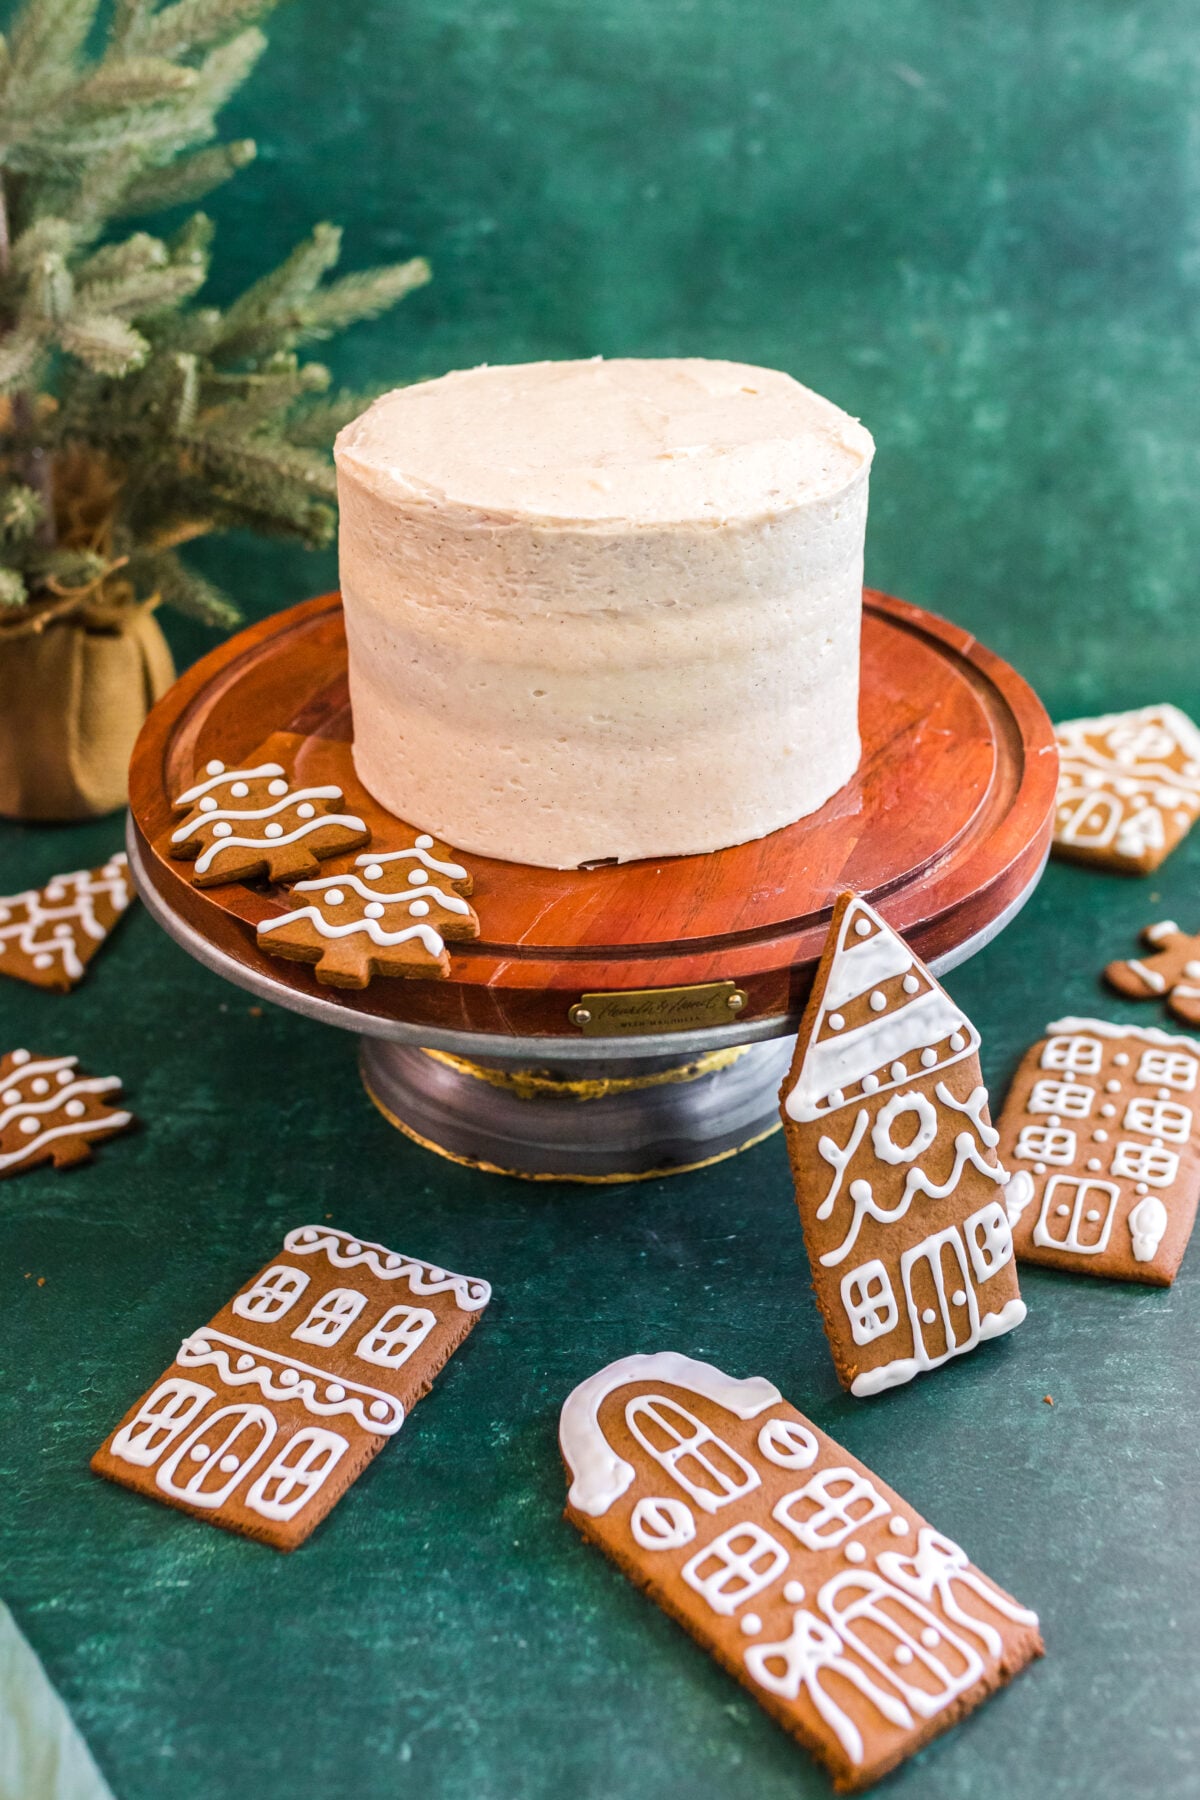
- After 15 minutes, remove the cake from the fridge then use the remaining frosting (reserving a few tbsp) to frost the entire cake again. Scrape the frosting smooth with the cake scraper.
Day 2: Gingerbread Village
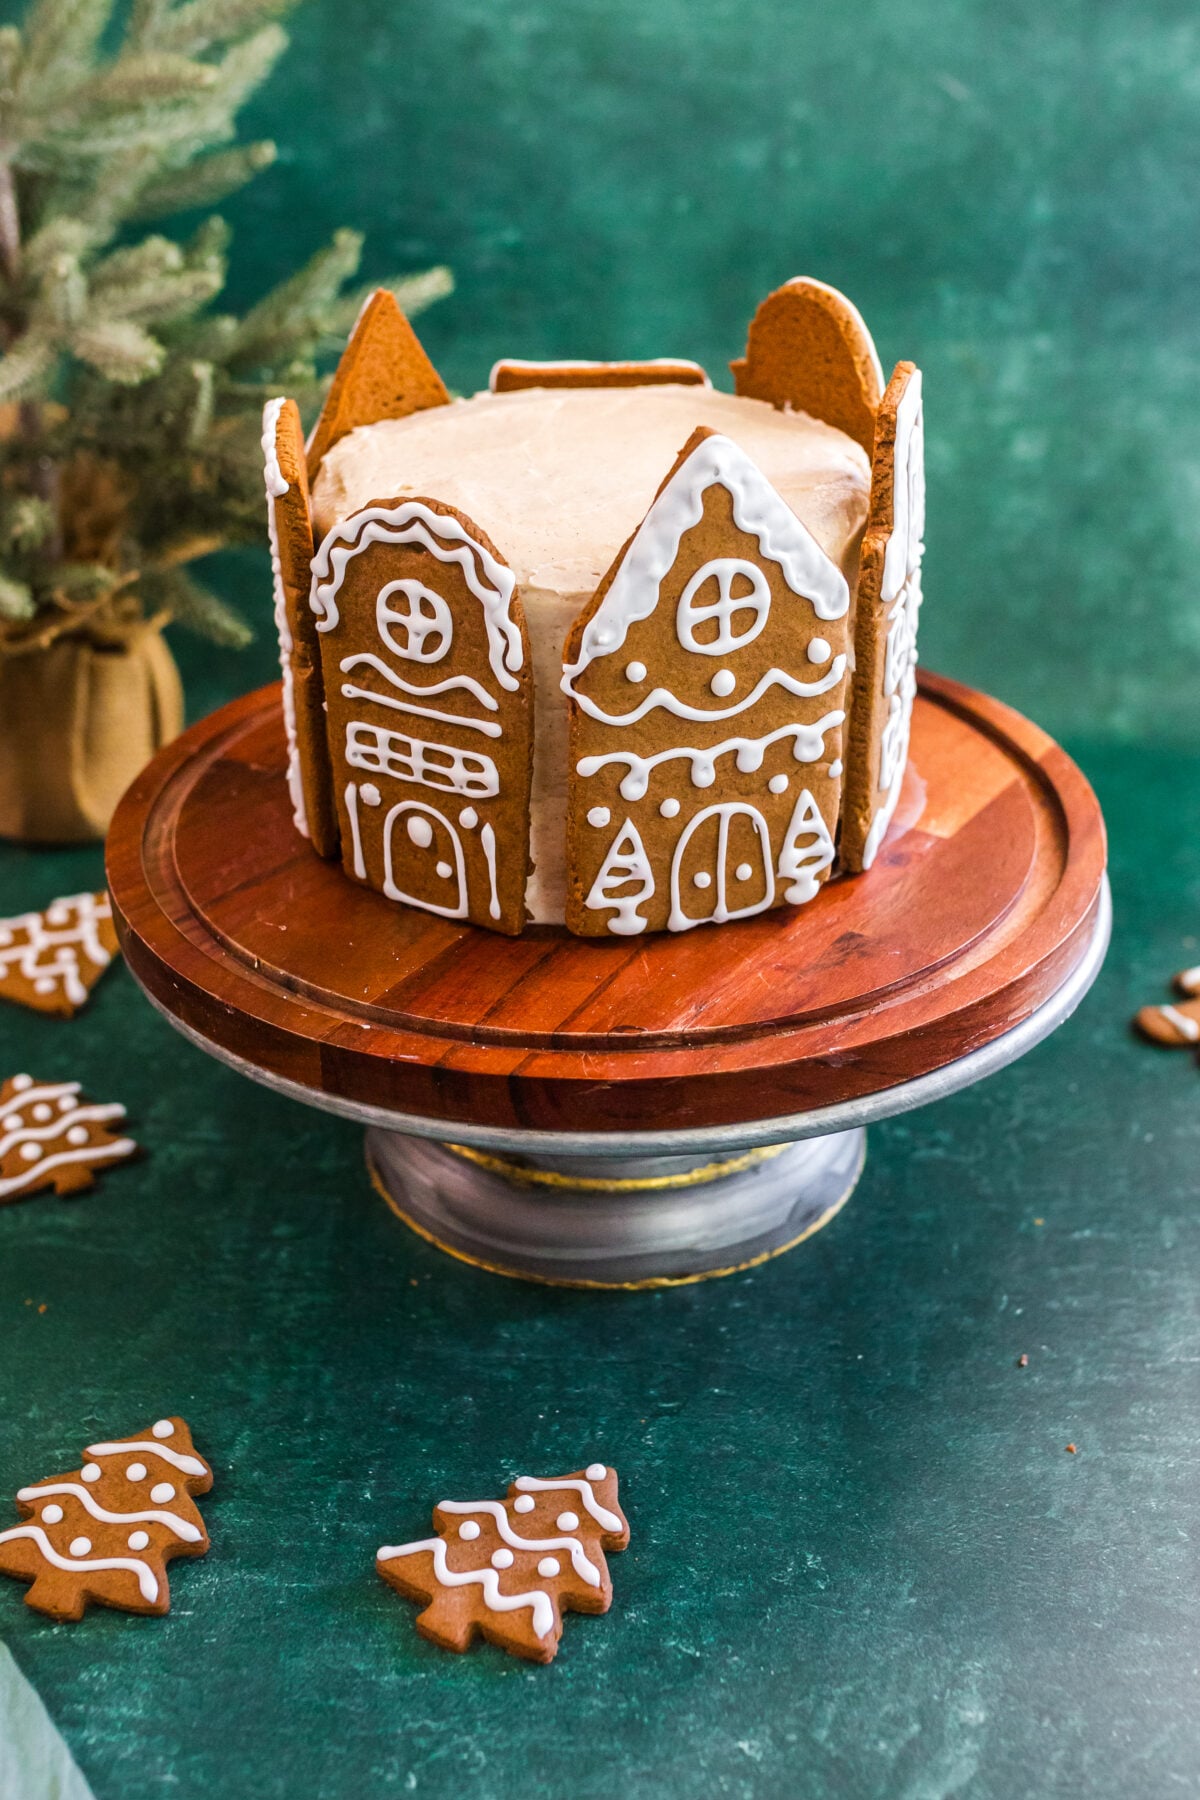
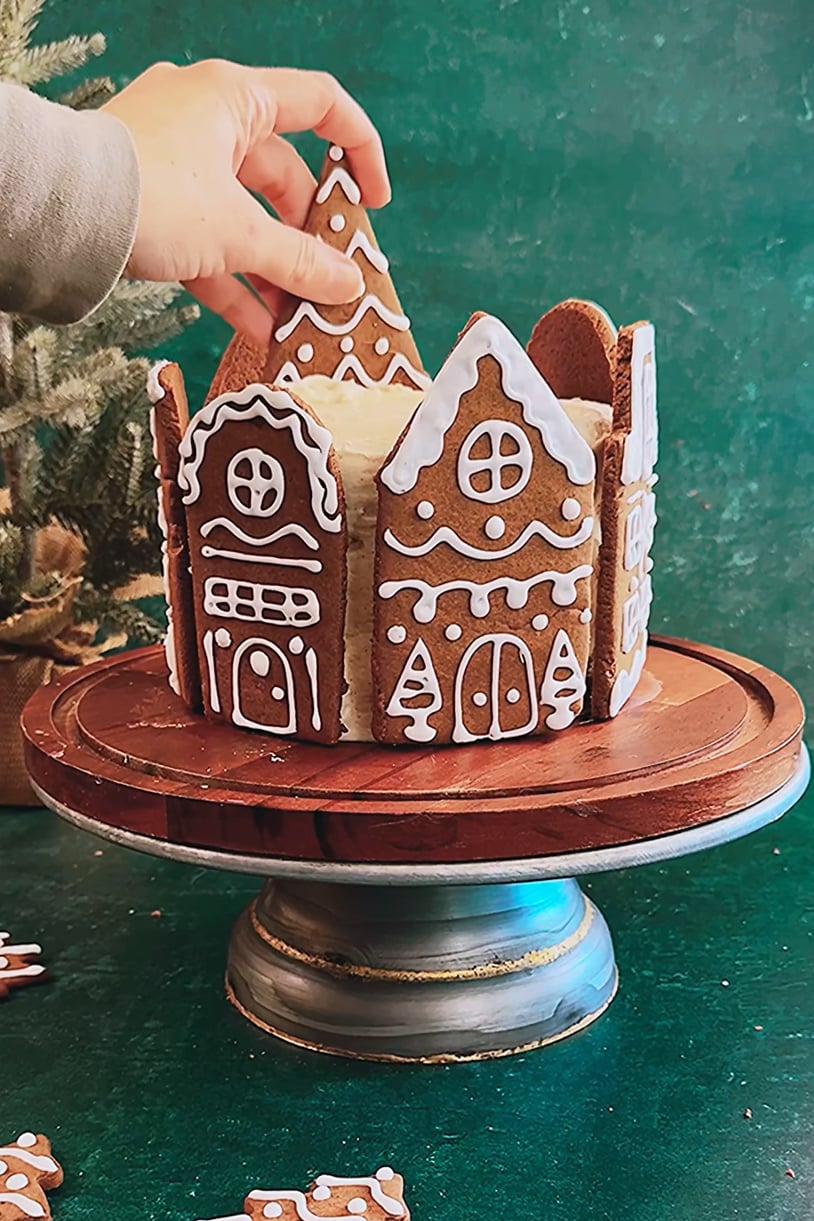
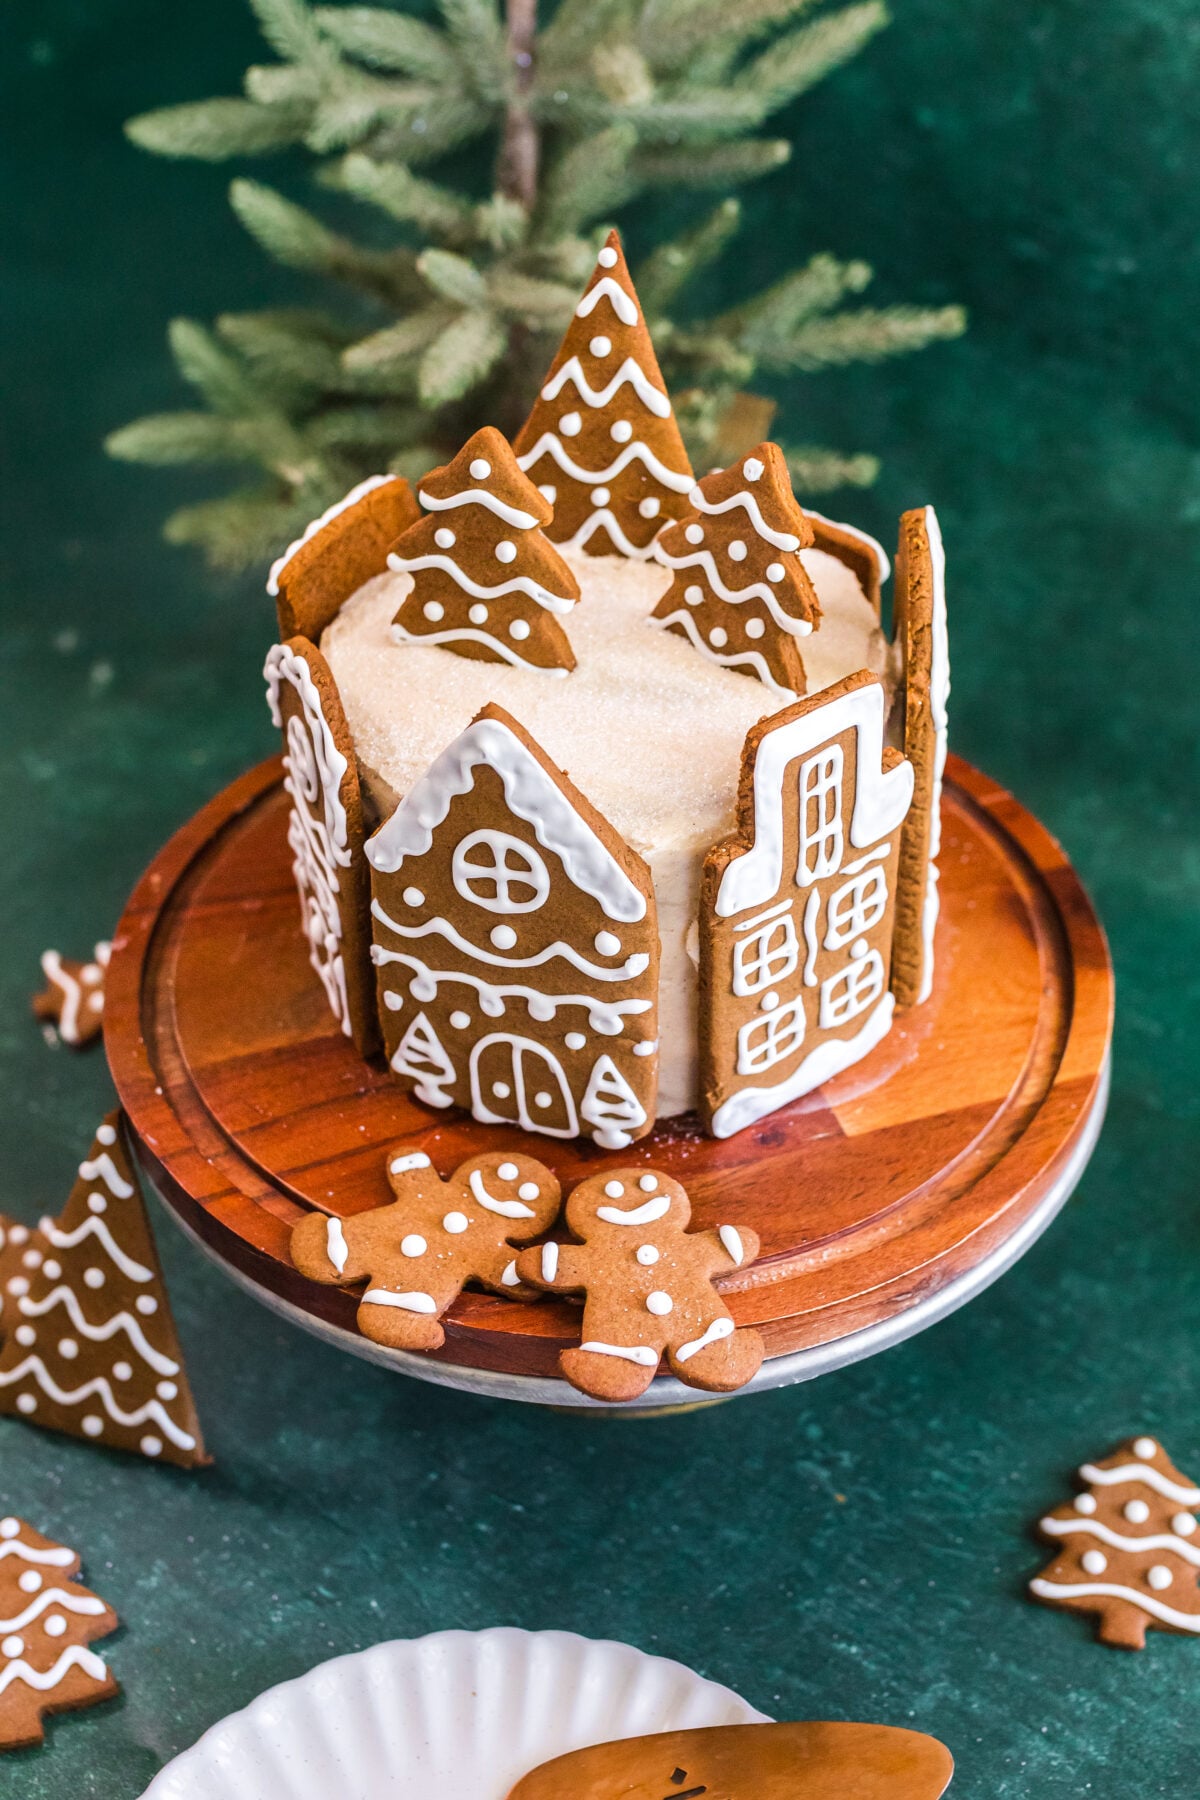
- Dab a little frosting on the back of each gingerbread building and press it gently against the side of the cake. Work your way all the way around.
- While the top is still soft, press your gingerbread trees straight down into the frosting, about an inch in from the edge. Push them in far enough that the bottom point disappears, then pipe a small dab of the reserved frosting at the base of each one to shore them up.
- Optional, but add some white sparkling sugar to the top for “snow.”
- Serve and enjoy!
Pro Tips for the Cake
- Lining the pans with parchment paper is another great option to prevent sticking. Sometimes I line the bottom with parchment, then use nonstick spray on the sides.
- Trim your cakes so each one is an even layer before stacking. Flat tiers are what keep your village standing straight instead of leaning.
- Let the cake fully cool before frosting. Warm cake will melt the frosting and your layers will slide right off each other.
- Other pan sizes. This recipe makes enough batter to divide evenly between two 7-inch or 8-inch pans, though the finished layer cake won’t be as tall. For more servings, double the cake recipe and divide it between two 9-inch or 10-inch round pans. Going with the larger pans? Bake with cake strips so the tops come out more level.
- No layer cake, no problem. You can use this same recipe in a bundt pan to make a Gingerbread Bundt Cake, then build the village around the outside edges. Easy peasy, and it’s a great option when you don’t feel like stacking anything.
Pro Tips for the Gingerbread
- Bake and ice the gingerbread cookies the day before. This is the single biggest thing that makes this cake easy instead of stressful. Tacky icing will smear the second a cookie touches frosting.
- Your buildings should be about the same height as the stacked cake, or just slightly shorter. Measure your stacked, frosted cake before you cut the dough.
- Chill the cake for 10 minutes right before you attach the buildings. Firm frosting grips better.
- Bake a couple of extra buildings. Cookies break, and it’s nice to have spares instead of starting over.
- Keep your trees small. The cutter-sized ones are light enough to stand up in frosting with no props at all. Big heavy trees are the ones that lean.
- Roll your dough on parchment and slide the whole sheet onto the pan. Moving 6-inch cutouts by hand is how they crack.
Variations
- Different cake flavor. Carrot, butter pecan, or plain yellow cake all work. Spice cake just plays nicest with the gingerbread.
- Trees only. Skip the buildings and ring the whole cake with gingerbread trees for a snowy forest look. Faster, and just as pretty.
- Snow finish. Sift powdered sugar over the finished cake right before serving.
- Candy details. Little candies pressed into the icing on the buildings make great wreaths and door knobs.
- From scratch. Use your favorite scratch spice cake recipe in place of the doctored mix. Any recipe that works for you is the right one.
Serving Suggestions
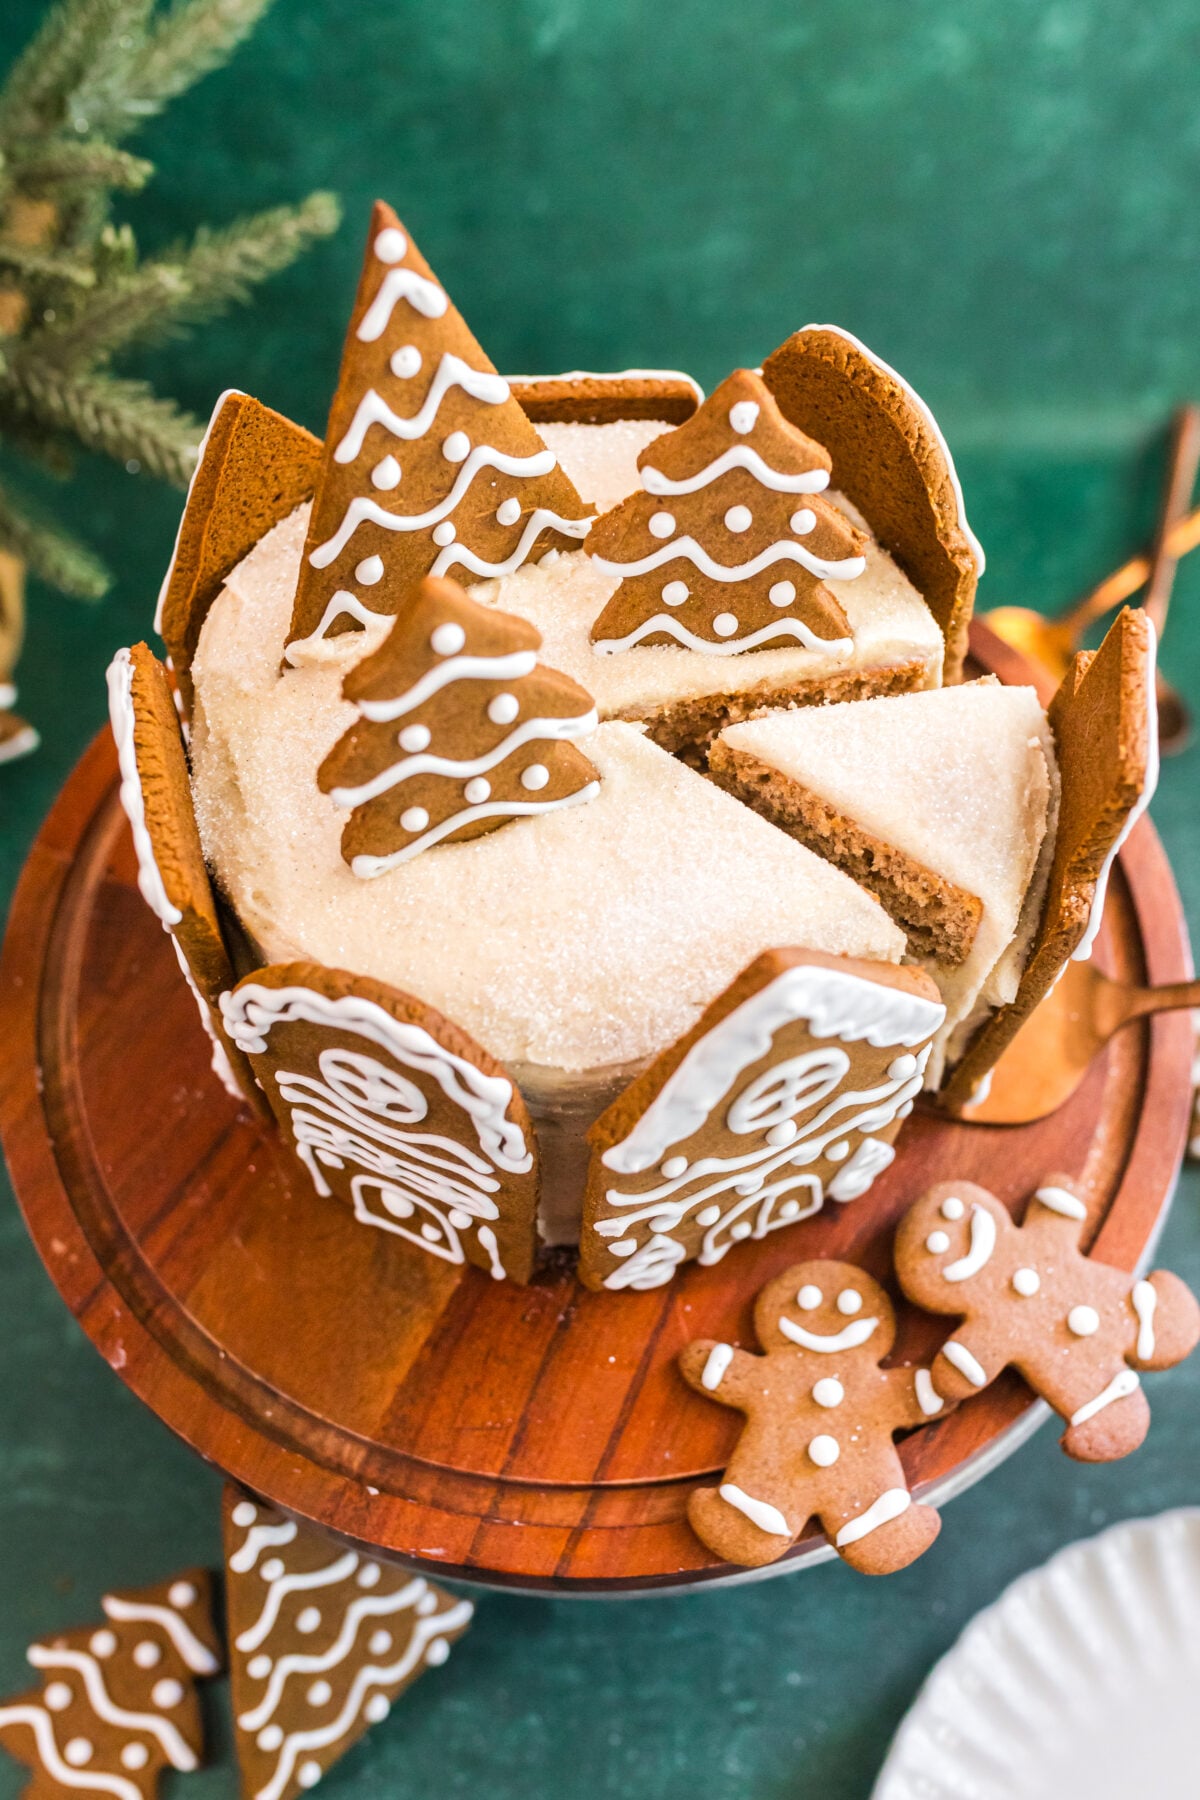
This cake is rich, so slices go a long way. It’s lovely with hot coffee, hot chocolate, or a glass of cold milk for the kids. For a holiday dessert table, set it out alongside a plate of Iced Gingerbread Cookies made from the extra dough, and you’ve got a whole spread from one batch.
Storage Directions
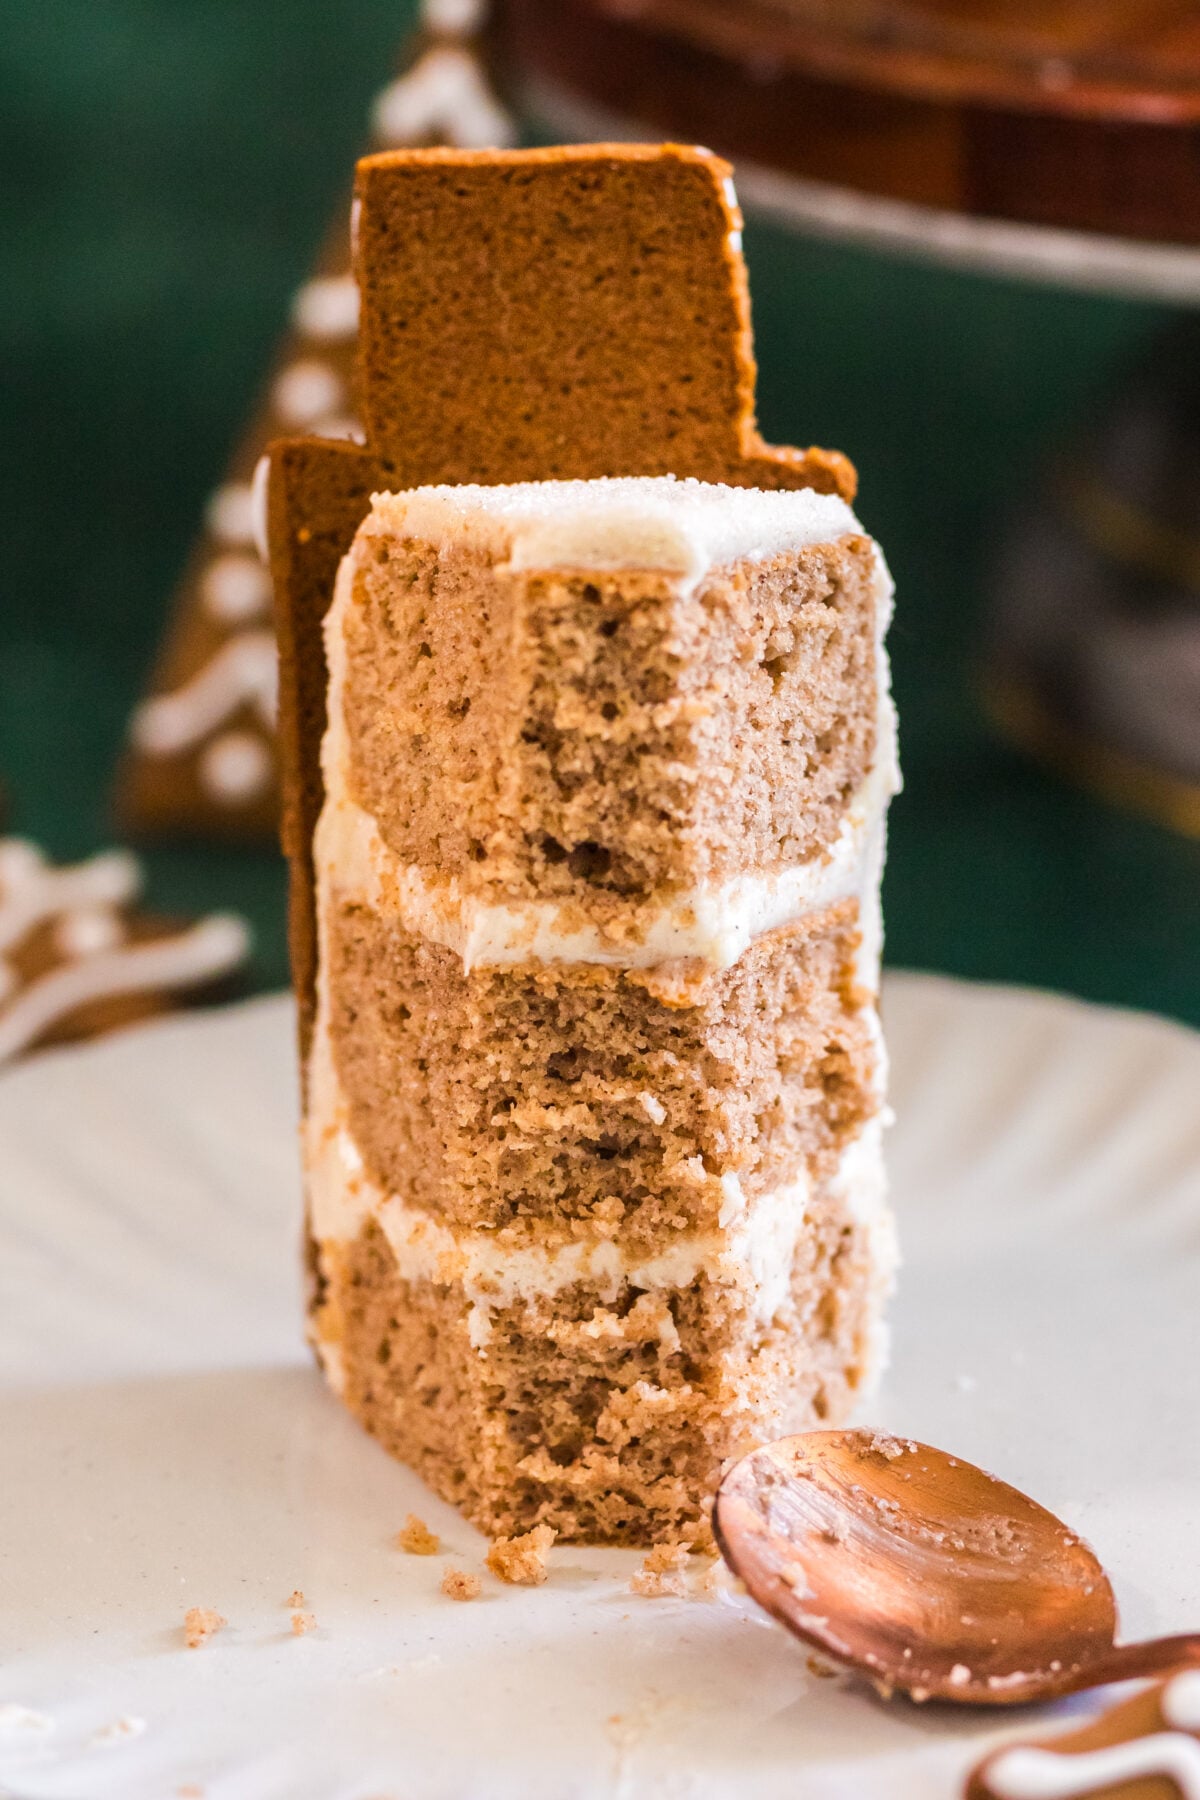
Store the finished cake in an airtight container, or wrap it well in cling film, for 3 to 4 days. The cookies will soften a little where they touch the frosting, which is honestly kind of nice.
You can bake the cake tiers ahead, wrap them tight, and freeze them for up to 3 months. The gingerbread dough freezes beautifully too, just wrap it really well in cling film.
FAQ
Can I make this ahead of time? Not only can you, you should. The gingerbread buildings need to be baked and iced ahead so the icing sets up hard, and they’ll keep in an airtight container up to a week. Bake the cake tiers a day or two ahead too. Then it’s just frosting and assembly the day of.
Can I do the whole thing in one day? You can, but plan on the cookies first thing in the morning and give the icing a good four to six hours to harden before you start assembling. Splitting it across two days is a lot more relaxed.
Do I have to use a cake mix? Nope. Use any spice cake recipe you love. The doctored mix is just my easy route.
How many buildings do I need? It depends on how wide you make them. Six to eight buildings usually goes all the way around a 6-inch cake with a couple of trees left over for the top.
My cookie shapes spread in the oven. What happened? The dough was probably too warm. Pop the cut shapes back in the fridge for 10 minutes before baking and they’ll hold their edges.
My trees won’t stand up. Help? Press them deeper into the frosting, then get the cake in the fridge for 20 minutes. Cold frosting holds them beautifully. Traveling with the cake or setting it out for a long party? Tape a lollipop stick to the back of each tree with a little melted white chocolate, let it set for 10 minutes, and push the stick down into the cake instead. Just remember to pull the sticks out before you slice.
Can I use royal icing instead of cookie icing? Yes. Royal icing dries hard and pipes beautifully. Store-bought cookie icing is just the shortcut version, and it does the same job.
Will this work with buttercream instead of cream cheese frosting? It will, and buttercream actually holds the buildings a little more firmly. You’ll lose that tangy note that pairs so well with the spice cake, so it’s a trade.
A Sweet Little Christmas Cake
There’s something about a gingerbread village that makes Christmas feel like Christmas. This one gives you all of that charm with a fraction of the fuss, and it comes out of a box mix, which I will never apologize for.
Make it yours. Crooked windows, extra trees, however many buildings you feel like cutting. It’s going to be beautiful and it’s the perfect Christmas dessert centerpiece.
Happy Caking!
⭐⭐⭐⭐⭐ Tried one of my recipes? Please take a moment to leave a comment and a star rating, it helps me grow my blog and I’d be so grateful!
More Delicious Recipes
Spice Cake with Cream Cheese Frosting (Gingerbread Village Cake)
Description
This Spice Cake recipe is easy (doctored cake mix) and delicious! It’s also the perfect recipe to use when building this adorable Gingerbread Village Cake that is perfect for your Christmas celebrations!
Ingredients
Gingerbread House Cookies
I recommend making the gingerbread house cookies a day ahead of the cake or at least earlier in the day so you have time to let them cool, decorate them, etc. before starting on the cake! Find the full recipe and tutorial here or you can use any recipe for a classic gingerbread cookie that you already love to make the house cookies.
Gingerbread Buildings
- 3/4 cup unsalted butter, softened
- 1/2 cup brown sugar
- 1 large egg, room temperature
- 1/3 cup molasses
- 3 cups all-purpose flour
- 1 tsp baking soda
- 1/2 tbsp ground ginger
- 1/2 tbsp ground cinnamon
- 1 tsp ground cloves
- 1 tsp ground nutmeg
- 1/2 tsp finely ground sea salt
For Decorating
You’ll need cookie icing that sets up hard – store-bought icing or you can make homemade:
- 2 cups powdered sugar
- 2 tablespoons milk or water
- 1 tablespoon light corn syrup
- 1/2 teaspoon vanilla extract
Spice Cake Tiers (three 6-inch)
- 1 box Betty Crocker spice cake mix
- 1/3 cup melted butter
- 4 eggs
- 1 cup water
- 1 tsp maple extract
Cinnamon Cream Cheese Frosting
- 1 (8 oz) block cream cheese, room temperature
- 1 stick unsalted butter (1/2 cup), room temperature
- 4 to 5 cups powdered sugar
- 1 tsp ground cinnamon
- 2 tsp vanilla bean paste
Instructions
Cookies (make these first, ideally a day ahead)
- In the bowl of a stand mixer, cream the butter and sugar together until smooth.
- Add in the molasses and egg. Mix until incorporated.
- In a separate bowl, combine the flour, ground ginger, cloves, cinnamon, nutmeg, sea salt, and baking soda.
- With your mixer on low/medium, slowly add in the flour mixture. You might need to increase the mixer’s speed as your dough thickens.
- Once the dough is fully mixed, wrap your dough in cling film and place in the fridge for 10 minutes.
- Preheat your oven to 350°F and line a baking sheet with parchment or a silicone baking mat. Set aside.
- After 10 minutes, roll out your dough on a floured surface to ¼ inch thick.
- Use a toothpick to trace the outline of your building shapes. Each building will be about 6 inches tall.
- Use a knife to cut out the buildings from the dough and use a Christmas tree cookie cutter to cut out a few trees as well.
- Bake for 10 minutes.
- Allow to cool completely, then ice the buildings however you please (windows, doors, wreaths, snowy roof, etc).
- Let the iced cookies sit out overnight until the icing is completely hard, then store flat in an airtight container until assembly.
Cookie Icing (if not using store-bought)
- Stir everything together until smooth.
- Add a few drops of liquid if the icing is too thick.
- Decorate the cooled cookies and leave them uncovered overnight to harden completely.
Frosting
- In the bowl of a stand mixer, cream together the butter, cream cheese, vanilla, and cinnamon until smooth and free of lumps.
- Add in the powdered sugar, one cup at a time, until you’ve reached your desired consistency.
Cake Construction
- In the center of a cake stand, spread about 1 tbsp of frosting.
- Place your first cake layer on the cake stand, in the center.
- Generously frost the top of the cake, then add the second layer.
- Frost that top too, then add the third layer.
- Frost the entire cake in a thin layer, scraping it smooth with a cake scraper. This will be your crumb coat.
- Place the entire cake in the fridge for about 15 minutes.
- Remove the cake from the fridge, then use the remaining frosting (reserving a few tbsp) to frost the entire cake again. Scrape the frosting smooth with the cake scraper.
- Spread a little dab of frosting onto the back of each finished gingerbread building and place it against your cake, lining them all the way around.
- While the frosting is still soft, press your Christmas tree cookies straight down into the top of the cake, about an inch in from the edge. Pipe a small dab of the reserved frosting at the base of each.
- Chill the finished cake for about 20 minutes so the frosting sets around the trees.
- Serve and enjoy!
Notes
- Make the gingerbread buildings first, ideally the day before. The icing has to be completely hard before the cookies touch the frosted cake.
- Line the bottoms of your pans with parchment and spray the sides to keep the cakes from sticking.
- Make sure to level out your cake tiers before stacking.
- Let the cake fully cool before frosting. Warm cake will melt the frosting and your layers will slide.
- It helps to split the gingerbread dough in half before rolling.
- This cake will keep in an airtight container or wrapped in cling film for 3 to 4 days.



Notes
- Lining the pans with parchment paper is another great option to prevent sticking! Sometimes I line the bottom with parchment then use the nonstick spray on the sides.
- Make sure to trim your cakes so that each one is an even layer before stacking!
- Let the cake fully cool before frosting. If the cake is still warm, the frosting will melt and your cake layers will slide.
- With this recipe, you’ll also have enough batter to divide it evenly between two 7-inch or 8-inch pans, but the finished layer cake will not be as tall. For more servings, double the cake recipe and divide between two 9-inch or 10-inch round pans. If you do the larger pans, it’s best to bake with cake strips so that the cakes are more level on top. Lastly, if you don’t want to do a layer cake but you have a bundt pan, you could also use this recipe to make a; Gingerbread Bundt Cake and make the village around the outside edges.
Nutrition
- Serving Size:
- Calories: 587
- Sugar: 67.8 g
- Sodium: 273.3 mg
- Fat: 27.2 g
- Carbohydrates: 83 g
- Fiber: 0.8 g
- Protein: 4.9 g
- Cholesterol: 143.1 mg