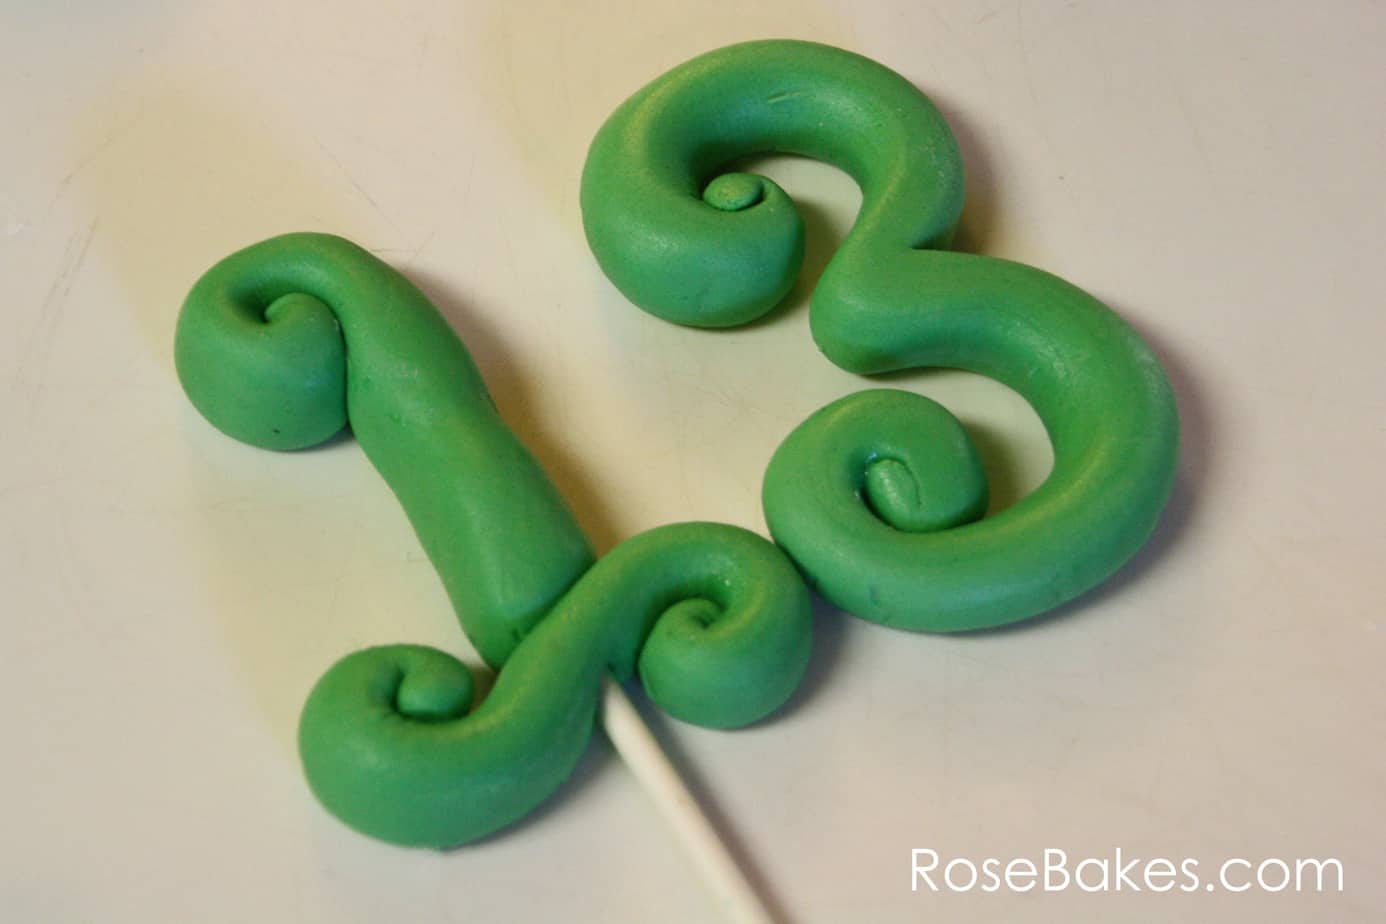
How to Make Fondant Number Cake Toppers
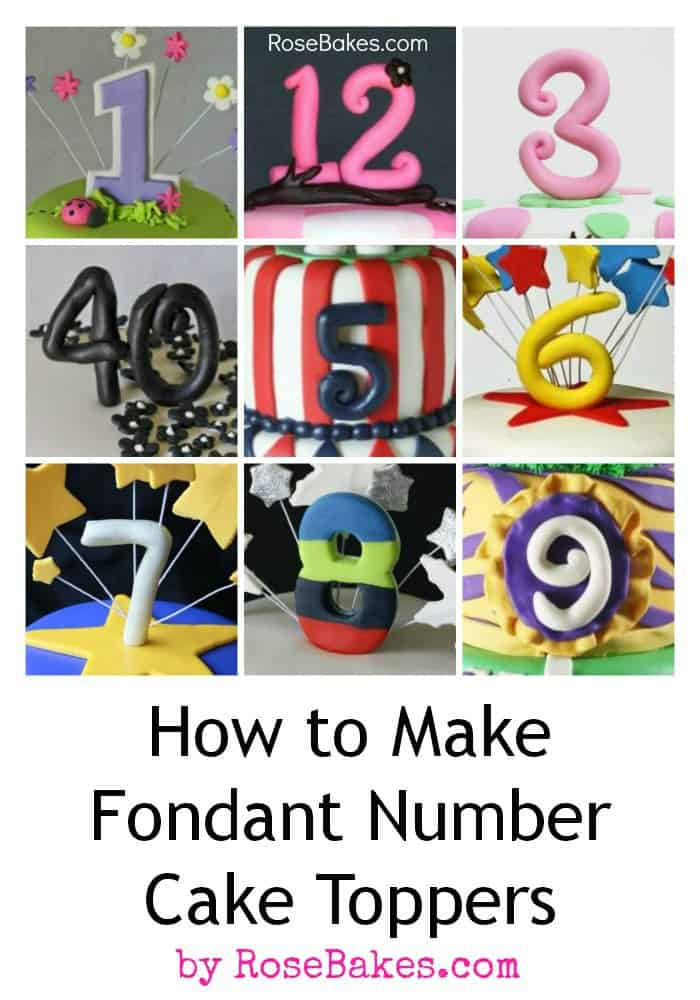
Today I want to show you How to Make Fondant Number Cake Toppers. I realize as I write this, after I’ve fiddled with pictures all morning, that my collage up there might be misleading. I’m not going to show you details on how to make all of those toppers. That would be an extremely long post.
What I am going to show you is how I made the numbers for the School Spirit Basketball Birthday cake. And then I’m going to tell you a few tips for making those other numbers and hope that you can figure it out from there.
As always… if you don’t understand something, feel free to leave me a comment and I’ll answer as best I can!
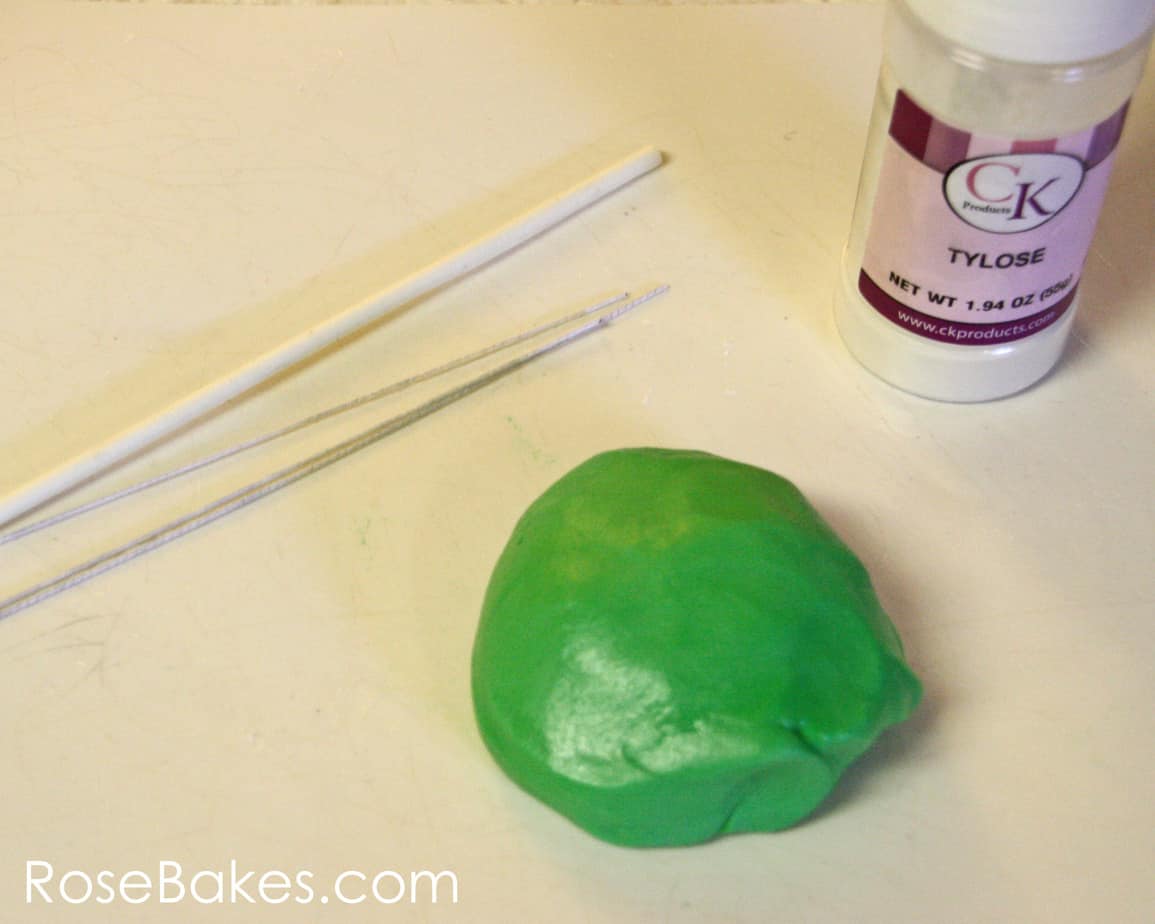
Here are things you *might* need depending on which numbers you’re making (obviously, I don’t have everything in the picture!):
- Fondant and Tylose – if you use fondant (homemade or pre-made), you must use Tylose or something like it (to help the numbers harden!) Read this article on The Sugar Lane for some alternatives and explanations.
- OR Gum Paste – you can use this instead of the fondant and Tylose. I prefer Satin Ice Gum Paste, but Wilton works well also.
- Wires, Lollipop Sticks, Craft Sticks, Wooden Skewers, Coffee Straws, etc. – these are all things I’ve used to put inside or on the back of numbers to hold them up.
- Sugar Glue
- Xacto Knife
- Small Rolling Pin
Today I’m showing you two methods that I use and I’m making a “1” and a “3”. Let’s get started. I’m going to make the “1” first.
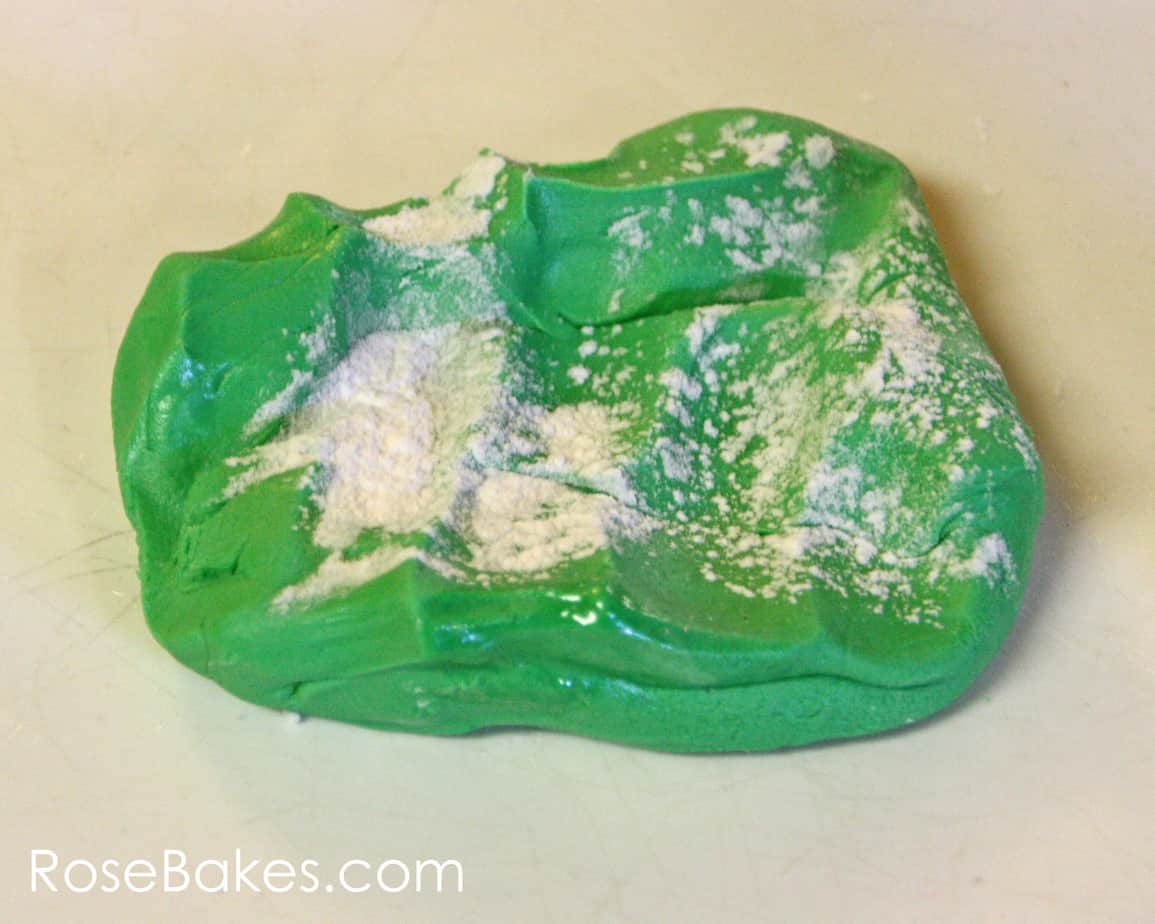
Step 1: I’m using fondant today to match the cake, so I first kneaded in 2-3 tsp. (up to 1 Tbsp.) of tylose into about 1 pound of fondant. I just flatten the ball a little bit, generously sprinkle tylose over it, and then ball it up and knead it for a couple of minutes.
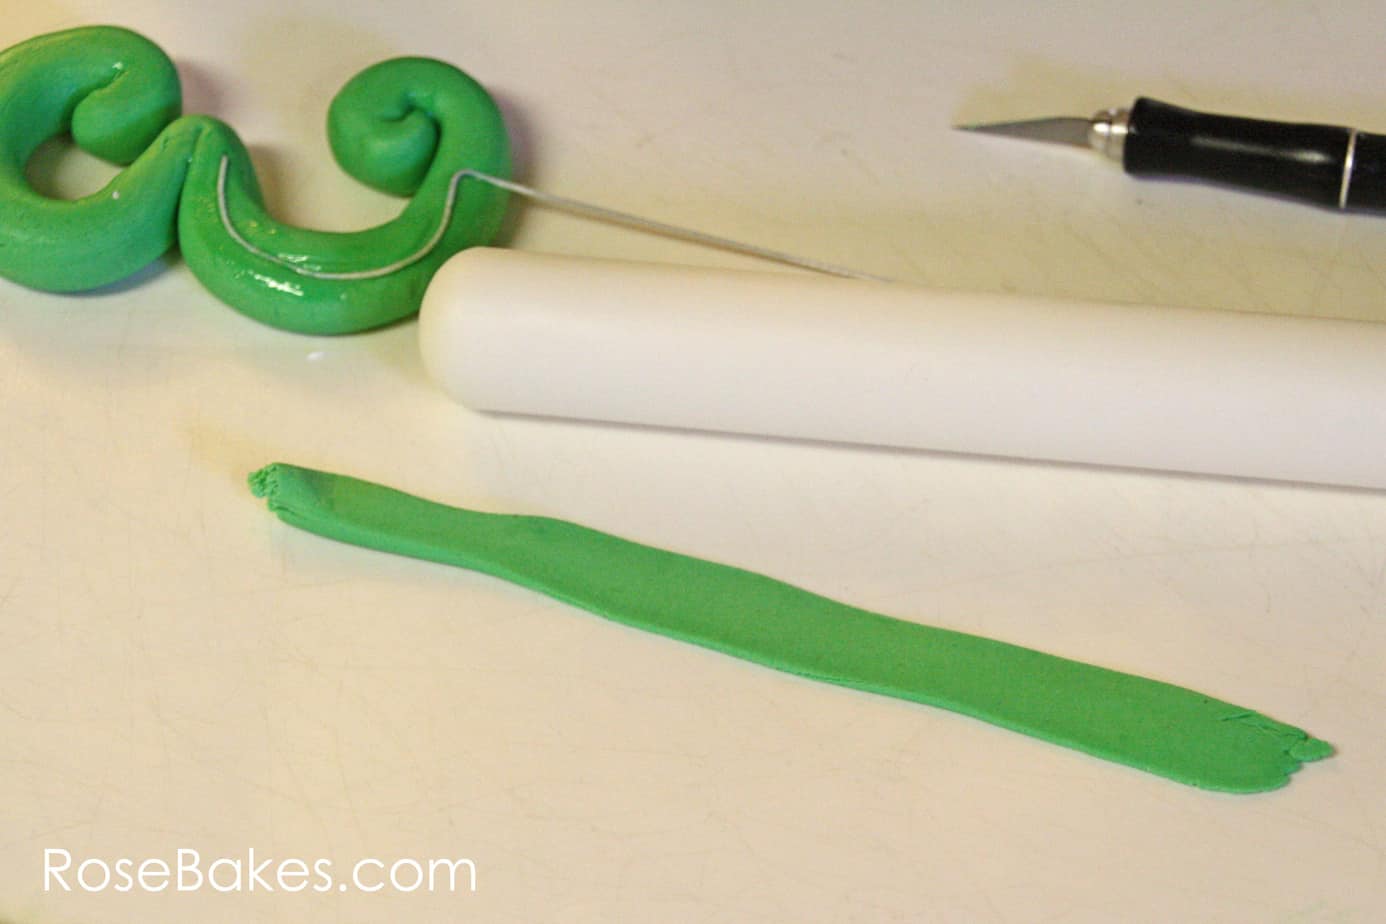
Step 2: Take a small part of your ball of fondant and roll it out into a rope or snake, maybe 6-8 inches long and a little bigger around than my pinky finger. Note: I like my numbers to be about 3″ tall.
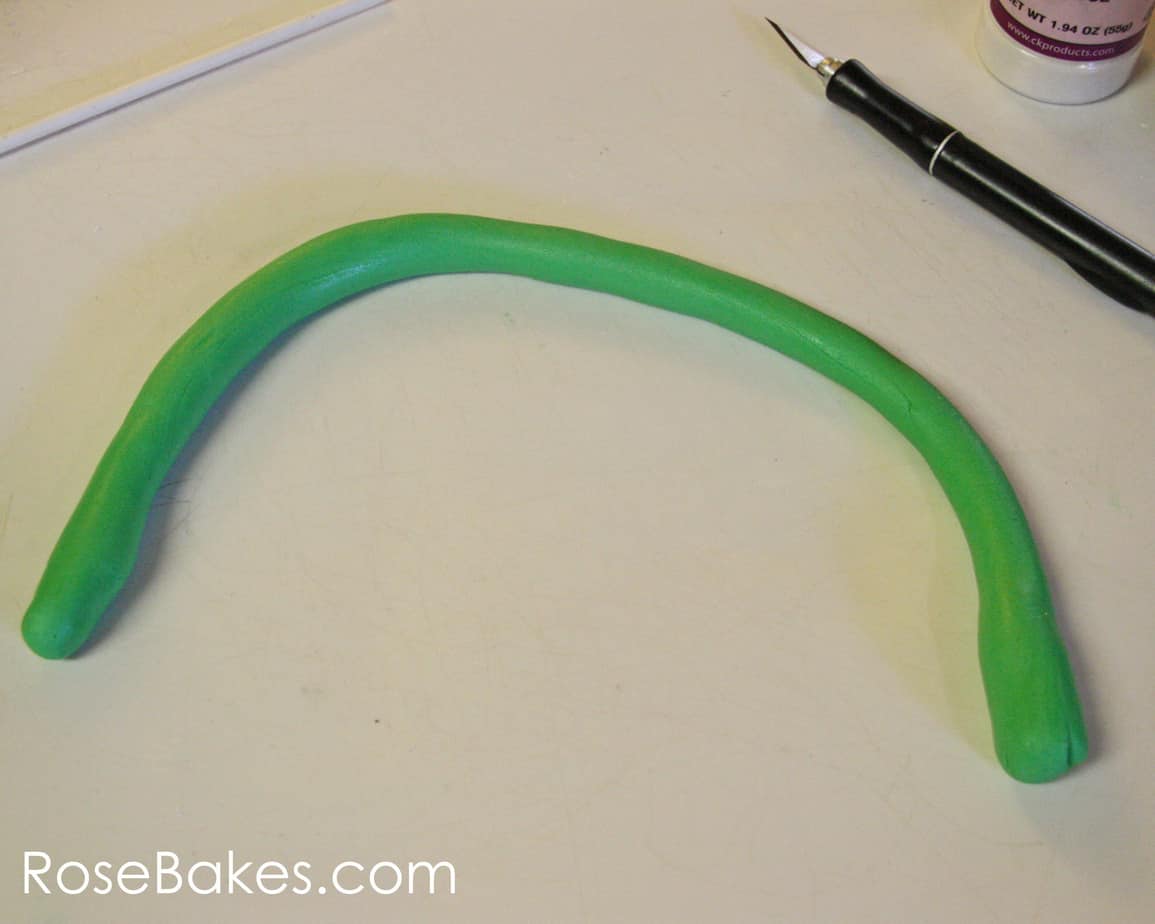
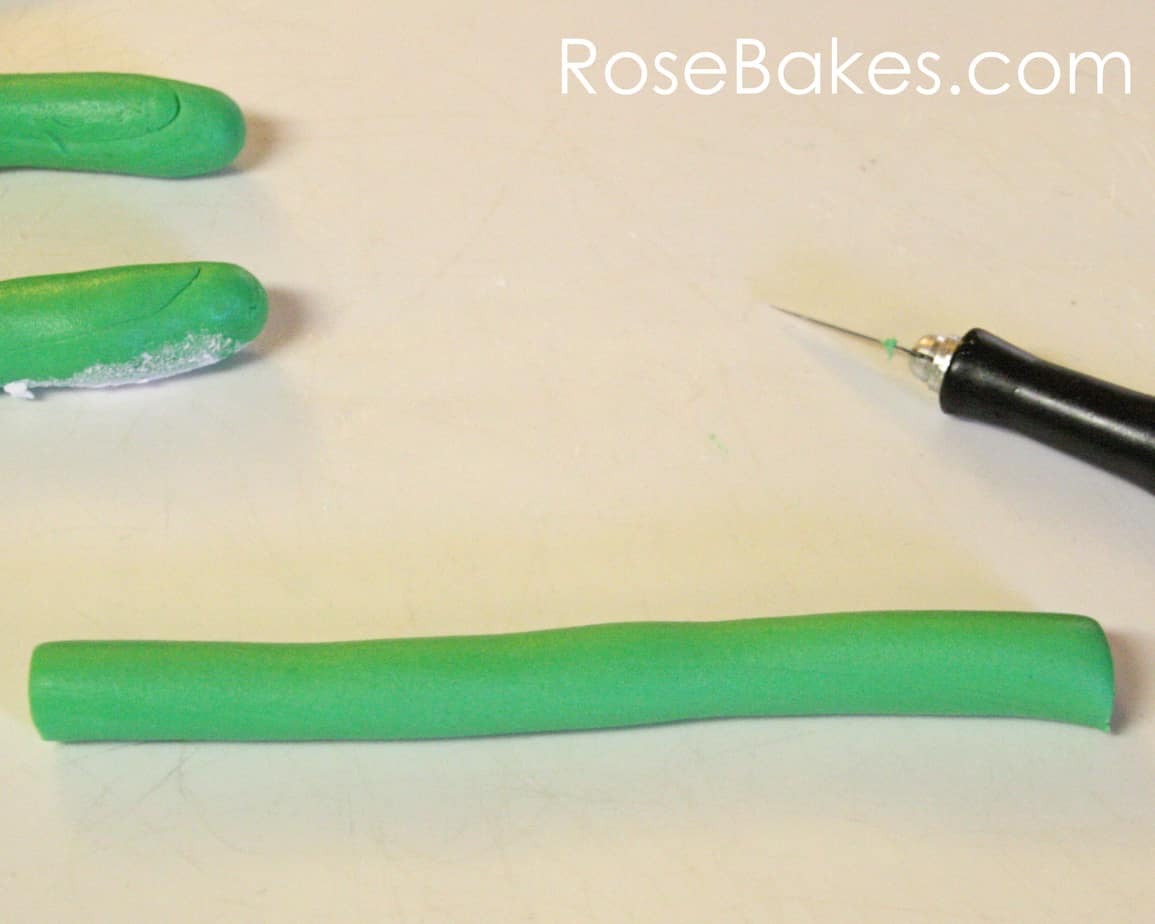
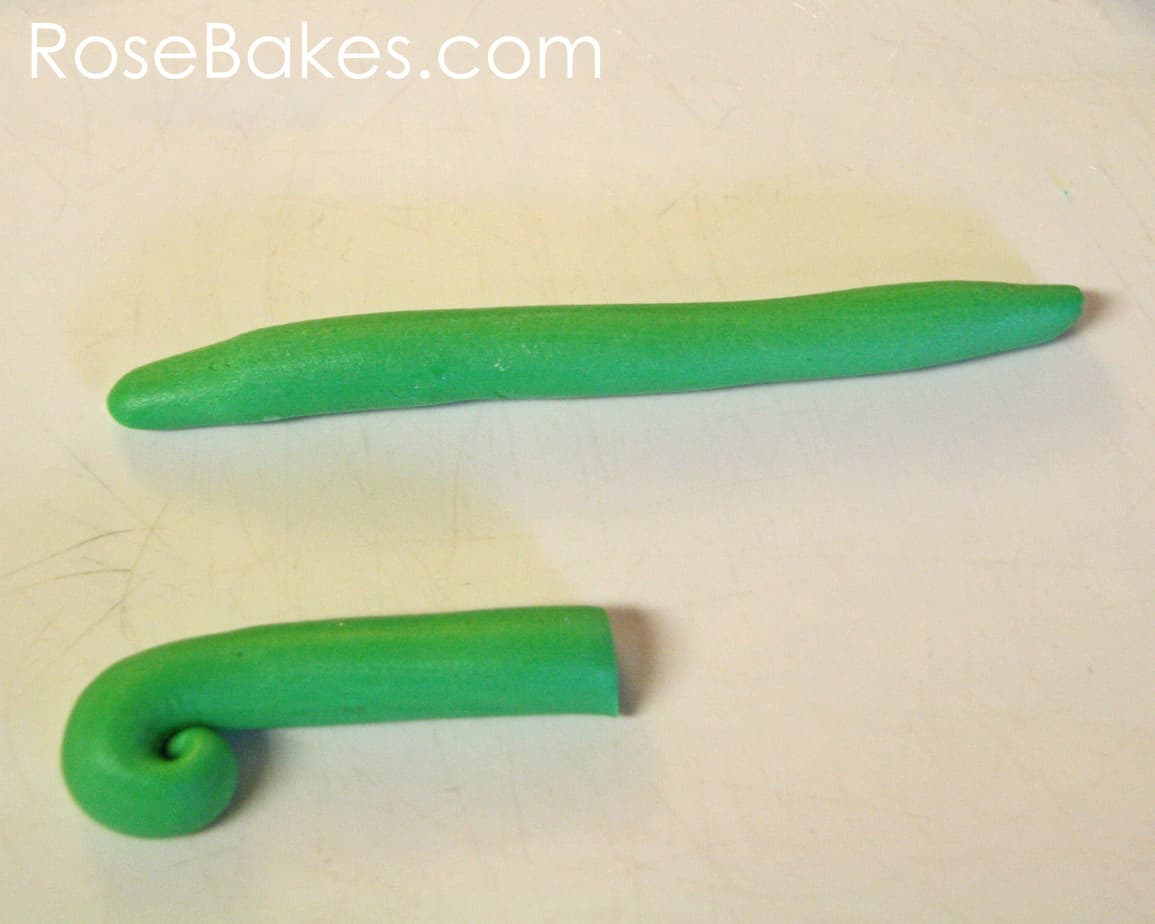
Step 3: Cut a section of the rope about 5″ long and then roll one end to a dull point.

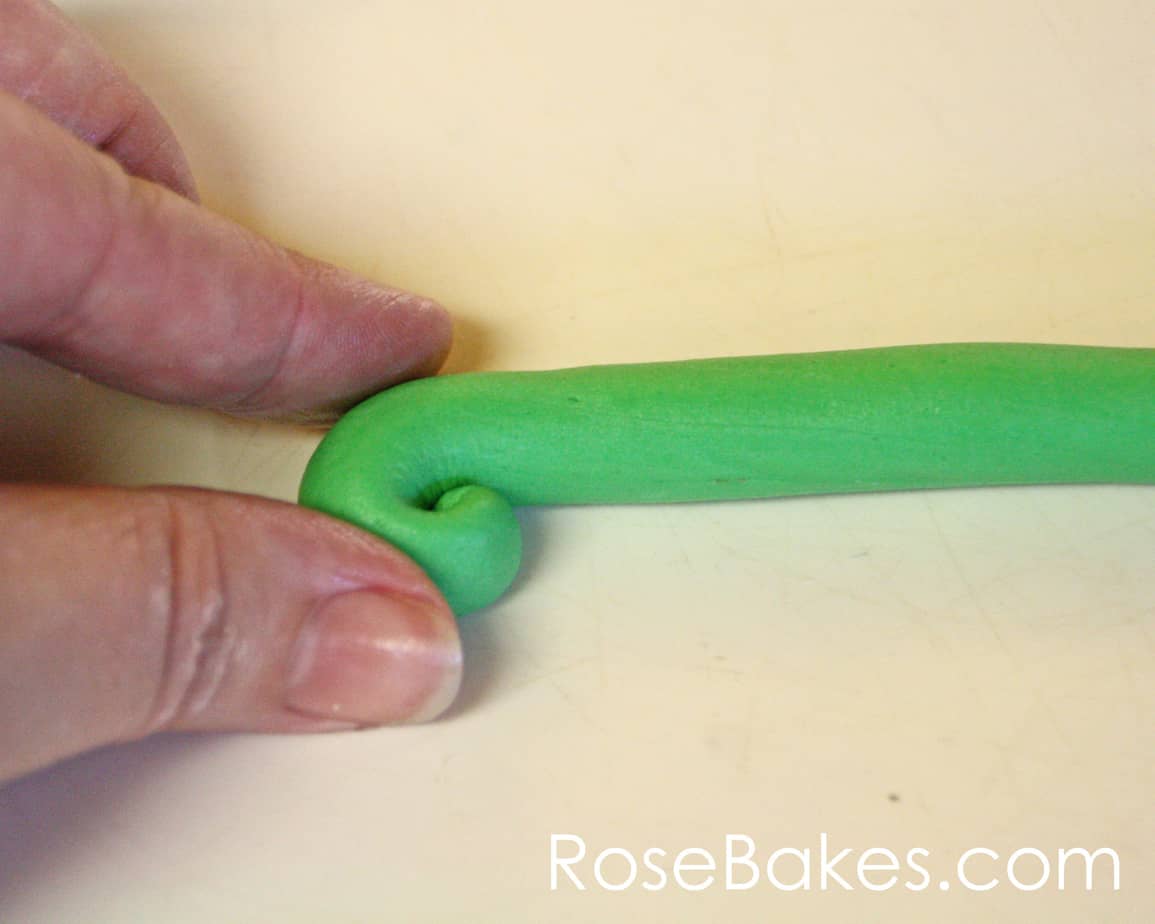
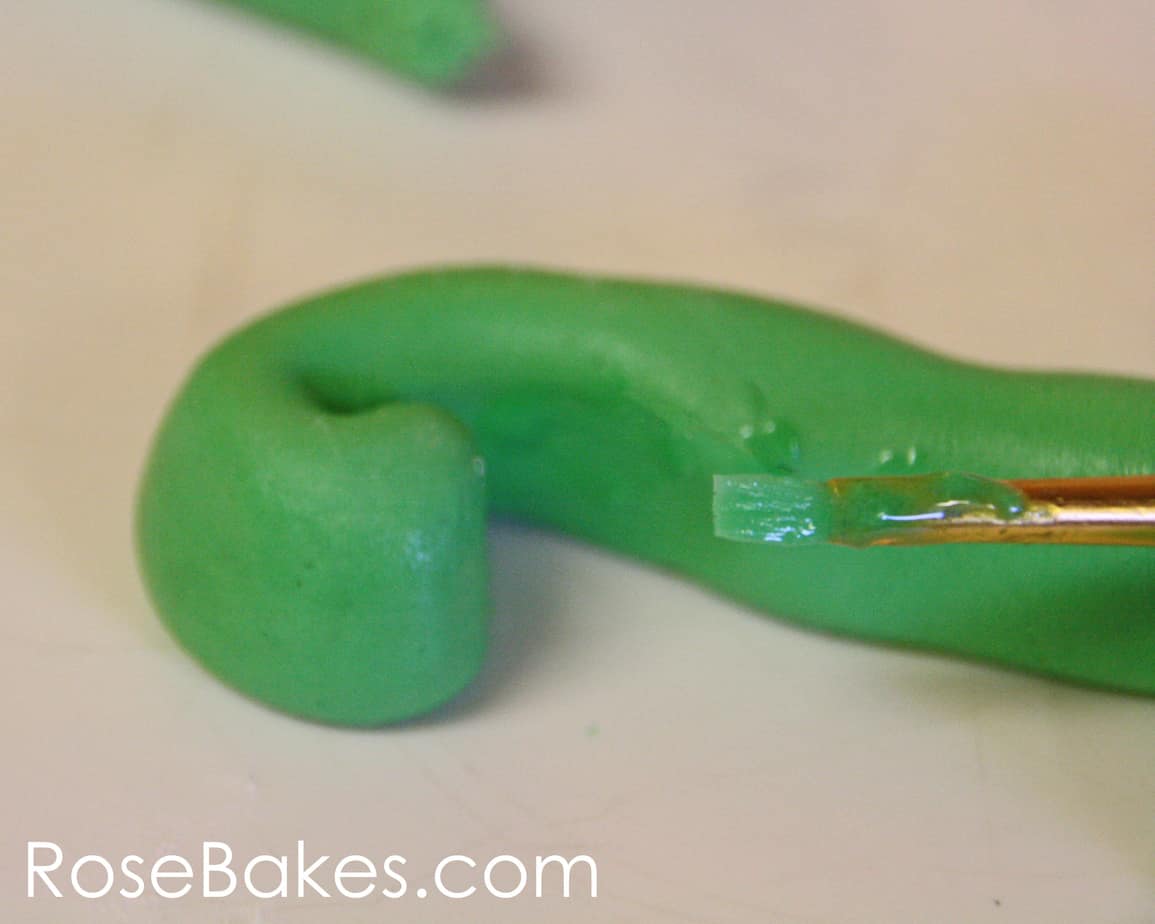
Step 4: Roll it down into a curl and use a little sugar glue to secure it.
Step 5: Cut off any excess length – leaving it a little shorter than you want the full size “1” to be (because you’re going to add a bottom to it).
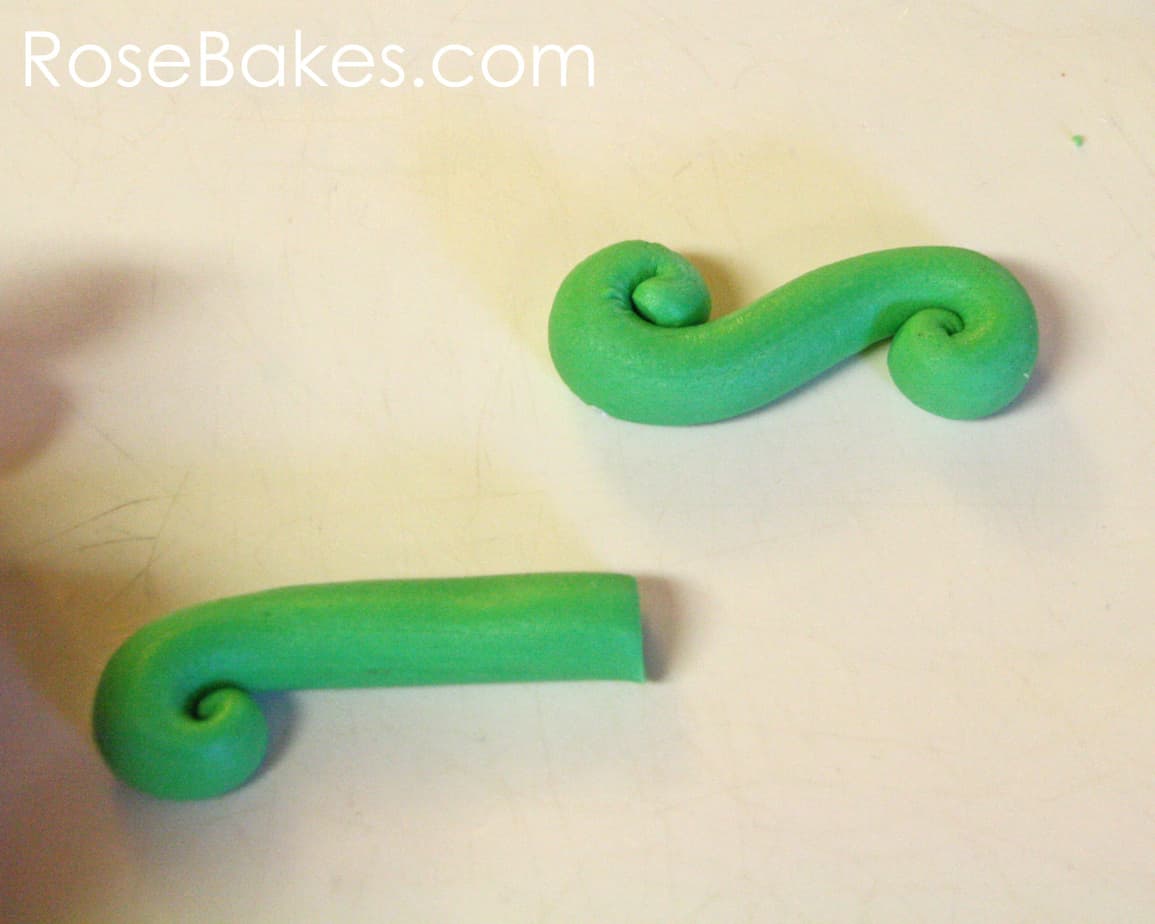
Step 6: Using the leftover end, or rolling out another rope, get ready to make the bottom part of the “1” that it will stand on. I rolled out a rope and tapered both ends.
Step 7: If you want to leave the bottom part of the “1” flat (see the top middle picture in the collage up top), then don’t taper as I talked about in step 6, but just cut straight ends. Or you can make the bottom parts have curly ends… and you will need the ends rolled to a taper. Once it’s rolled, then you’ll curl up the ends and glue them (roll one end up, the other end down).

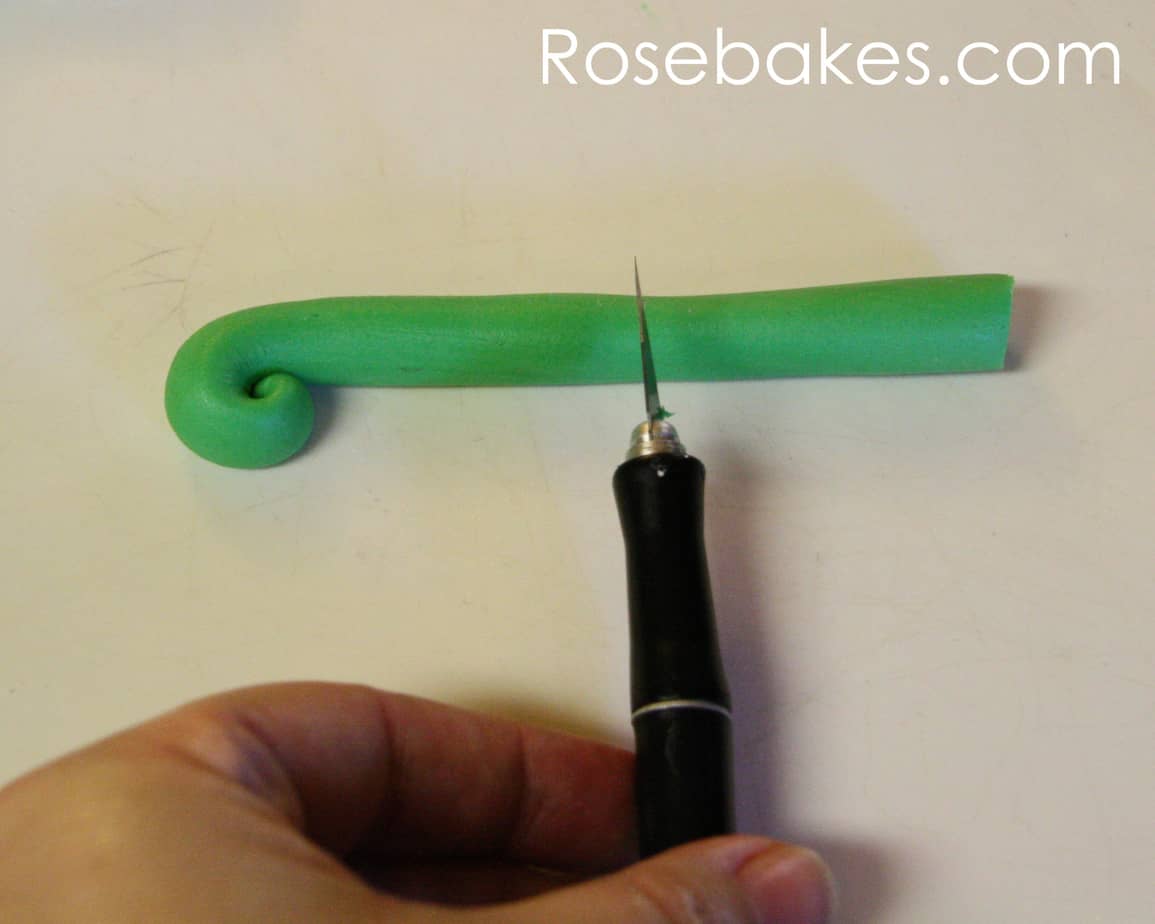
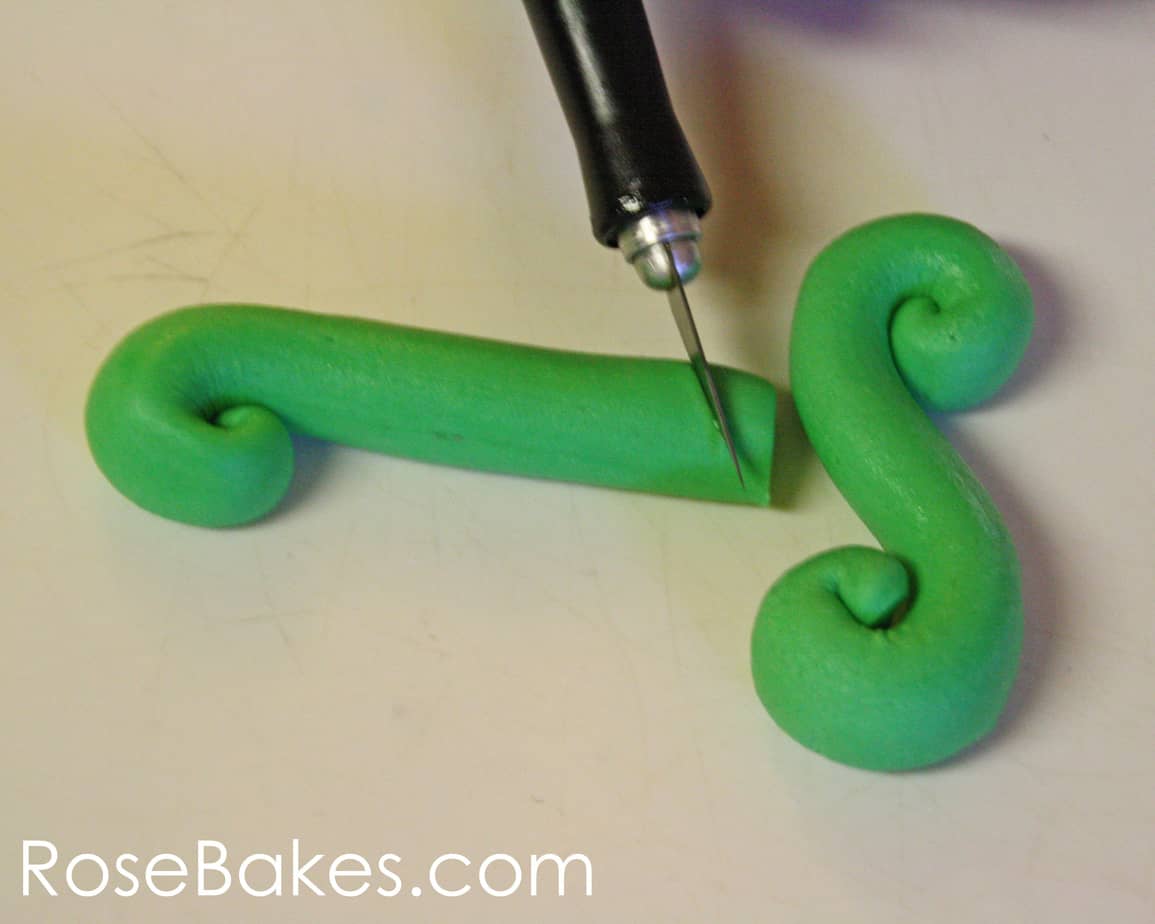
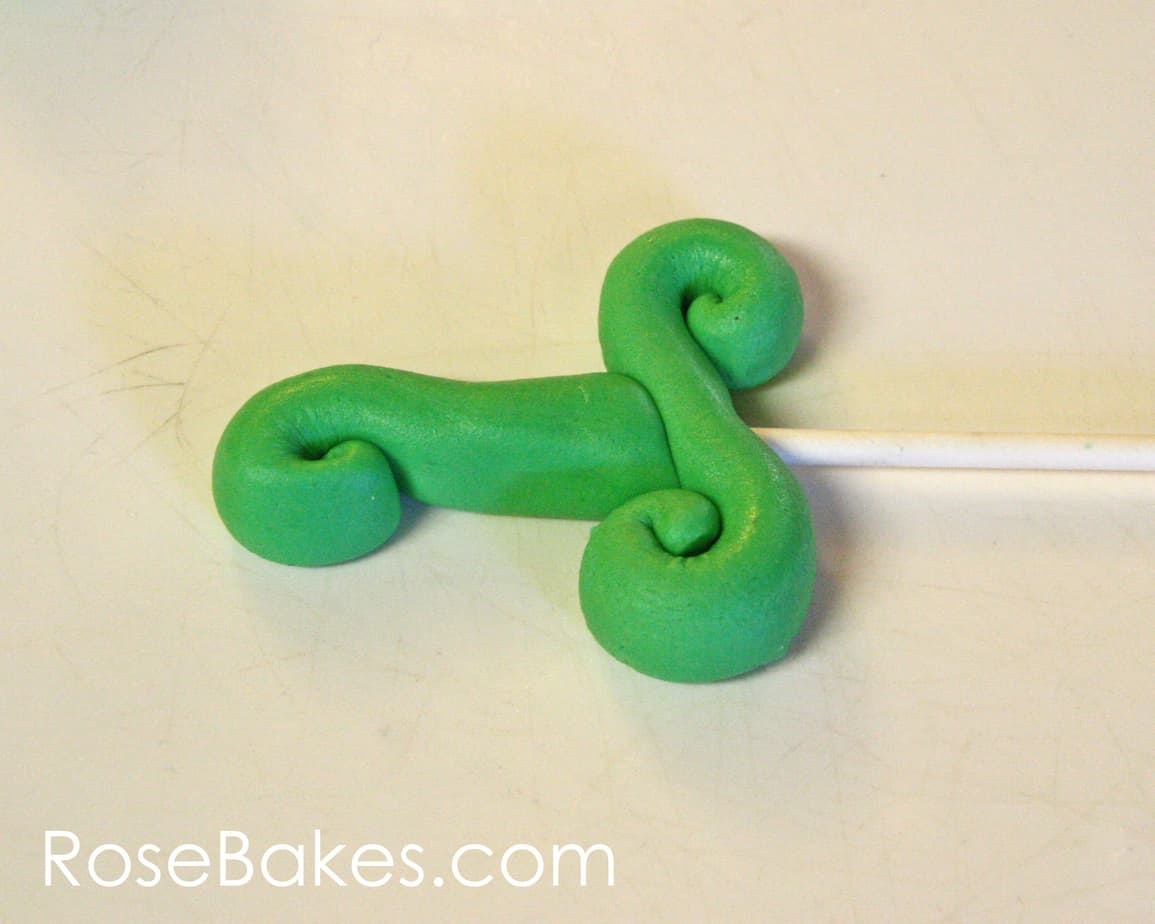
Step 8: To attach the top part of the “1” to the bottom, you’ll need to cut an angle so it’ll fit. See here:
Step 9: Now take a lollipop stick and slide it through the bottom and top part of the one. If you’re doing a number that has a straight line (1, 4, 7, 9) I recommend using lollipop sticks because they’re very sturdy!

Step 10: Use a little sugar glue to attach the two parts.
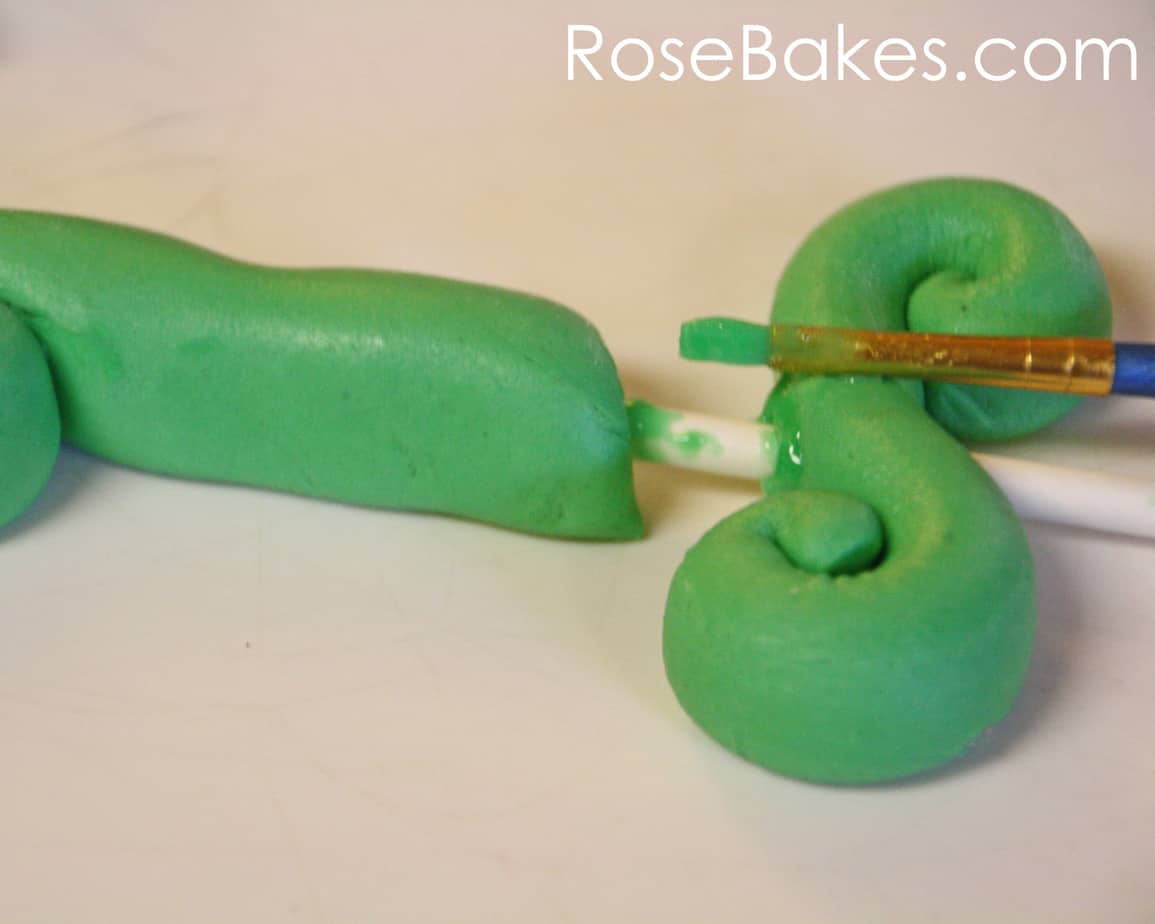
Step 11: Slide them together and smooth out any wrinkles. Lay it aside to dry.
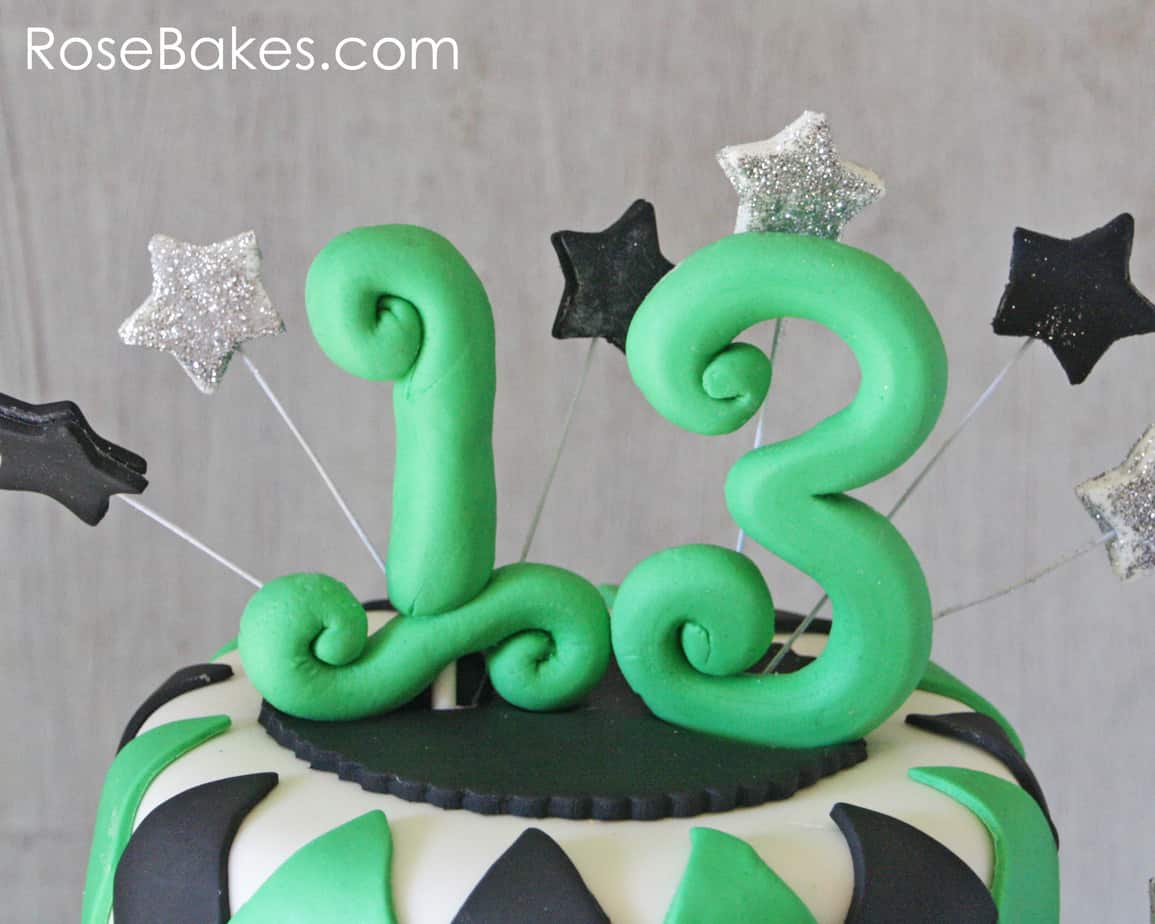
Now, because I needed a “13” for the top of the School Spirit Cake, I’m going to make the “3”.
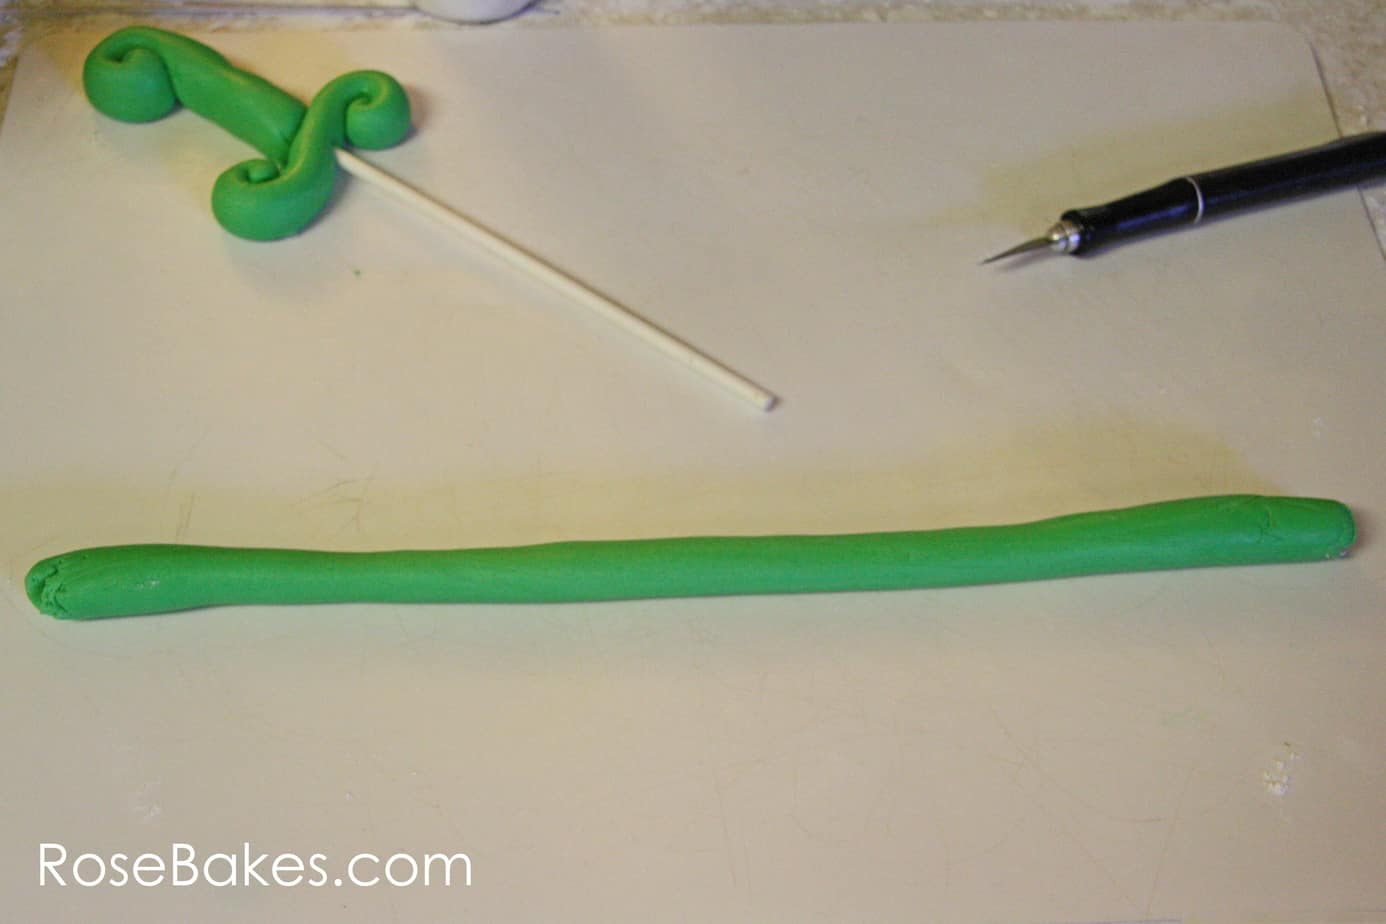
Step 12: Roll out a long piece of fondant rope – maybe 10 inches. This length will change depending on which numbers you’re making. You’ll just have to practice trial and error to get the size you need!
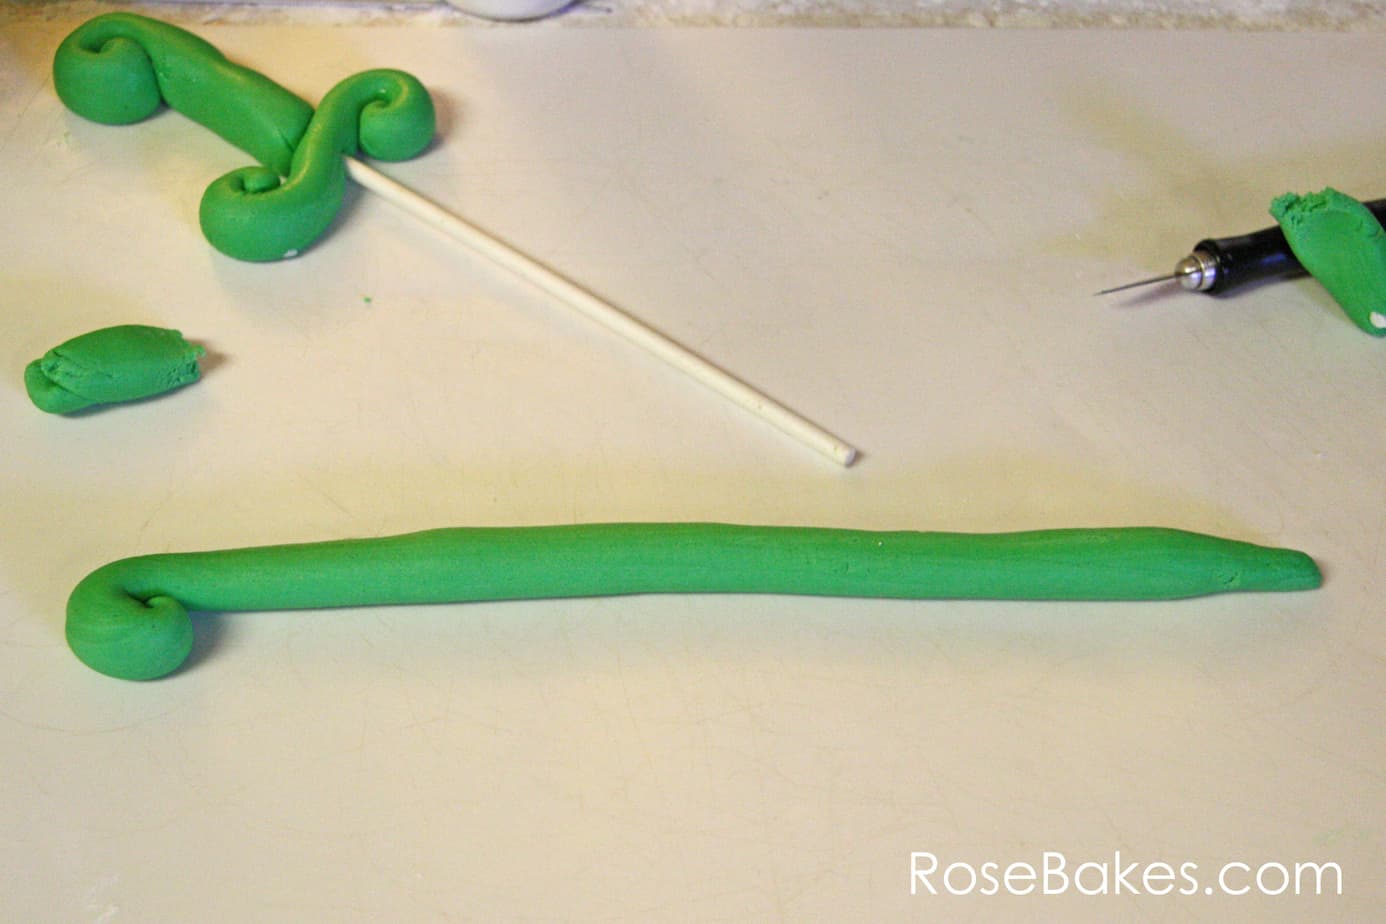
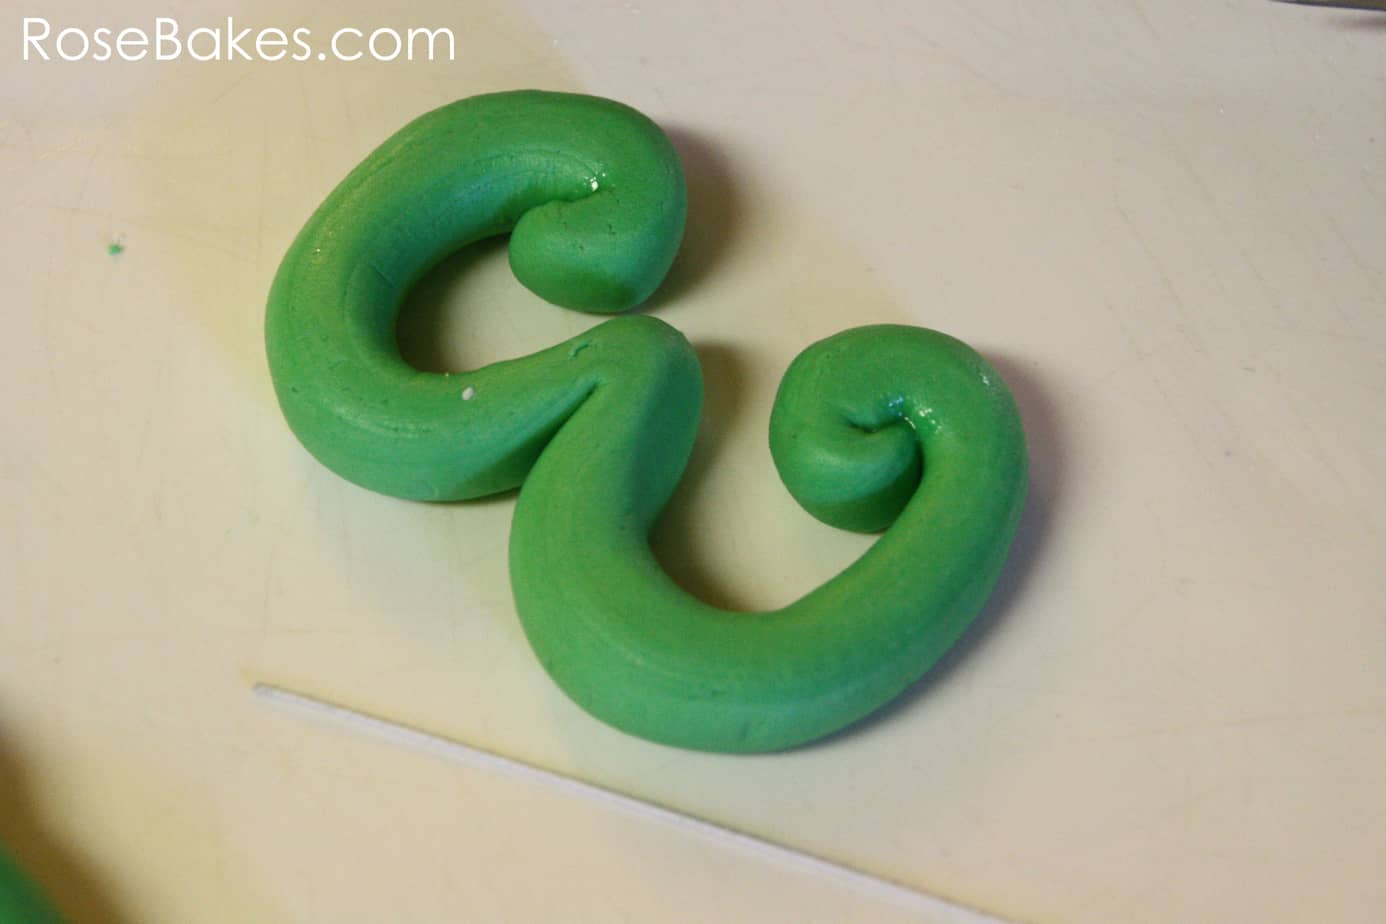
Step 13: Roll one end to a point/taper and then curl it down for the top of the “3”.
Step 14: I don’t have pics of this step, but you’ll make the “3” shape, leaving the bottom end flat. Shape the number “3” comparing it to the “1” (or however tall you want your “3” to be. Once you see how long the rope needs to be to form the number, straighten it back out and cut the rope leaving an extra inch or so. Roll the flat end to a point and curl the end and glue it, then reform it into the 3.
Step 15: Since the “3” has no straight sides, we can’t use a lollipop. Instead, I’m going to use a floral wire. Flip the “3” over and bend a wire to the correct shape. It’s not necessary for the wire to go the entire shape of the number, but I like to do any number at least halfway. Assuming you have enough tylose in your fondant (or you’re using gum paste), the number will dry and hold it’s shape!
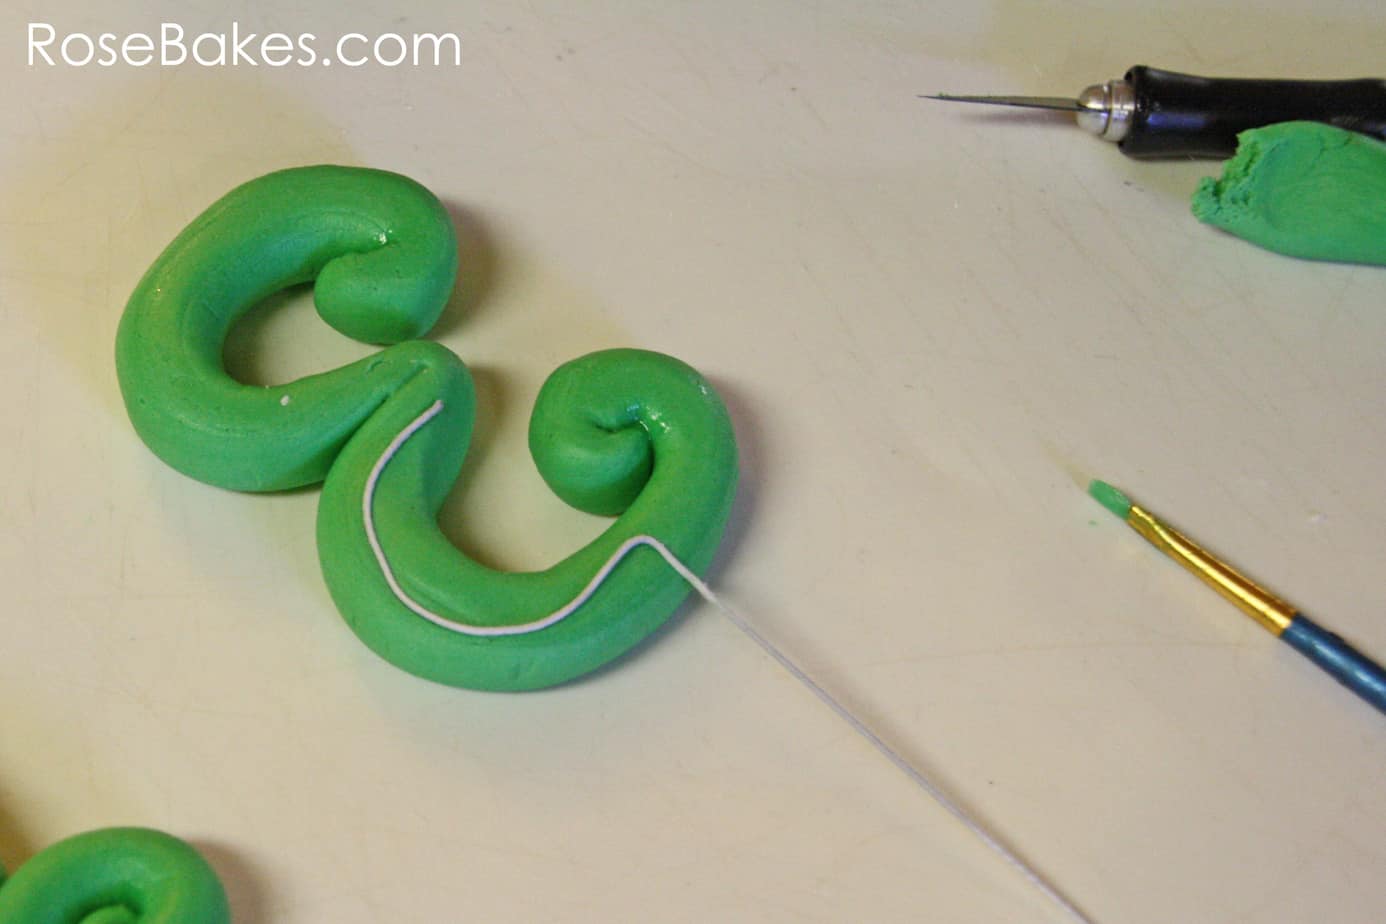
Step 16: Lift up the wire and paint some sugar glue underneath it, lay it down and also paint some glue over it.
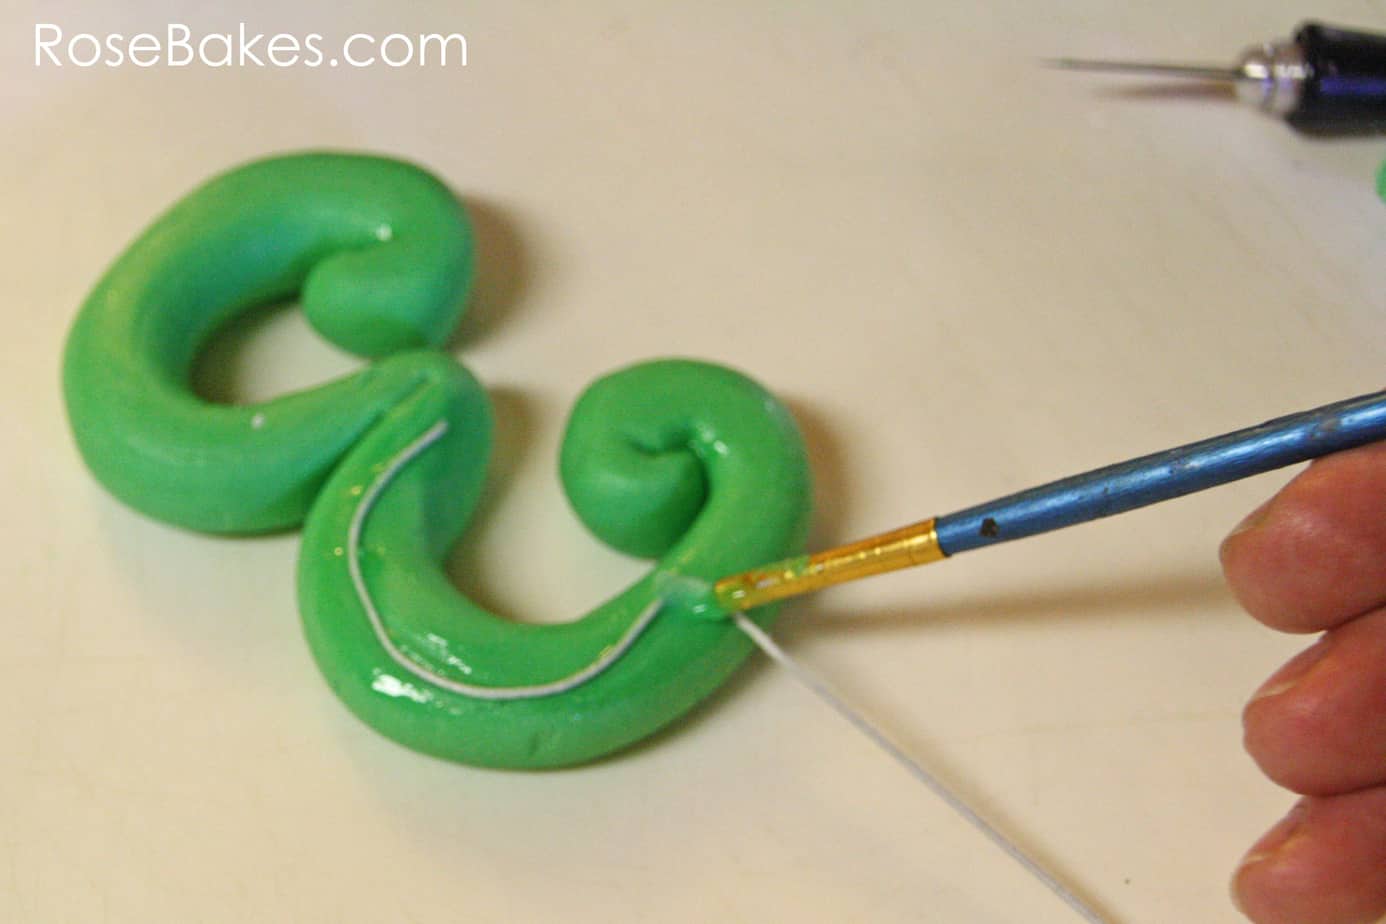
Step 17: Roll out a tiny rope of fondant and then flatten it with a rolling pin.

Step 18: Cut the length you’ll need to completely cover the wire on the 3, then lay it on top of the wet glue area.

Step 19: Let them DRY! I prefer to make numbers like this at least 2-3 days in advance. I sprinkle some tylose powder onto a cookie sheet, lay the numbers on it (face up) and put them in my oven to dry. That keeps them dark and out of the way. Just don’t accidentally cook them… I’ve done that too!

Step 20: When you’re ready to put them on the cake, you can stick lollipops directly into the cake. If you’re doing a number with a wire, I recommend pushing a coffee straw (cut to length) into the cake, then pushing the wire into that. You can see how I do that on my How to Put Stars on Wires for Cake post here.

And that’s it! You can see all the pics of the School Spirit Cake here and keep reading for a few tips on the other numbers…

Here are a few notes for other numbers in my collage:
1 – This “1” was rolled flat and cut out with an Xacto knife. I then laid it on white gum paste and traced around it for “backing”. It was attached to a craft stick with sugar glue and a ribbon of gum paste over it (like the “3”)
12 – These numbers were made the same was as the tutorial above except the “1” had a flat bottom. The “2” had a wire and ribbon of fondant on the back.
3 – Made just like the tutorial.
40 – I used a lollipop stick on the “4” and I used two wires for the “0”. I bent one to curve up each side and had them meet in the middle at the bottom where I twisted them together.
5 – This number was glued onto the side of the cake, but if I wanted it standing, I’d have used a wire.
6 – Done with a wire
7 – Done with a wire
8 – Gum paste rolled flat and the “8” cut out with a cookie cutter. Then I laid stripes over it to match the cake and cut those out. I used 2 wires on the back.
9 – Glued on the side. If you did a “9” with a straight end you could use a lollipop stick; if you make it curved, use a wire! I hope this posts helps you get started in making number toppers. There are countless possibilities and variations, but you should be able to adapt this tutorial to most any situation!
Do you have any questions? Anything I didn’t cover? Leave me a comment and I’ll try to answer and help!


Thank you so much for this! It’s a huge help!
Pls what guage of wire I can use, where can I get the lollipop. Thanks
I use 22 gauge wire and I buy it at CountryKitchenSA.com or on Amazon.com. I get the lollipop sticks on Amazon or at Walmart.
Thanks for your help
Fantastic! Thank you very much.
I came across your website while searching for fondant cake toppers and wow! I had a browse through your website – so many cute ideas! Thanks for taking the time to share your knowledge. 🙂 You are one talented ** 😀
Thankyou so much, making my husbands 50th cake, not very expereienced, but your tutorial on numbers has really helped me, thankyou x
Please can you do a video tutorial on how to cover a number three cake with fondant …tried with the pictures but didn’t get it.thank you very much.
No, I’m sorry. I just don’t have the time right now to do any extra tutorials for cakes I don’t have ordered.
How long do you cook your numbers? And what temperature do you bake them at?? I just came across your website but I have a cake due on Saturday. I’m still going to make the numbers because they’re adorable.
I don’t cook them!!
Thanks Rose, I always feel am with you whenever I read your works, pls keep it up. Pls permit me to copy yoyr tractor cake. Thanks so much for all the wonderful tips. More grease to your elbow. Keep it up
You may copy any of my cakes! xx
Hello! I see a lot of your decorations have stars and things sticking out by a wire. Where do you get those?They’re very cute and add an extra nice touch to your cakes!
I buy them on Amazon here: http://amzn.to/1MYfyv5 or on Country Kitchen Sweetart here: http://www.countrykitchensa.com/catalog/searchresults.aspx?description=floral%20wire
What kind of wire do you use? It looks like floral wire, but is it food safe?
HI Rose,
I’ve read on your blog and many others, that tylose is used to speed up the drying process of fondant in decorations. I understand that tylose is edible but not tasty. My question is, although the amount used in fondant is minimal, does that make the decorations “yucky” tasting on top of being hard. If so, do you inform your customers?
PS I love to see the progression of skill in your cakes. You are an awesome cake artist!
I don’t notice a change in taste, but generally people don’t want to eat the hard decorations anyway. I usually don’t mention it to my customers.
Great, you’ve done me good. I really appreciate the knowledge, thanks
Great tutorial. Can you please explain further how the number 8 is done with the multi colored fondant as I still don’t quite understand. After you cut the 8 out.. then you lay the strips over it? How do the strips stick together as your photo looks like it’s seamless. Or if you have the photos of when that was done would be great. Thank you
Hey Kimberley! It’s been YEARS since I made a number like that, but if I remember right, I rolled out white, cut out a “back” and set it aside. Then I cut strips from the 4 colors of fondant, laid them next to each other, rolled them flat (to seal them together) and again, cut out an “8” for the front. I likely used sugar glue (one of these types) to attach the front to the back. If any of the stripes came apart, you can easily use your warm finger to smooth the seams together. I hope this helps!
Hi. Loved this post. How far in advance can I make fondant numbers or letters?
I’ve made them as much as 2 weeks with no trouble. You could probably do more if you keep them in an airtight container.