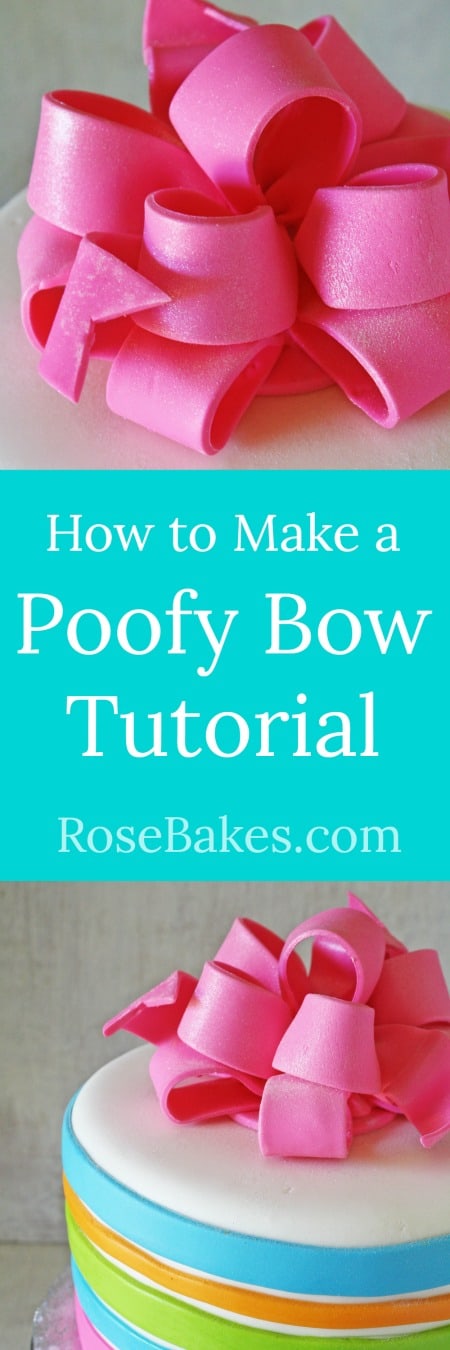
How to make a Poofy Bow {Fondant or Gum Paste}, Pt 1
Today I’m going to share with you How to make a Poofy Bow! This is a 2 part tutorial… so grab a drink and stay a while!

First up, don’t you hate it when you read a recipe all the way to the end to find out something is going to take exponentially longer than you planned? I do!

So, let me say up front that generally speaking, you cannot do this in a single day! You will need at least one day of dry time, but 2-3 days is better!

So, let’s get started! Here’s a list of what you’ll need. Everything is not in the picture and you can probably substitute for some of these items, but this is everything I used.
- Gumpaste (which is what I recommend strongly!!) or fondant with Tylose powder added (about 1 pound)
- Rolling Pin
- Ribbon Cutter
- Shortening
- Sugar Glue (or water with a tiny amount Tylose powder added)
- Paint Brush
- White Chocolate
- Round Cookie Cutter (about 3.5″)
- Pastry Wheel or Pizza Cutter
- Ruler
- Plastic Wrap
- Cookie Sheet, dusted with corn starch
Today I wanted to share a tutorial on how to make a pretty poofy bow with fondant or gum paste. For this post I’ll be using Wilton gum paste (and referring to it), but you could also do homemade fondant with Tylose powder added. If you use fondant, it will need longer to dry and there is a possibility it won’t ever get completely hard if you don’t use enough tylose – that’s why I really recommend gum paste!!
If you do choose to go with fondant, I don’t usually measure, but my estimate is that you’ll need 2-3 tsp. of Tylose per pound of fondant.
My first step is to make a round base for my bow. I roll out a small piece of gum paste, then cut a 3.5″ circle. This is a super easy step.. just cut it and set it on your cookie sheet to dry.

You do not want this gum paste paper thin… maybe an 1/8th”.

After you’ve done that, take about half of your remaining gum paste and knead it until it’s soft and pliable (keep the other half wrapped so it doesn’t dry out). Then roll it out pretty thin – large enough so that you can cut strips 7″ long.


I roll mine out on a flexible cutting board (I bought this cheap set of 5 and use them all the time!) with a thin layer of shortening on it to prevent sticking! Any smooth surface will work. After it’s rolled out, trim it on all sides – but again, make sure it’s at least 7″ long in one direction.


If you don’t have a ribbon cutter, you could do all of this cutting with a pastry wheel and a ruler. My ribbons are each 1.5″ wide. I do 3-4 strips at a time and make my loops, then roll out again, do 3-4 more, etc.
Note: the 7″ long loops give you a bow that is about 6″ in diameter. You can see this on a cake in part 2 of the poofy bow tutorial!
Back to your ribbons…

So, after I get a few strips of ribbon cut, I flip one over and paint each end with sugar glue. As I stated above, you can use water, but the glue is thicker and doesn’t drip as easily (ie., I don’t make nearly as big of a mess with it)! After it’s painted, I pinch the ends to make them stick.

I try do a special little tri-fold. I don’t know how to explain it, but I think you can see it in these pictures…


Rose! I can't thank you enough! 🙂 It makes perfect sense so far and I am feeling more confident about making them already! I'll try it out for myself tomorrow. Yay!
So you leave them out to dry or wrap and refrigerate them?
Thanks!
If you refrigerate them, they will not dry/harden. I leave mine out at room temp or even place them on a cookie sheet in the oven. I just turn on the oven light for a tiny bit of extra heat (I don’t actually turn the oven on!).
Thank you!
Awesome tutorial! Thanks so much..neat with plastic wrap. I didn’t even think to use that. :))
So happy to help! 🙂
Thank you so much for taking the time to create this, super helpful! I have all my bits and pieces drying just now and will put it together towards the end of the week. X
Thank you for this tutorial. Part one seems pretty
Easy. I should be able to handle it. Lolling forward to part two.
Just made my first cake using your tutorial. Thank you so very much. Directions very easy to follow & my cake turned out fantastic!
Awesome! So glad to hear it!
Im making a cake similar to this
http://1.bp.blogspot.com/-fGDHI46em2M/TeEtU4ReCKI/AAAAAAAAB7U/x-t9M8jLMa4/s1600/cake%2B2.jpg
How do i choose a color for the ball of fondant in the middle? Or should i just go with white? or Would that be too obvious?
I can’t see an image when I click on that link.
I assume you just leave these completely open to air to dry out?
Yes!
My apologies! It appeared there were no comments until I scrolled on down the page. And thanks so much for taking the time to post this detailed tutorial!
No problem!
Rose you are such a sweet lady to freely share your knowledge and talents. I have tried doing bows before but I did not think of doing them days in advance. And I love the little pinch on the ribbons. It is those little pearls of knowledge that helps us amateurs out here.
Hi rose.I was up half the night making fondant for the first time.Really wanted to try the bow. It’s been hours and it hasn’t dried. I read over the instructions and saw I needed tulosr powder to hold it together.
Will have to squash all my stripsthat I made and do something else.cause I don’t hv tylose.
Enjoy the tutorial though.
Oh goodness – sorry! You have to add tylose or gumtex to get fondant to dry hard.
Thank you.
Will try to access tylose powder for my next try.
Hi Rose! Can you deliver (or have a customer pick-up) a cake with the fondant bow on top or should it be placed on top of the cake after delivery? Just not sure, whether the bow would be too heavy for the cake?? Also, does the bow require any additional support (similar to how a tiered cake requires dowel rods under each tier)?
I always put the bows on at home before delivery. I use melted candy melts to attach them and no, they’re not too heavy!
Great! Thanks!! I tried it out and came out perfectly!
Hi Rose, This is a great tutorial, thank you! Can you tell me how long each strip was? It says they are 1.5 inches wide, but how long do I have to have them? Sorry if I missed it in the directions. Thank you for your help 🙂
You know – it’s been ages since I made a fondant bow, but I’m thinking 8-9″.
Loved the tutorial. In Part 2, can candy melts be used in place of melted white chocolate or, do you think it would dry too quickly?
Thank you!
Absolutely!