Why Choose Natural Easter Eggs Dyes this Spring?
Easter Eggs Dyed with All-Natural Dyes are becoming increasingly popular, as people look to replace their artificial dyes with natural options. So this year you can skip the egg dye kits and choose a better way. Make your own dyes for hard-boiled eggs with staples from your pantry such as red onion skins, paprika, or a head of red cabbage.
Originally published March 2023, updated March 2024
Dyeing Easter Eggs is one of my most favorite traditions and I have an easy guide for you to get so many colors without store-bought dyes. If you’re looking to skip the food coloring for your Easter Egg hunt this year, I’ve got all the details you’ll need for making your own homemade dye.
While the actual process of dyeing Easter eggs with natural Easter Egg dye can be just as simple as using store-bought kits, most people don’t realize that and never give it a try!
Also, using natural dyes can be quite beneficial as there are an increasing number of allergies and sensitivities related to food dyes. Some kids have full-blown anxiety or behavioral issues that have been linked to chemical dyes.

Why to Use All Natural Easter Egg Dyes
Using natural Easter egg dyes can be a fun and earth-friendly way to decorate your eggs. Here are five reasons to consider using them:
- Environmentally Friendly: Natural dyes are often made from food scraps or plant materials, reducing the use of synthetic dyes that can harm the environment.
- Healthier Option: Natural dyes are typically non-toxic, making them a safer choice for families, especially when children with allergies are involved.
- Unique Colors: Natural dyes can produce a wide range of unique and beautiful colors that may not be achievable with store-bought dyes.
- Educational Experience: Using natural dyes can be a fun and educational experience, as you can learn about the plants and foods used to create the dyes.
Easter Eggs Dyed with All-Natural Dyes
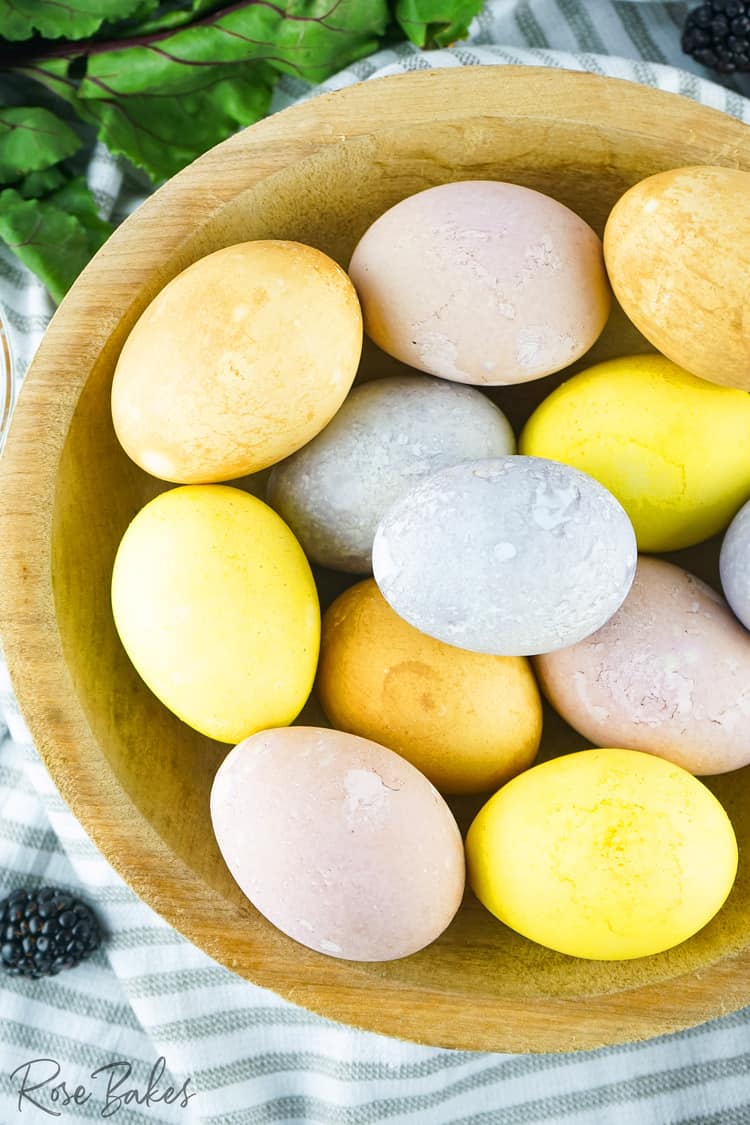
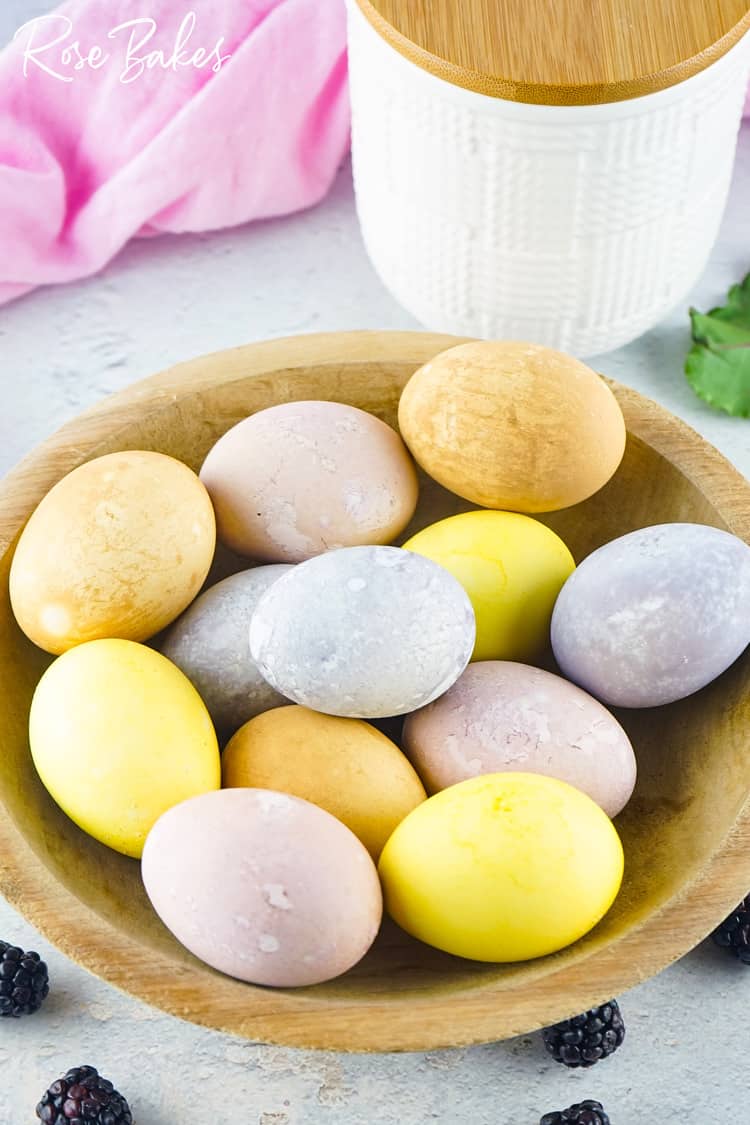
Because of all of the above, using all-natural dyes derived from plants has become an increasingly popular alternative to traditional Easter egg dyeing techniques. And you still get beautiful pastel Easter egg colors!
How to Naturally Dye Easter Eggs
In short, almost all recipes for natural dyes include the following basic ingredients: a few cups of water, white vinegar, boiled eggs, and some part of a fruit or vegetable or spice. And the processes all include soaking the eggs in a dye bath.
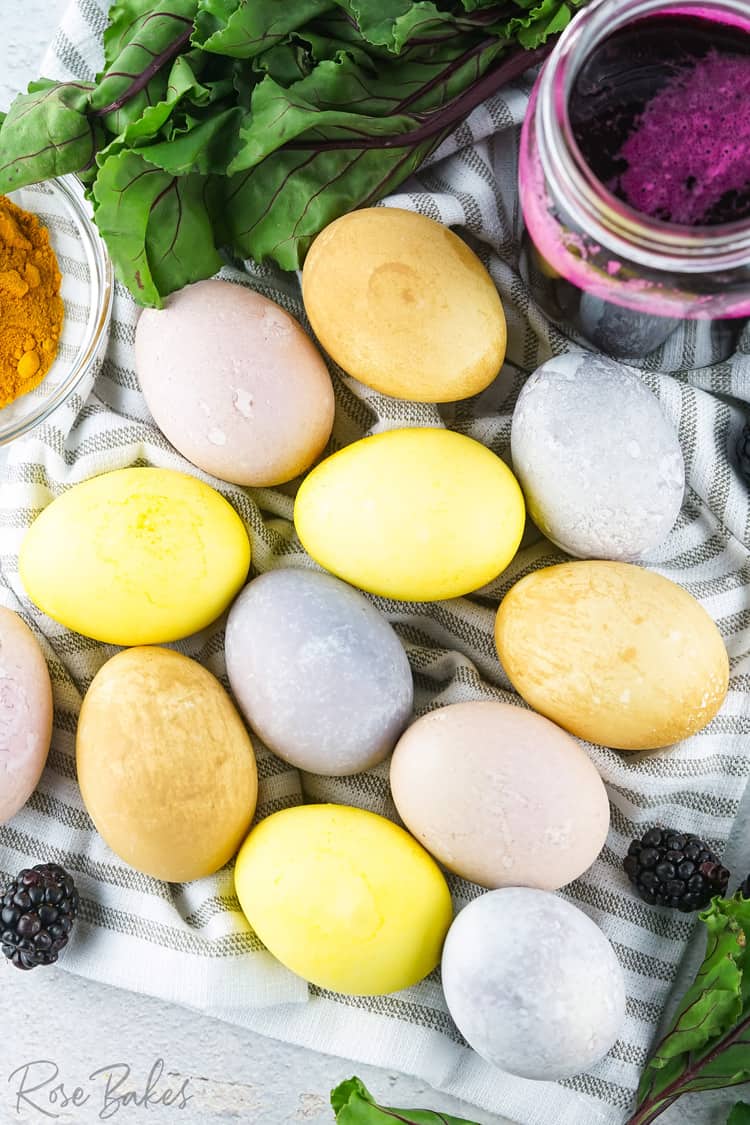
Here are just a few of the different colors you can create on white eggs with things you may already have:
- Pink/Purple Eggs = Beets or Beet Juice
- Brown/Orange (Rust) Eggs = Yellow Onion Skins, Black Tea Bags, Black Coffee or Paprika
- Yellow Eggs = Ground Turmeric Dye or Cumin
- Orange Eggs = Chili Powder
- Purple/Blue Eggs =Red or Purple Cabbage or Blackberries
- Green Eggs = Spinach
- Deep Red/Maroon Eggs = Yellow Onions and Red Onions Skin
The list above only scratches the surface of the endless possibilities of natural Easter Egg dyes.
But to get you started, I’ve shared four options for you with detailed instructions to get a few basic hues including brown/orange, yellow, blue/purple, and pink/purple.
Most of these won’t be the vibrant colors you’re accustomed to, but they are still beautiful eggs made with natural egg dyes.
Equipment you’ll need to make Natural Dyes:
You won’t need all of these tools for all of the recipes, but this is a general overview of tools you might need.
- Saucepan or Stockpot (for your dye pot)
- Slotted Spoon
- Knife
- Cutting Board
- Strainer
- Masher
- Mixing Bowls
- Disposable Cups
- Measuring spoons and cups
You could also use wax crayons to draw on the eggs before dying to create pictures and patterns!
Using rubber bands around the hardboiled eggs could also yield pretty patterns on the outside of the eggs.
Natural Egg Dye Recipes for Easter Eggs
Pink Eggs: Easter Eggs Dyed with Beets
Blue/Purple Eggs: Easter Eggs Dyed with Blackberries
Yellow Eggs: Easter Eggs Dyed with Turmeric
Brown/Orange Eggs: Easter Eggs Dyed with Black Tea
FAQ
Absolutely! I’d actually encourage you to use both white and brown eggs because you’ll get completely different depth of color depending on which eggs you use.
The brown eggs often result in deeper, richer colors while the white eggs tend to be more pastel. You can also make endless shades of the basic colors depending on how long you soak the eggs in the liquid dye.
Yes. The acid in vinegar causes a reaction that makes the dyes actually stick to the eggshells.
The amount of vinegar will vary from recipe-to-recipe, but don’t go overboard thinking more vinegar always equals brighter color. That’s not true and too much vinegar can actually begin to dissolve the egg shell if you soak eggs too long.
Of course! These are as safe, if not safer than, eggs dyed with artificial colors.
Pro Tips
- Make sure you follow the instructions and use the appropriate amount of vinegar for each recipe.
- All recipes require that you allow the eggs to dry after you color them. You’ll want to place them on a cooling rack or on paper towels and allow them to dry for 10-15 minutes, then flip them and replace the paper towels to let the underside dry as well.
- Don’t try to dye boiled eggs that have cracked. You’ll just end up with a mess 🙂
- Each of the recipes I’ve shared will dye at least a dozen eggs, but likely much more than that! Just do them in small batches Just do them in small batches to make a variety of eggs for the Easter Bunny!
- You can get almost any desired color or shade, depending on how long you let the eggs rest in the dye. For all of my recipes, I did them for 8 hours. But you can get lighter colors in shorter amounts of time or possibly deepen the colors with longer soaking times. See the FAQ above for notes on the vinegar.
- For some recipes that require boiling your ingredients for longer periods of time, you can start with raw eggs and boil them with the ingredients (such as the beet dye or the blackberry dye).
So that’s all I have for you today. I hope you will check out all of my Natural Easter Egg Dyes and try them out. With just a little water, a few tablespoons of vinegar, and some different foods, you can make beautiful, natural egg dyes the easy way and then fill your kids Easter Baskets with pretty, pretty Easter Eggs!
Not too worried about the store-bought dyes? Check out my beautiful Cool Whip Eggs here.
More Easter Recipes
Follow me on Instagram, Pinterest, Facebook & Twitter!


