
Easy Baked Cinnamon Ornaments (Just 2 Ingredients)
These Easy Baked Cinnamon Ornaments are an easy, fun craft for kids that smell amazing hanging on your Christmas tree! They are one of my favorite last-minute Christmas crafts because they only take two ingredients and there’s no painting, gluing, or fancy skills required. They’re perfect for an ornament swap, a homemade gift tag, or a fun afternoon project with the kids while the house smells like Christmas. Once you see how simple the dough comes together, you’ll want to make a batch every single year.
Originally posted December 2015, updated September 2026
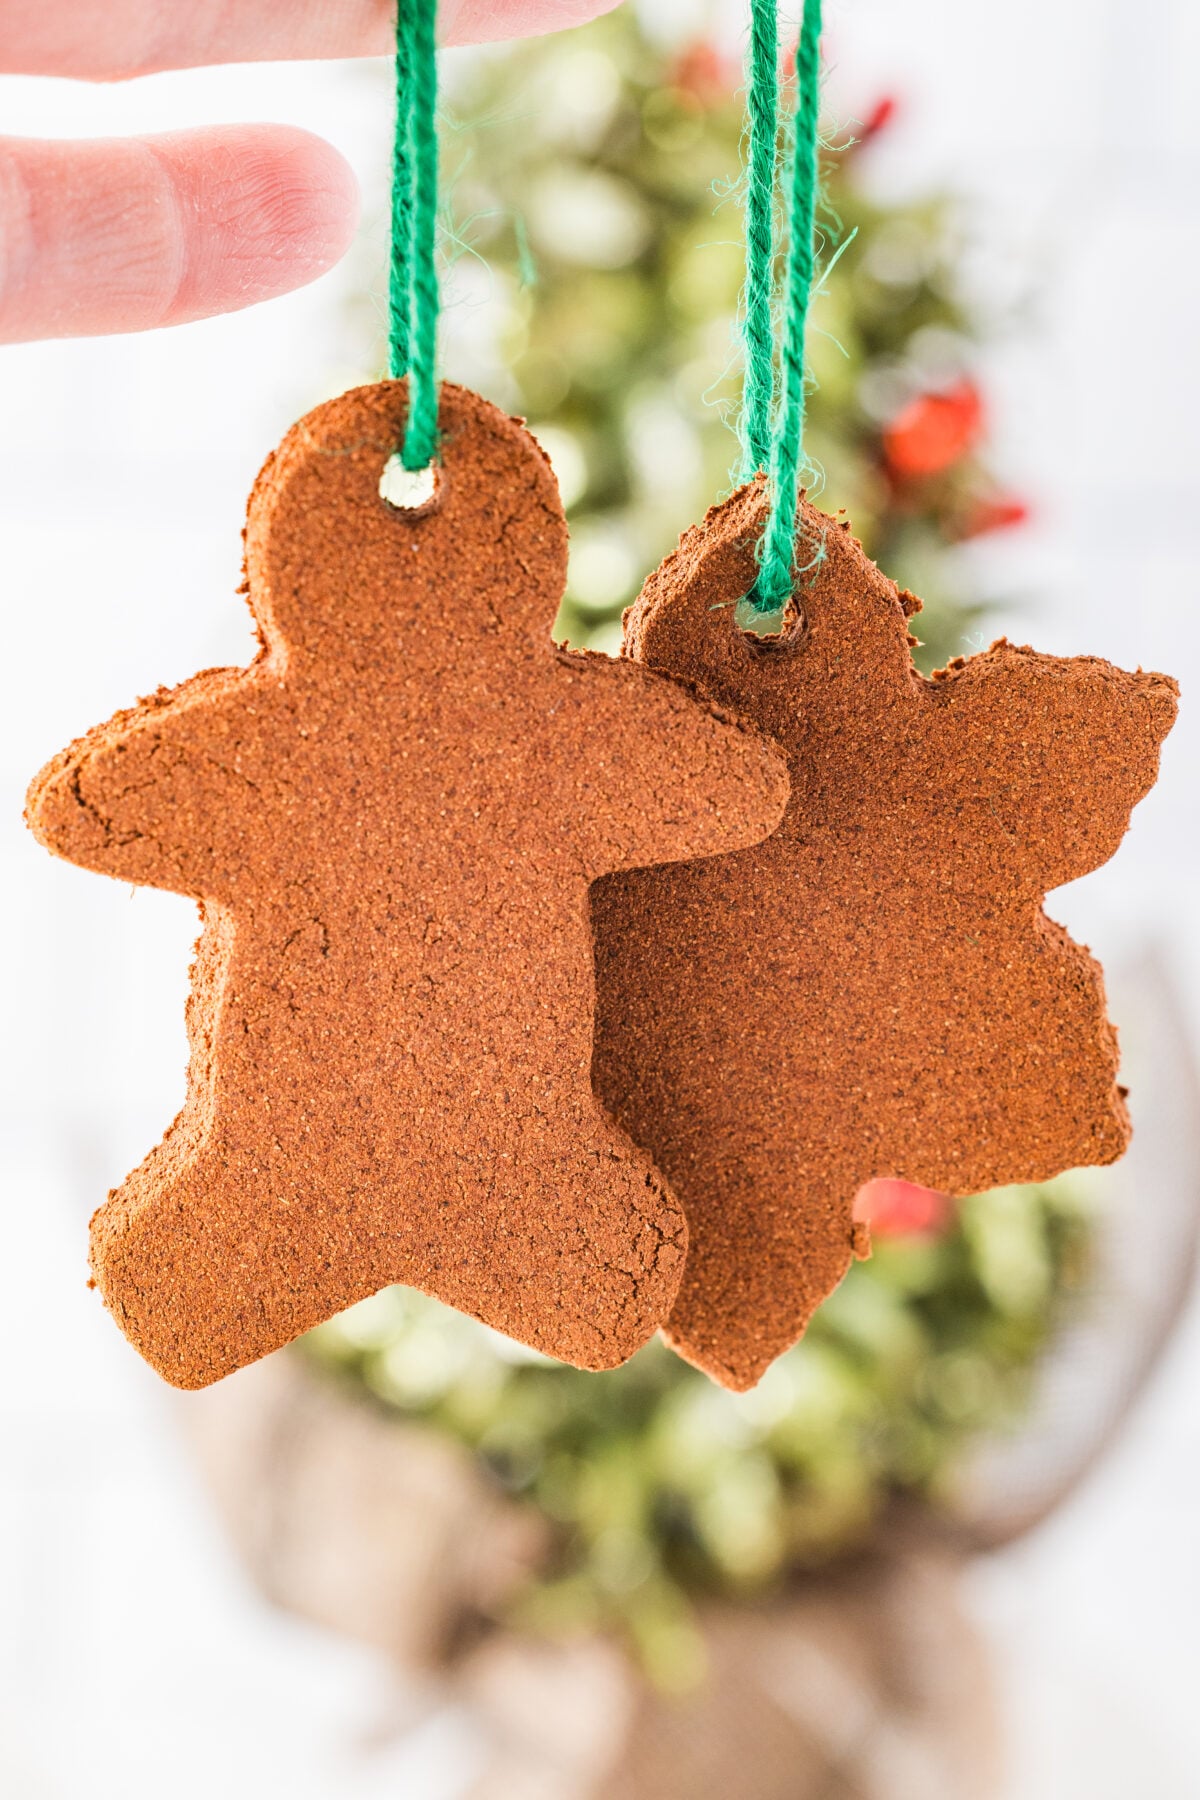
Easy Baked Cinnamon Ornaments
I actually stumbled onto this recipe out of pure desperation. I had signed up for an ornament swap with my blogging friend Kimberley, and I’d ordered a set of handmade ornaments from a fair trade ministry to send her.
Well… they didn’t arrive in time. So there I was, searching for a quick homemade ornament I could pull together with stuff I already had in my kitchen, and that’s how I landed on this two ingredient cinnamon dough.
I’ve made batches of these nearly every holiday season since. They’re just as much fun for an ornament emergency as they are for a kid who wants to help in the kitchen, and it’s such a fun tradition for our family!
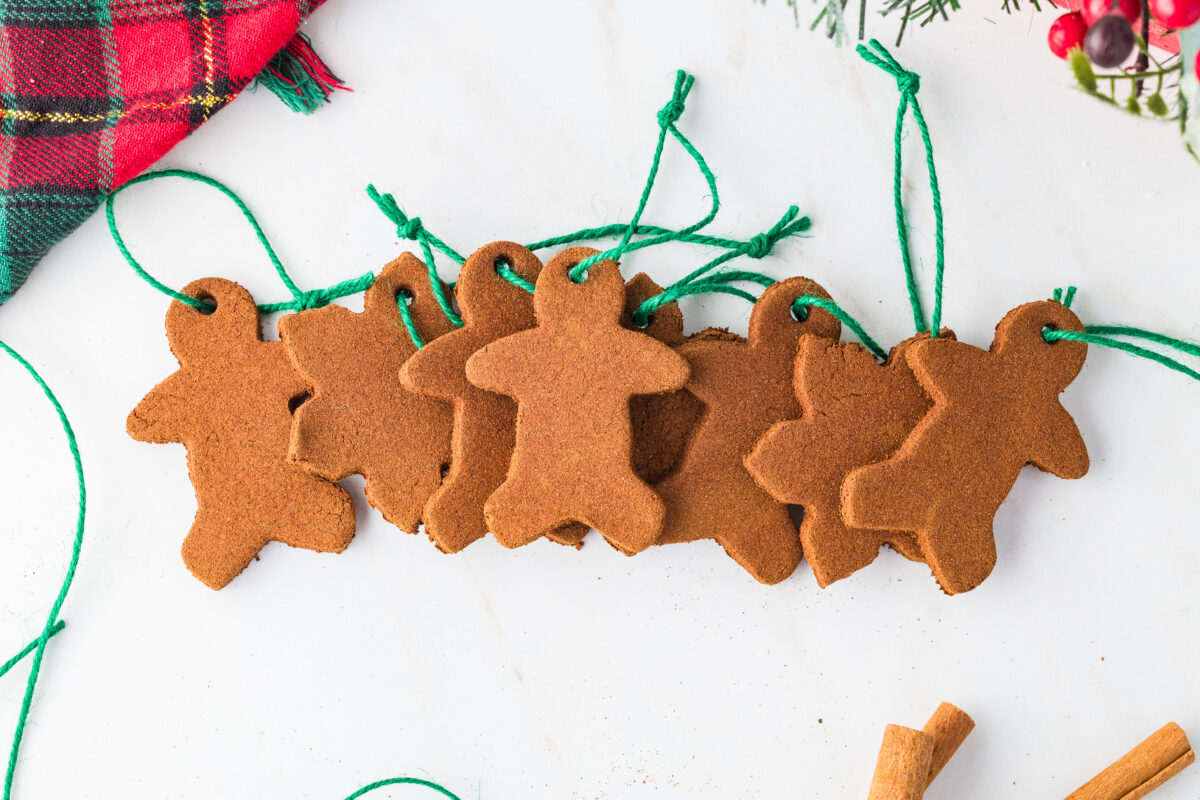
Why You’ll Love Homemade Baked Cinnamon Christmas Ornaments
- Only two ingredients. All you need is applesauce and ground cinnamon. No craft store trip required.
- No special skills needed. All it takes is stirring a bowl and using a cookie cutter. There’s no painting or gluing involved at all. Even little fingers and do all the steps to make these ornaments.
- They smell incredible. Your whole house will smell like cinnamon while they bake, and the ornaments hold that scent for years after.
- No major mess. While rolling and cutting the ornaments might make a little mess – we’re not talking about a puffy paints and glitter glue kind of mess!
What You’ll Need
This list of ingredients and tools could not be simpler!
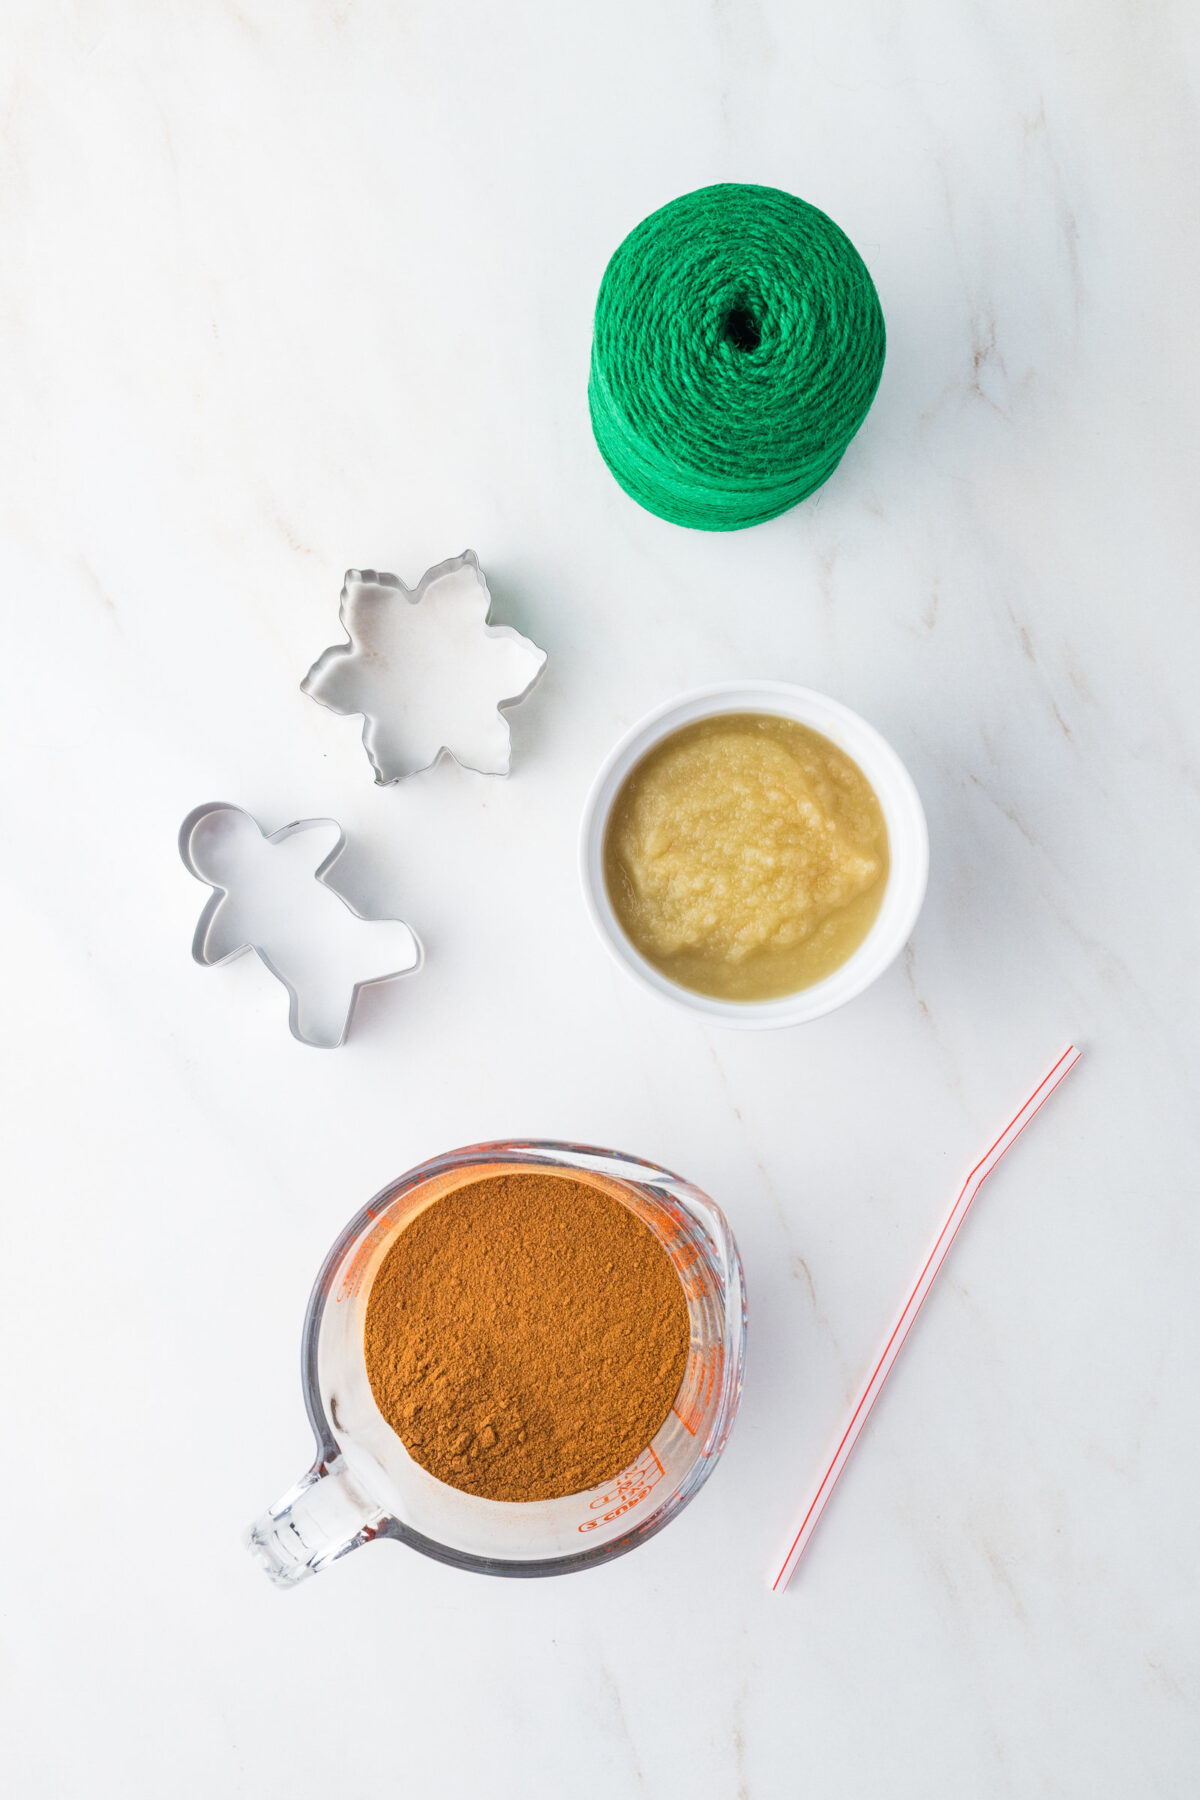
- Applesauce
- Ground cinnamon (about 2 bottles)
- Cookie cutters
- Baking sheet lined with parchment paper
- A drinking straw
- Ribbon or baker’s twine
Find the full instructions and measurements in the recipe card below.
How to Make Baked Cinnamon Ornaments
It really only takes a few minutes to make this dough and get your ornaments in the oven – then all you have to do is wait!
- Preheat your oven to 200°F and line a cookie sheet with parchment paper.
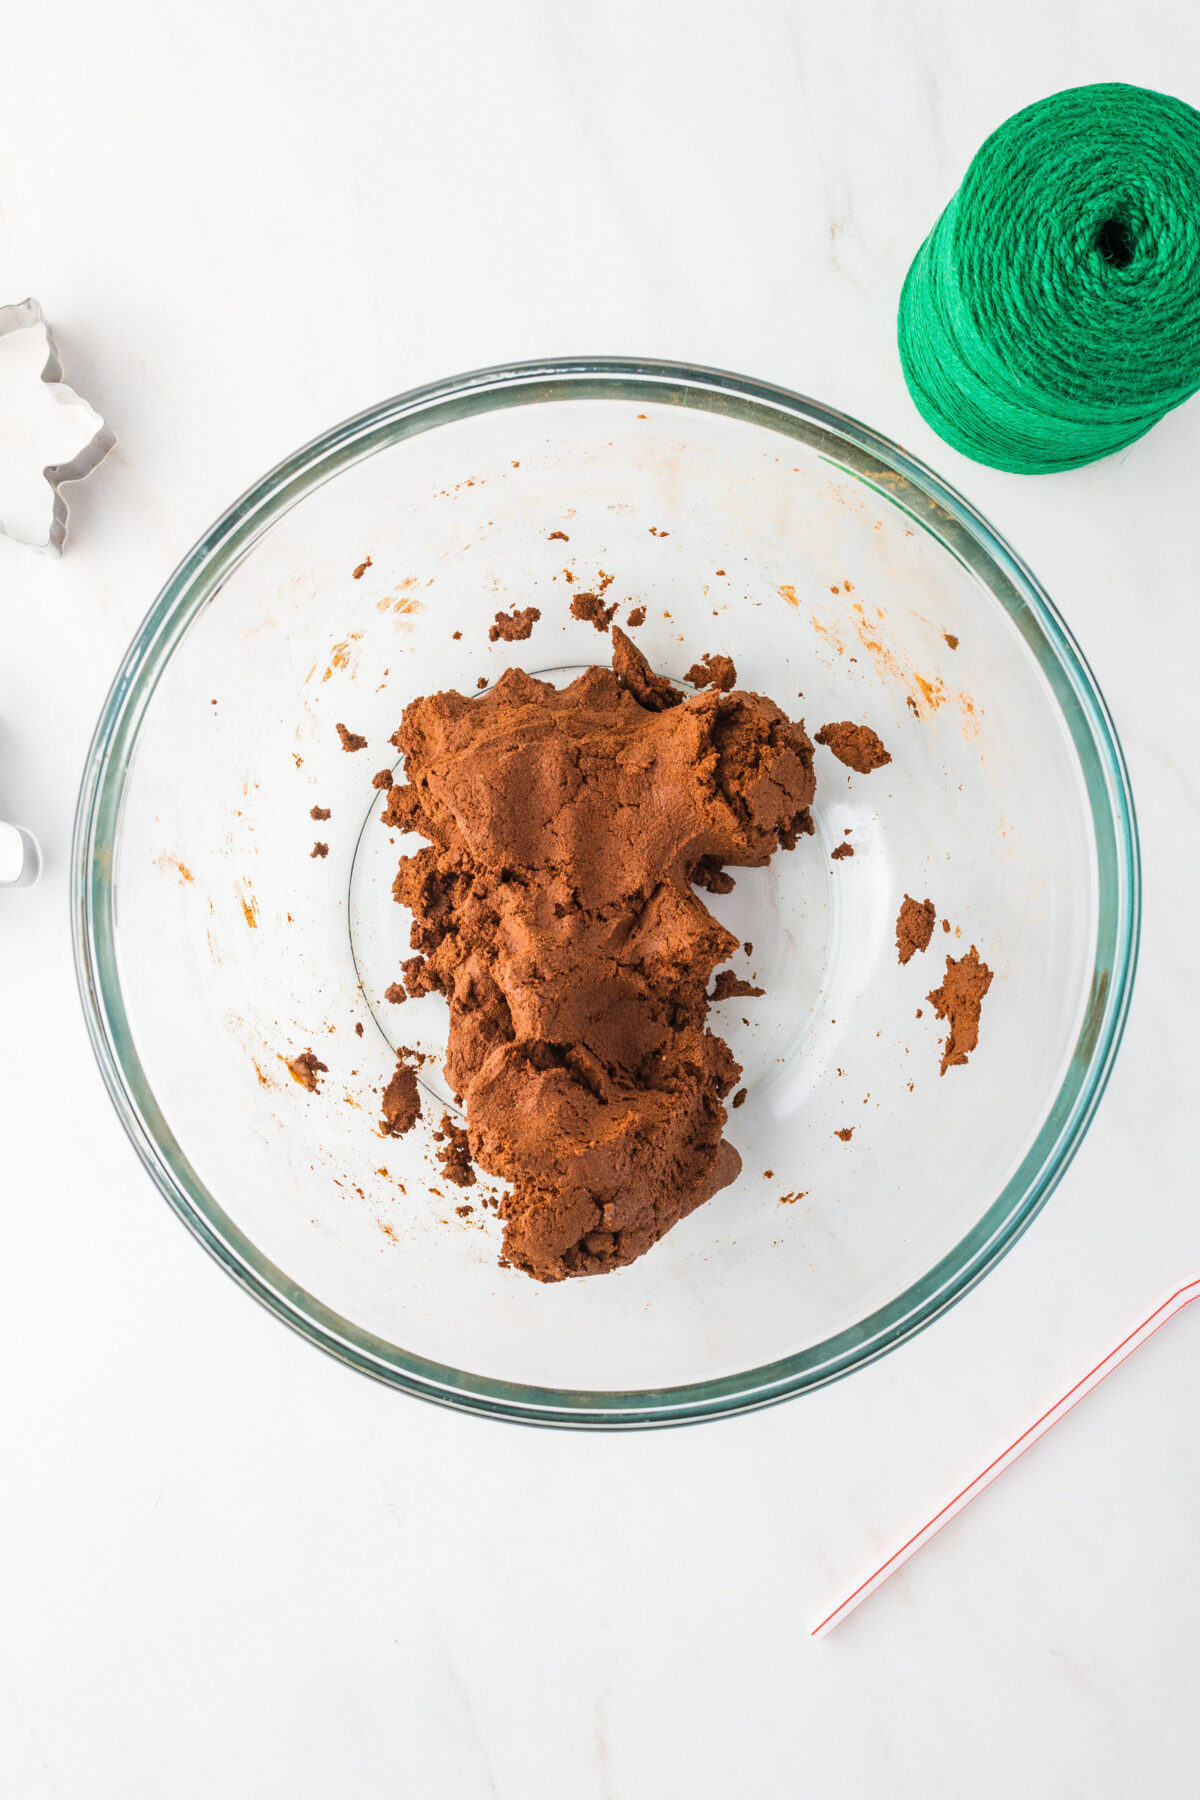
- In a bowl, mix the applesauce and cinnamon together until it forms a soft dough ball.
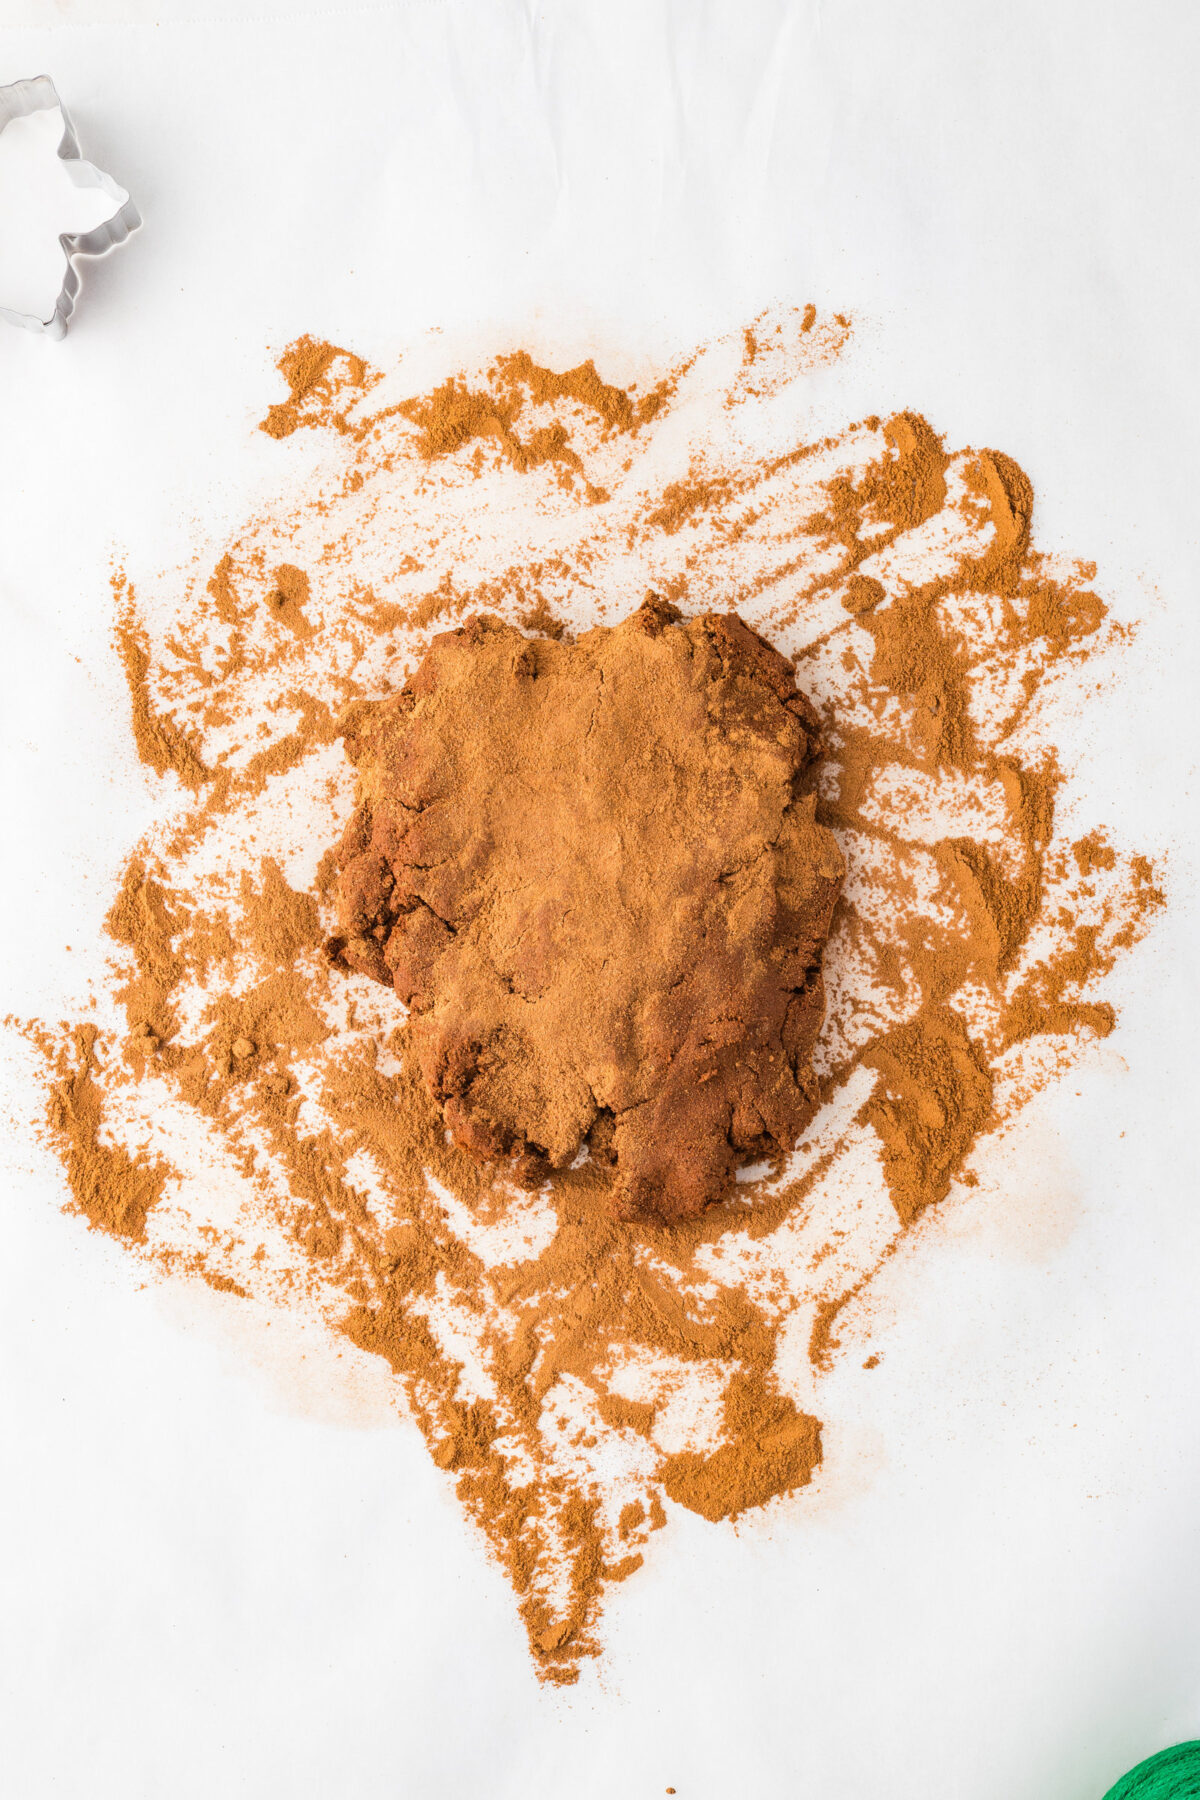
- Dust your work surface with a little extra cinnamon and place the dough in the center of it. Also sprinkles some cinnamon on the dough so it doesn’t stick to your rolling pin.
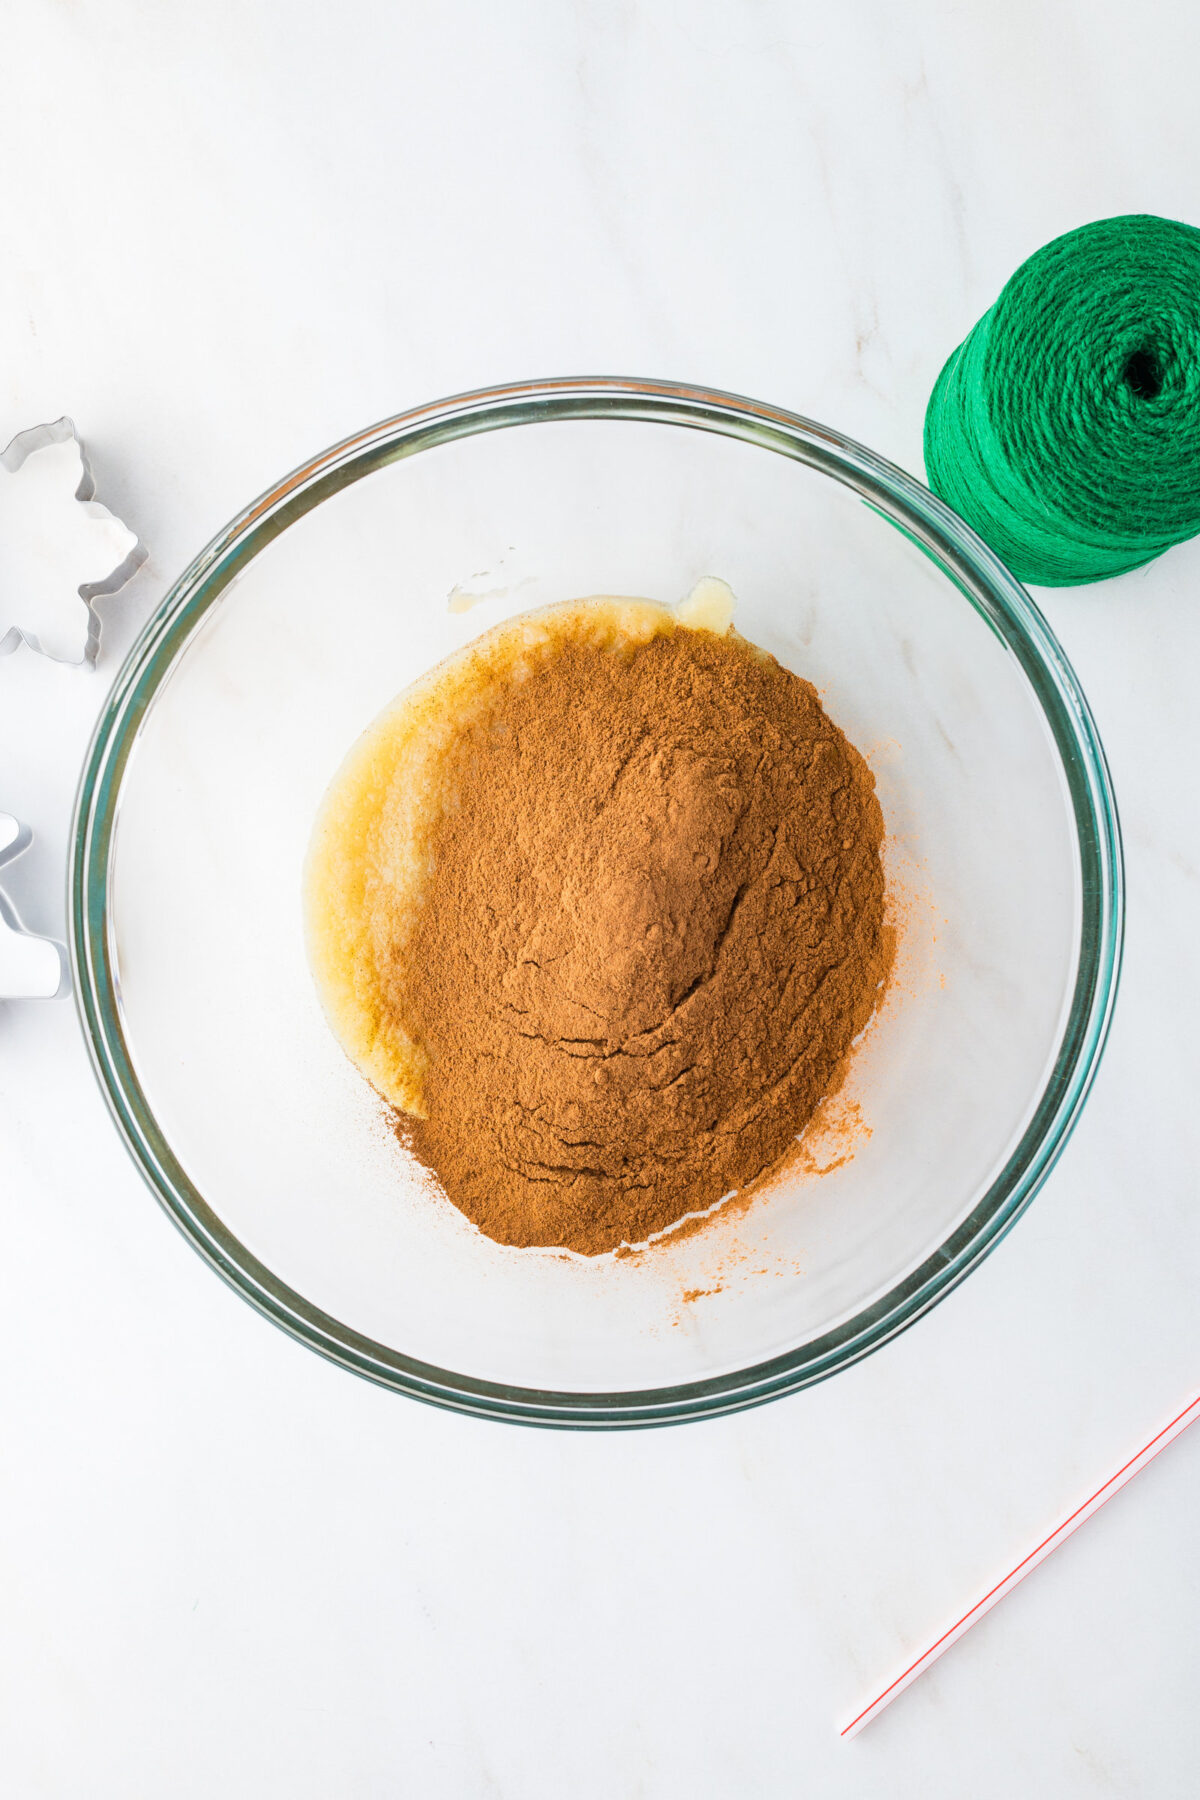
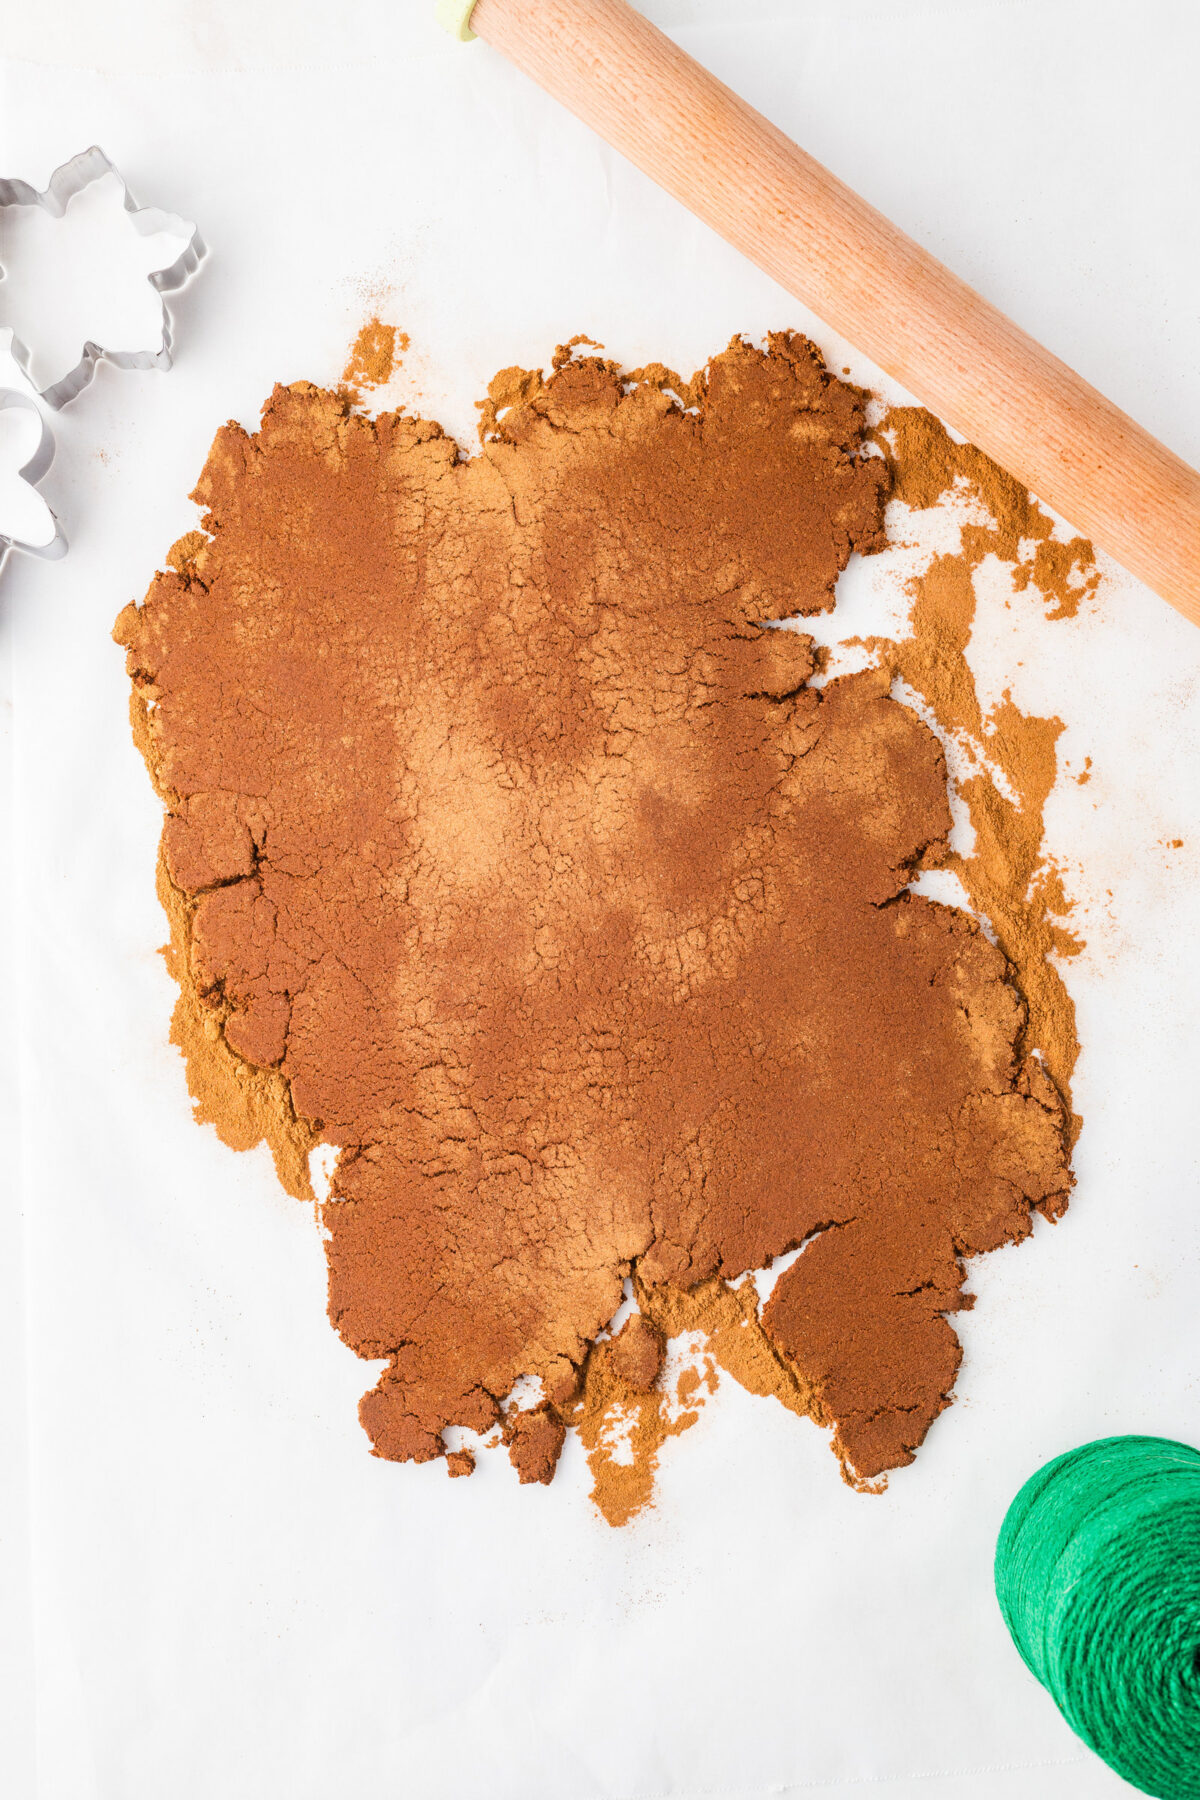
- Roll dough out to about 1/4 inch thick. I love to use these rolling pin guides to roll my dough evenly.
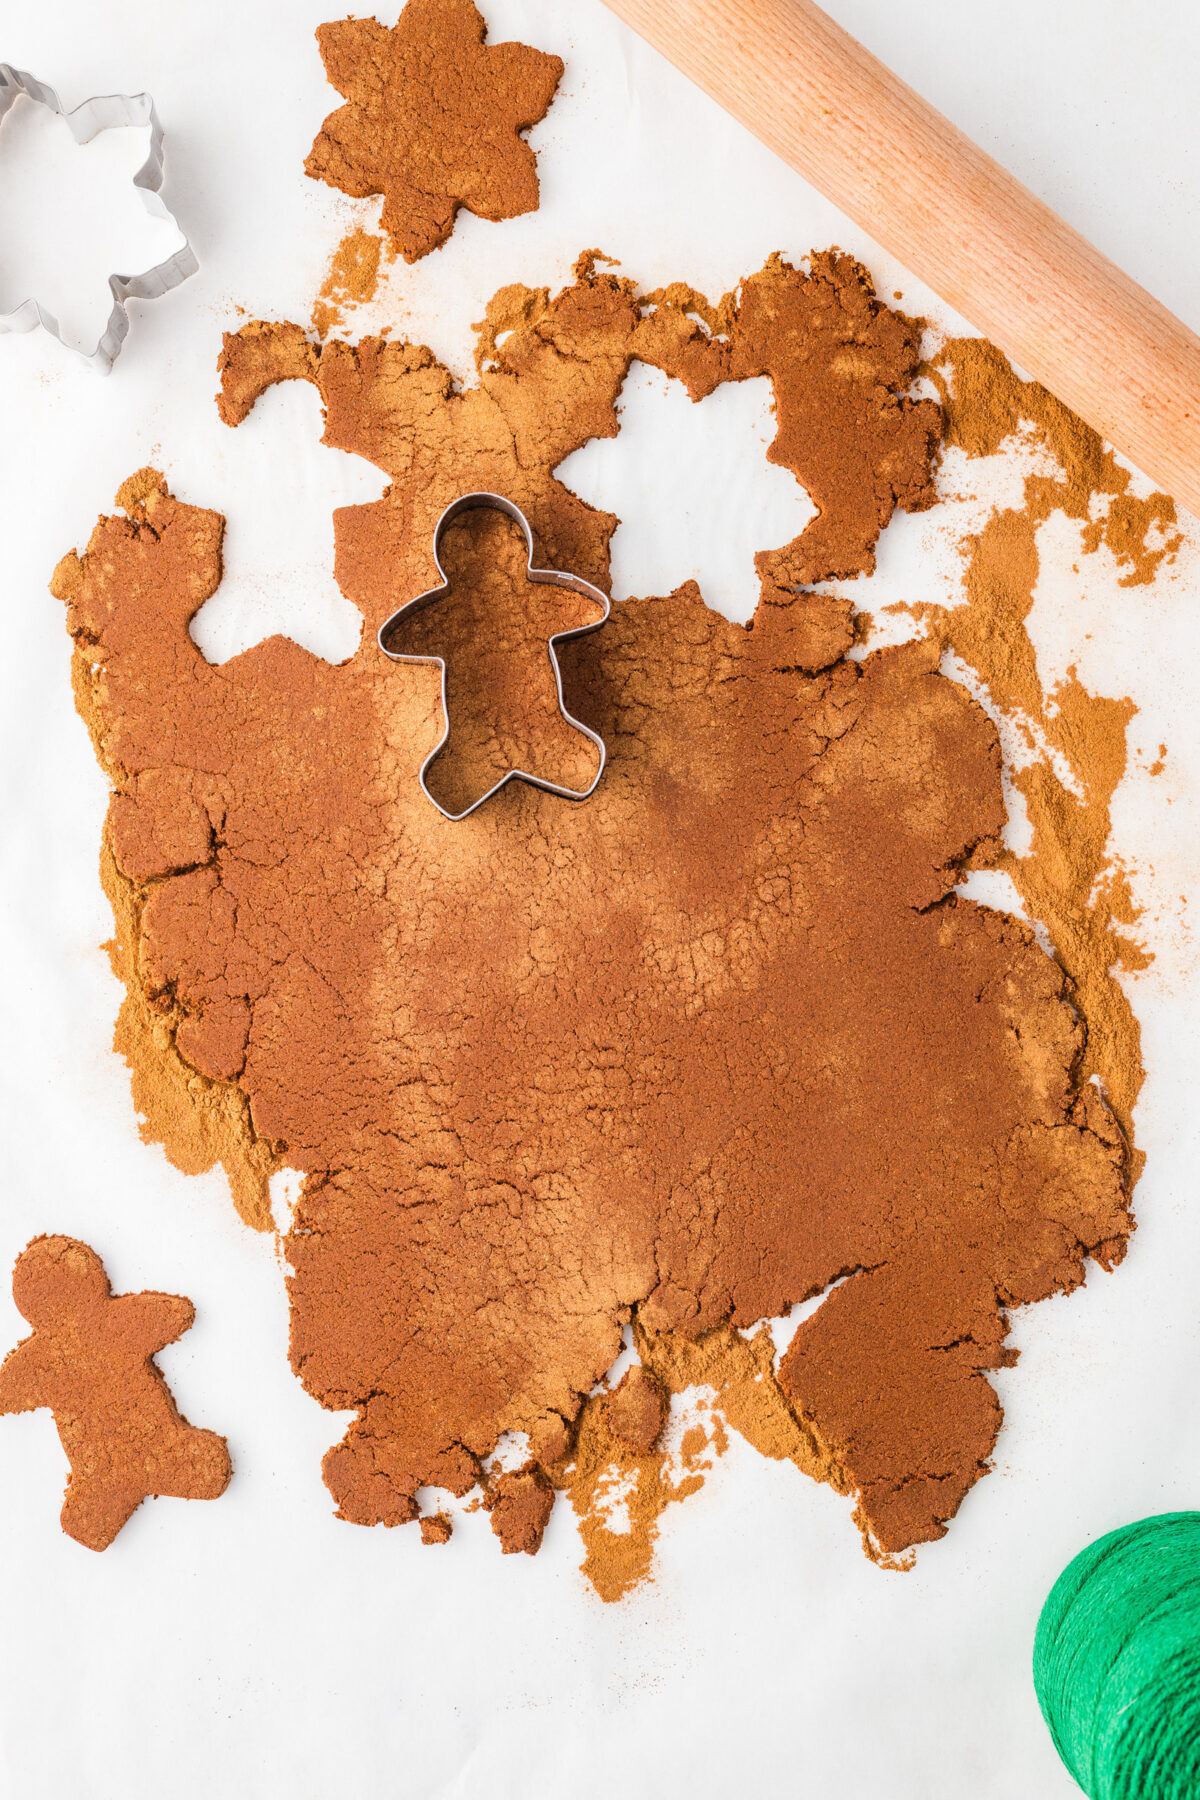
- Cut out shapes using your favorite cookie cutters.
- Use a drinking straw to poke a hole near the top of the ornaments so you’ll have somewhere to thread your ribbon later.
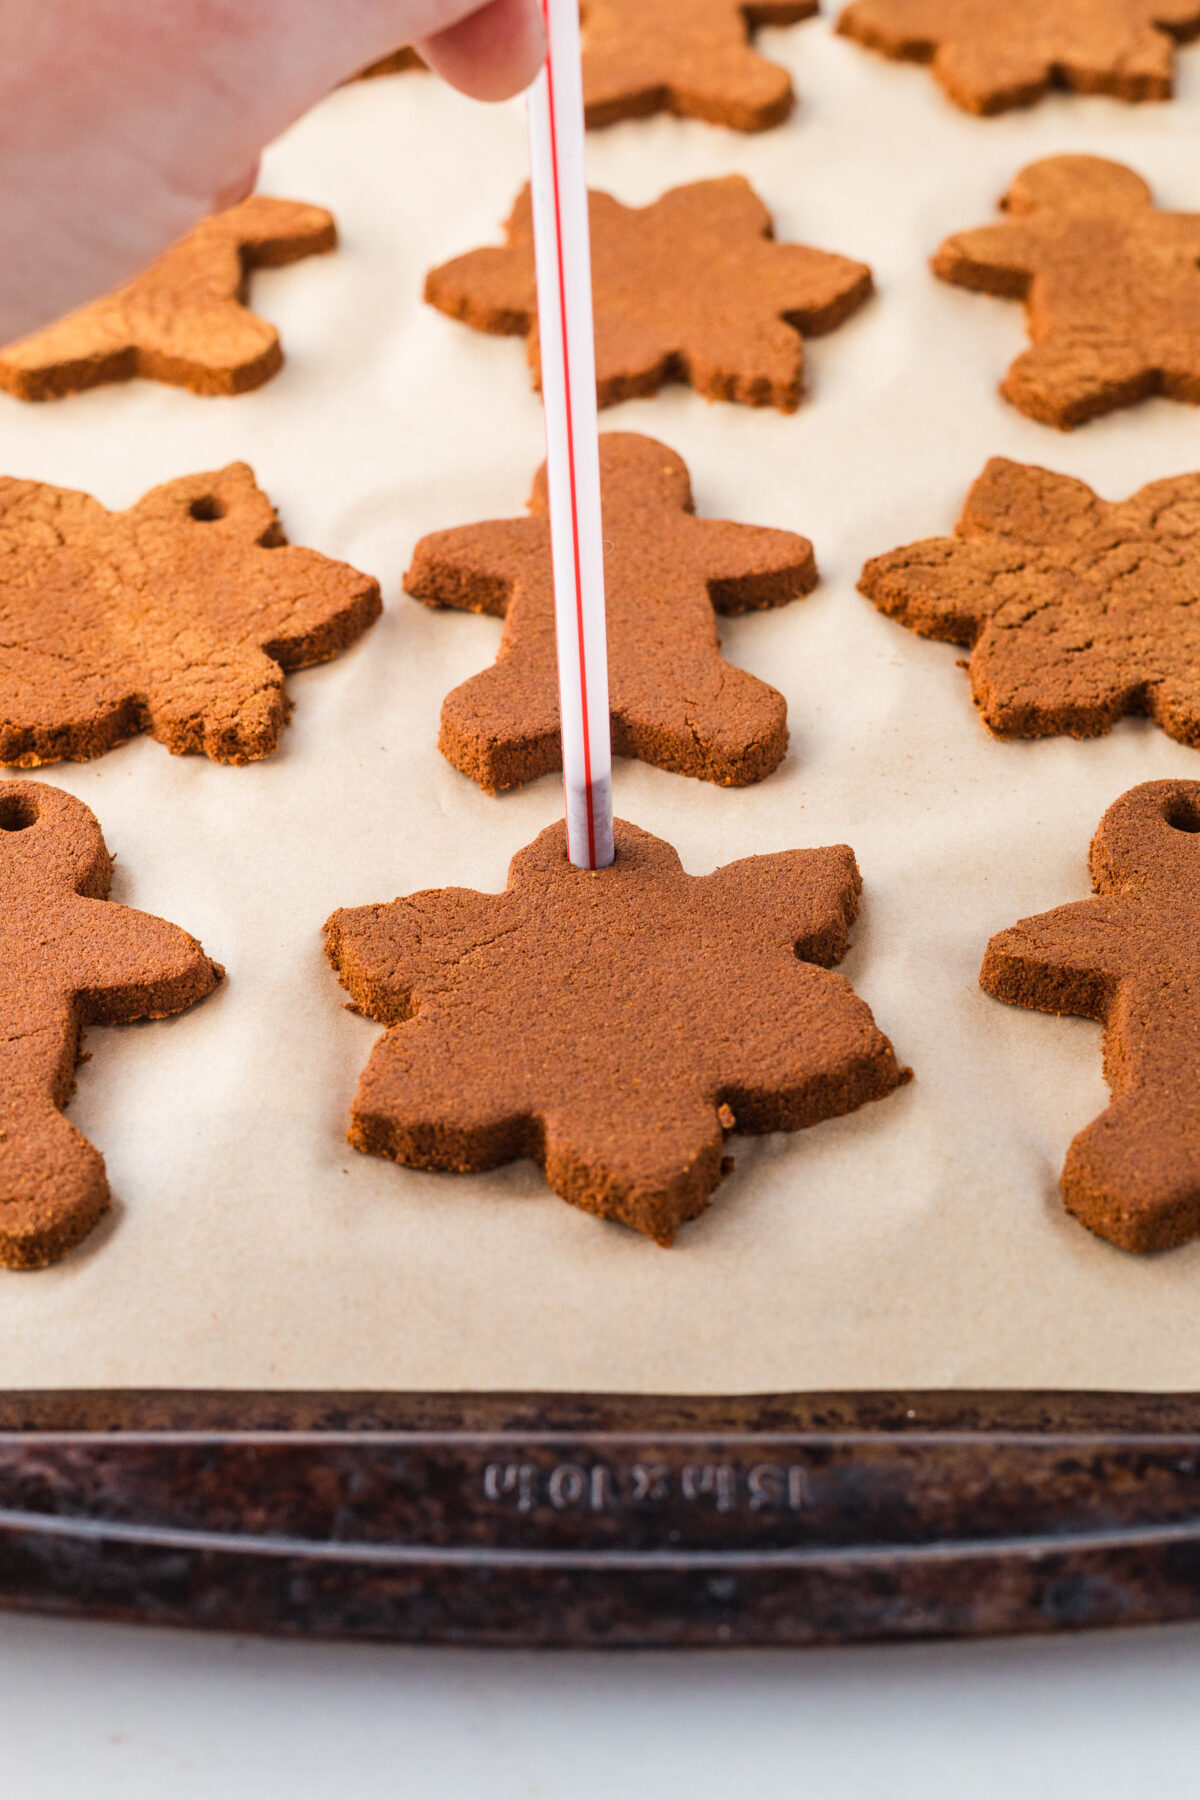
- Bake at 200°F for about 2 hours, until the ornaments are firm and dry to the touch.
- Once they’ve cooled completely, thread ribbon or baker’s twine through the holes, and they’re ready to hang.
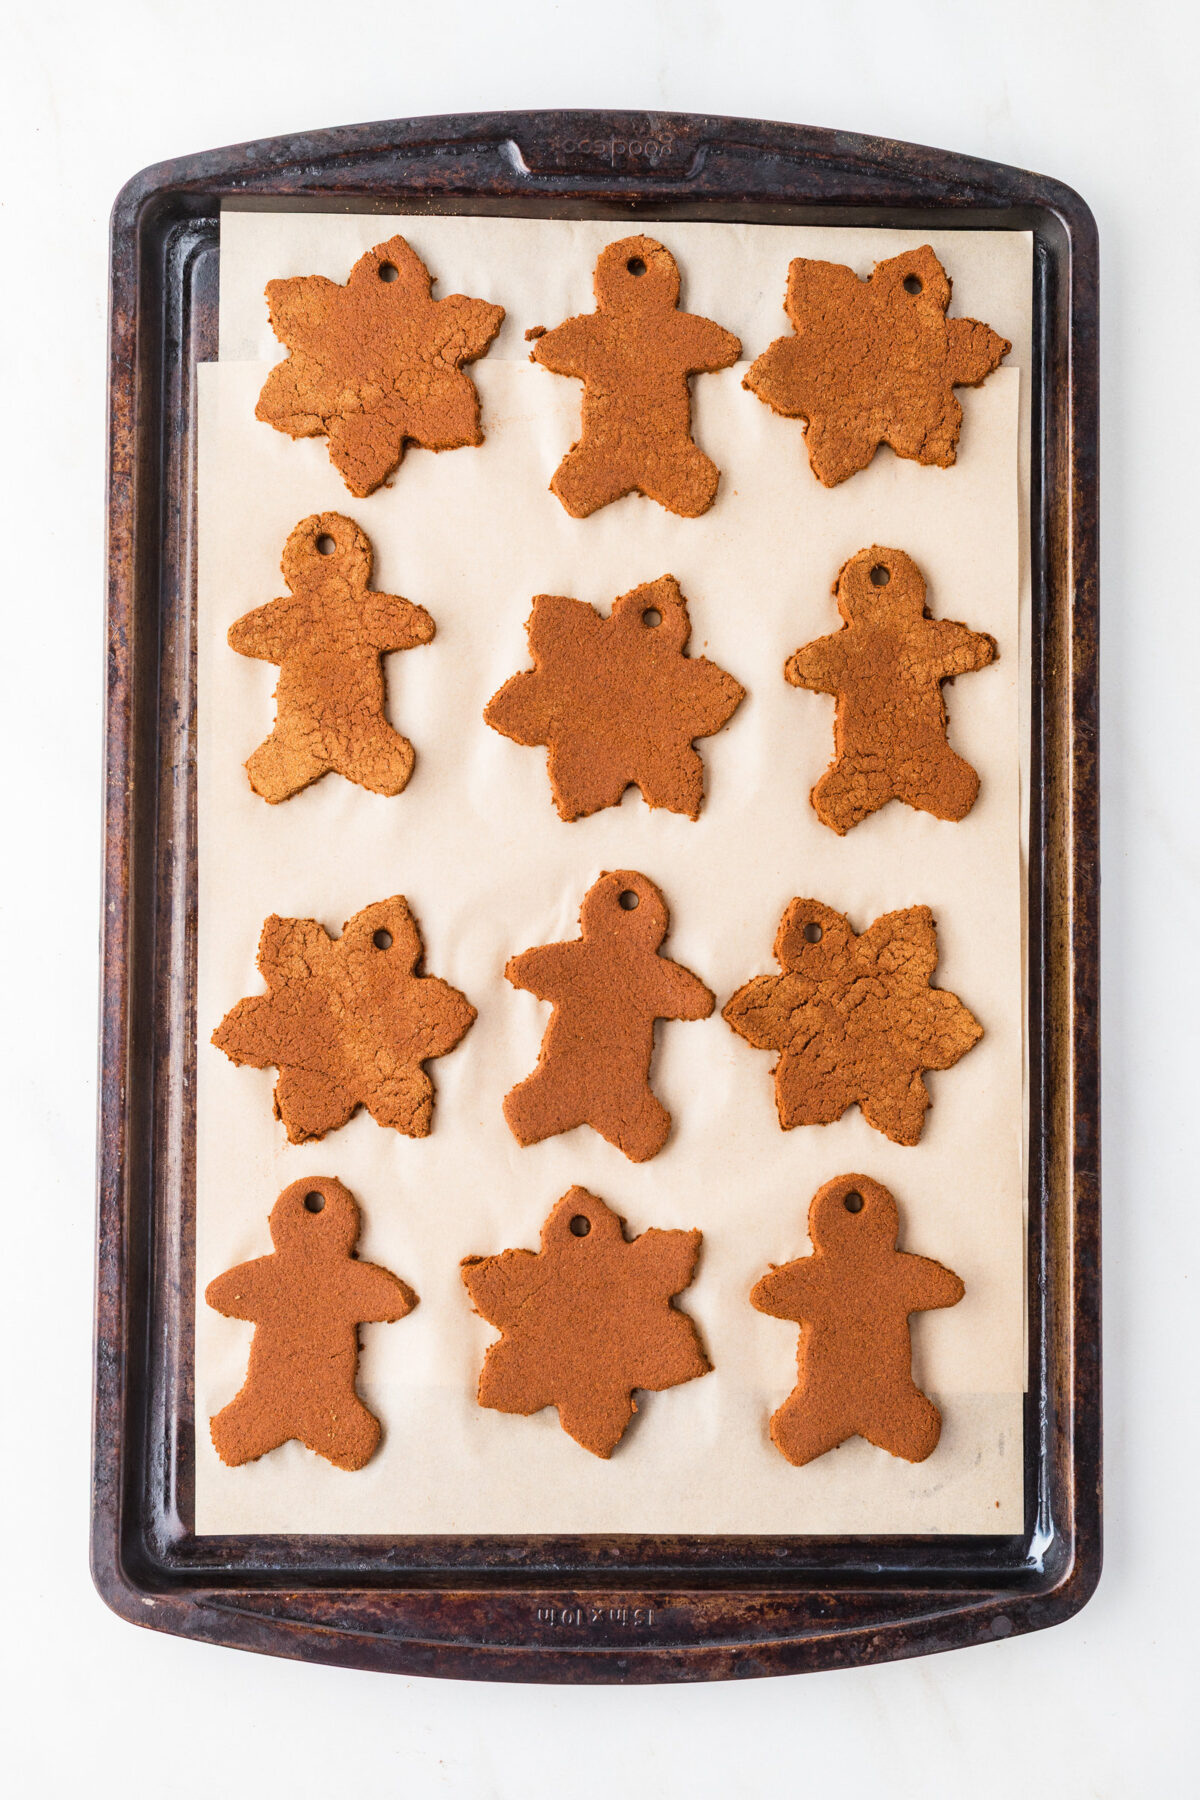
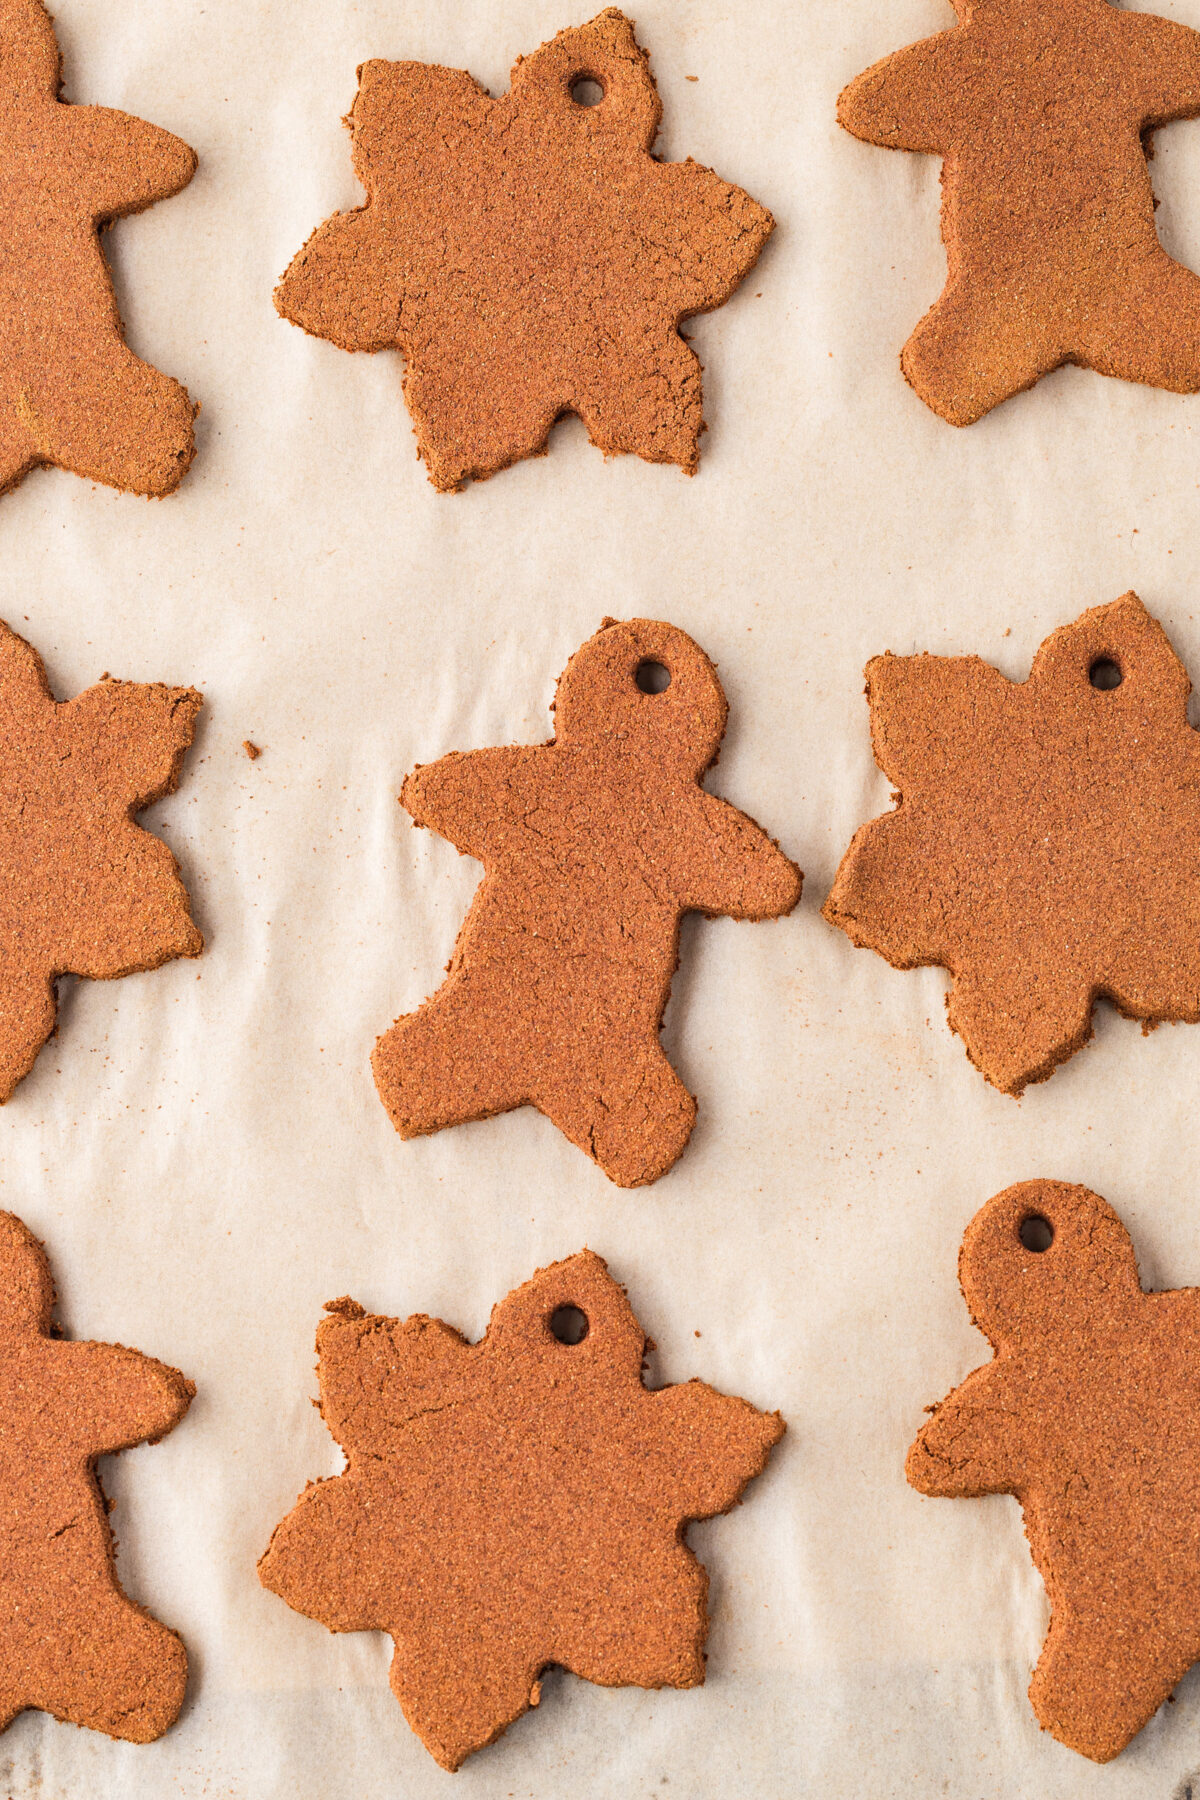
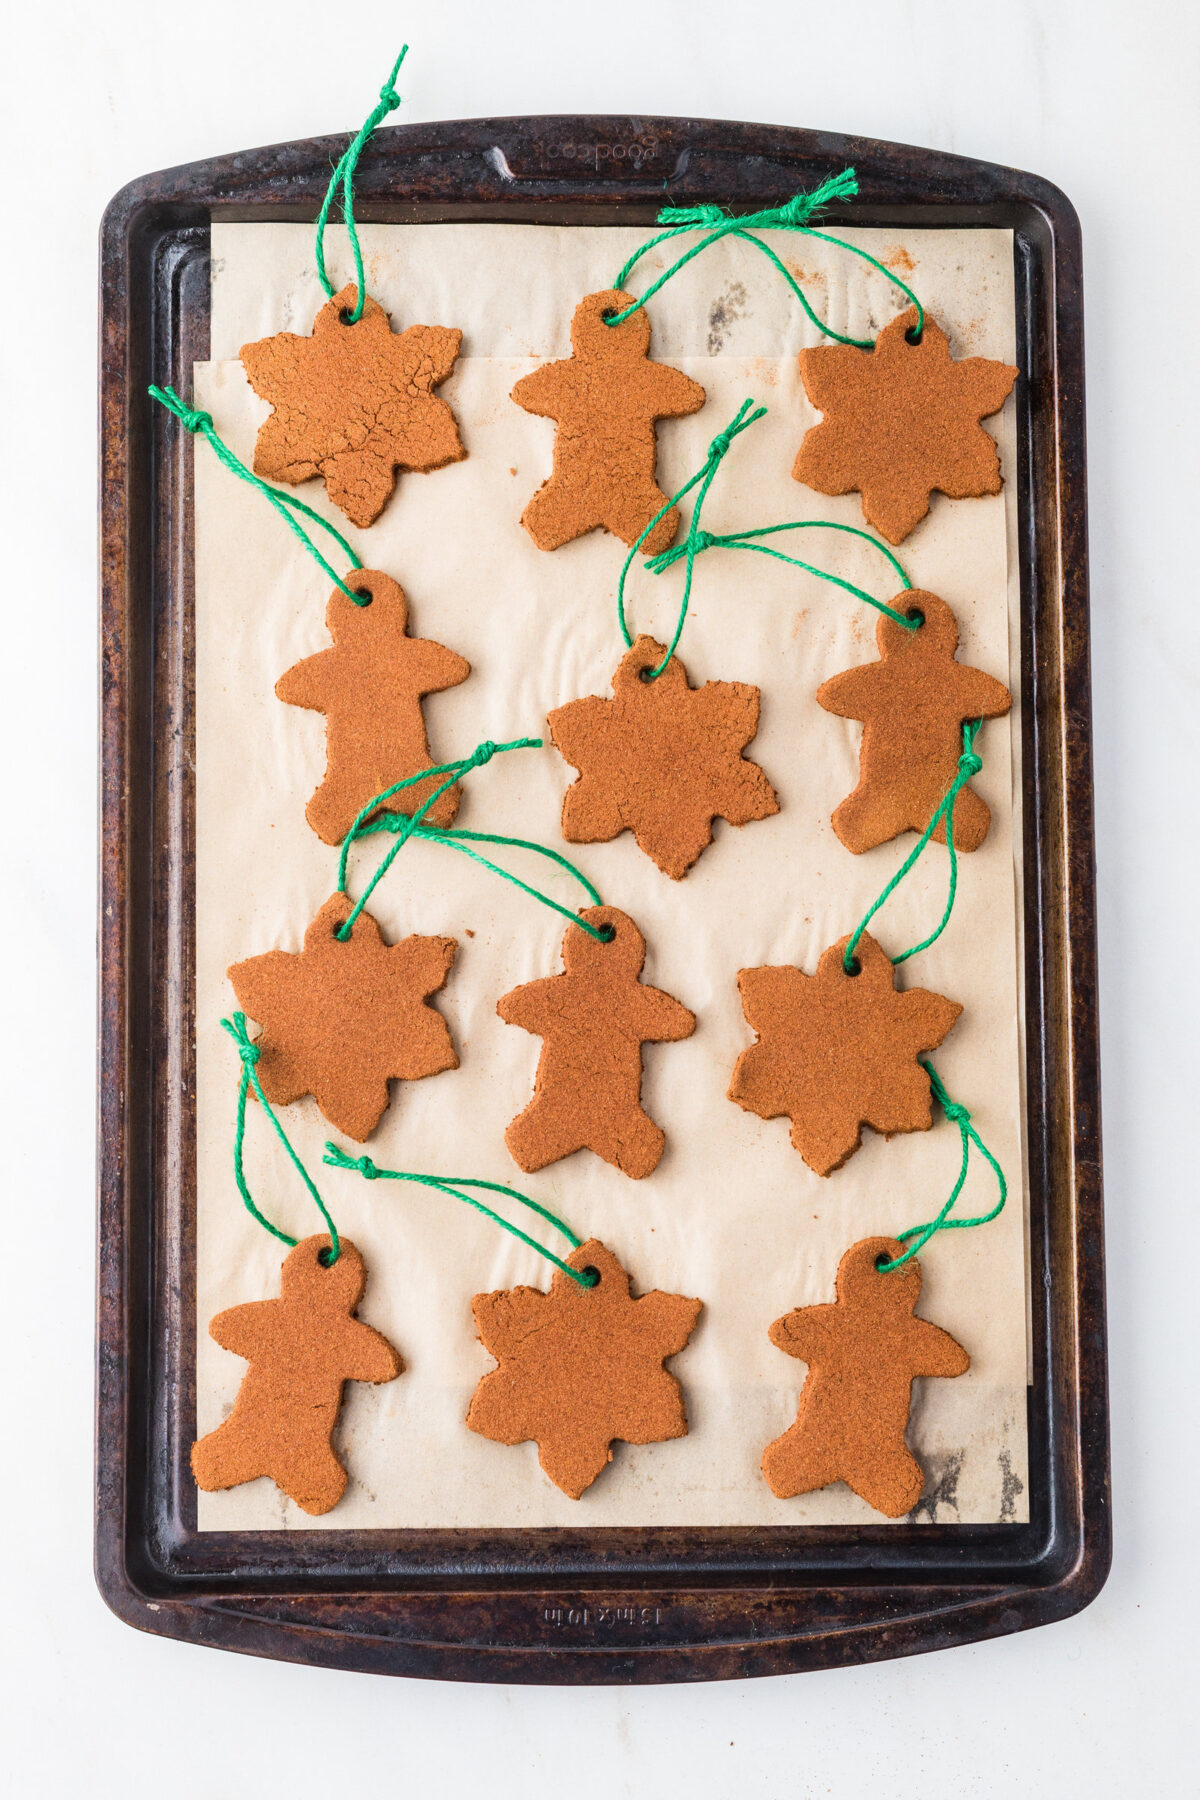
Note: This batch makes about 12-15 ornaments and takes roughly 2 hours and 15 minutes total, most of which is hands-off baking time.
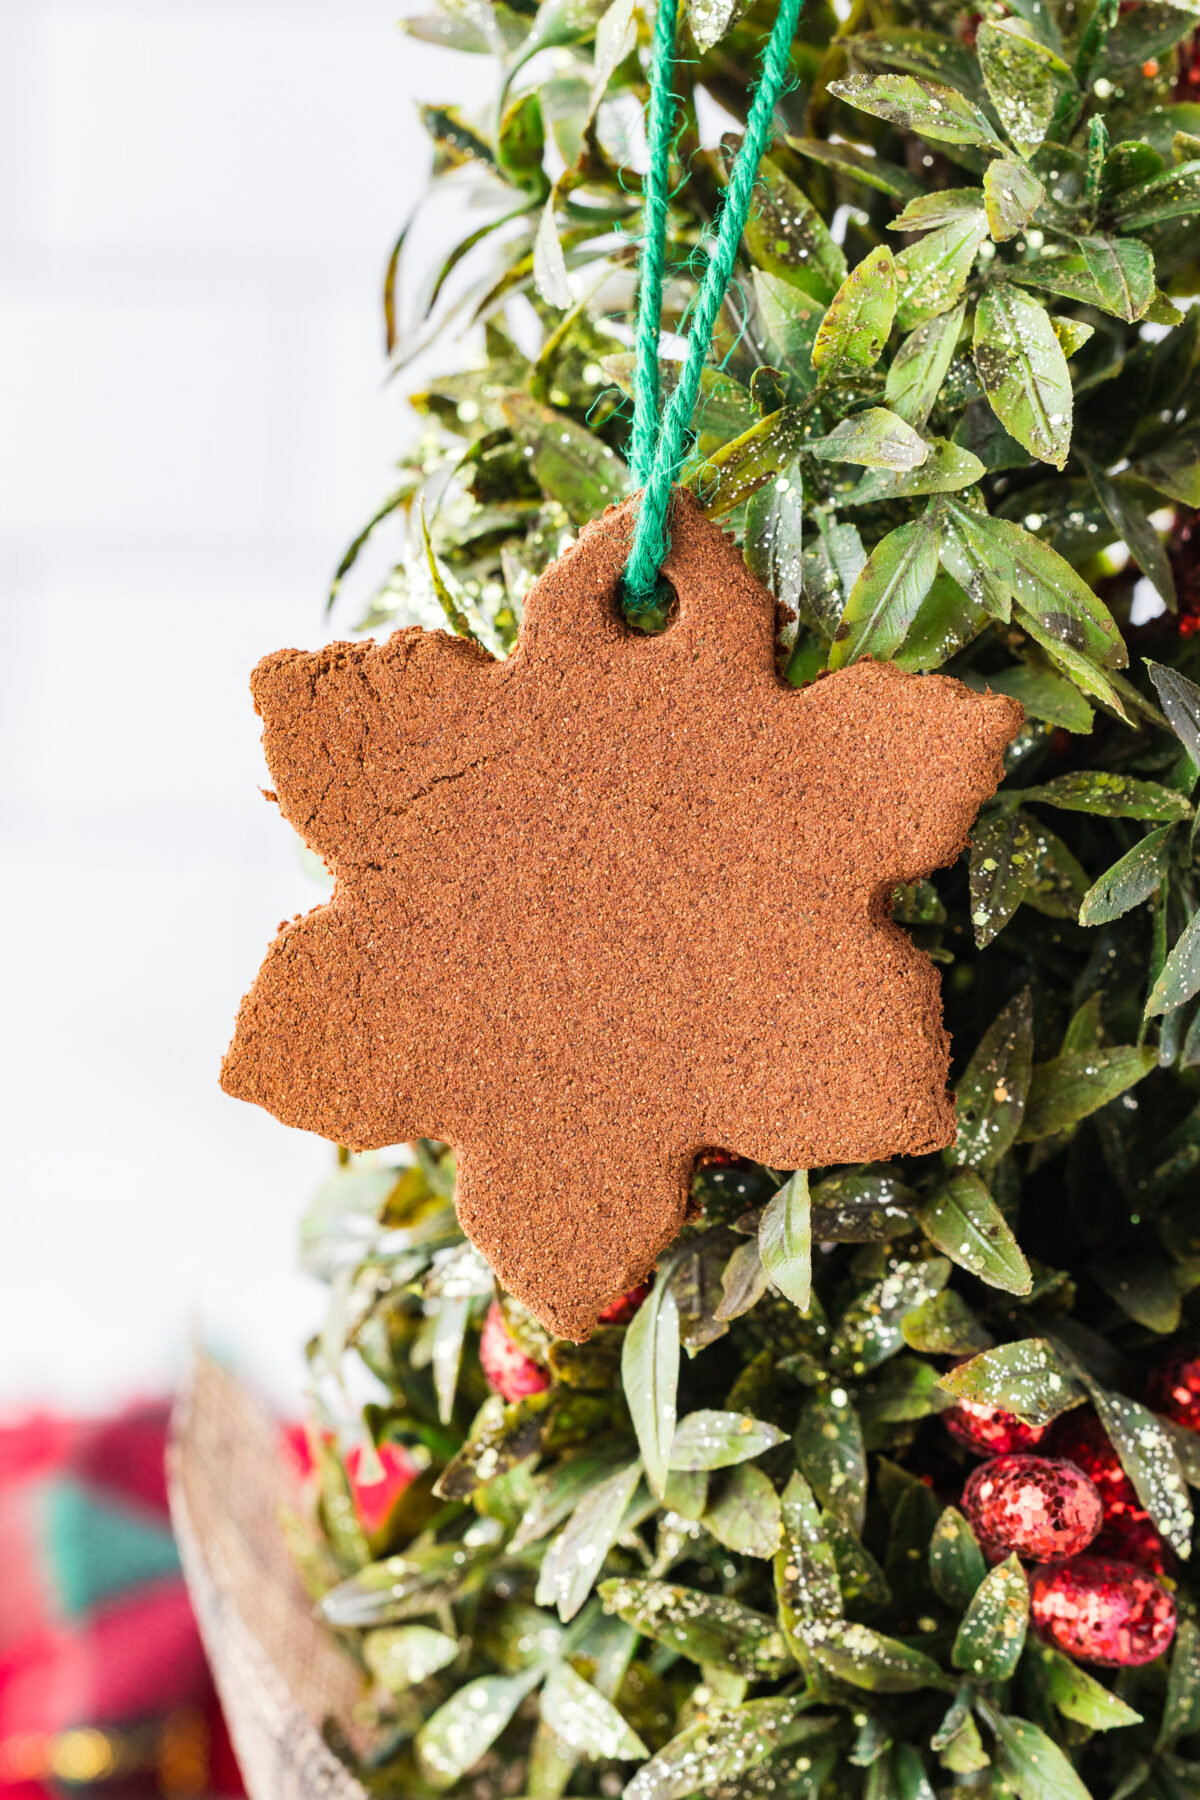
Fun Cookie Cutter Shape Ideas
Regular stars, trees, and gingerbread men are always pretty, but don’t be afraid to have fun with your cutters. A Chewbacca cookie cutter makes the most adorable (and unexpected) cinnamon ornament for any Star Wars fans on your list.
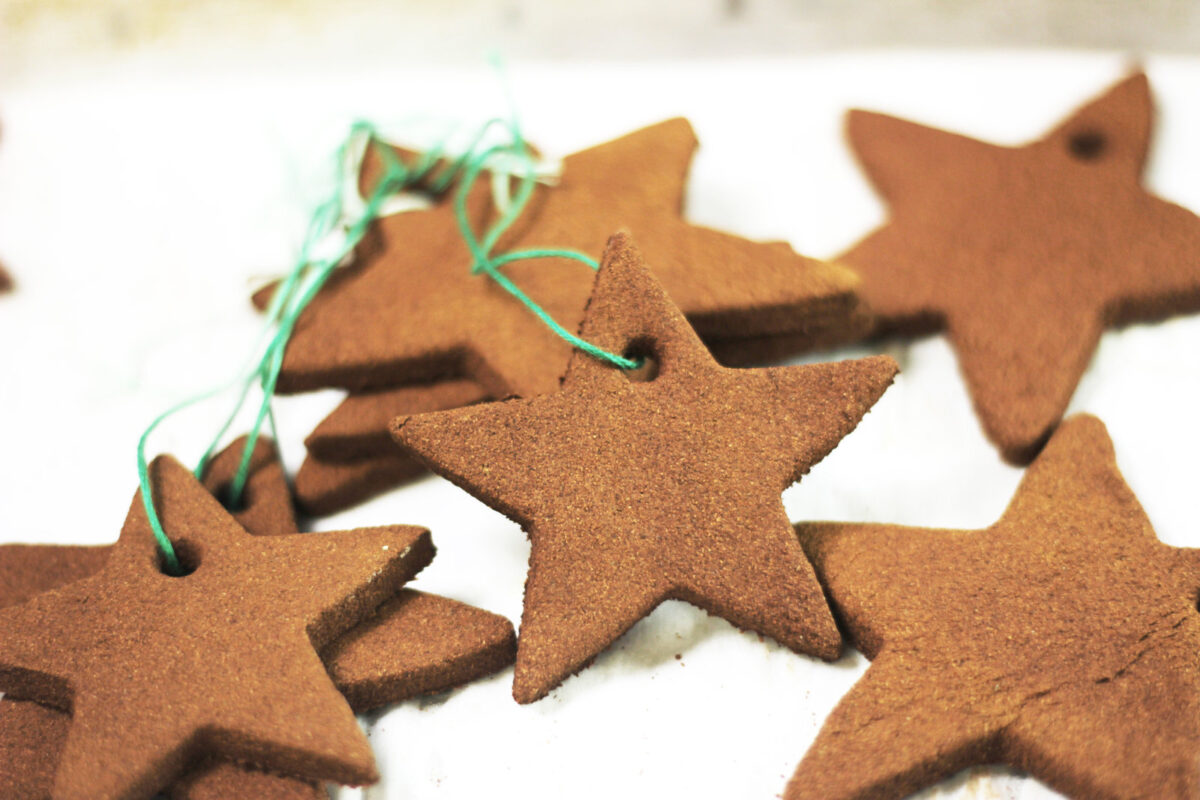
My kids love picking out silly shapes just as much as the classic Christmas ones (like a Gingerbread boy), and you don’t have to get fancy. The first time we made them, we made all stars:
Pro Tips
- Don’t stress if your ornaments aren’t perfect or have small cracks – call it a “rustic look” and roll with it!
- If you roll thicker ornaments, you may need to adjust the bake time.
- Add a pretty ribbon to the top to make them a bit fancier or for gift-giving.
- A dough that’s too dry and won’t hold together just needs a little more applesauce, a teaspoon at a time. One that’s too wet or sticky needs a bit more cinnamon sprinkled in until it firms up.
Over the years, a few readers have written in about the dough cracking or not holding together, so I want to be honest: it can take a little feel to get it right.
Cinnamon and applesauce brands vary, so don’t stress over hitting the exact measurements. One of my readers, Cheyenne, left a comment that legitimately made my day, and I think it sums up the whole thing better than I ever could:
“I had absolutely no problem at all and I didn’t even measure. I dumped in 2 bottles of cinnamon and then added apple sauce until I was comfortable with the dough. Not sure what the issue that everyone seemed to be having was? It’s too dry? Add more applesauce. It’s too wet? Add more cinnamon. Lol, thanks for the recipe!”
That’s really the secret. Go by feel instead of the exact measurements, and adjust as you go until the dough feels like play dough, soft and pliable but not sticky.
Storage
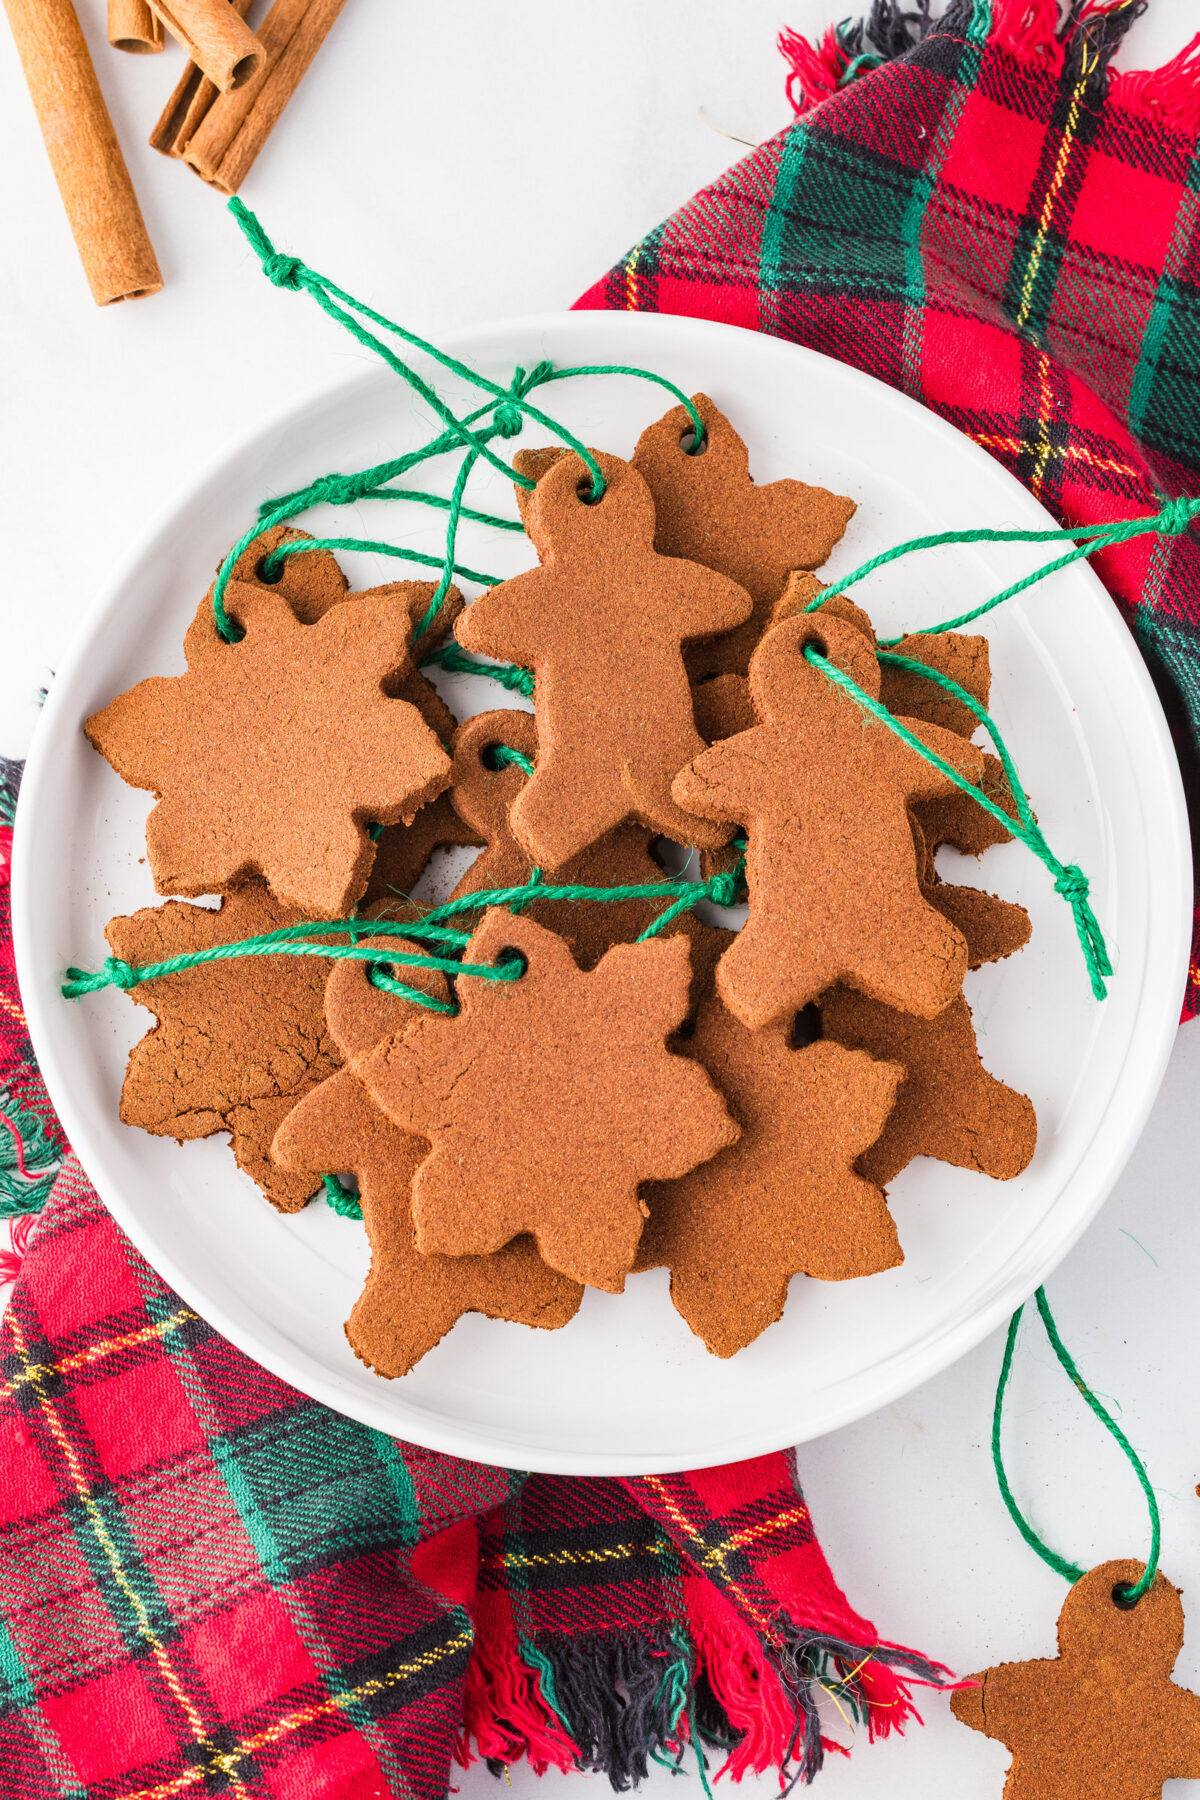
Once they’re fully dried and cooled, these ornaments last for years without any mold or spoiling, as long as you keep them somewhere dry. I just store mine in a plastic tote with my other Christmas decorations and pull them back out every year.
FAQ
Can you eat baked cinnamon ornaments? No. Will a kid die if they take a bite? Also no. While applesauce and cinnamon are both edible on their own, this dough isn’t meant to be a food. Treat it strictly as a craft. I mean, the ingredients are technically edible, but you really shouldn’t – they’d be really hard and yuck. Think of them as a craft, not a snack.
How long do cinnamon ornaments last? Stored in a cool, dry spot, mine have lasted for years without any issues.
Can kids help make these? Absolutely! This is a wonderful kitchen craft for kids since there’s no oven work required from them, just mixing, rolling, and cutting out shapes.
My dough keeps cracking or won’t hold together. What am I doing wrong? Nothing! This is the most common question I get on this craft. Applesauce and ground cinnamon can vary a little from bottle to bottle, so the exact measurements are more of a starting point than a rule. Add applesauce a little at a time if the dough feels dry and crumbly, or adjust the amount of cinnamon if it feels too wet and sticky, and keep adjusting until it feels smooth and pliable in your hands. Once you get a feel for it, you’ll be able to eyeball it every time.

I’d love to see what shapes you pick when you try these Baked Cinnamon Ornaments! They make such a sweet, simple addition to the tree, and they’re a fun one to make every single Christmas again.
More Christmas Craft Ideas
Baked Cinnamon Ornaments
Description
Easy Baked Cinnamon Ornaments. Only 2 ingredients and super easy to make!
Ingredients
- 3/4 cup applesauce
- 1 – 1 1/4 cup ground cinnamon (about 2 bottles)
- Cookie cutters
- Baking Sheet
- Parchment Paper
- Drinking straw
- Colorful ribbon or baker’s twine
- Rolling pin guides
Instructions
- Preheat oven to 200°F. Line a baking sheet with parchment paper.
- Start by mixing up 1 cup of cinnamon and the applesauce in a small bowl. The mixture will be soft but add more cinnamon, a little at a time, until it’s not too sticky and you can form a ball with it.
- Dust a smooth surface with more cinnamon and also dust the top of the ball to get ready to roll out your dough.
- Roll it out evenly to about 1/4″ thick. I used my cookie guide sticks to roll it out evenly.
- Then cut out your shapes and lay them on a parchment-lined cookie sheet. I did all stars but you could do any shape… snowmen, snowflakes, Christmas trees, candy canes… the sky is the limit! (I had to ball my dough back up and roll it out again a couple of times to use up all the dough)
- Use a drinking straw to poke a hole in each ornament before baking!
- Once you have them all ready, pop them in the oven and let them bake away slowly for 2 hours! I think I ended up with around 15 ornaments total (two different size stars).
- Let them cool and the only thing left to do is add a ribbon or twine and hang them on your tree!
Notes
- Dough consistency matters more than exact measurements. Too dry and crumbly? Add more applesauce a little at a time. Too wet and sticky? Add more cinnamon until it firms up.
- Cinnamon and applesauce brands vary, so go by feel rather than stressing over the exact cup measurements. One reader put it best: “I didn’t even measure. I dumped in 2 bottles of cinnamon and then added apple sauce until I was comfortable with the dough.”
- These ornaments are a craft, not a snack. The ingredients are edible, but the finished ornaments should not be eaten.
- Roll the dough to an even 1/4 inch thickness for the best results. Uneven edges are more likely to crack or curl in the oven.
- Stored in a cool, dry spot, these ornaments last for years without molding.
- Have fun with your cookie cutters. Stars, trees, and gingerbread men are classics, but a Chewbacca cutter makes a fun surprise ornament too.








Any possible substitute foe applesauce ? i have apple allergy, and inhaling it, never mind working with it, even with gloves, not ideal.
thanks v much !
None that I know of, sorry!
How long will these last? Will they get moldy?
I’ve used mine for 2 Christmas’ with no mold so far. I haven’t gotten them out yet this year so we’ll see!
We made something like this long ago when I was a child and still have a few kicking around. I can therefore confidently claim that they will last at least 20 years (assuming they don’t break). The smell will diminish a bit over so much time, but they do not mold.
It is just a mess, no good at all what a waste of time and money, why does people post stuff like that. I did a recipe with no apple sauce years back and unfortunately I can’t find it, zut.
I really don’t understand why it didn’t work for you because it absolutely did for me – I took these pics WHILE making them and we have them hanging on our tree. I’m sorry!
I used this recipe…they turned out amazing. I’ve advanced to using “puffy paint” to decorate them like gingerbread, and it turned out so adorable! I threw glitter in another batch and those were great too. The only mistake people may be making is using too much cinnamon…that will make the dough too crumbly. I use two sheets of parchment paper and a little extra cinnamon to dust when I rolled mine out, and that really does the trick. This is a wonderful base dough and I’m loving the different results…creativity knows no bounds
So happy to hear it Kristy!
Mine came out great , in the oven now ! Thanks ! Merry Christmas!
So happy to hear it Jen!! Merry Christmas to you as well!
If you roll the dough out between two sheets of wax paper, it won’t stick to your rolling pin or become a sticky mess. Either it is too dry, then in that case you add a bit more applesauce. If it is too wet, then you add a little cinnamon. Don’t give up. It works.
Thanks for the great tip Cherrell! Merry Christmas!
I just made these with my boys and they turned out great. They were a little crumbly at first so I just added about an extra TBS. of applesauce! Kids had so much fun. Thanks!!!!
Thanks so much for your feedback! Merry Christmas Bailey!
I had absolutely no problem at all and I didn’t even measure. I dumped in 2 bottles of cinnamon and then added apple sauce until I was comfortable with the dough. Not sure what the issue that everyone seemed to be having was? It’s to dry? Add more applesauce. It’s too wet? Add more cinnamon. Lol, thanks for the recipe!
Your comment made my day and I actually added it to my post! Merry Christmas xoxo
I made these with my daughter and her best friend and they came out perfectly! I’m not sure why some people had trouble with the dough, I just added more applesauce or cinnamon as needed and it worked great! I like these way better than the salt dough ornaments and they smell divine
I was excited to do this with my kids. I’m very crafty and do lots of baking so I figured this would be a snap. Turns out, not so. The dough does not work well. It cracks and will not stick together. I added more apple sauce and then more cinnamon. Back and forth over and over. It just doesn’t come together well. We eventually did out best with it but have very wonky cracked ornaments and disappointed kids.
Great recipe! You can add a little more cinnamon if it’s too sticky and it comes out perfect!
I made these today and really I just dumped the two ingredients together until I got the consistency I was looking for. The only problem I had was a few broke right where I placed the hole. And here’s a helpful tip. I used an emery board to sculpt the baked ornament to make even lines. Can’t wait to paint them with the grandkids tomorrow.
Mine looked beautiful going into the oven but many cracked and broke in the oven. My oven was low at 200 and they were only in for 2 hours. I think those struggling might be using a more challenging cookie cutter shape, like me. Stars were fine.
yummy and beautiful. i think if the recipe is on pdf it will be grateful
I made this recipe today with my granddaughter and it worked great for us! We had a lot of fun and they turned out beautiful ❤️
My almost 95 year old mom and I made these just like the recipe. Added two extra spoonfuls of applesauce to help the dough stick together. We used parchment paper. Didn’t dust with extra cinnamon. Came out perfect and smell heavenly. Thanks so very much. A very special time with my mom!
Awww – I love this Barbara! That is just amazing! Happy New Year!
Just made hearts to use for valentine decorations. Love the way they look and house smells great! Going to use homespun fabric to make a garland and same fabric to hang some as ornaments. Thank you for the recipe!
I wish I’d gone with one of the cinnamon salt dough recipes, but wanted the scent I knew these would provide upon baking. My kids are so disappointed. I followed the directions exactly, including the tip to add/reduce the cinnamon or applesauce to get the desired consistency. I bake frequently (especially things like sugar cookies) and had them at the perfect state to roll and cut out. Despite this, as others have stated, they curled up and broke before they even hit the 1.5 hr mark at 200 degrees. Massive waste of time and ingredients.