Homemade Crescent Rolls
These Homemade Crescent Rolls are soft, buttery, and full of flaky layers, and they might be the best crescent rolls you’ll ever pull from your oven! This homemade crescent rolls recipe is perfect for Sunday dinner, a holiday meal, or any night you want a warm basket of bread on the dinner table. A few quick folds give you a roll that’s part fluffy dinner roll and part flaky croissant, and the dough can be made ahead, so it’s a great make-ahead dinner roll for busy holiday dinner days.
Want to step up your game? Turn these into Garlic Parmesan Crescent Rolls!
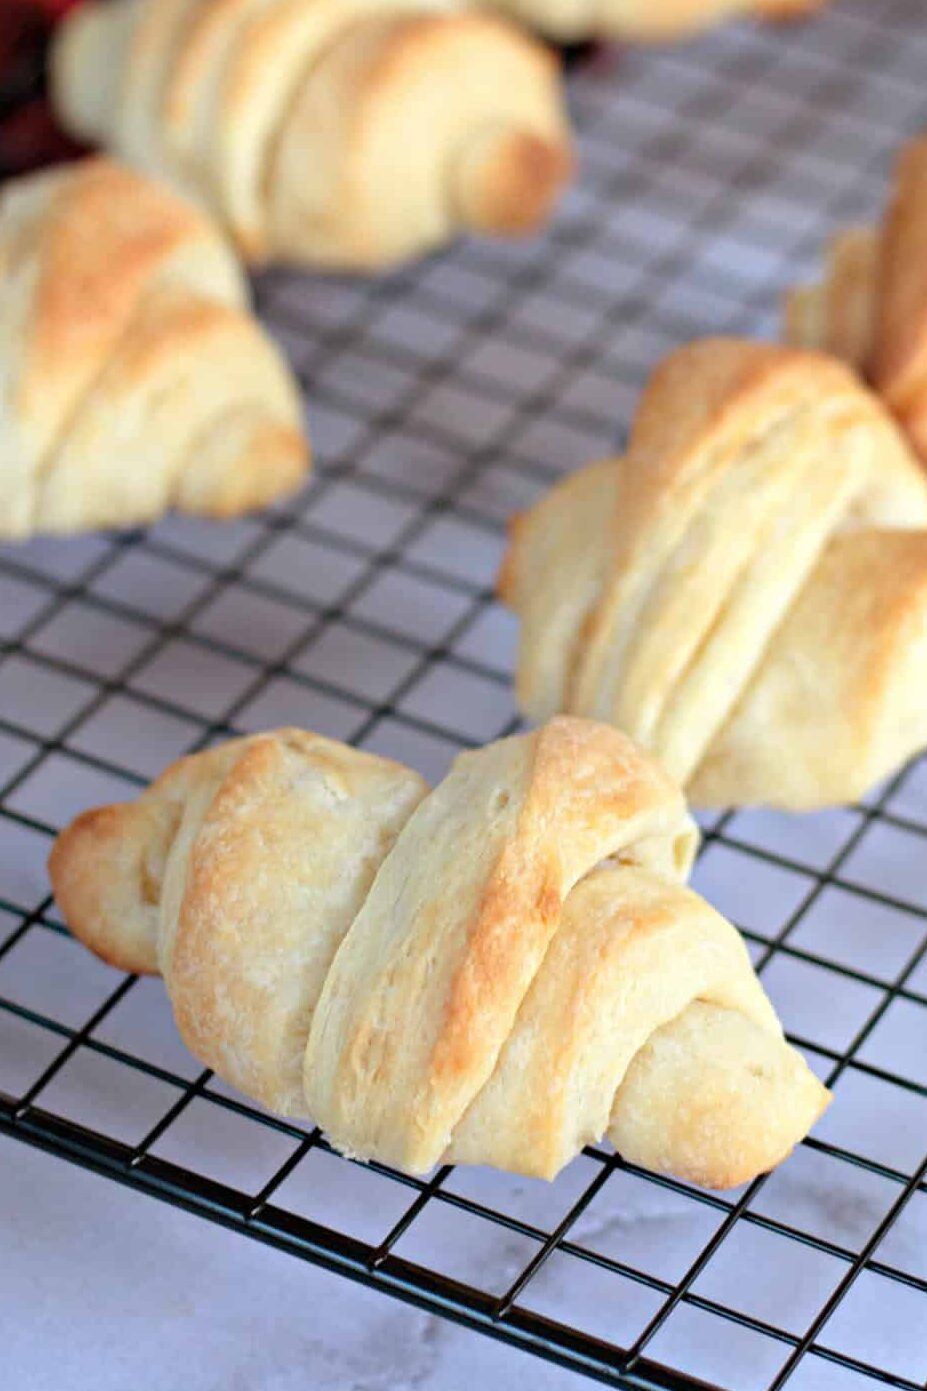
Homemade Crescent Rolls
Nothing smells better than fresh-baked bread or rolls, and these crescent rolls are no exception.
Now, I’ll be honest with you… I use plenty of shortcuts in my kitchen, and I’m not one bit ashamed of the canned crescent roll dough in my fridge.
But every now and then, especially around the holidays, I love making a homemade roll from scratch. These crescent rolls are one of my favorites because they taste so much fancier than they really are.
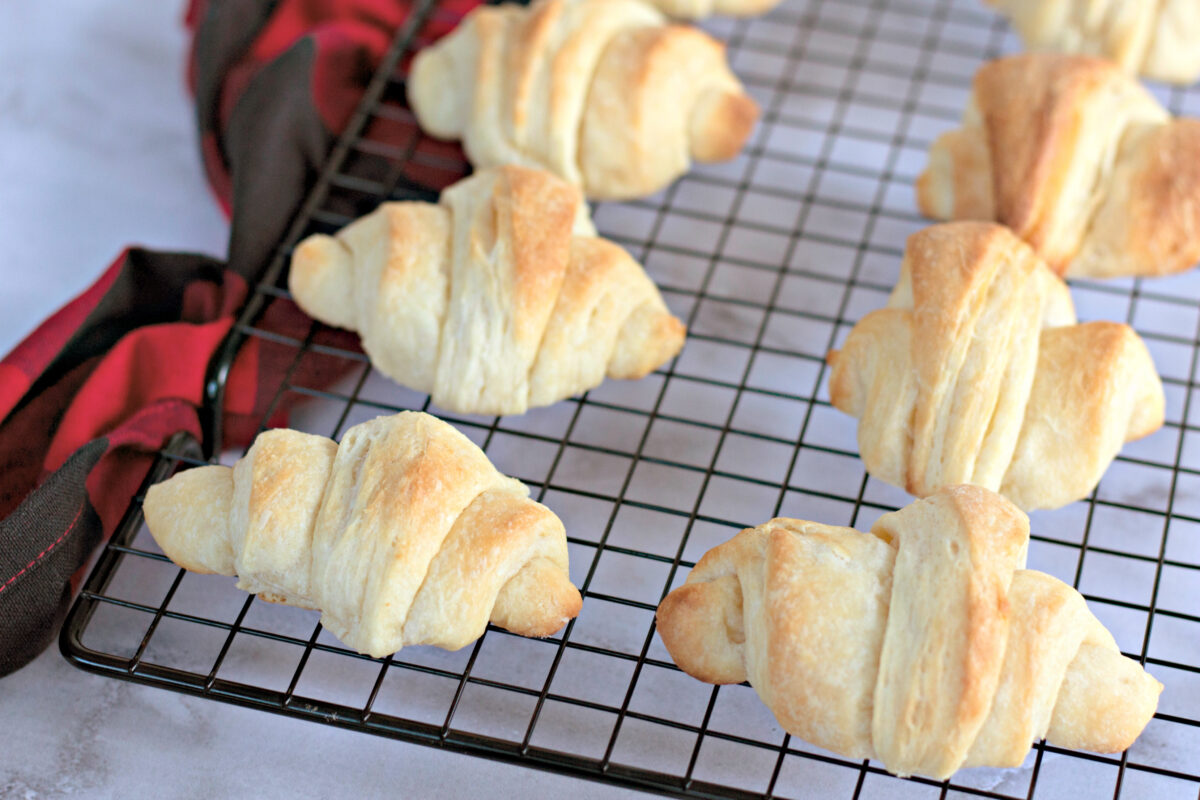
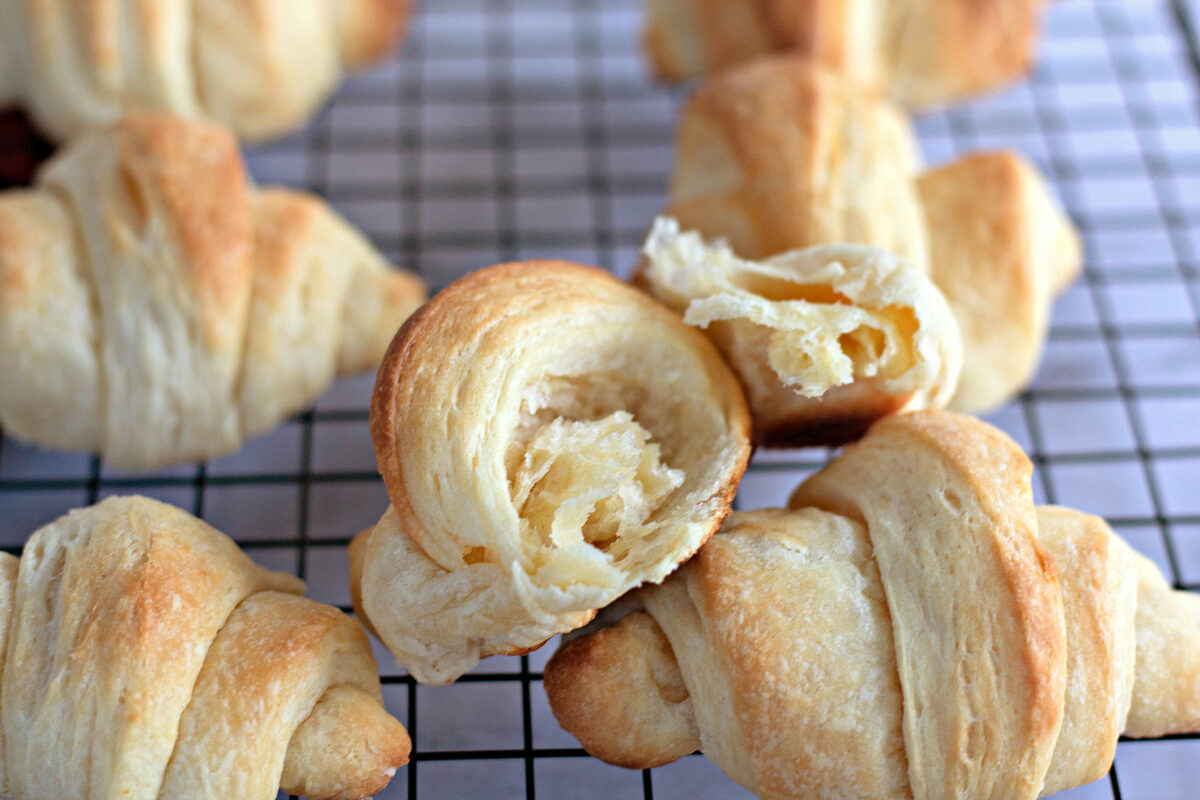
The secret is in the folding. Roll out the crescent dough, fold it, chill it, and do it one more time. That little bit of extra work creates thin layers of dough and butter (kind of like a cheater’s puff pastry), and the result is a roll with all the tender, flaky layers.
What Is Laminated Dough?
Laminated dough is made by rolling and folding cold butter into dough so it bakes up in thin, flaky layers, like croissants and puff pastry. This recipe uses a shortcut version, where the butter is cut right into the flour and the dough is folded just twice.
So don’t let the word “laminated” scare you off! This isn’t the fussy, all-day dough you’d make for croissants. Most of the time is hands-off while the dough chills in the fridge, so you can go about your day (or get started on the rest of dinner) while it rests.
Why You’ll Love This Recipe
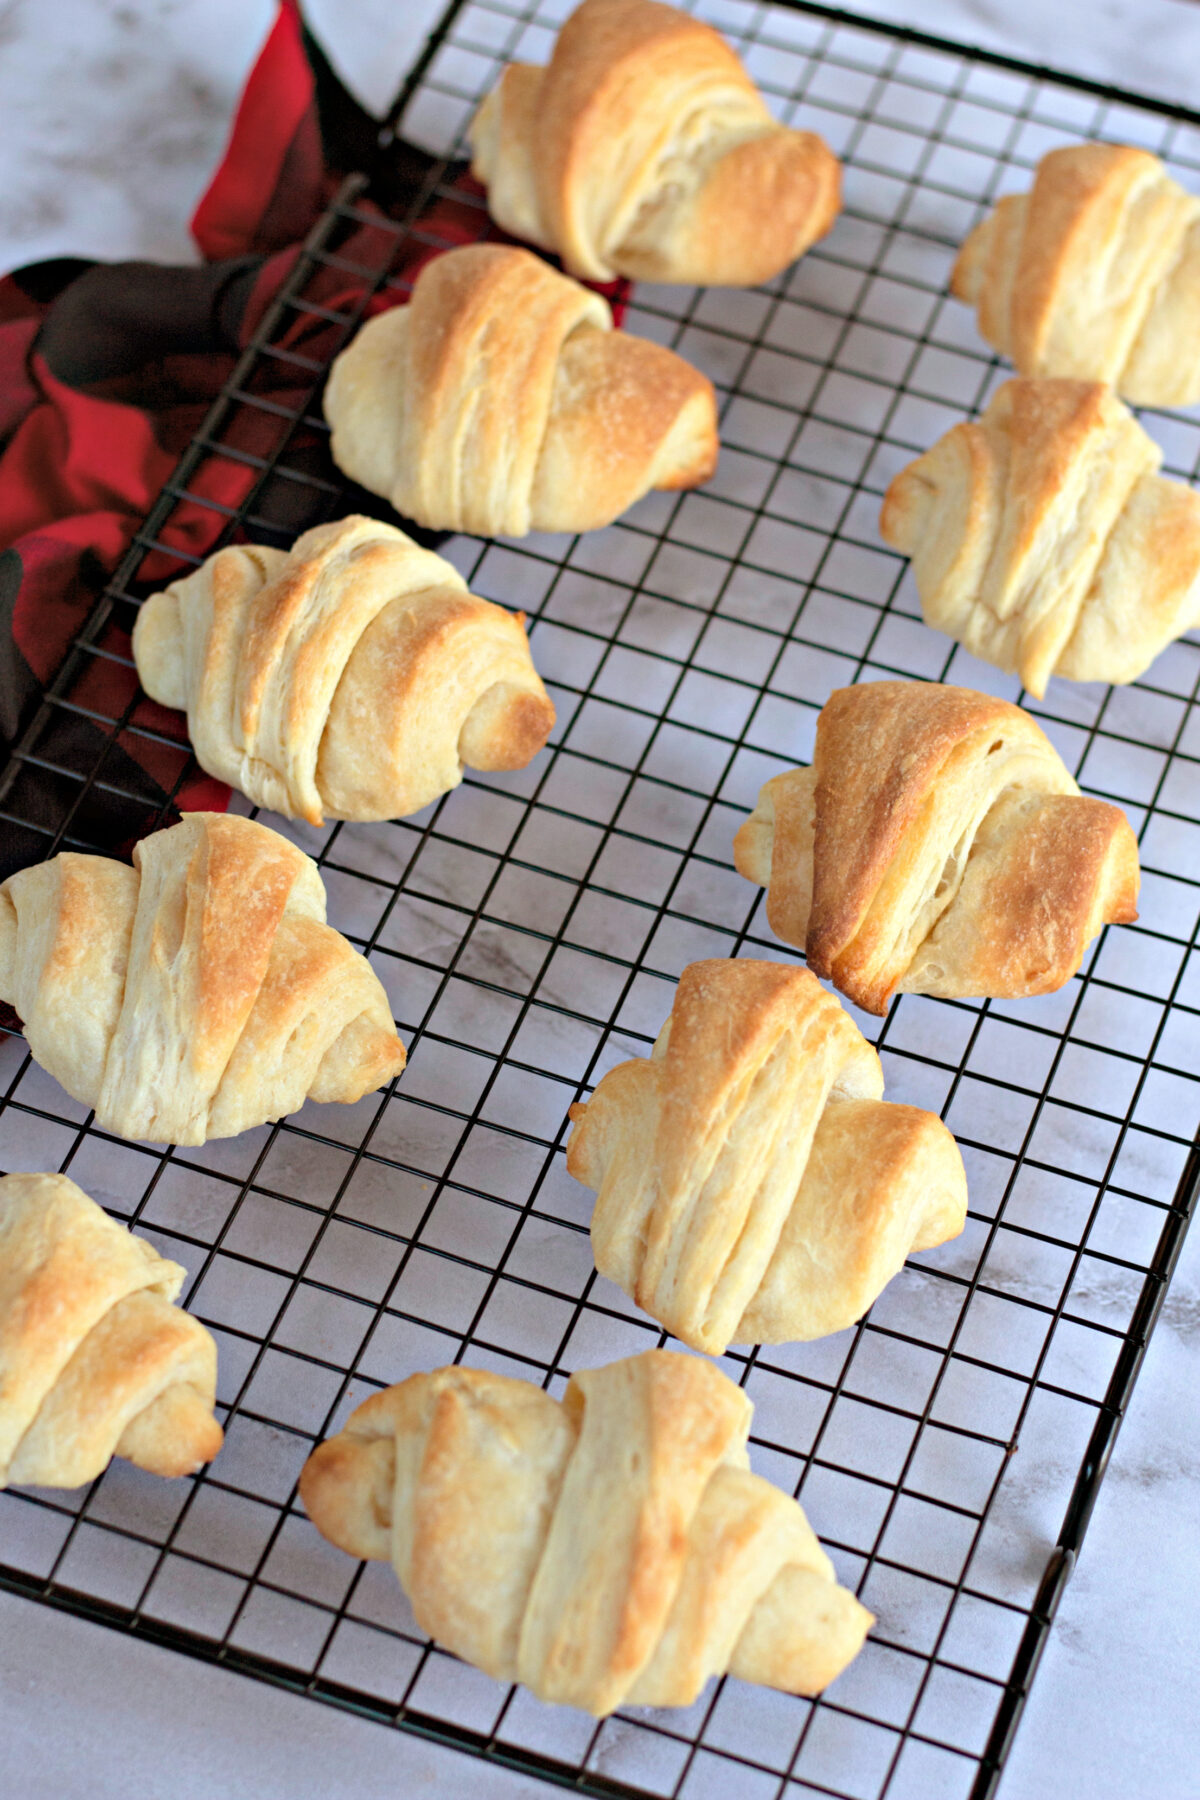
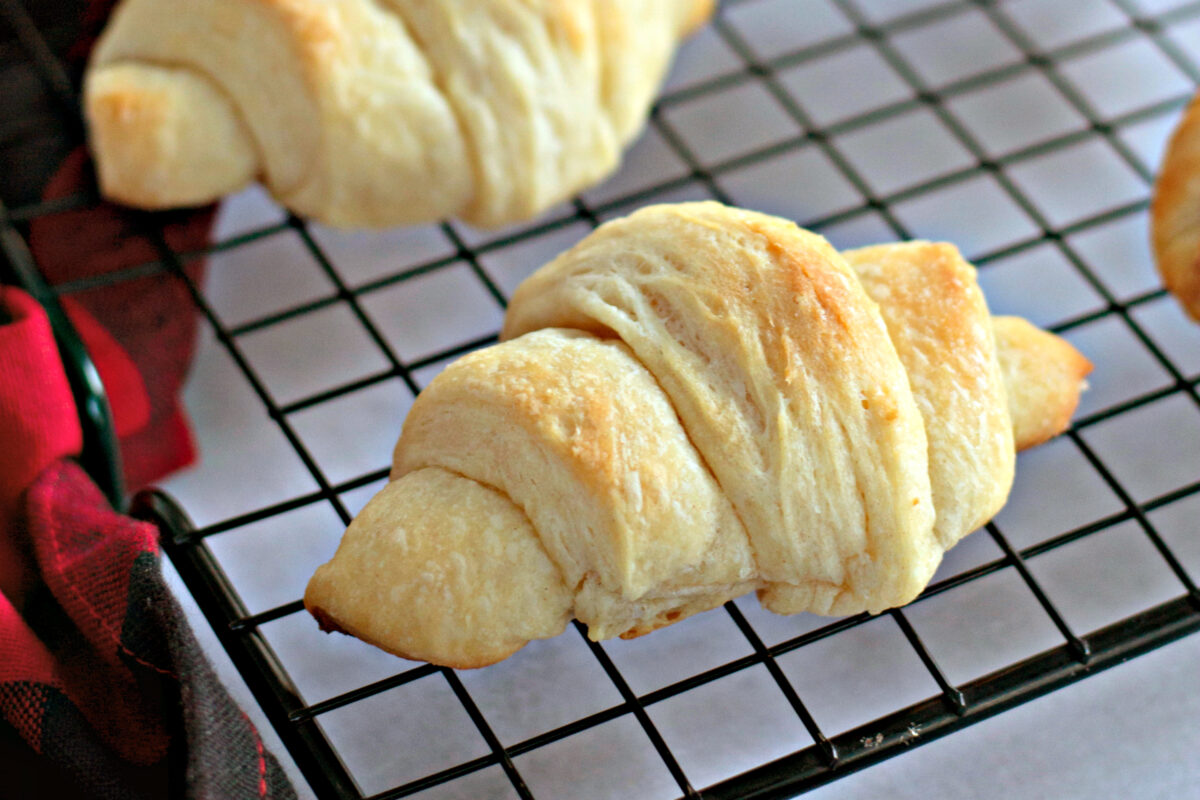
They’re buttery and flaky. These buttery homemade crescent rolls have the soft, pull-apart inside of classic dinner rolls with delicate, flaky layers on the outside. They really are the best of both worlds!
They use basic ingredients. You probably already have everything you need in your pantry and fridge right now, so there’s no special trip to the store.
They’re perfect for planning ahead. You can make the dough a day early or freeze the shaped rolls, which is a lifesaver when you’re juggling a big holiday meal and every burner on the stove is spoken for.
Tools Needed
- Small saucepan or microwave-safe bowl
- Instant-read thermometer
- Small bowl and large mixing bowl
- Whisk
- Pastry cutter (or two forks)
- Plastic wrap
- Rolling pin
- Pizza cutter or sharp knife
- Baking sheet
- Parchment paper or a silicone baking mat
- Clean kitchen towel
Ingredients
This recipe uses simple ingredients you can find at any grocery store.
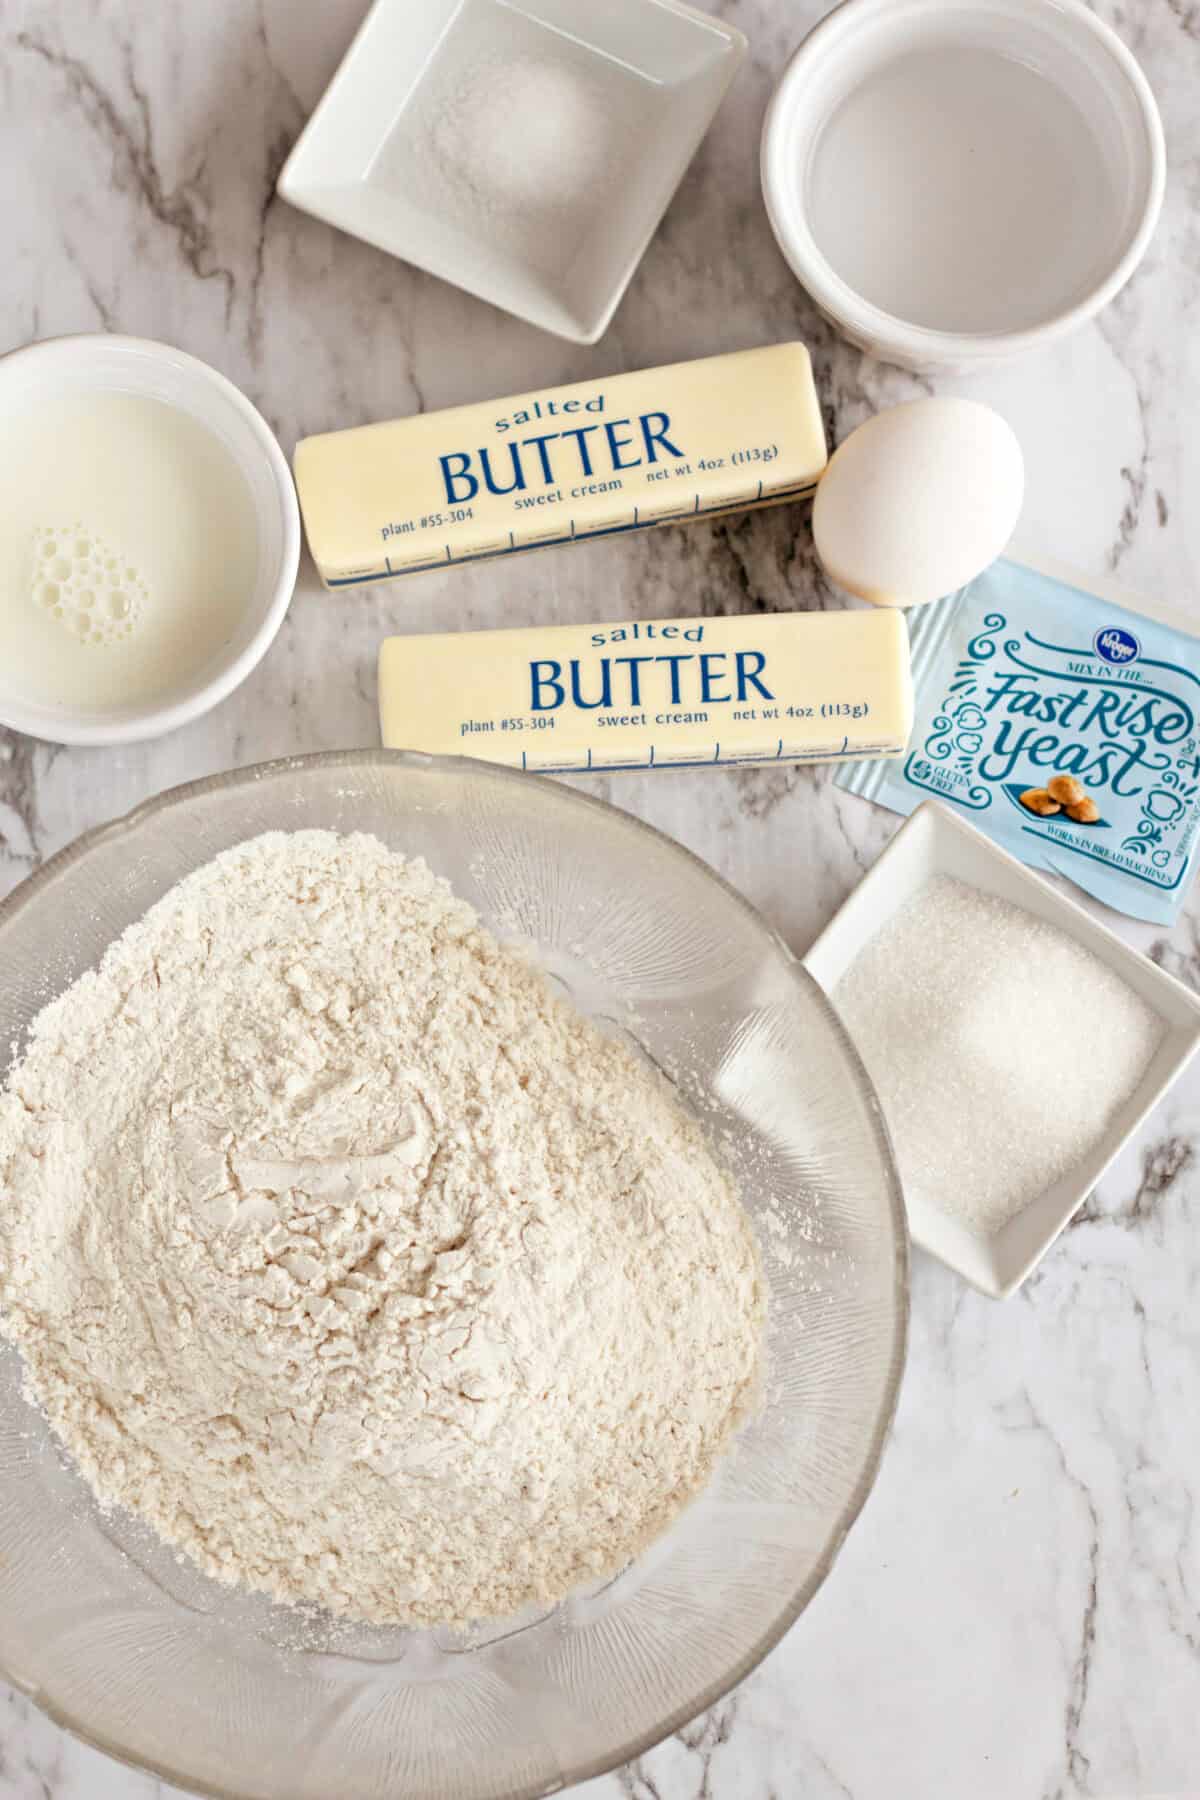
- Milk – whole milk gives the richest rolls, but 2% works just fine.
- Warm water – use an instant-read thermometer if you want to be sure of the temp!
- Active dry yeast – one standard 0.25 ounce packet.
- Sugar
- All-purpose flour
- Salt
- Cold butter – I use unsalted butter, but salted works too (just reduce the salt a pinch).
- Egg
Find the full recipe with ingredient measurements in the recipe card below.
How to Make Homemade Crescent Rolls
The whole process is really just mixing, folding, chilling, and rolling. Don’t worry when the dough feels super sticky at first… that’s exactly how it should be!
Making Crescent Roll Dough
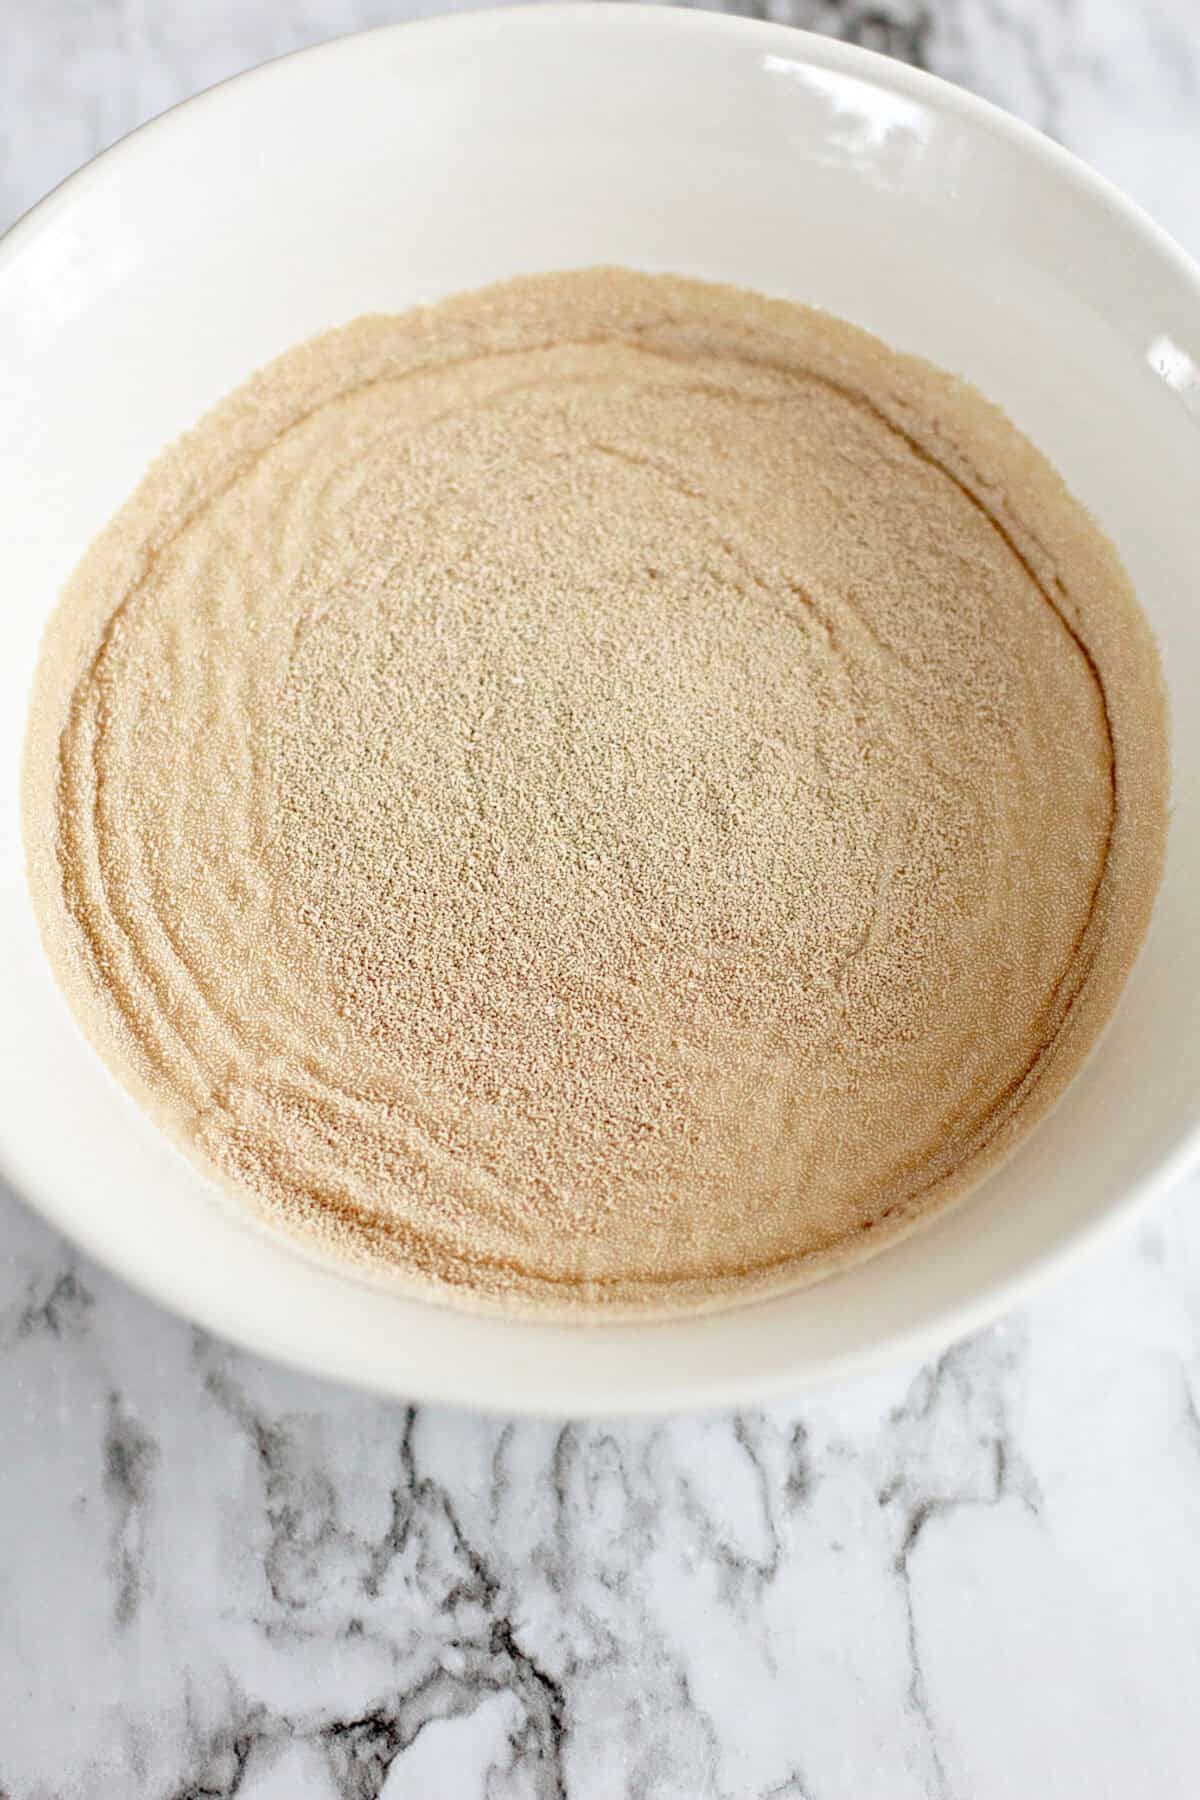
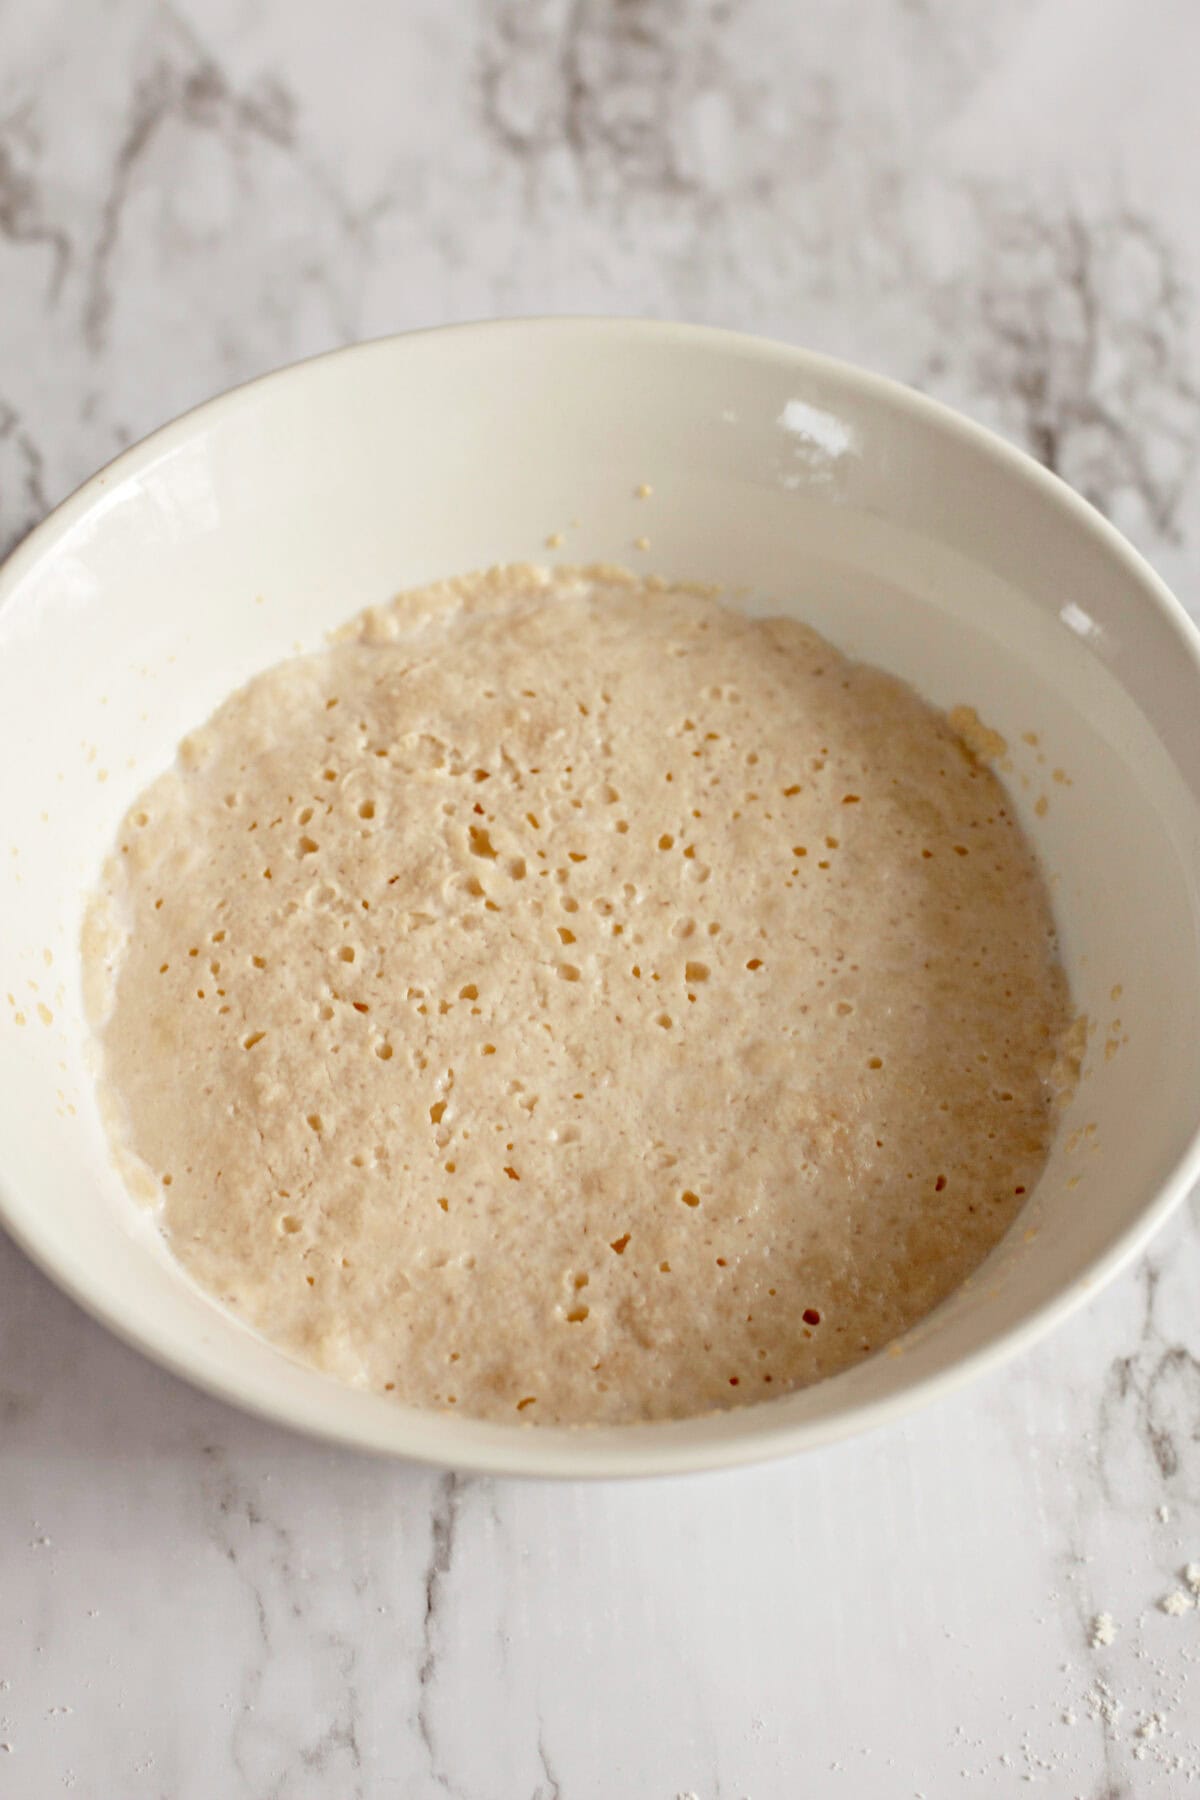
- Activate the yeast. Warm the milk and water to 110 degrees in a small saucepan or in the microwave. Pour it into a separate bowl, stir in the yeast and 1 tablespoon of the sugar, and let it sit for about 5 minutes until it’s foamy. This first step tells you your yeast is alive and ready to go.
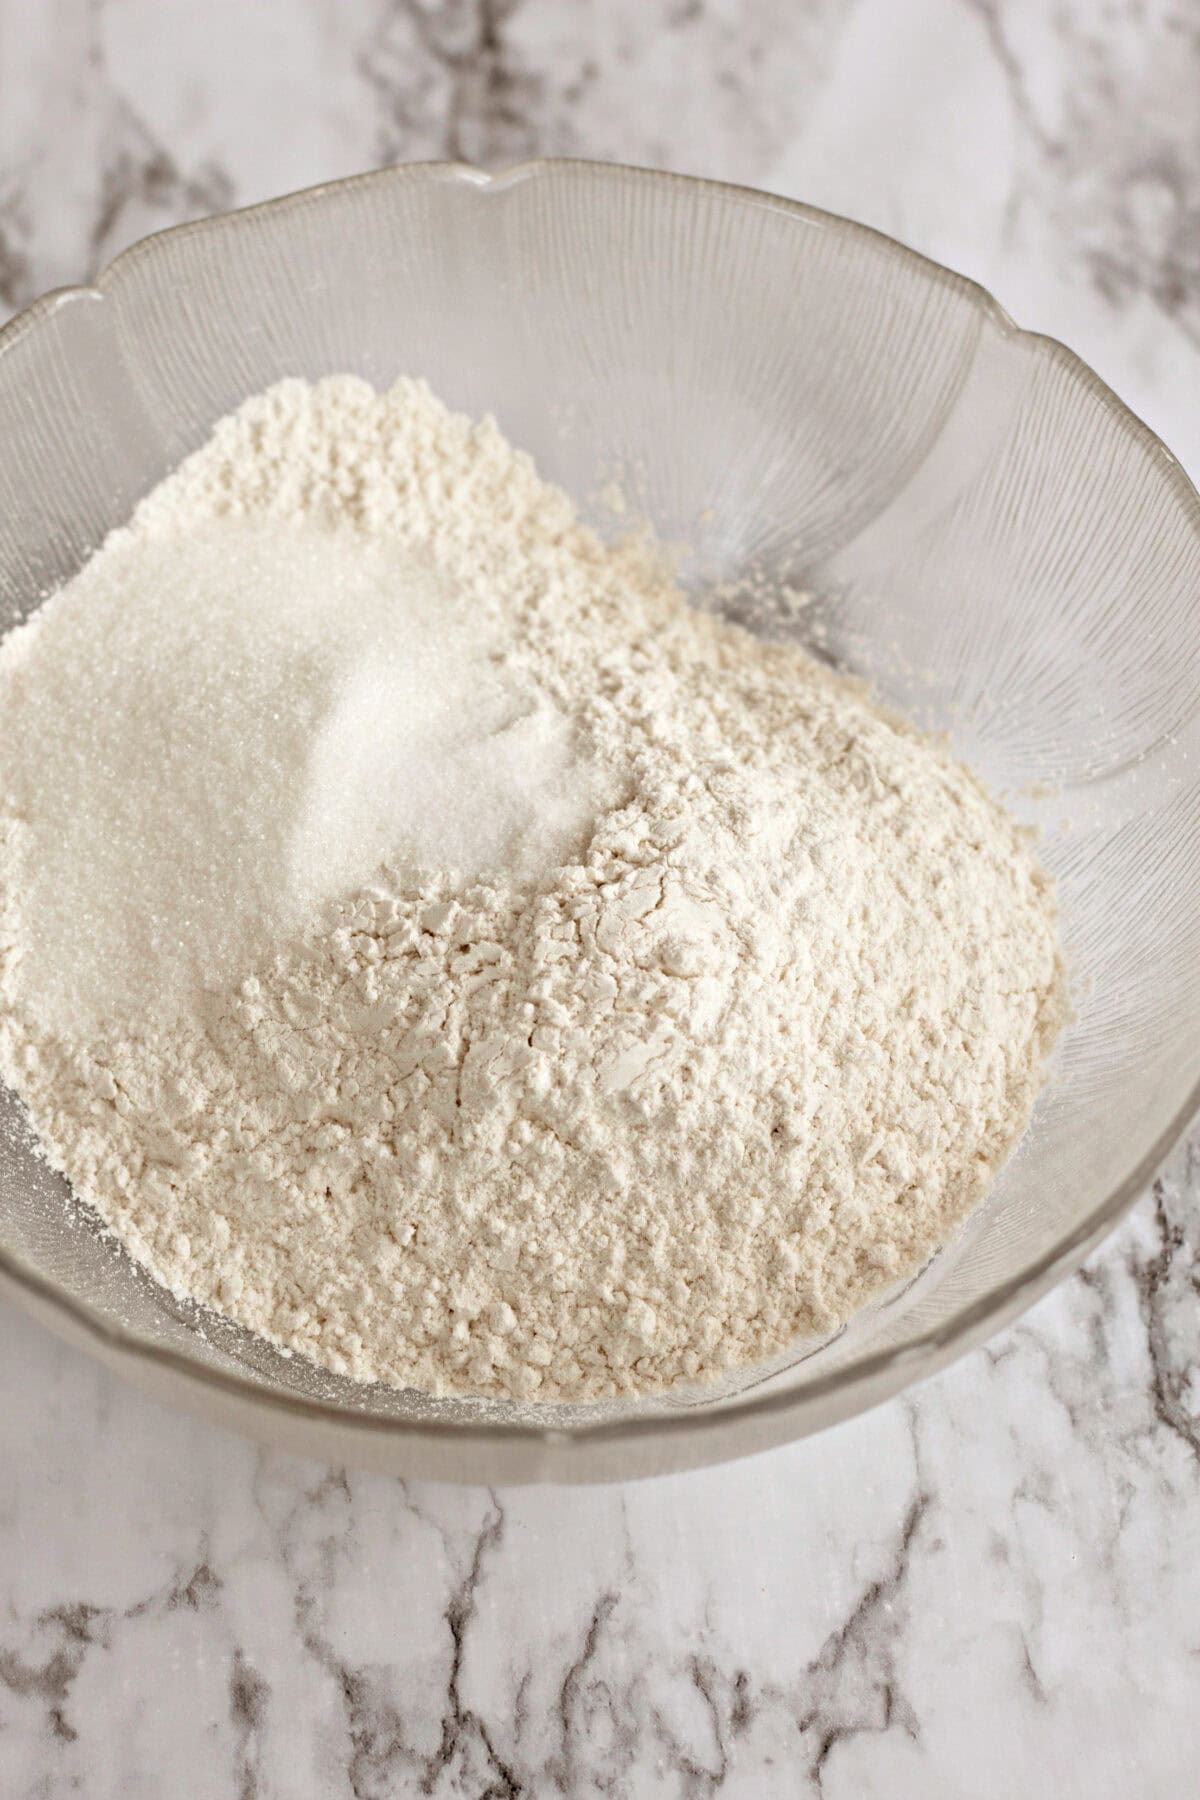
- Mix the dry ingredients. In a large bowl, whisk together the flour, the remaining sugar, and the salt.
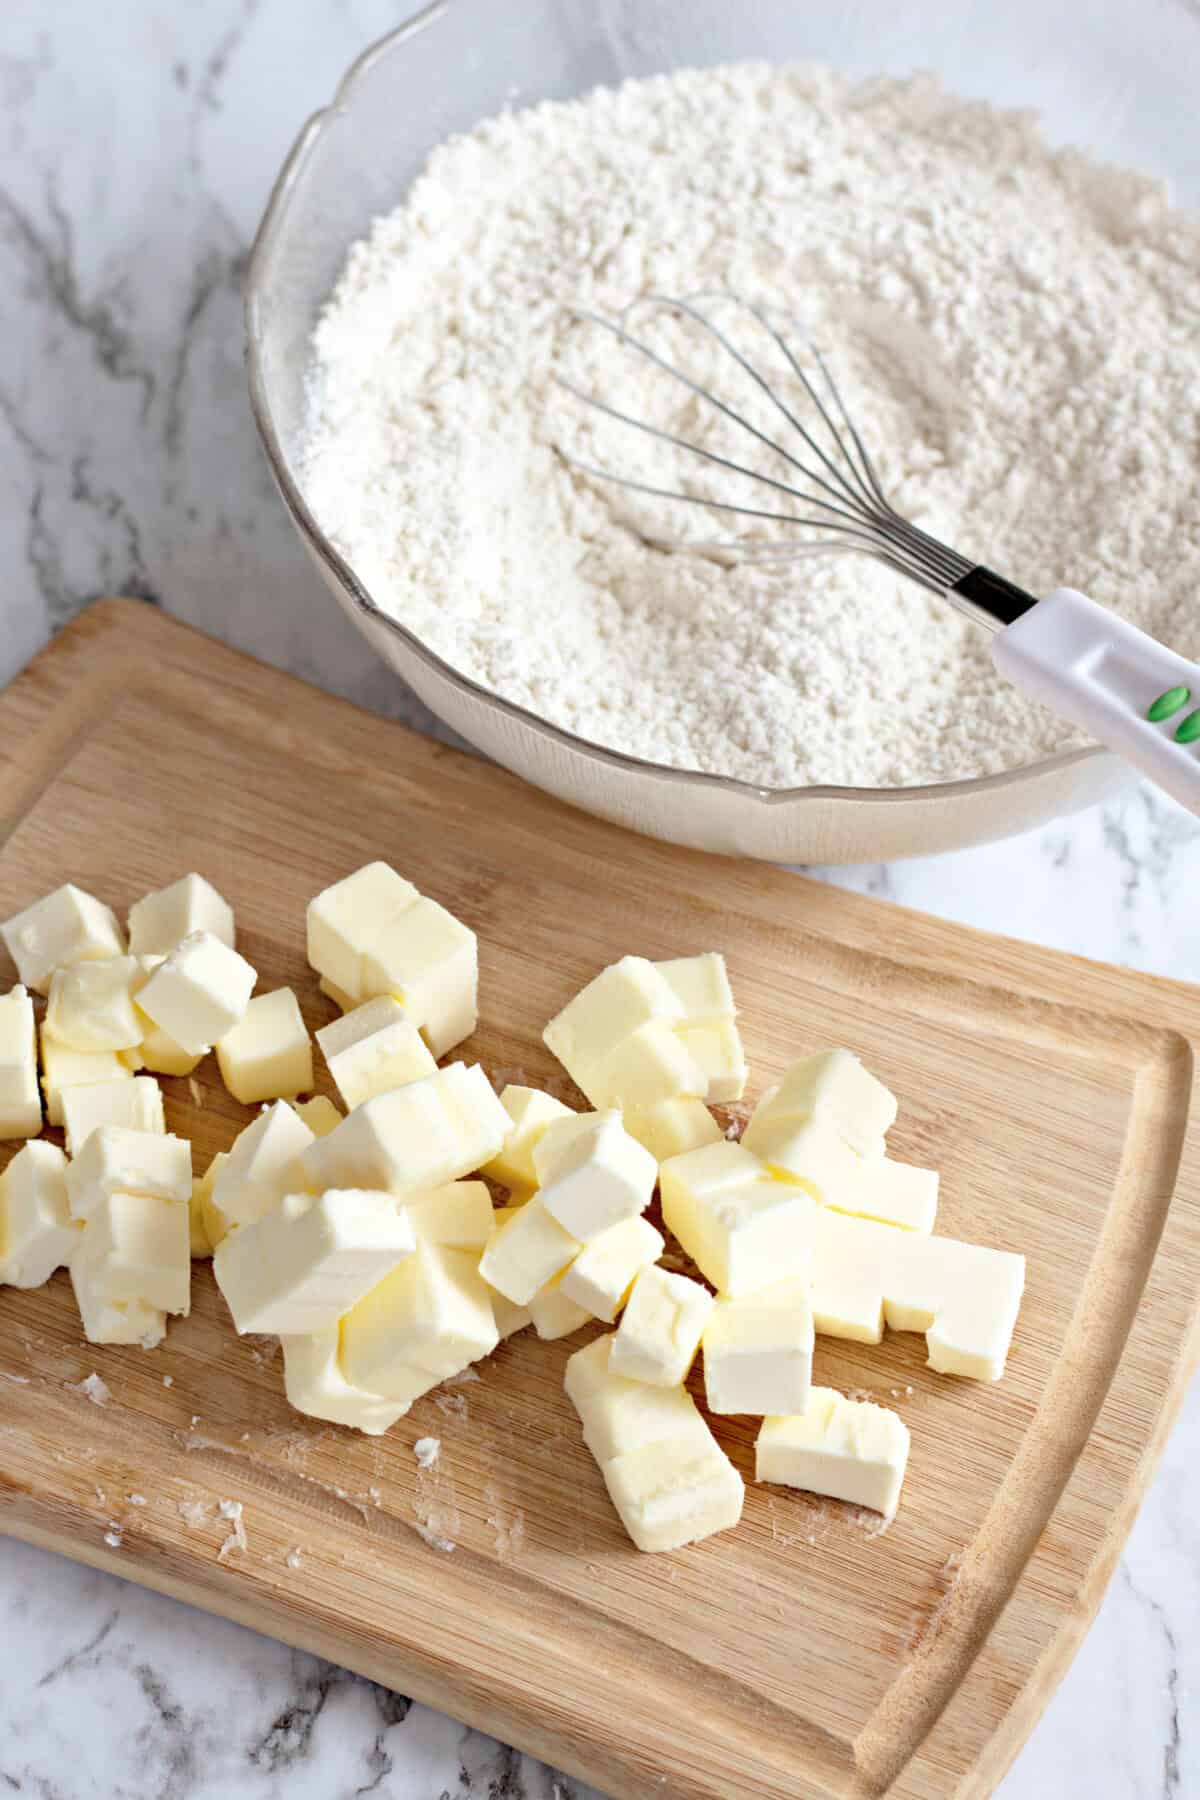
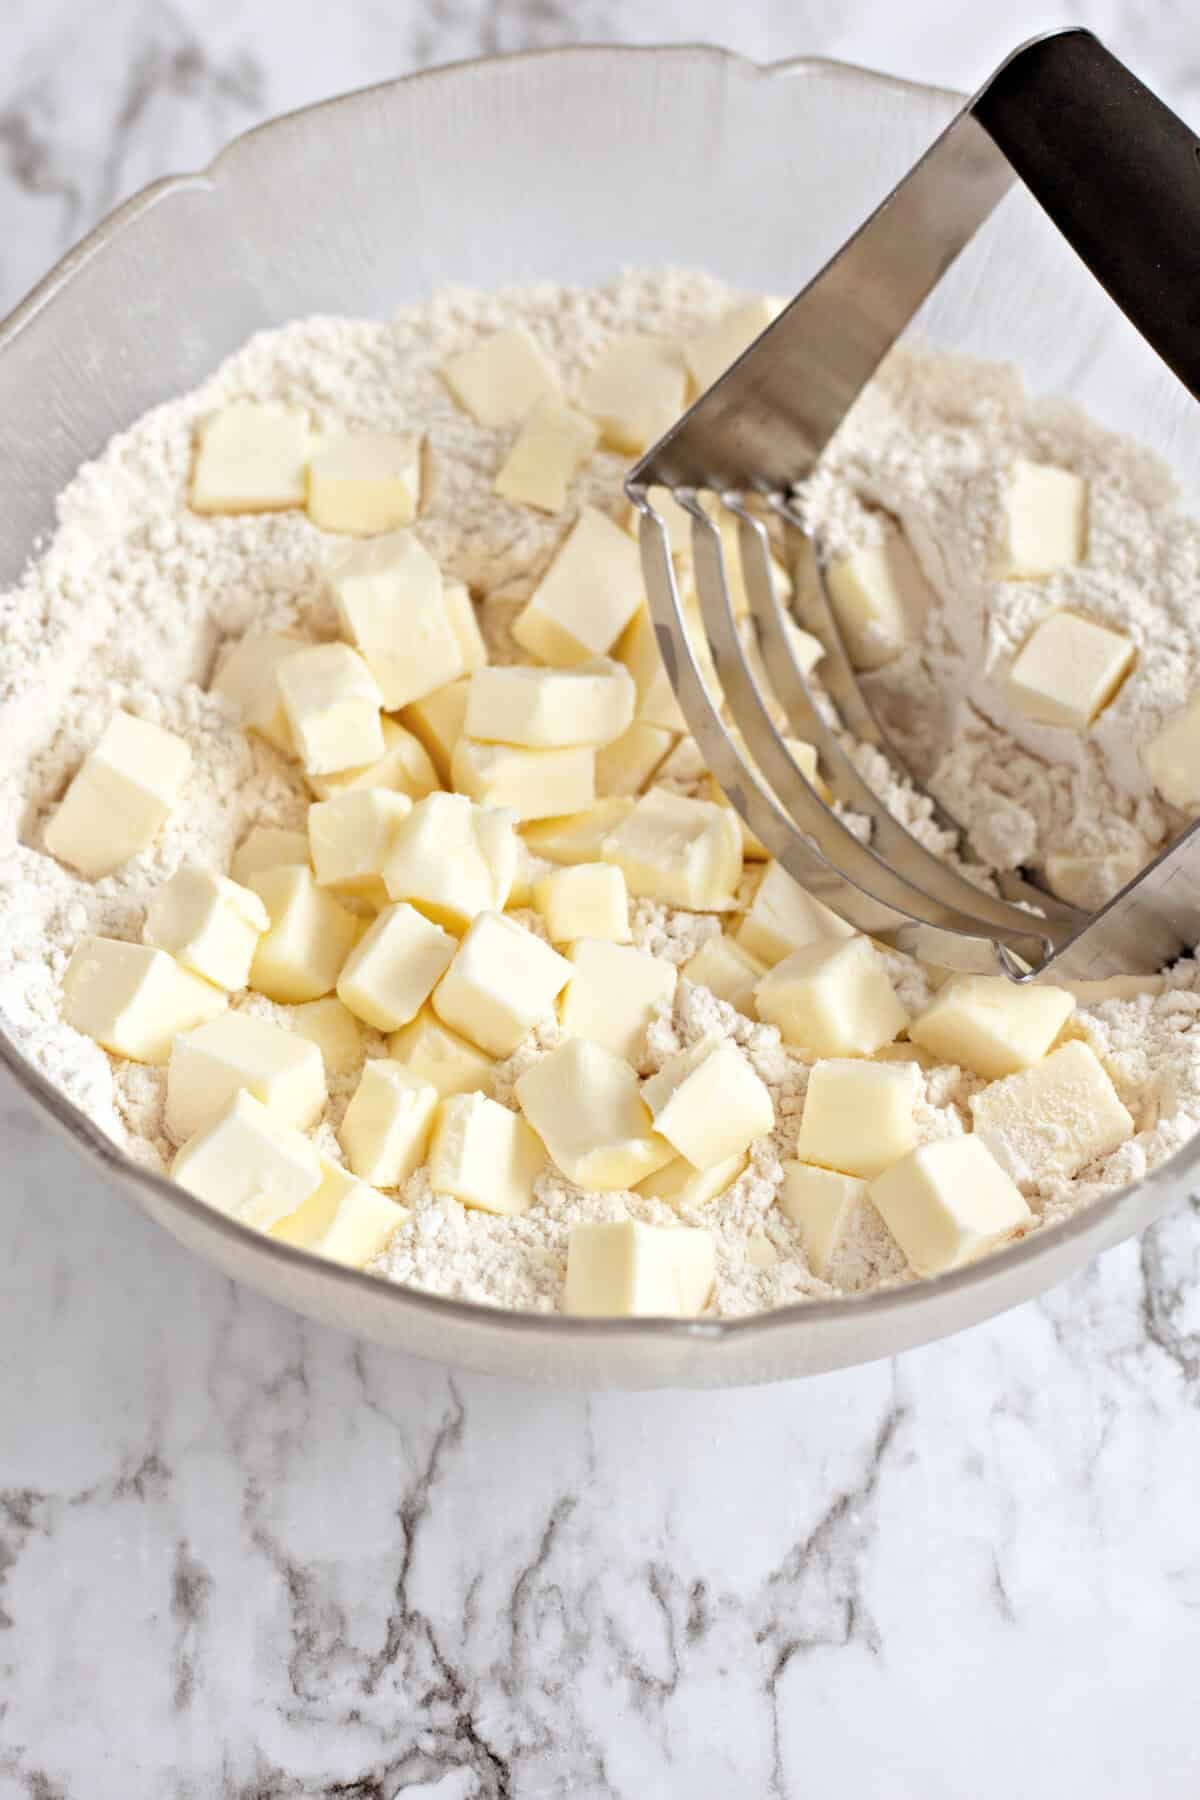
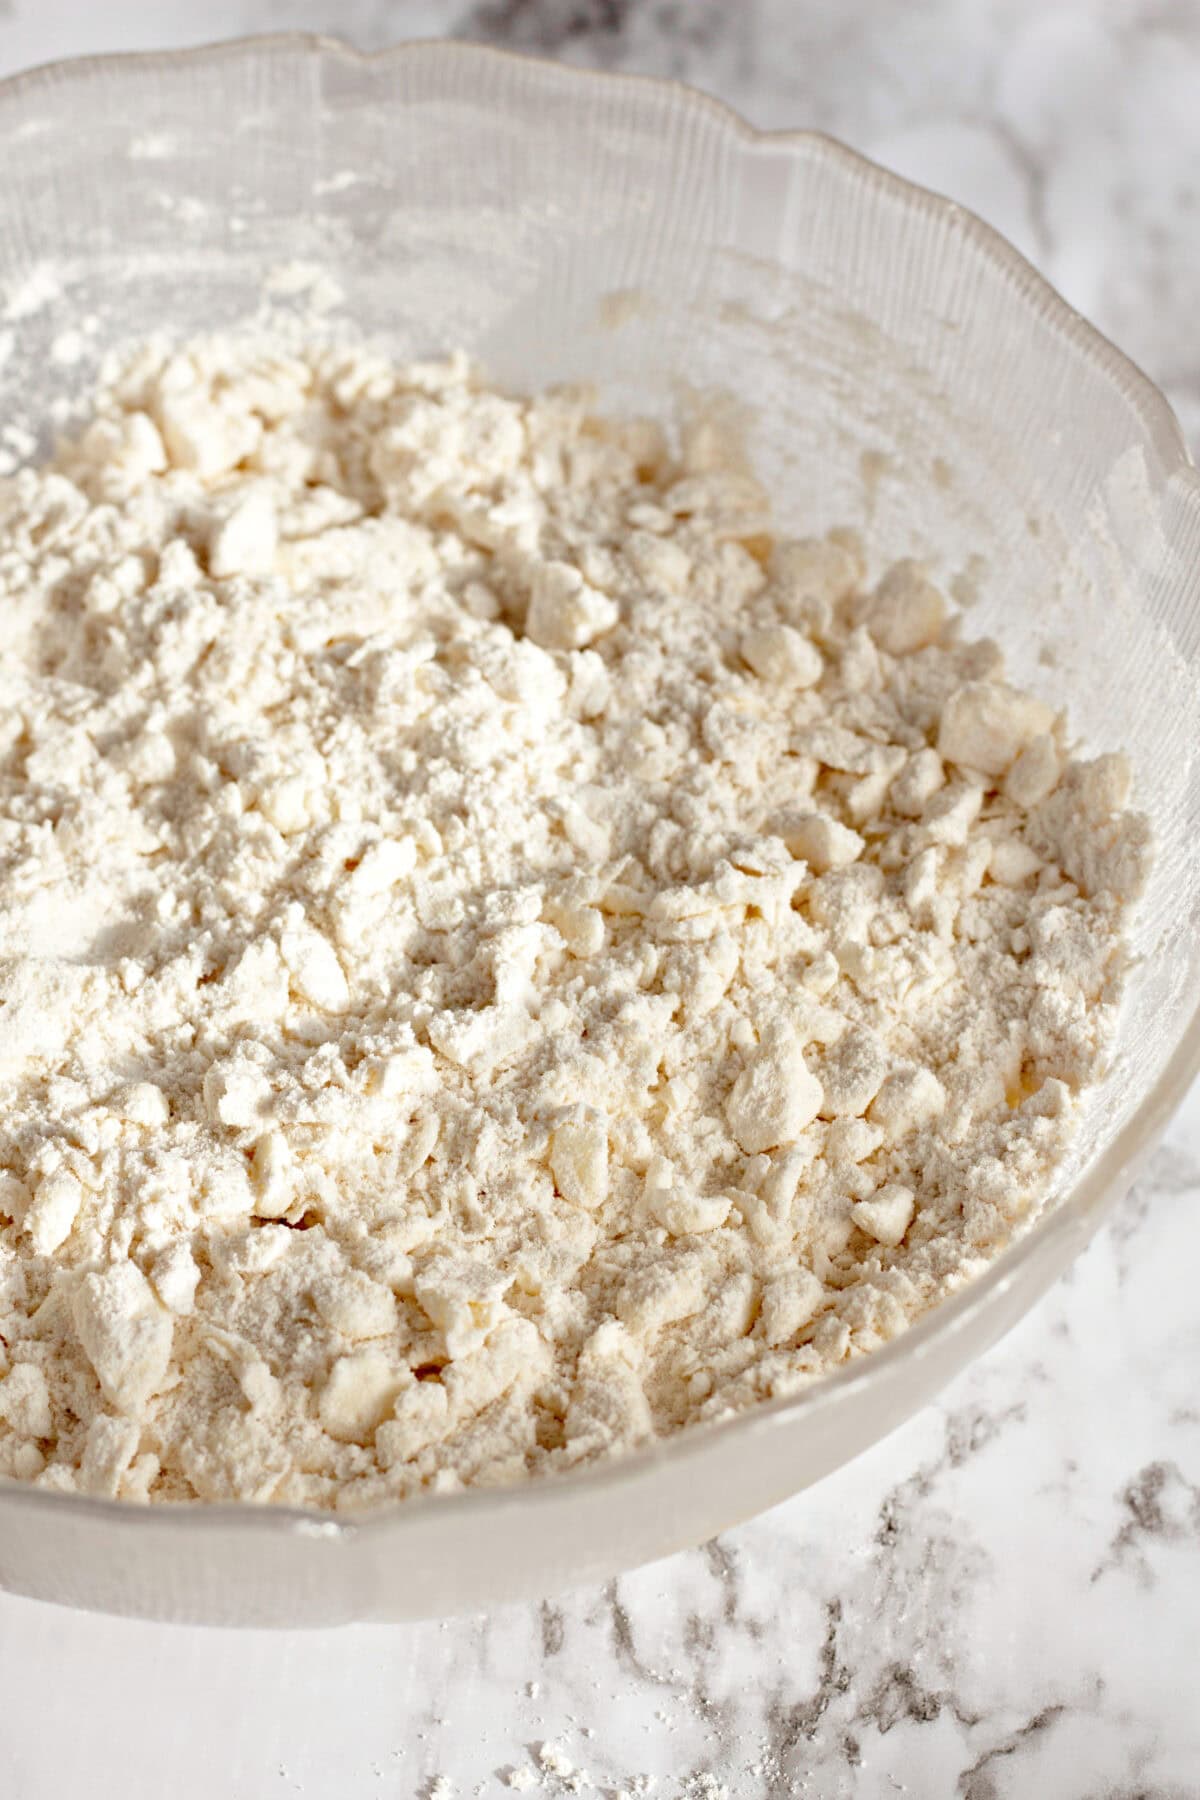
- Cut in the butter. Use a pastry cutter to work the cold butter into the flour until the pieces are about the size of peas. Those little bits of butter are what make the flaky layers, so don’t let them melt into the flour.
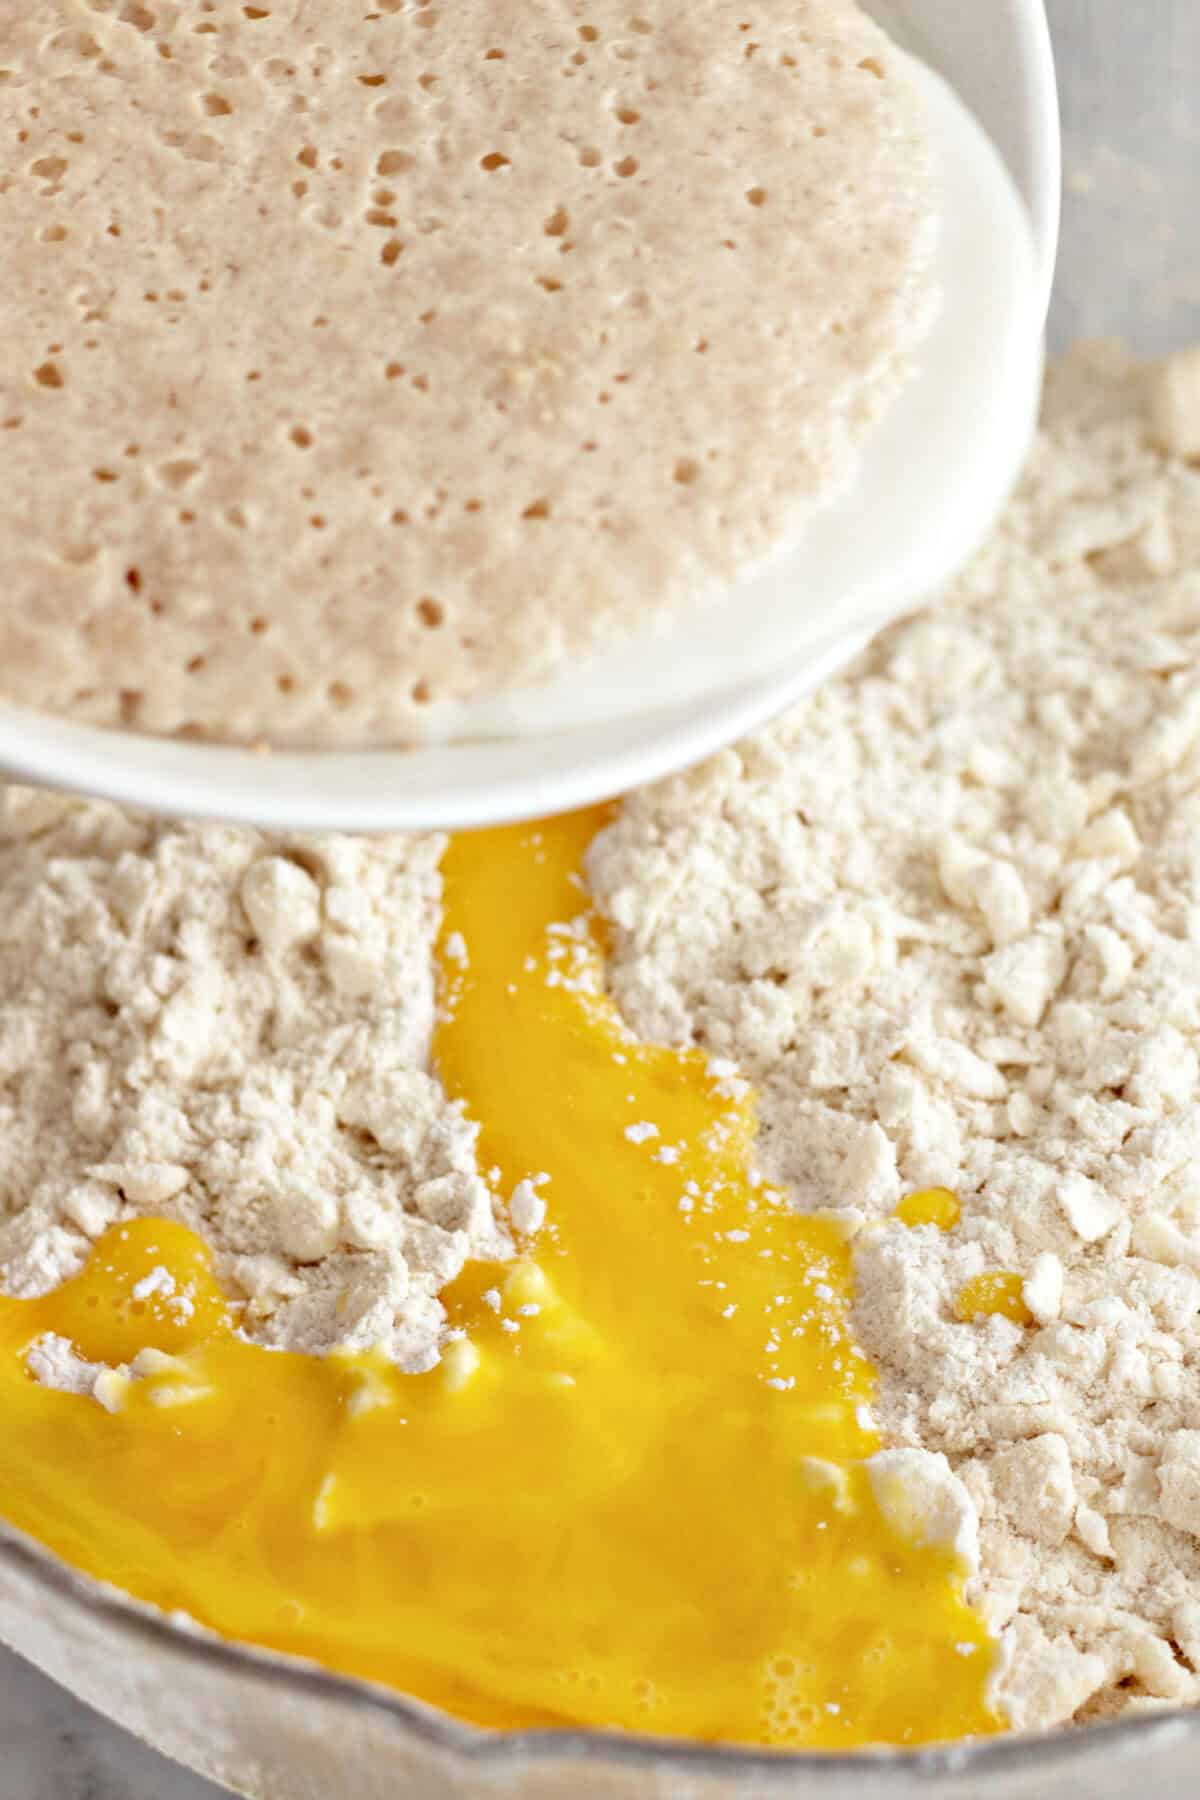
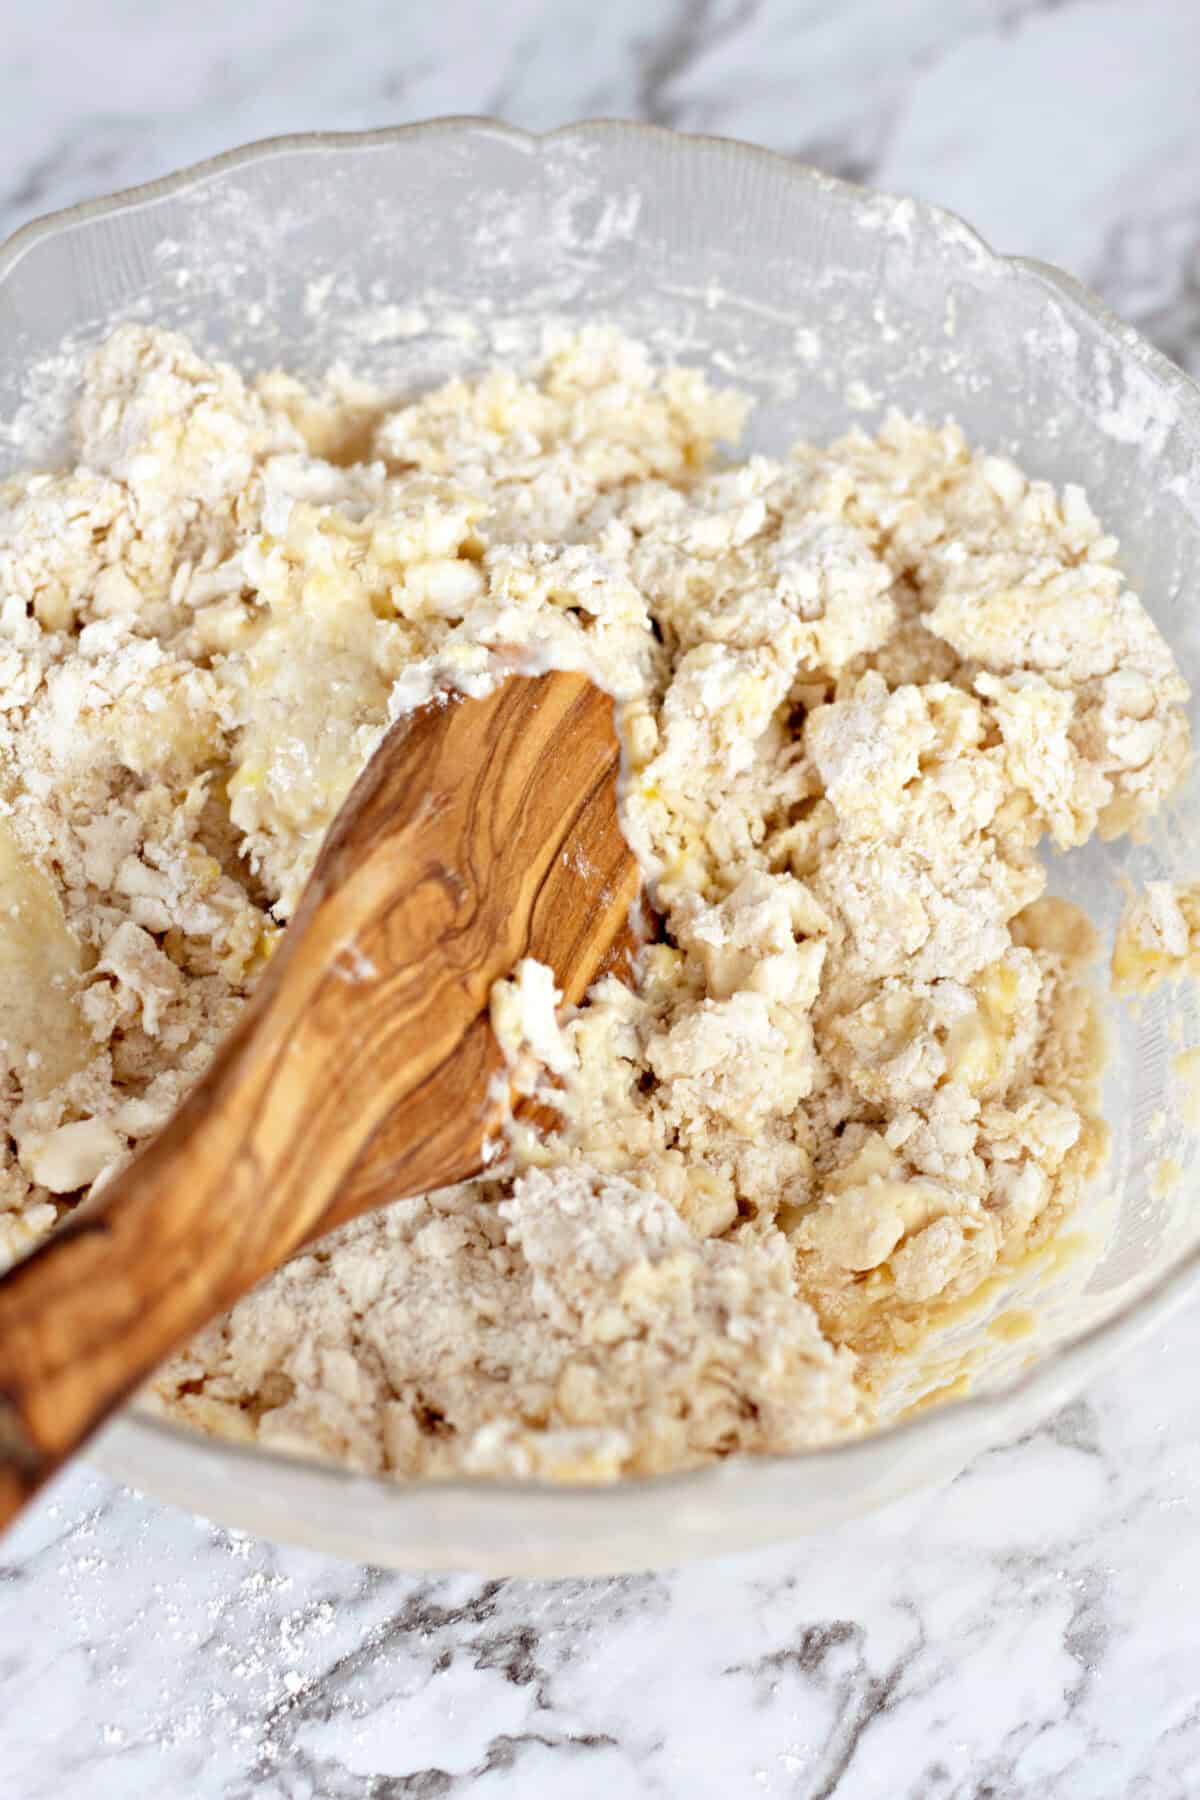
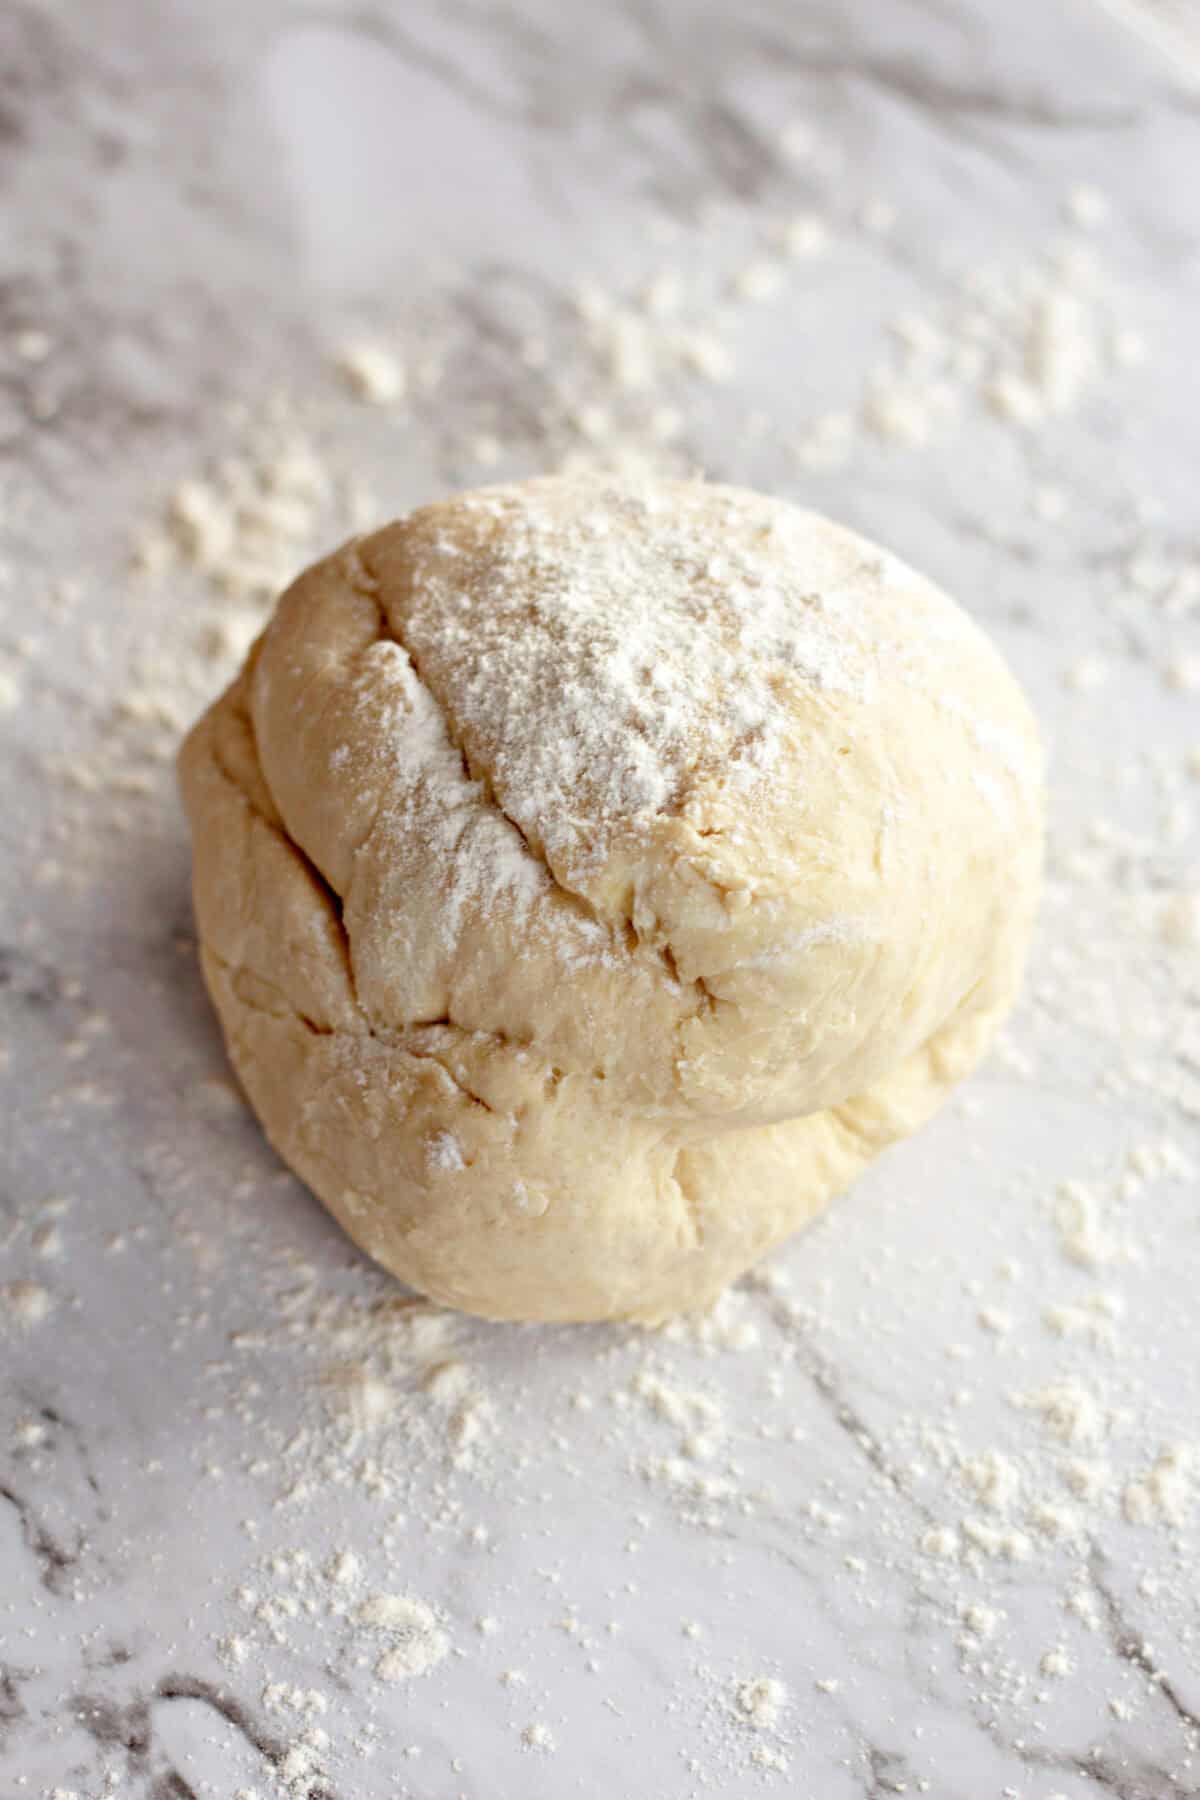
- Make the dough. Stir in the yeast mixture and the egg, scraping the sides of the bowl, until a wet, soft dough comes together. It will be very sticky and shaggy. That’s normal, so resist the urge to add more flour!
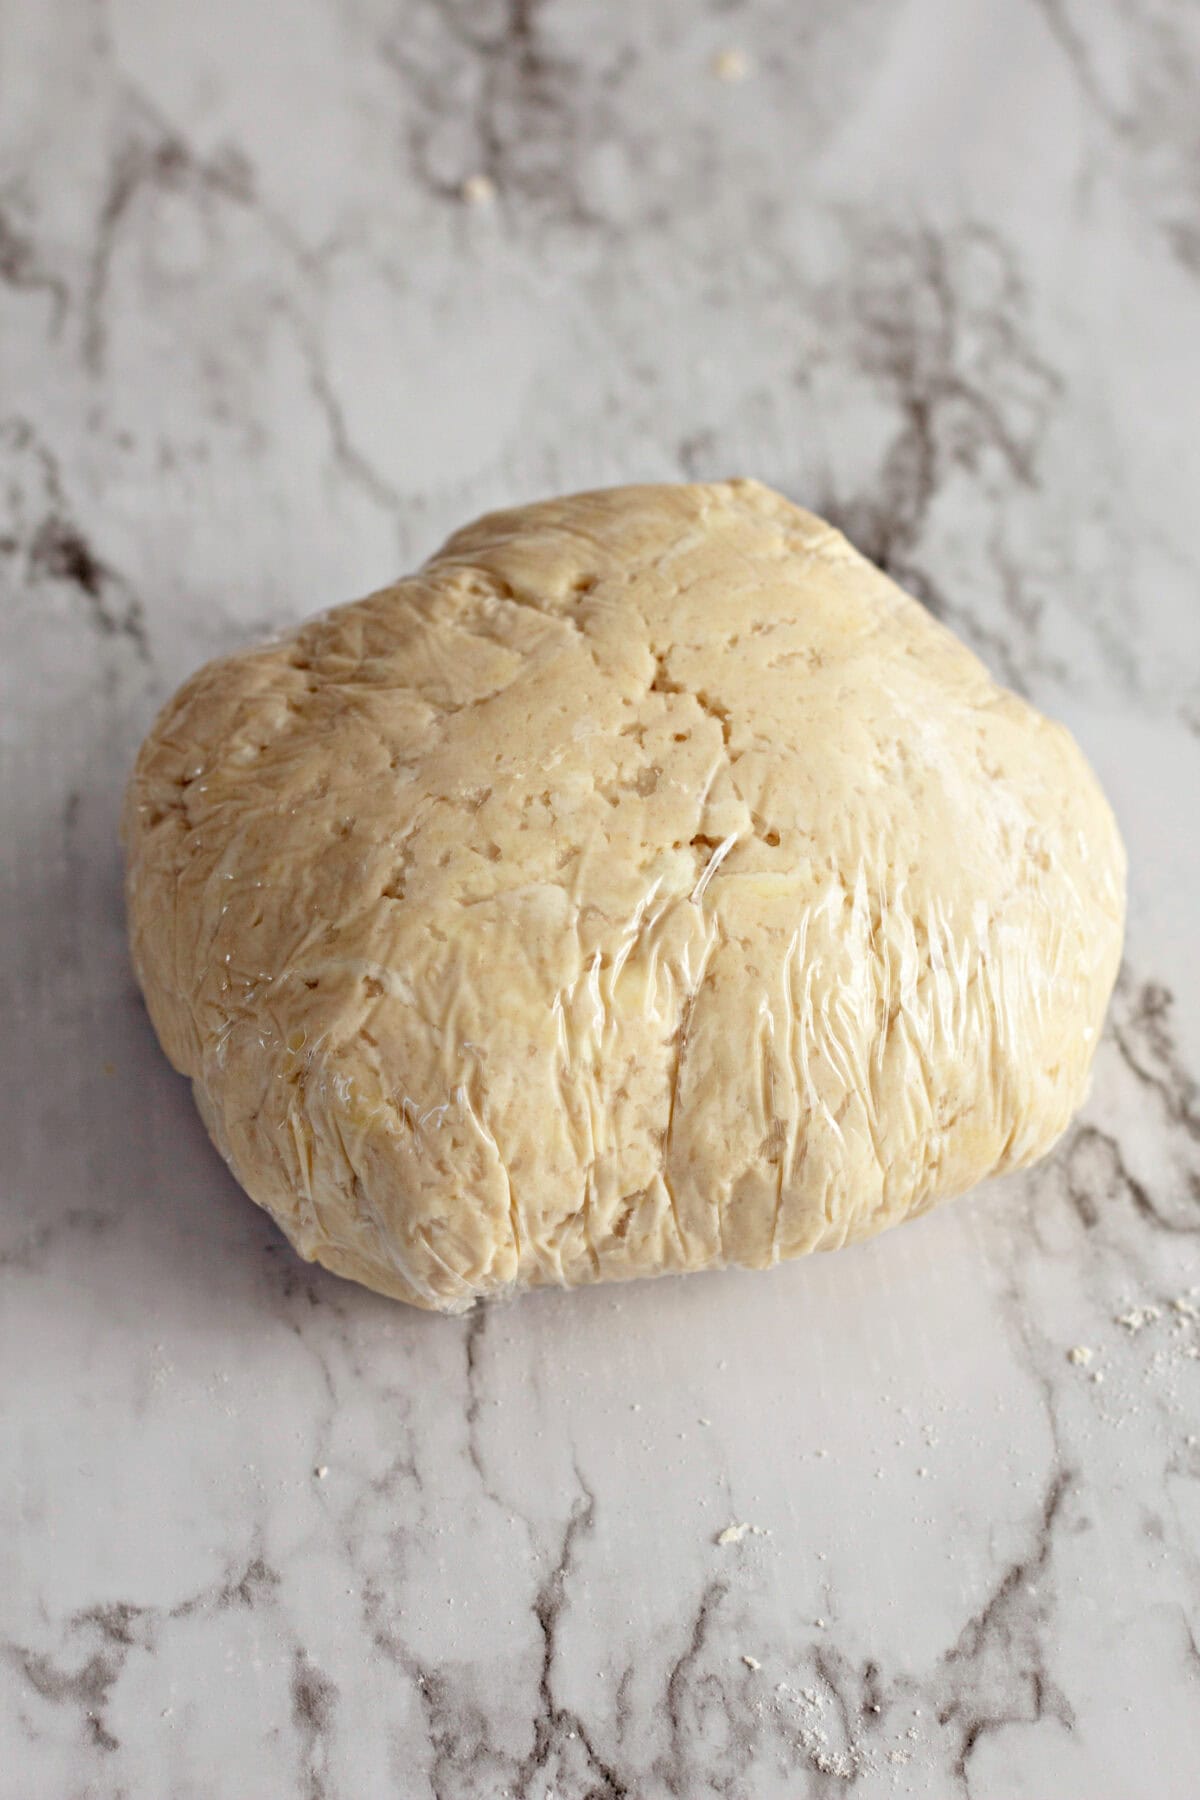
- Chill. Gather it into a rough ball of dough, wrap it tightly in plastic wrap, and refrigerate for 30-45 minutes.
Cutting and Rolling Crescent Rolls
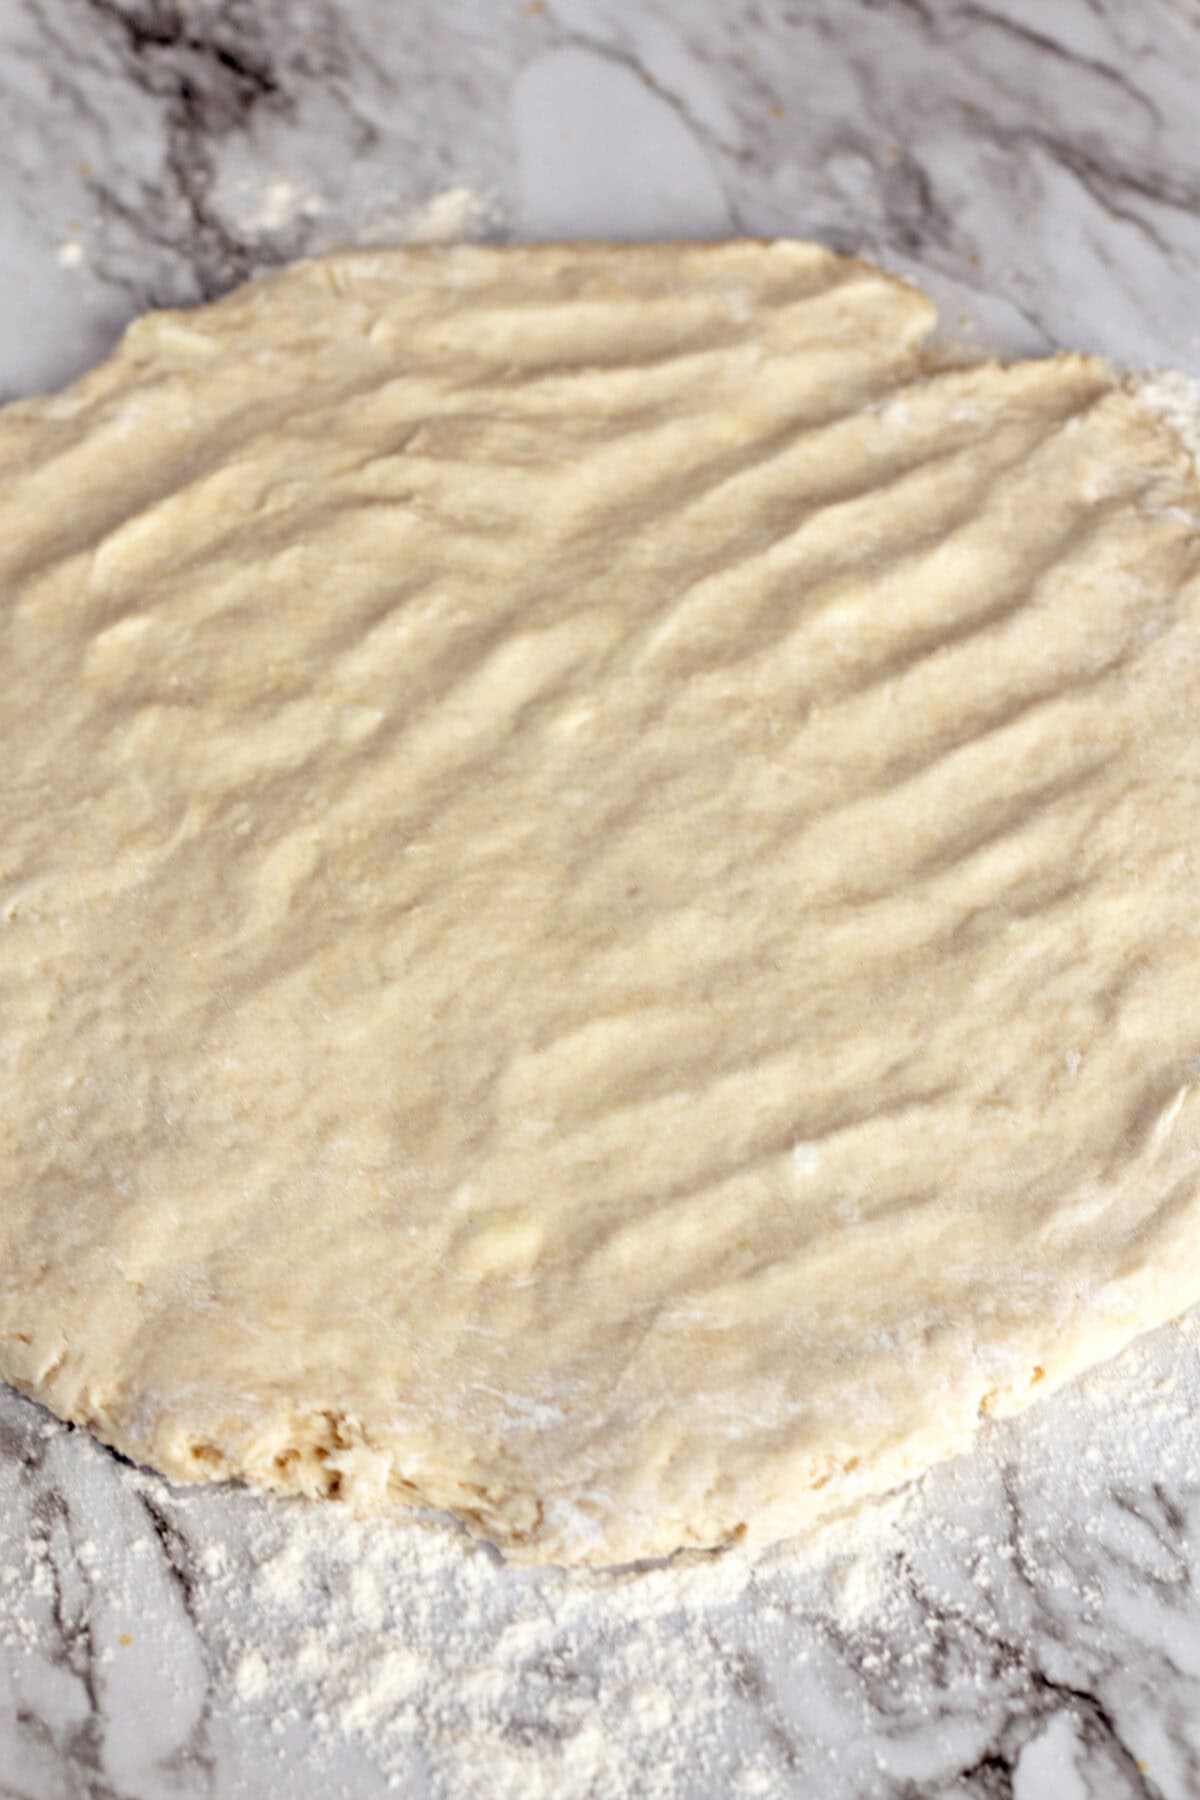
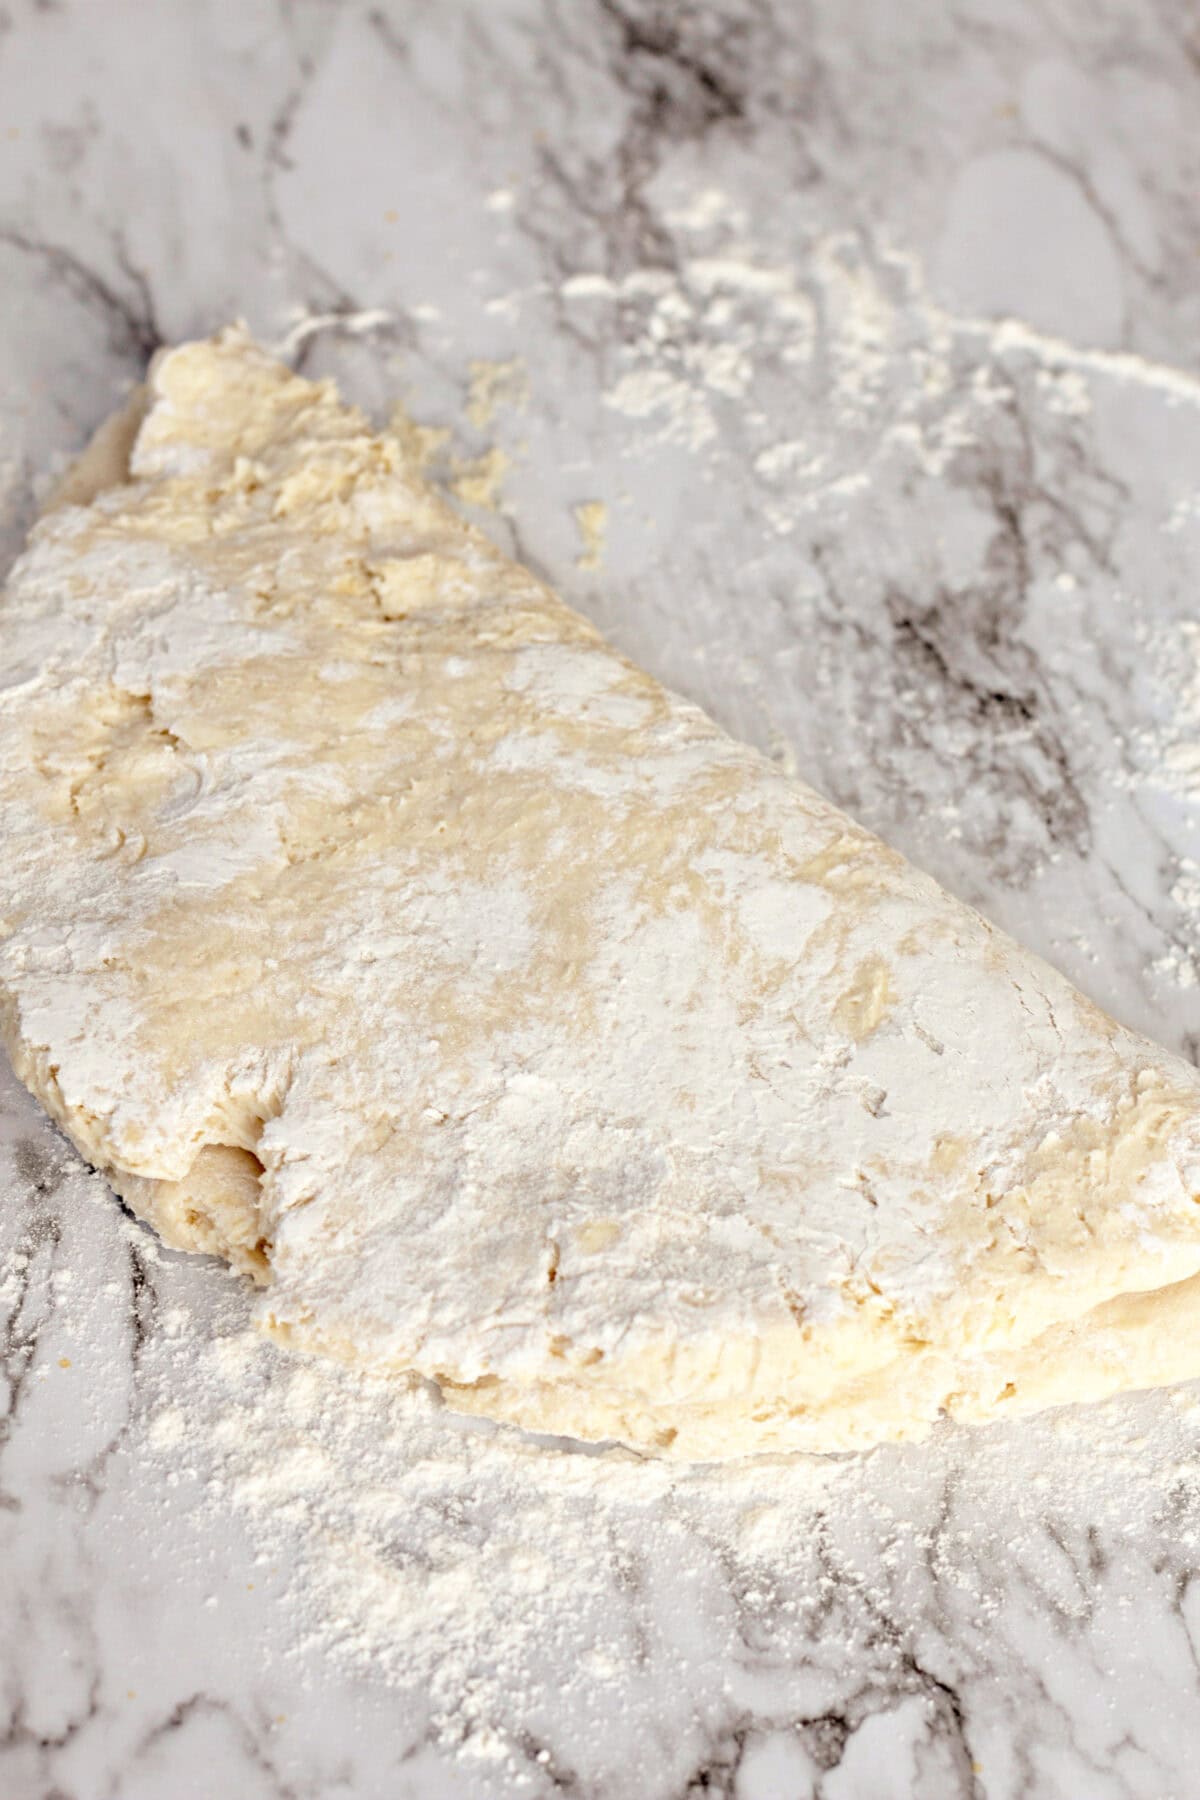
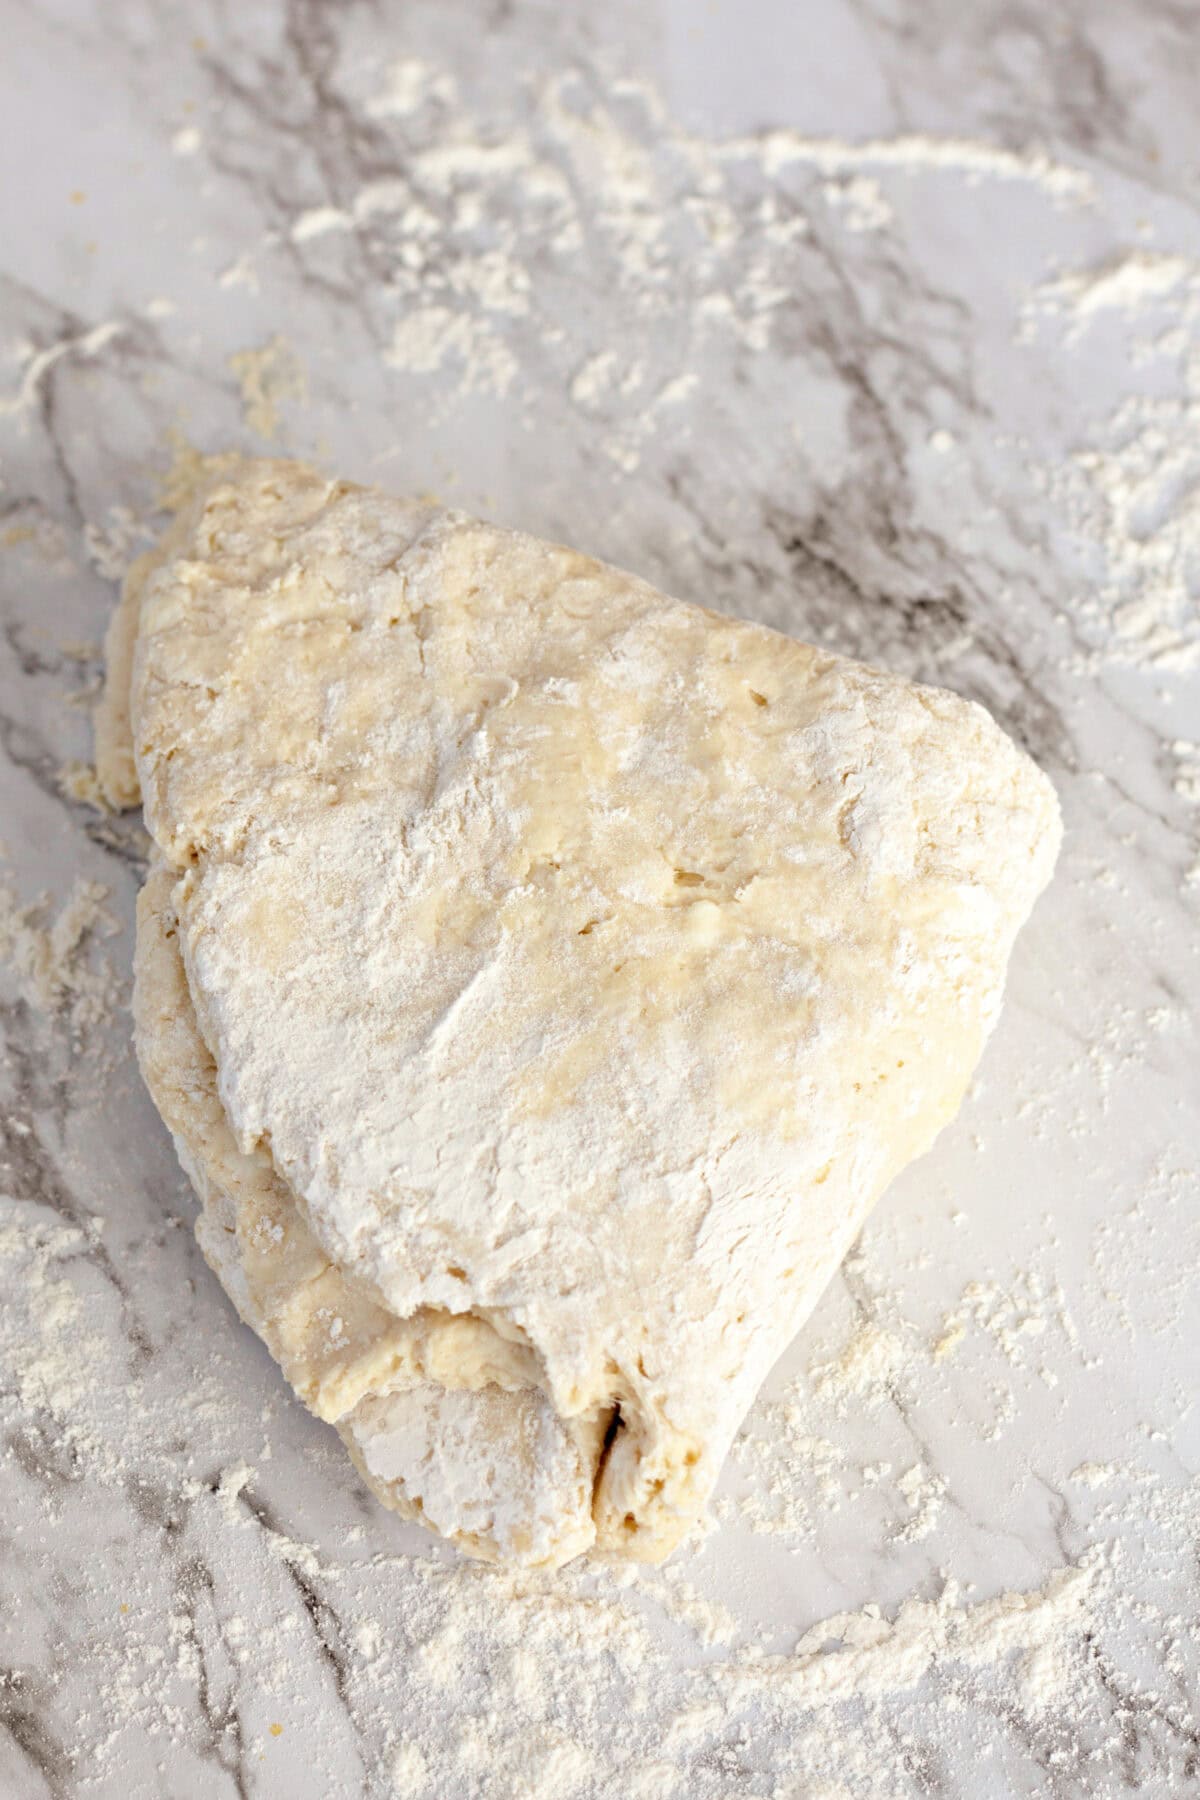
- Roll and fold. On a lightly floured surface, roll the dough into a circle about 1/2 inch thick. Fold it in half to make a semicircle, then fold it in half again. Roll it back out into a rough 1/2 inch circle, and repeat the two folds one more time.
- Chill again. Wrap the dough in plastic wrap and refrigerate for another 30-45 minutes.
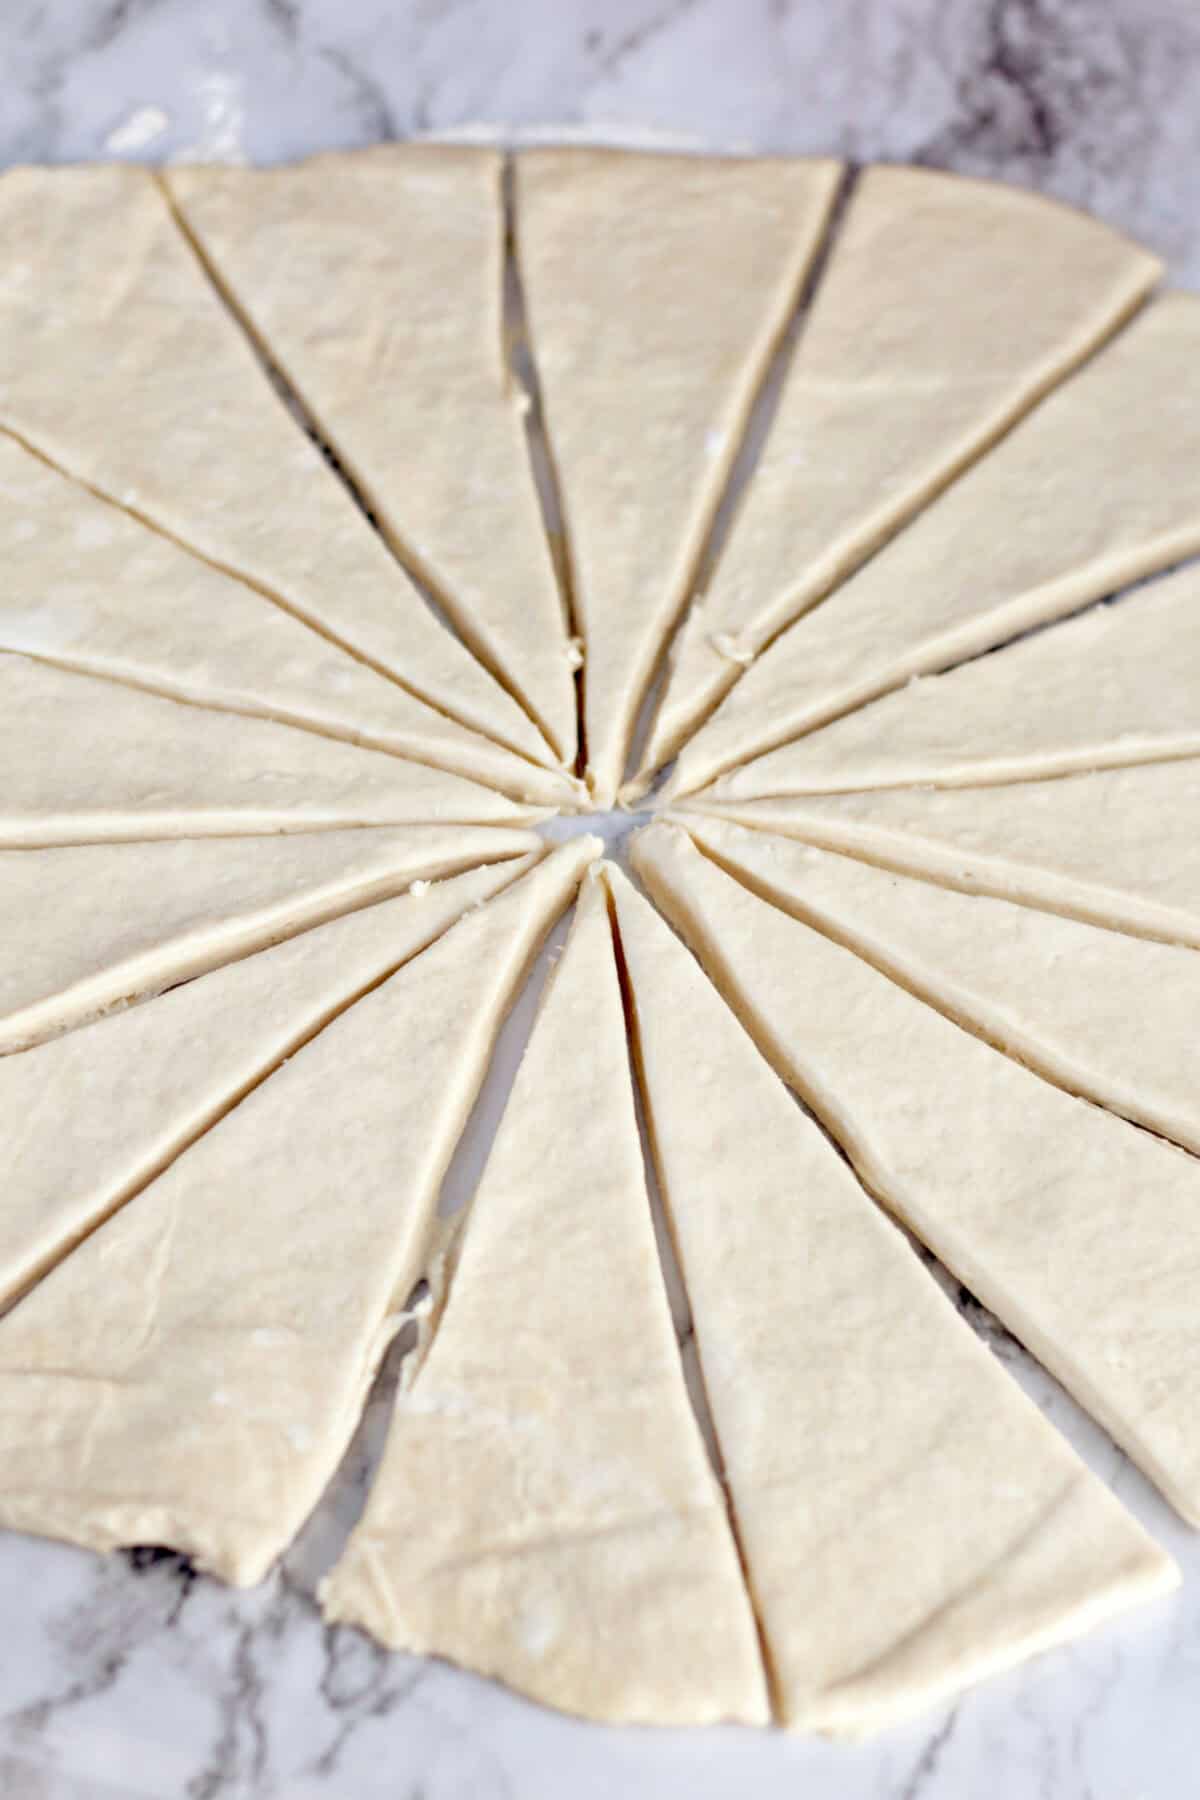
- Roll and cut. Roll the chilled dough into a large circle about 1/4 inch thick (or slightly thinner). Use a pizza cutter to slice it into 16-18 long, thin triangles, just like cutting a pizza.
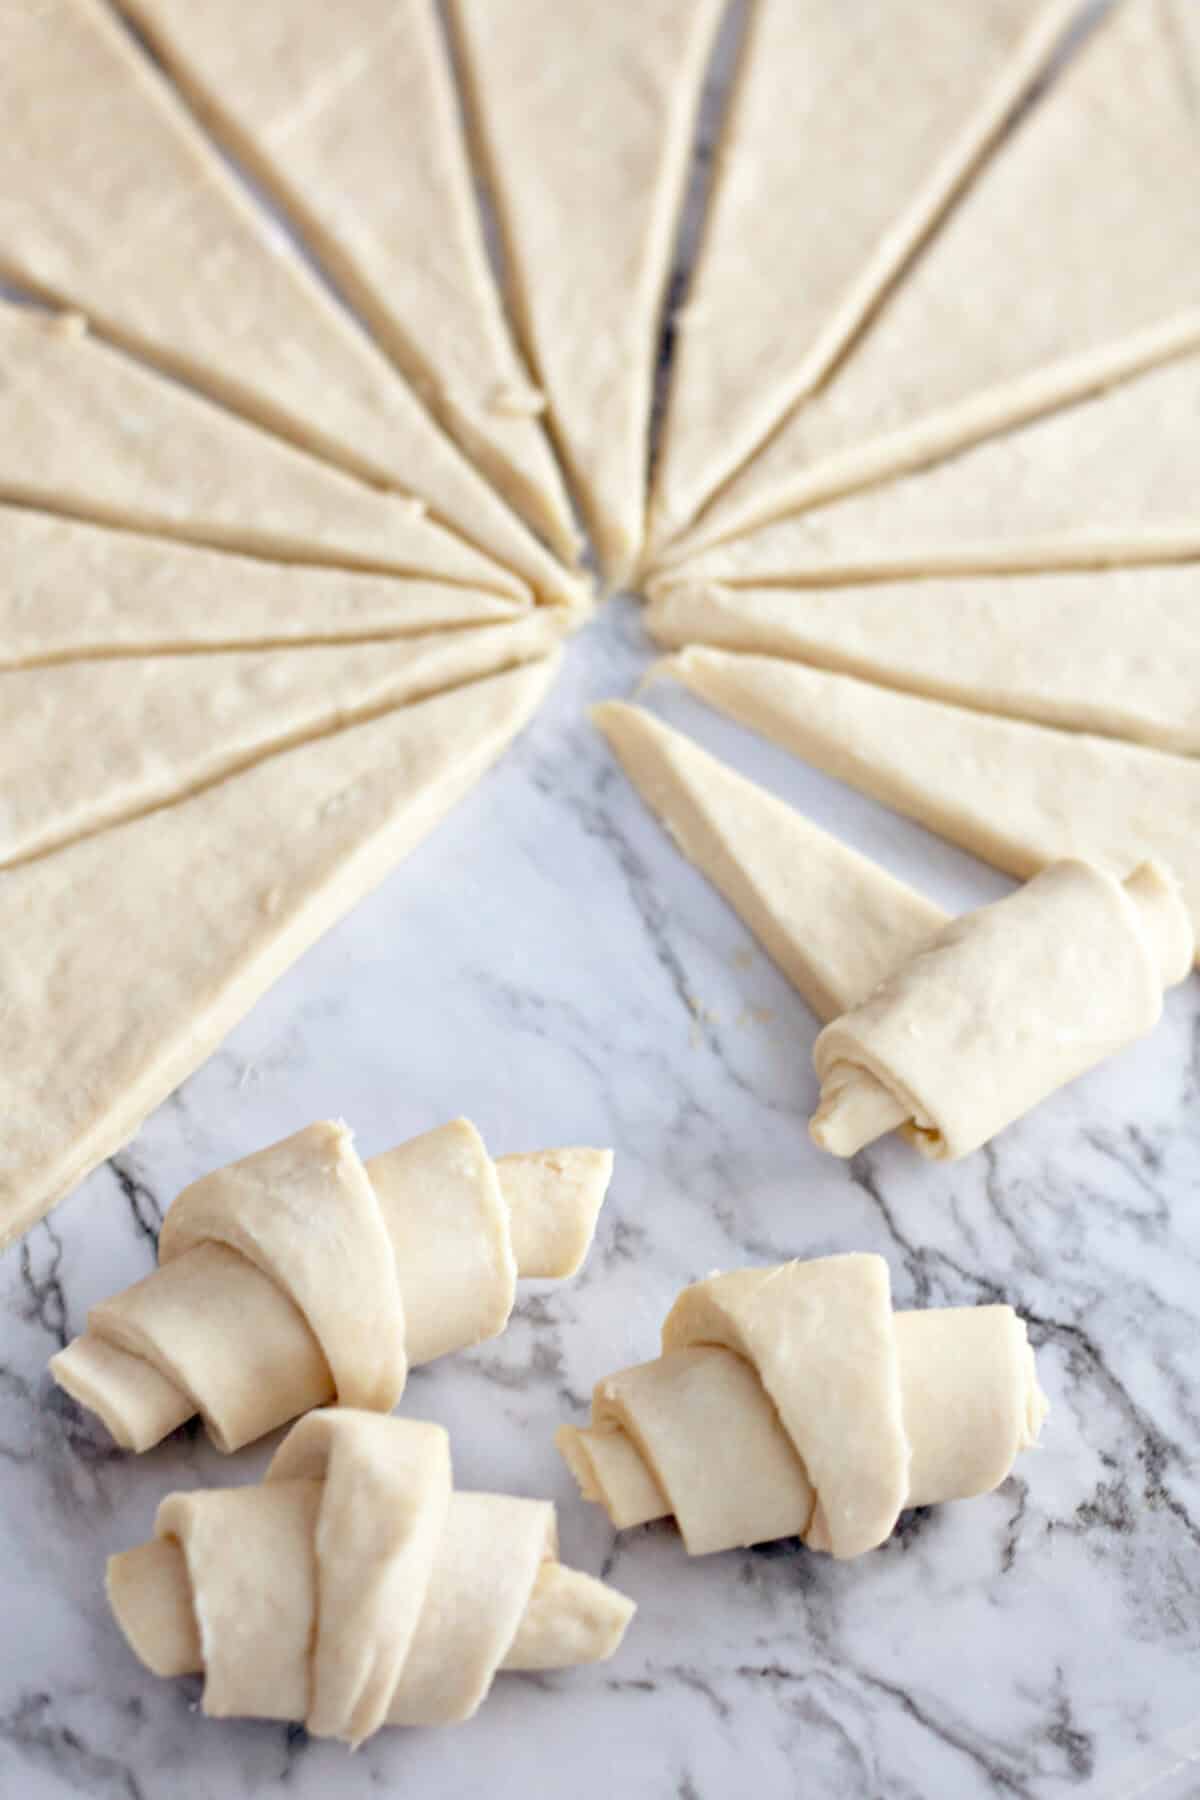
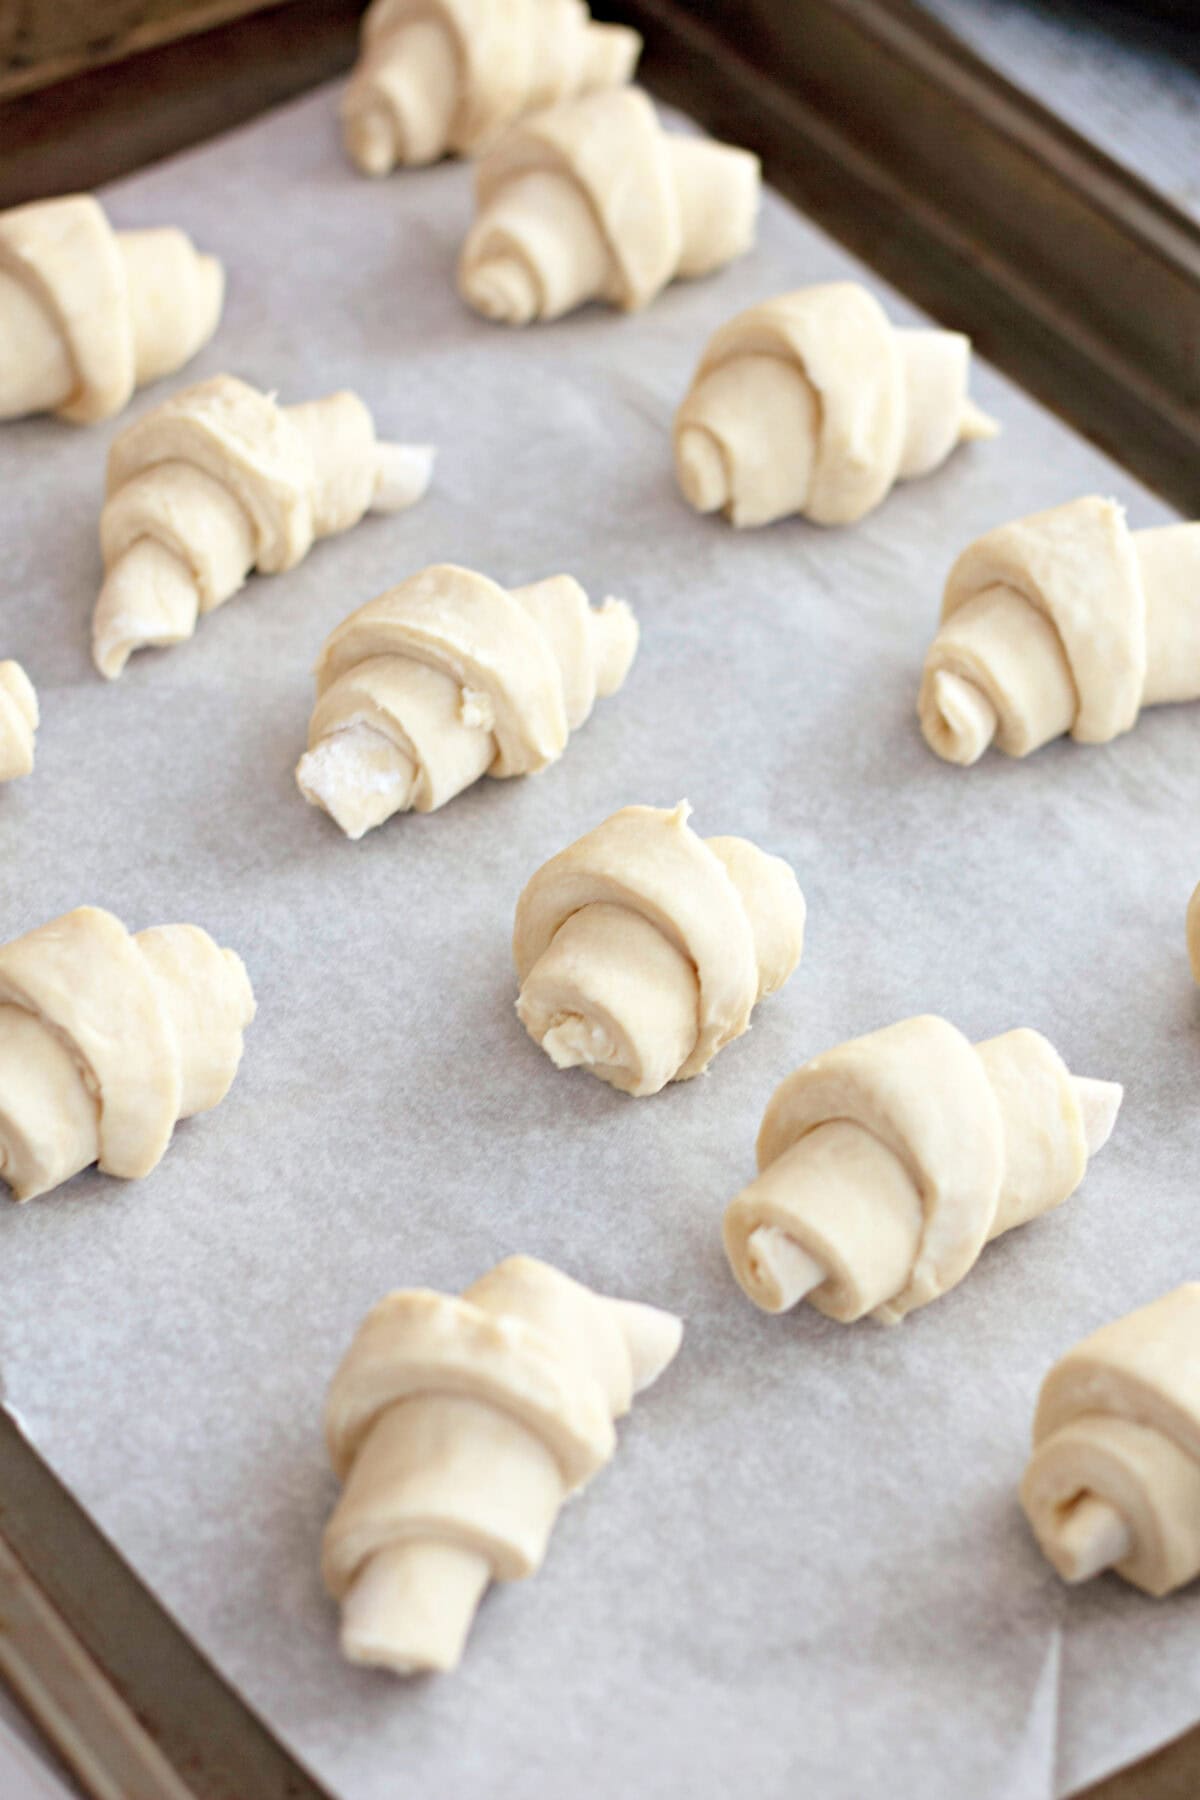
- Shape the rolls. Starting at the widest end, roll up each wedge of dough toward the point. Place each roll point-side down on a baking sheet lined with parchment paper or a silicone mat, and curve the ends in slightly to make a crescent shape.
- Let them rise. Cover the rolls loosely with a clean kitchen towel and set them in a warm place for about 1 hour, until puffy. Depending on the temperature of your house, the dough rise may take a little more or less time.
- Preheat the oven. While the rolls rise, preheat your oven to 400 degrees.
- Bake. Bake for about 10 minutes, or until the rolls are golden brown. Let them cool slightly and serve warm.
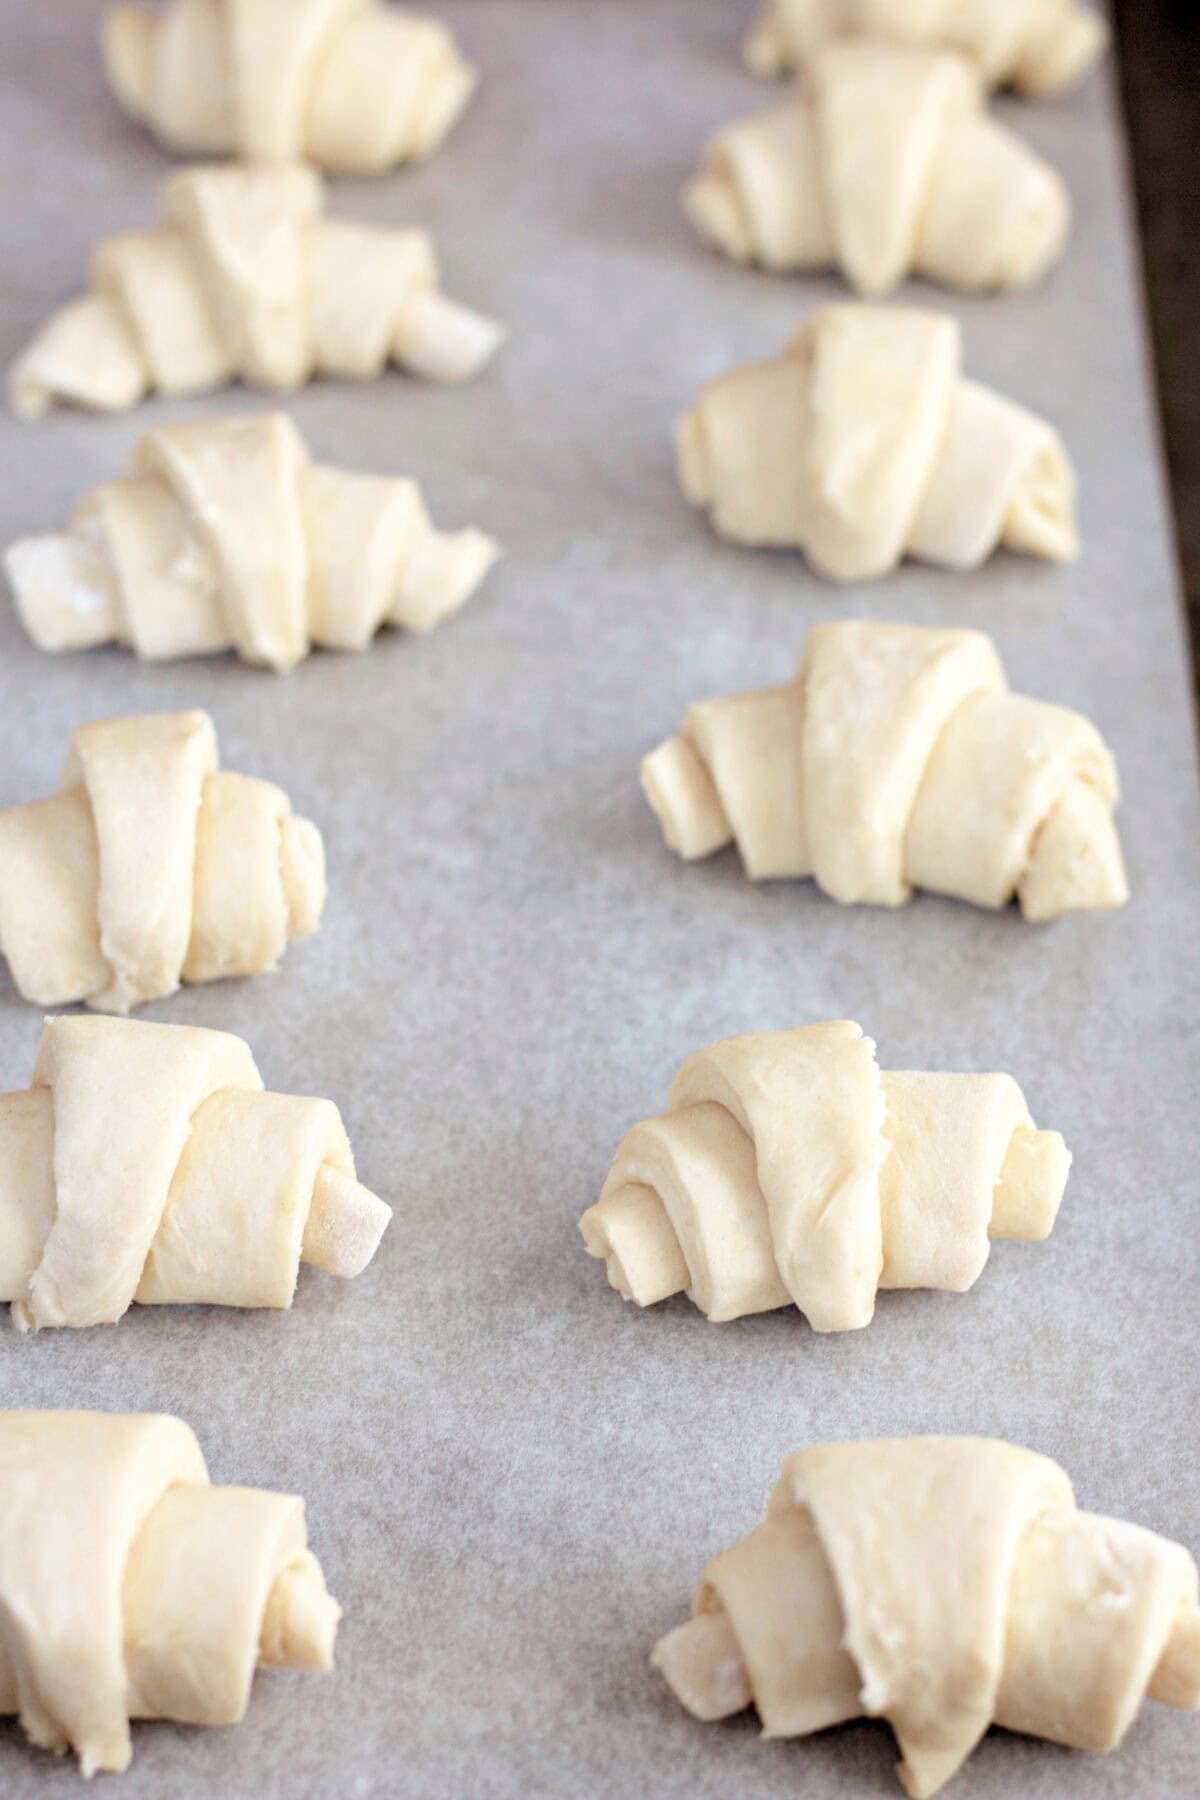
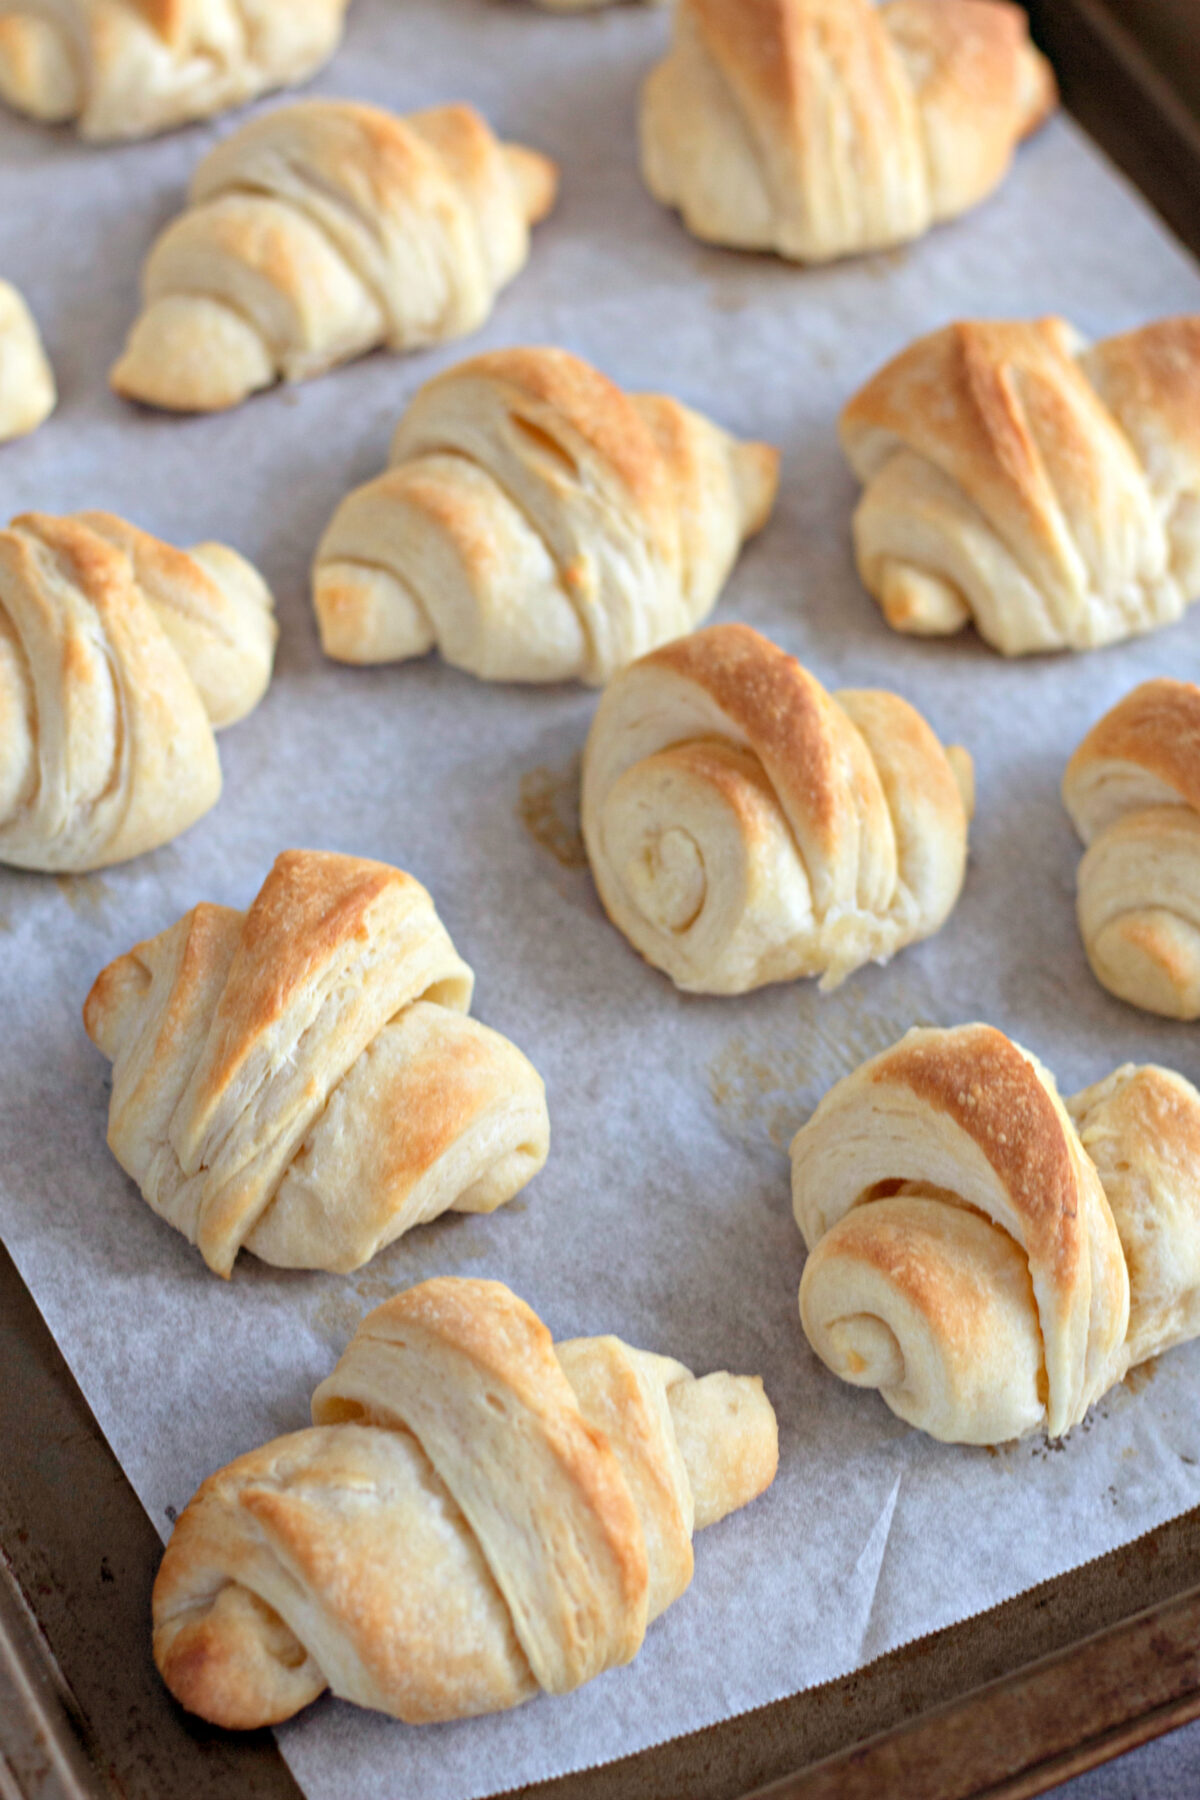
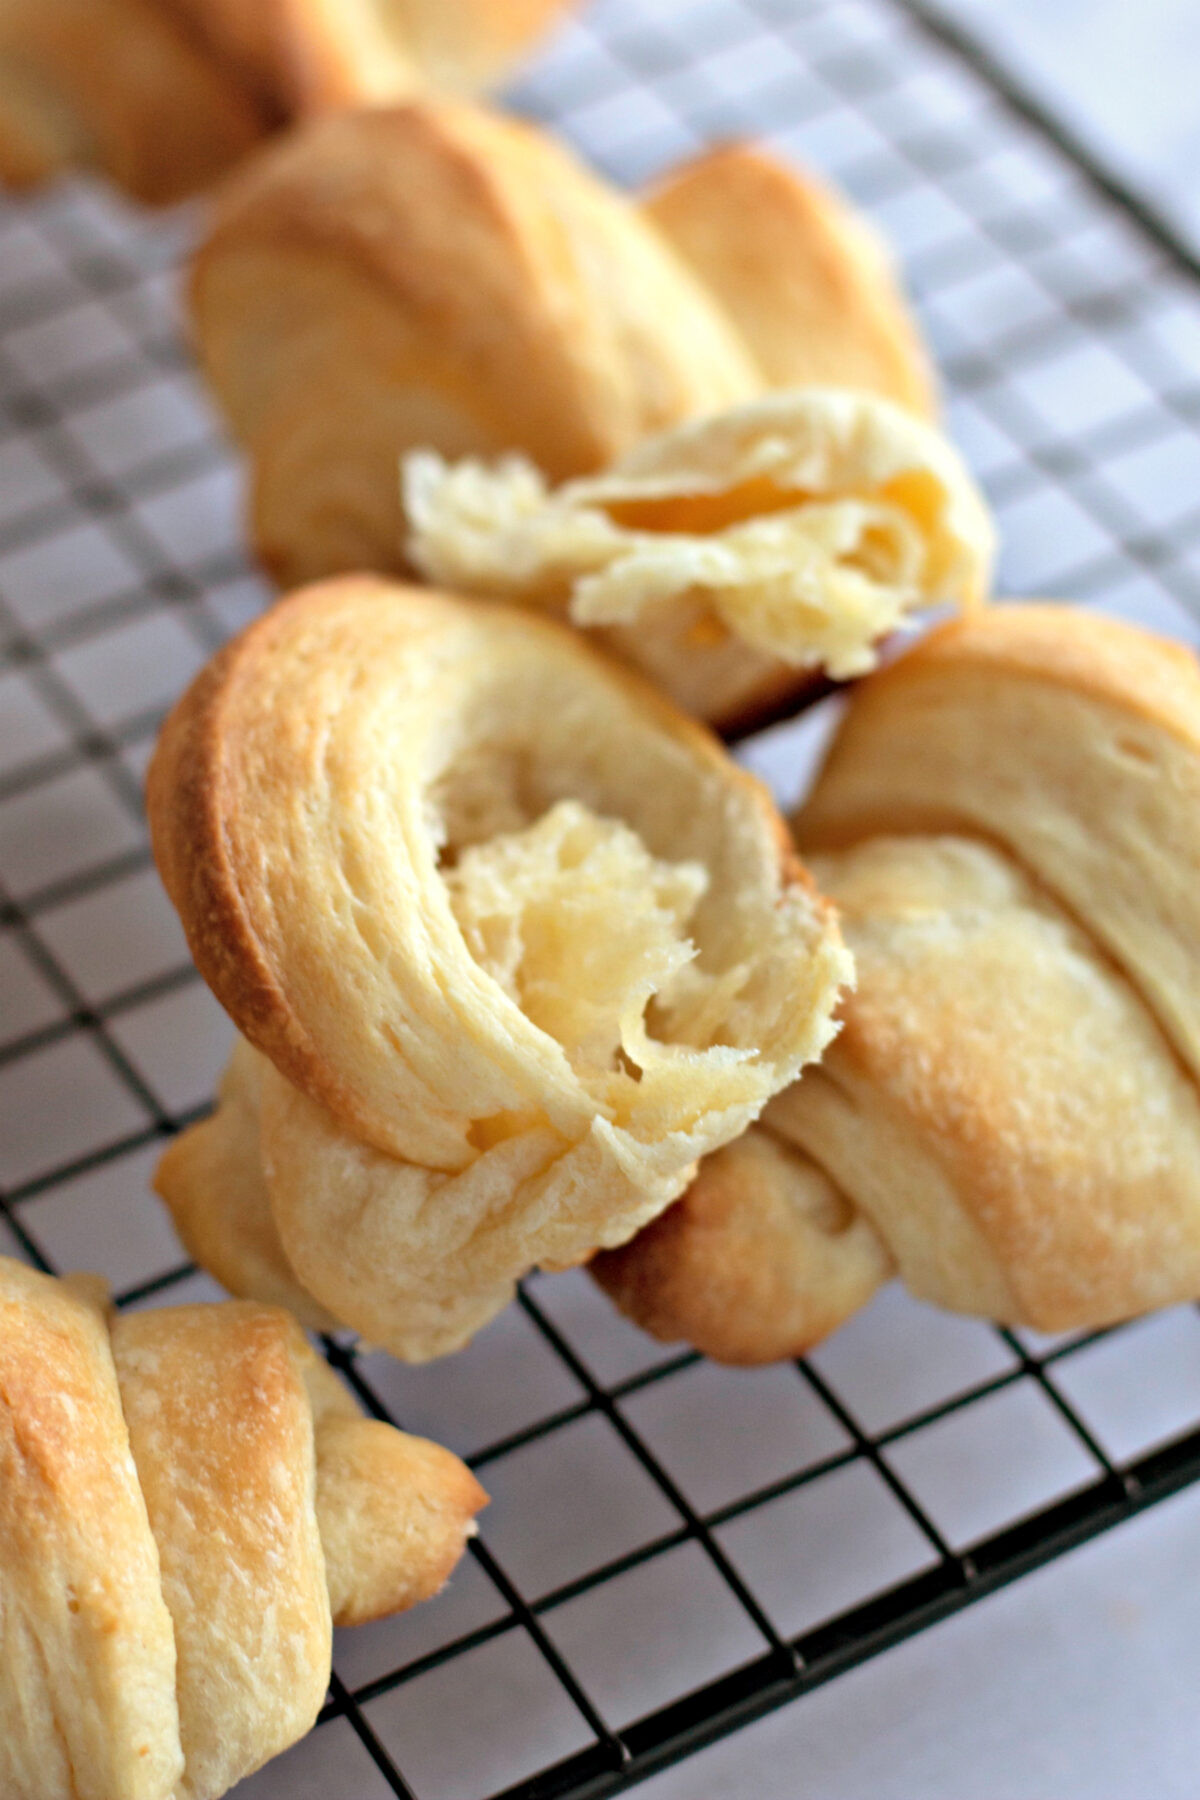
NOTE: Prefer a stand mixer? You can bring the dough together on low speed with the dough hook attachment. Just mix until it barely comes together so you don’t break up the butter pieces.
Pro Tips
- Check your liquid temperature. Around 110 degrees is perfect. Hot water can kill the yeast, and liquid that’s too cool won’t wake it up. A quick-read thermometer takes all the guessing out of it.
- Keep the butter cold. Cut it into cubes and pop it back in the fridge while you measure everything else.
- Be careful not to add too much flour. Use just enough on your clean work surface and rolling pin to keep the dough from sticking. Extra flour makes the rolls dry and tough.
- The dough gets easier to handle each time it chills, so don’t panic over the stickiness at the beginning.
- Short on counter space? Divide the dough in half and roll out two smaller circles, then cut 8-9 triangles from each one.
- For a perfect crescent roll shape, cut a small slit about 1/2 inch long in the center of the wide end of each triangle before rolling. It helps the ends spread out and curve.
- Want shiny tops? Brush the rolls with an egg wash (one egg beaten with a tablespoon of water) right before baking.
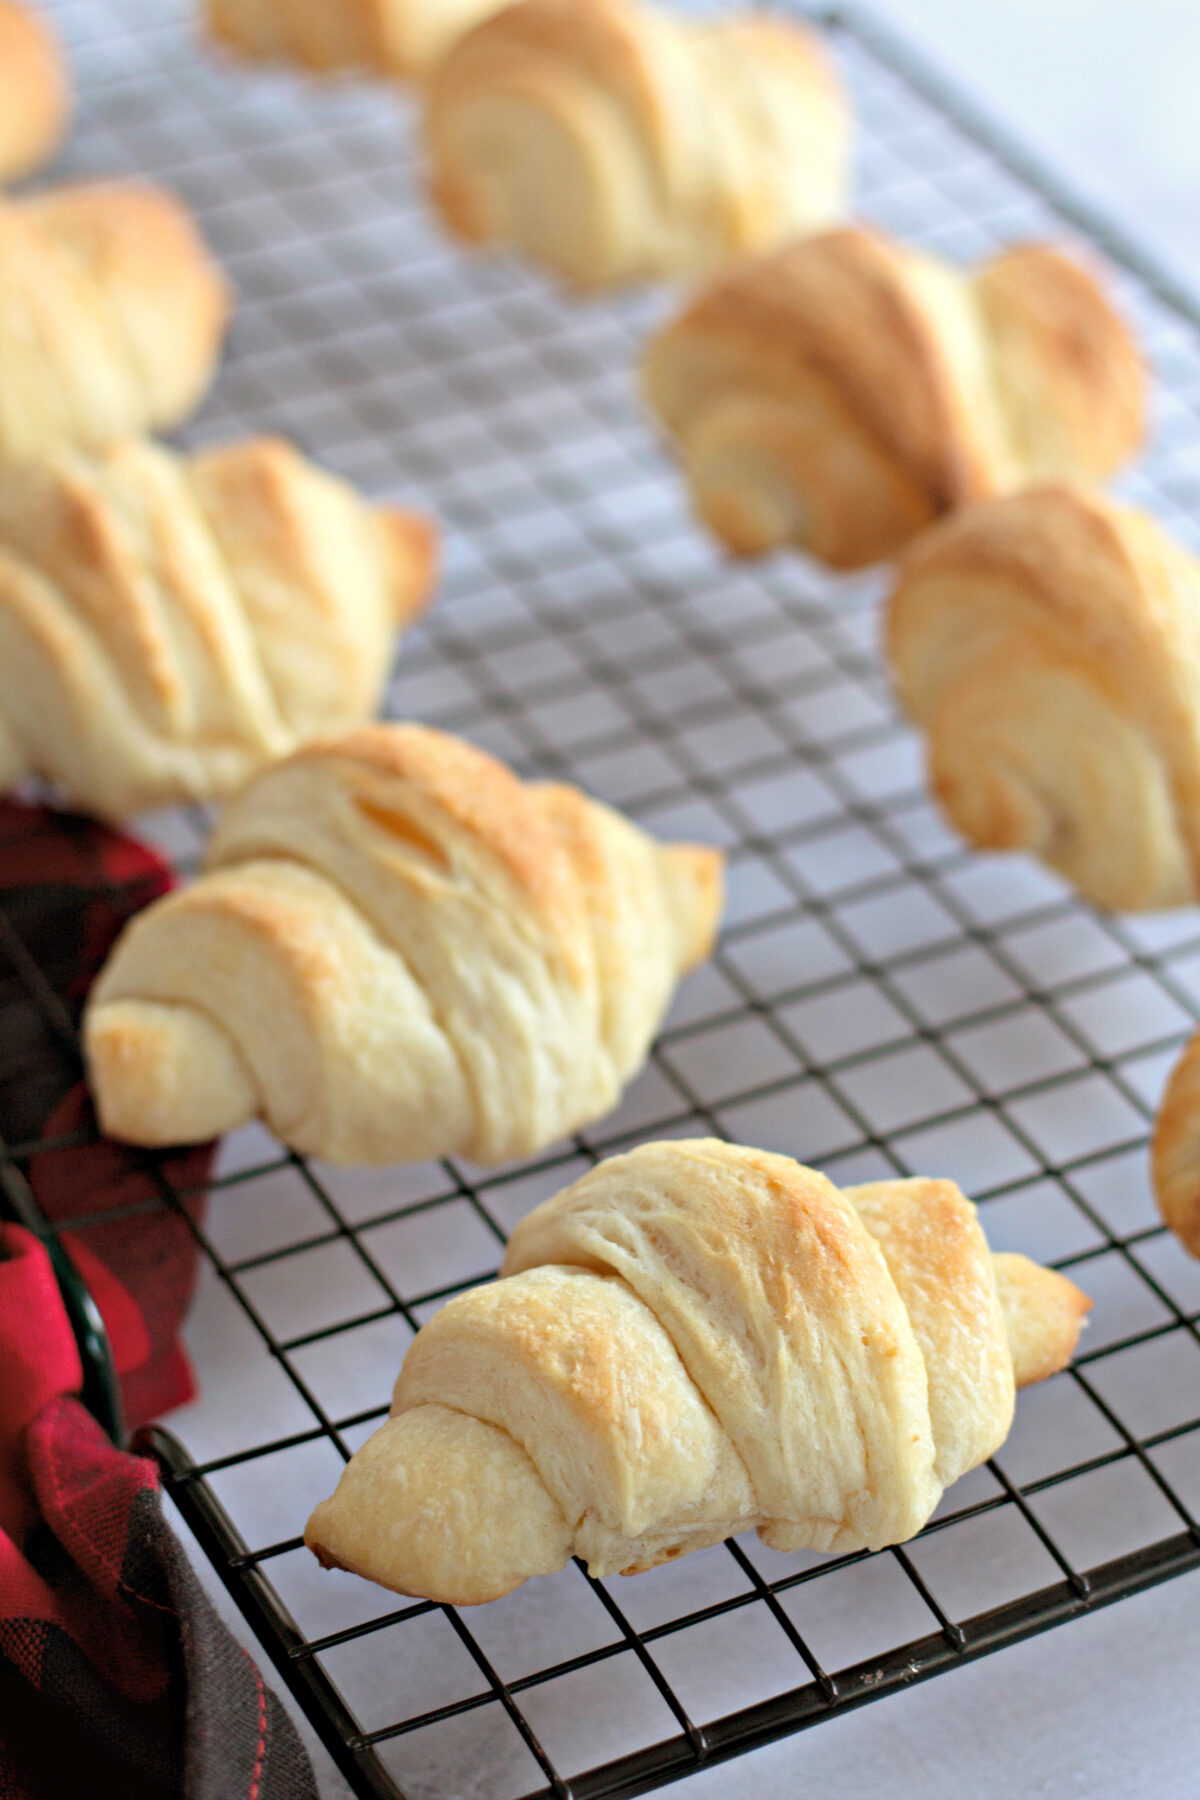
- For extra buttery crescent rolls, brush them with melted butter as soon as they come out of the oven.
Variations
- Cheesy rolls: Sprinkle shredded cheddar or parmesan over the dough circle before cutting and rolling.
- Garlic butter: Stir a little garlic powder and dried parsley into melted butter and brush it over the warm rolls.
- Cream cheese filling: Spread a thin layer of softened cream cheese over each triangle before rolling. A little drizzle of honey on top is delicious too!
- Cinnamon apple: Brush the dough with melted butter, sprinkle with cinnamon sugar, and tuck a few thin apple slices at the wide end of each triangle before rolling. This makes a great breakfast or brunch treat.
- Ham and cheese: Add a small piece of ham and a slice of cheese at the wide end for an easy lunch.
Serving Suggestions
These rolls are the perfect addition to just about any meal! They’re wonderful as a side dish with a roast, fried chicken, pot roast, soups, and stews, and they belong on every Thanksgiving and Christmas dinner table right next to the dressing. Leftovers are great split open with butter and jam for breakfast, too.
Make-Ahead, Storage, and Freezing
To make ahead: After the second fold, wrap the dough in plastic wrap (or tuck it into a lightly greased bowl with a lid) and refrigerate it overnight. The next day, roll, cut, shape, and let the rolls rise as usual. The rise may take a bit longer since the dough is starting out cold.
To store: Keep leftover crescent rolls in an airtight container or zip-top bag at room temperature for a couple days, or in the fridge for up to 5 days.
To reheat: Wrap the rolls in aluminum foil and warm them in a 350 degree oven for 5-8 minutes. They taste almost fresh-baked!
To freeze baked rolls: Let them cool completely, then freeze in a zip-top bag for up to 3 months. Thaw at room temperature and reheat in foil.
To freeze unbaked crescent rolls: Shape the rolls, place them on a baking tray, and freeze until firm. Then move them to a freezer bag. When you’re ready, place the frozen crescent rolls on a lined baking pan, cover, and let them thaw and rise in a warm place for 3-4 hours before baking. You can bake the whole batch or just a few at a time.
FAQ
Why is my dough so sticky? It’s supposed to be! This is a very wet, soft dough before it chills. The fridge firms up the butter and makes it much easier to roll. Only use enough flour on your surface to keep it from sticking.
Are these the same as puff pastry or croissants? Not quite. Puff pastry and flaky croissants use a big block of butter folded into the dough many times. This homemade crescent roll recipe uses a shortcut version of that baking process, with pea-sized butter cut right into the flour and just two rounds of folding. You still get lots of butter and flaky layers, but with a whole lot less work.
Can I use instant yeast instead of active dry yeast? Yes! Use the same amount. You can skip the 5 minute wait and stir the instant yeast right into the dry ingredients, then add the warm milk mixture with the egg.
Can I use the yeast packet that’s been in my pantry since last year? Check the expiration date first. The foaming test in the first step is your best friend here. No foam after 5-10 minutes means it’s time for a fresh packet.
Can I make these with whole wheat flour? You can swap up to half of the flour for whole wheat. They’ll turn out a bit denser and nuttier, more like whole wheat rolls, but still delicious.
How do I know when they’re done baking? Look for tops and bottoms that are golden brown all over. Every oven is a little different, so start checking at about 8 minutes.
How are these different from regular homemade dinner rolls? Classic dinner rolls are soft and fluffy all the way through, while these crescent rolls have flaky, buttery layers thanks to the folding. Both are perfect homemade bread for the holidays, so make whichever one your family loves… or make both!
Enjoy Your Homemade Crescent Rolls!
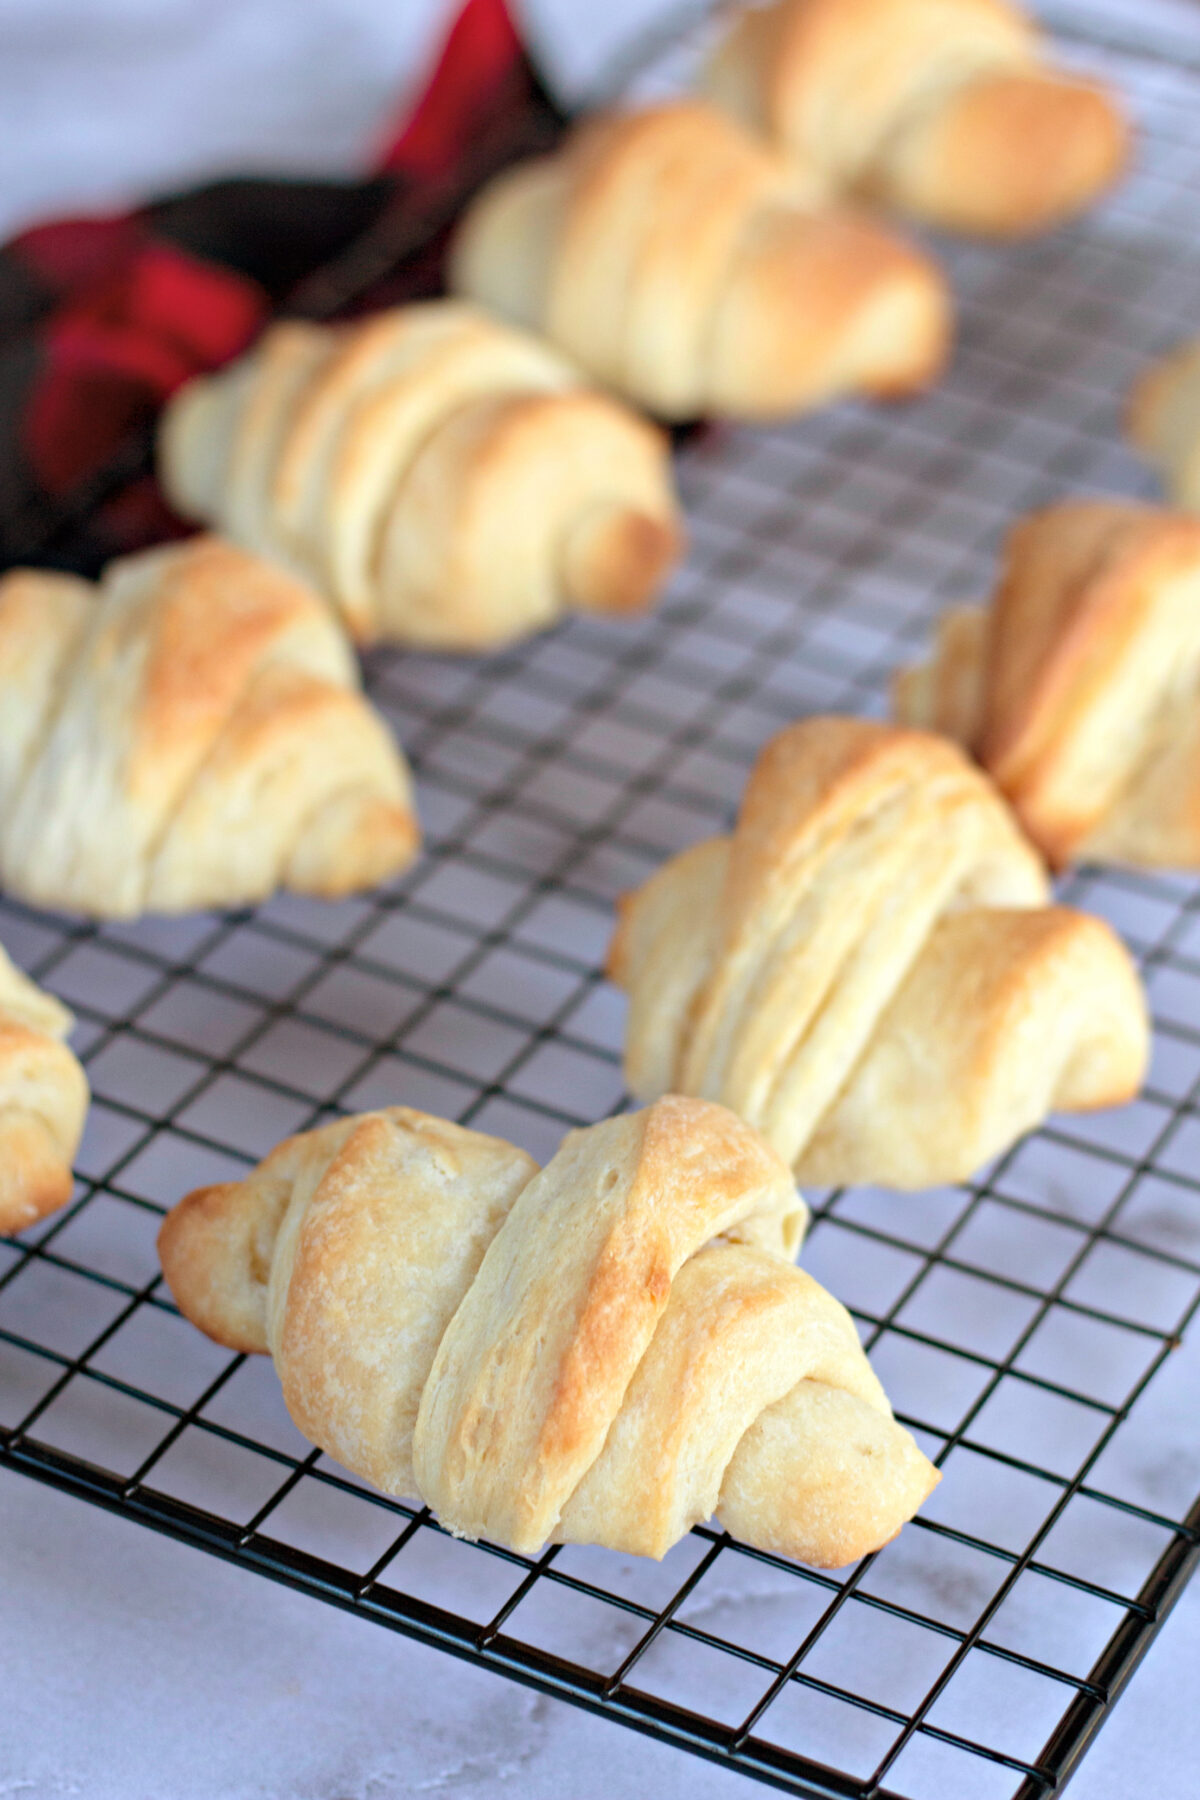
Once you see how simple these delicious rolls really are, I have a feeling they’ll earn a permanent spot on your holiday menu (and maybe on a few regular Sunday dinners too). Make them plain, stuff them with cheese, or brush them with garlic butter… however you serve them, a warm basket of homemade crescent rolls always makes the meal feel a little more special.
I’d love to hear how yours turned out! Leave a comment and a star rating below, and let me know which variation you’re trying next time.
Happy Baking!
More Delicious Breads
Homemade Crescent Rolls
Description
Buttery, flaky homemade crescent rolls made with simple ingredients and a quick folding method. Perfect for Sunday dinner or any holiday meal!
Ingredients
- 1/2 cup milk
- 1/4 cup water
- 2 1/4 teaspoons active dry yeast (one 0.25 ounce package)
- 3 tablespoons sugar, divided
- 2 3/4 cups all-purpose flour, plus additional for rolling
- 1/2 teaspoon salt
- 1 cup cold butter
- 1 large egg
Instructions
- Warm the milk and water together to 110 degrees, either on the stovetop in a small saucepan or in the microwave. Transfer to a small bowl, then stir in the yeast and 1 tablespoon of sugar. Let it rest for about 5 minutes, until foamy on top.
- Whisk the flour, the other 2 tablespoons of sugar, and the salt together in a large bowl. Work in the cold butter with a pastry cutter until the pieces are roughly the size of small peas. Add the foamy yeast mixture and the egg, and stir just until a wet, sticky dough comes together.
- Cover the dough tightly in plastic wrap and chill it in the fridge for 30-45 minutes.
- Turn the chilled dough out onto a floured counter and roll it into a circle about 1/2 inch thick. Fold it in half, then in half again so it’s a quarter circle. Roll it back out to about 1/2 inch thick and repeat both folds one more time.
- Rewrap the dough and chill for another 30-45 minutes.
- Roll the dough out on a floured counter into a big circle about 1/4 inch thick (a little thinner is fine). Slice it into 16-18 skinny triangles, like cutting a pizza. Starting at the wide edge, roll each triangle up toward its tip and set it on a baking sheet lined with parchment or a silicone mat. Drape a clean kitchen towel over the rolls and let them rise somewhere warm for about 1 hour.
- Heat the oven to 400 degrees while the rolls finish rising.
- Bake for about 10 minutes, until the tops are nicely golden. Let them cool for a few minutes and serve them warm.
Notes
Don’t be surprised when the dough is super soft and sticky at first… chilling it is what makes it easy to work with. Go light on the flour when rolling so your rolls bake up tender, flaky, and full of buttery layers.
Nutrition
- Serving Size: 1 roll
- Calories: 198
- Sugar: 2.8 g
- Sodium: 82.8 mg
- Fat: 12.1 g
- Carbohydrates: 19.4 g
- Fiber: 0.7 g
- Protein: 3.2 g
- Cholesterol: 42.3 mg