How to Make a Crown Cake Topper (tutorial and free printable template)
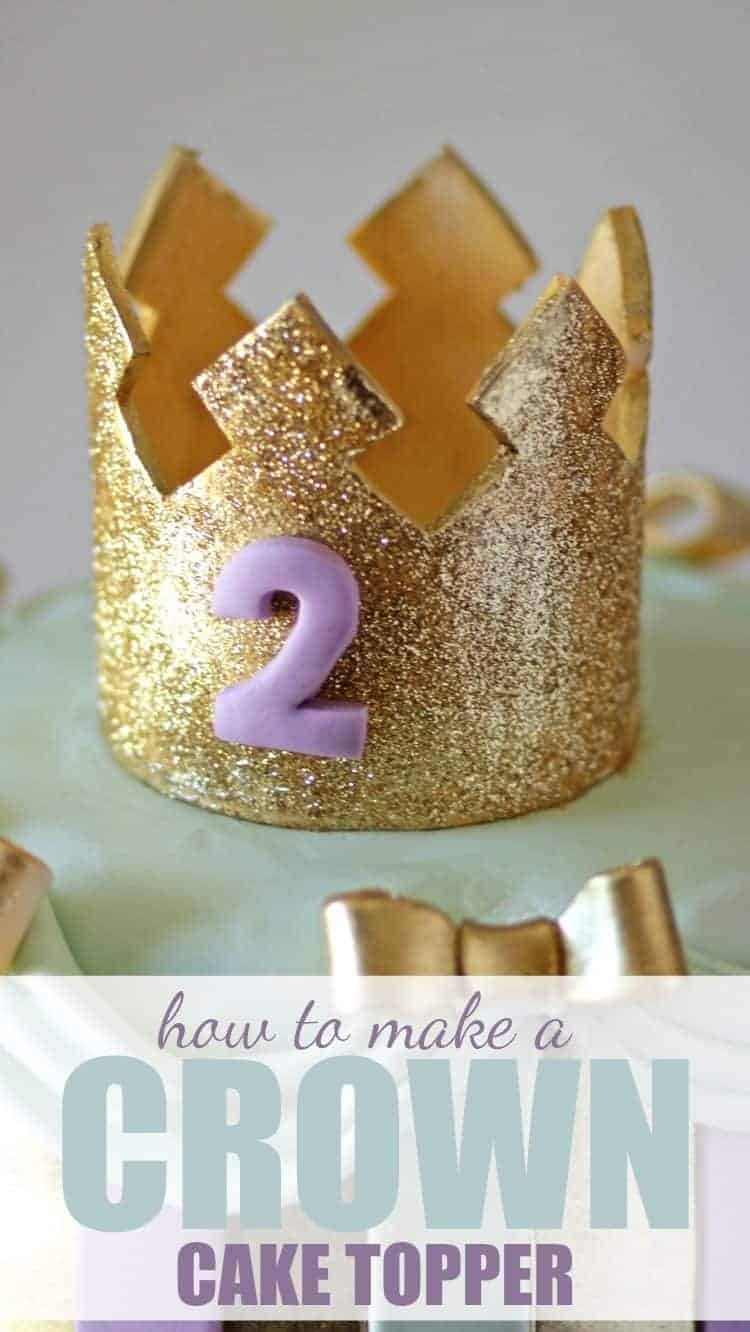
With Princess Cakes never going out of style, I wanted to share How to Make a Crown Cake Topper. I have a free printable template below to get this exact style and it would work great for a Prince or King Cake too!

If you have a princess (or prince) cake to make, this crown cake topper will be the perfect finishing touch for a royal-worthy cake!
I debated whether or not to call this a crown cake topper or a tiara cake topper because the cake (which I’ll share in a couple of days) was for a “Tutus & Tiaras” party. My client sent a very specific picture for what she wanted the “tiara” to look like… and that was it 🙂
Either way, it’s really pretty and also easy to make! You’ll need to plan a couple of days ahead (at least) so it’ll have time to dry, but otherwise, it takes very little time to make!
Let’s get started!
How to Make a Crown Cake Topper
You’ll need just a few supplies and some of these aren’t absolutely necessary, depending on how you want to design your crown. I’ll explain as I go.

Here’s what I used:
- Crown Template (cut out)
- Gum Paste
- Small Rolling Pin
- Shortening
- Xacto Knife (or you could use a scalpel – my new favorite cutting device)
- Paint Brush
- PME Gold Spray
- Gold Disco Dust
- NOT PICTURED:
- Can of beans
- Wax Paper
- Tape
Pictured, but not used : Gold Luster Dust and Lemon Extract
Instructions:
First, rub down your surface with shortening so your gum paste doesn’t stick. Also, go ahead and cut out the crown template.

Then roll out the gum paste to around 1/8″ or 3mm thickness. It needs to be at least 12″ long and 5″ tall for a crown the size seen in the picture above.
I did not weigh the gum paste before starting, but I can tell you the ball I startd with was slightly larger than my fist and I did not use it all.

You can see here that I rolled out the gum paste much larger than needed. For the cake I was working on, I also wanted the crown to be taller so I added about an inch of height to crown (you’ll see below).

Rub down the surface of the gum paste with shortening, then lay the template on top and smooth it down (so it doesn’t move when cutting).

So as you can see above, I used a ruler for a straight edge and I cut the bottom of my crown about an inch taller than the template.

Then using the Xacto, I cut out the top pattern. By the way, it’s really hard to photograph while working. That’s why I don’t have a few of the in-process shots I’d like.

Now… for this next step, I used a 28 oz. can of Bush’s Baked Beans. It was perfect for the size crown I wanted to make. I wrapped the can in wax paper and taped it together on the back.

I wrapped it around (using shortening to help it stick if needed), then pressed the seam together on the back:

And that was all for day one.
Let it dry for at least 24 hours. 48 hours is best.

Once it’s dry, slide it off the can. From here on out, you can customize the crown as needed.
Some options : Paint it the color you want. Spray it with Wilton Color Mist or a PME Spray of choice. Add embellishments or edible jewels. The sky is the limit, but I’m going to share how I got the glittery gold.

I put the crown on a cookie sheet and sprayed it gold with PME Gold Spray. You could easily stop at this point and have a perfectly pretty gold crown. But my client wanted as much “bling” as possible. So once it dried, I sprayed a second coat, then sprinkled Gold Disco Dust all over before it dried.
Sadly, I didn’t have enough hands to get a picture of me putting on the disco dust, then I forgot to take a picture of it while that dried (it only took a couple of minutes). But this is what I ended up with when it was all said and done:

It was so easy to make and added such a great finish to this Lavender, Mint and Gold Princess Cake… aka the Tutus and Tiaras Cake! Click here to see the whole cake and all the details!
So – did you get your free printable crown template? If not, enter your email below! As soon as you click subscribe, a new window will open so you can download the template!
*Note – this will add you to my email newsletter, but you are free to unsubscribe at any time!
And that’s it! Do you have any questions about this how to make a crown cake topper? If so, leave me a comment or shoot me and email and I’ll answer and help you if I can!
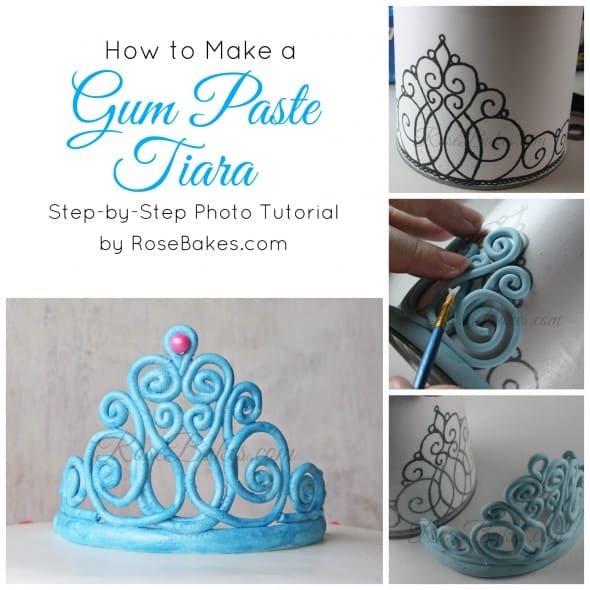
Looking for a more delicate Tiara Tutorial? Check out this post.
Happy Caking!
Rose


As a Canadian, i really dont understand the American system of making profit over the health of individuals but all i can do is hope and pray for your family. Sarah is a beautiful girl and soon this situation will be a distant memory.
Thank you Lizzy!
This is so pretty and a perfect cake topper! I love this! Would also love if you’d join us and share at Reader Tip Tuesday – we are open and growing all week long!
http://www.jodiefitz.com/2018/09/18/reader-tip-tuesday-weeks-craft-recipe-party-14-2-2-2-2-2-2-2-2-2-2-2-2-2-2-2-2-2-2-2-2-2-2-2-2-2-2-2-2-2-2-2-2-2-2-2-2-2-2-2/
Can I make this out of modeling chocolate ?
Thank you,
Shar
Probably so. You’d just have to be really careful about it getting warm.