How to Make a Mini Gingerbread House
How to Make a Mini Gingerbread House with a Mini Gingerbread House Cookie Cutter. I’m going to show you how we made Mini Gingerbread Houses with the sweetest little cookie cutter plus two great recipes for no-spread gingerbread and a fast-drying gingerbread house icing.

We have lots of Christmas traditions and one of them is making cookies and/or gingerbread houses each year. When we do gingerbread houses (which is not every year), we often use the Gingerbread House kits from Walmart.
Mini Gingerbread House Cookie Cutter

But awhile back (2014 to be exact… ahem), I saw this Mini Gingerbread House cookie cutter for making homemade mini gingerbread houses. And I immediately ordered it.
Unfortunately, as with many of my brilliant plans, the cutter went unused for a Christmas or two (or five).

But a few weeks ago, my baby boy (who’s not so much a baby anymore – he’s 8!) asked if we could make our own gingerbread houses from cookies we made ourselves. And I remembered buying that cutter once upon a time.
Where is the Mini Gingerbread House Cookie Cutter?
It took some digging to find the mini gingerbread house cookie cutter in my dozens of unpacked boxes still in the garage (from our move 2 years ago), but finally, I found it!

Then I did lots of googling and settled on recipes. I found two recipes that ended up being great for our mini gingerbread house-building adventure.
After taste-testing the extra cookies, we all agreed that this gingerbread is not really something we’d want to eat. Others might feel differently, and it might have been okay fresh out of the oven, but once it cooled, our cookies were really hard and not all that great-tasting.
But who really wants to eat cookies and icing after they’ve been handled that much anyway, right?

On the upside, hard gingerbread is the best kind for building sturdy houses and it worked great for cute gingerbread men and women too. It didn’t spread or puff up and it was really great for what we were doing! 😊
How to Make a Mini Gingerbread House
- Make the gingerbread dough (see recipe below).
- Roll out the dough, then cut out the gingerbread house pieces with this Mini Gingerbread House cookie cutter.
- Place on a parchment or silicone lined cookie sheet and bake.
- While the cookies cool, make the icing (again, see recipe below).
- Get out all the sprinkles you own. 😉
- Build the houses using the icing. We found it best to build the four walls while the house is standing on its side. Then turn it upright, add the roof and let them dry for at least 20-30 minutes before decorating.
- Decorate.
- Allow to dry overnight.
- Display & Enjoy!!

The dough was really firm and not at all sticky! It was really easy to work with.

Note – you won’t need quite as much flour as Asher thought he needed. He absolutely, positively, 100% did not want his cookie dough to stick 😉

There are eight of us – Richy and I plus our six kids, so we used the mini gingerbread house cookie cutter to cut out enough houses for all of us plus a man/woman gingerbread each. With all that, we still had some leftover dough for random snowflakes and other cookies.

Sweet Sarah.
I didn’t have a pic of us making the icing, but since Sarah seemed to really, really like the icing, I thought this picture was worth sharing 😁. We joked that she’d never get her “snow blizzard” house off the table, but we were able to eventually pry it loose. Ha!
For those that followed Sarah’s story back in early 2018, she’s one step away from having her smile finished! Even though the teeth you see in that pic are not her permanent ones, I still love seeing that beautiful smile every chance I get!!
PS – she was the photographer for my book! She even got photography credit in the book! I’m one proud Mommy!

The Sprinkles Exploded.
Again – I didn’t get a picture of all of our sprinkles lined up in a pretty row. Instead, I can show you how Asher used almost every single variety I’ve ever purchased for 10 years. He said the “sprinkles exploded.” #crazykid

Assembling the Mini Gingerbread House 
Assembled Mini Gingerbread House – drying before decorating.
While building 8 gingerbread houses, we all decided it was best to lay down one end of the house, stand up the sides, add the other end, then gently stand them upright and add the roof.

Even my 22-year-old son came home from work and made his Mini Gingerbread House. He was very precise with his work and it was really pretty!

Joshua put his Gingerbread House on top of a candle to work on it and ended up leaving it there to dry!
Lest you think we live in a fairytale land where messes don’t happen, let me share one more thing. We didn’t finish our Gingerbread House building adventure until nearly midnight and when everybody called it quits, we were too tired to clean up.
So when I got up the next morning, this is what I faced:
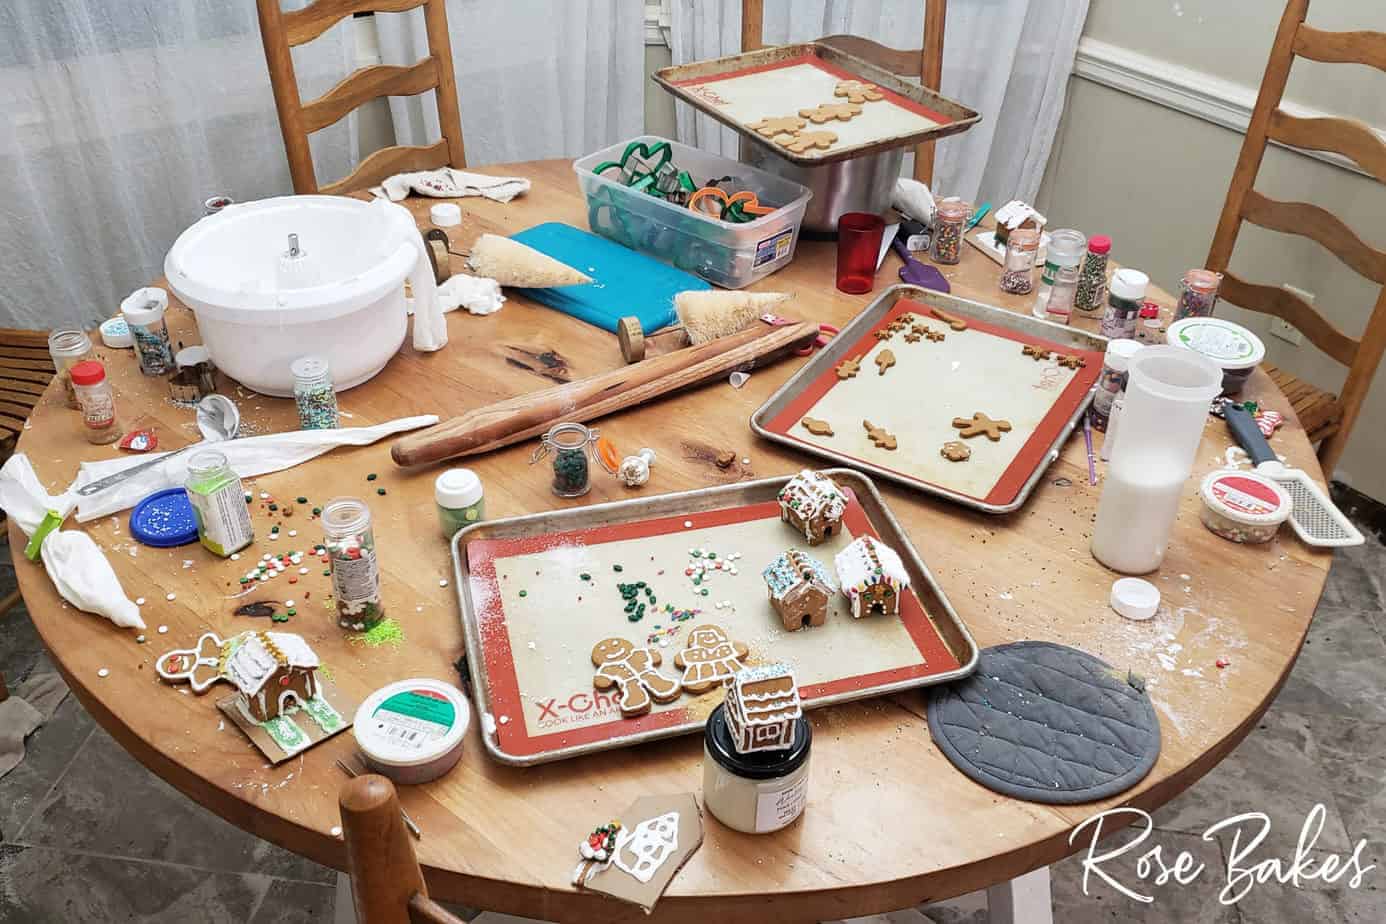
A Gingerbread House Mess.
It wasn’t exactly fun cleaning all that up, but when we got everything squared away, I lined them all up the next day and took a picture of all of our work!
Except we’re still finding sprinkles in every crevice of our house… oh well. We had fun, fun, fun and lots of memories were made! And the Mini Gingerbread House Cookie Cutter was declared a keeper!

There are only seven gingerbread houses in my picture because Asher’s “the sprinkles exploded” house collapsed under the weight of a million sprinkles before drying the night before.
Can you guess which one is mine?

It’s this one!!

These two with “yards” were done by Noah (15) and Caleb (18). They might be my favorites (shhh – don’t tell the other kids). If you look closely, you can see a Gingerbread man sliding off the roof of Noah’s house in the middle of adding the sprinkles.
And Caleb’s had a little Gingerbread man inside the front door and I just loved the snow and stars on his roof.

This was Richy’s house on the left. He was as big of a kid as my other children. When his house fell apart, he licked off all the icing and started again… hence the smears… yuck!
Then Sarah’s “Snow Blizzard” Gingerbread House on the right. It was the most fun!! ❄️ ❄️ ❄️

And lastly, Joshua’s house in the middle – with his very detailed piping. And Christians gingerbread house on the end. Christian had a very cool design that sort of went downhill when he tried to go overboard! But he’s such a happy-go-lucky kid, he just rolled with it!
Alrighty… without further delay, here are the supplies you’ll need (use as many or as few sprinkles as you like, but I linked up to our favorites):
Mini Gingerbread House Supplies
Mini Gingerbread House Cookie Cutter
Buy Now →
How to Make a Mini Gingerbread House
Description
The perfect recipes for making Gingerbread Houses from scratch with the cutest Mini Gingerbread House Cookie Cutter! A no-spread gingerbread recipe and a fast-dry icing to hold the houses together.
Ingredients
-
-
For the No-spread Gingerbread Dough / Cookies
- 3 cups all-purpose flour
- 1/2 tsp salt
- 1 Tbsp ground ginger
- 2 tsp ground cinnamon
- 1/4 tsp ground cloves
- 6 Tbsp salted butter,softened to room temperature
- 3/4 cup brown sugar
- 1 large egg
- 1/2 cup molasses (unsulphured, not blackstrap)
- 2 tsp vanilla extract
- 1–3 tsp milk, if needed
- For the Fast-Dry Icing:
- 1 pound powdered sugar
- 3 pasteurized egg whites
- 1/2 teaspoon cream of tartar
Instructions
For the cookies:
- Preheat the oven to 375°F.
- In a small bowl, whisk together the flour, salt and spices. Set aside.
- With an electric mixer, cream the butter and sugar together just until combined. Do not overmix at this point – no need for the usual “light and fluffy”.
- Add the egg and mix just until combined.
- Next add the molasses and vanilla. Mix until combined.
- Begin adding the flour while mixing a little at a time. Continue mixing until all the flour is added and until a dough forms. If your dough is dry and/or crumbly, begin adding teaspoons of milk, just until it forms a firm dough. You don’t want it sticky or wet.
- Lightly flour your surface, then roll out the dough to 1/4″ thickness.
- Bake on a cookie sheet with a silicone mat or lined with parchment paper for 8-9 minutes.
For the icing:
- With an electric hand mixer (or a stand mixer if you prefer), mix all ingredients in a large bowl until it forms soft peaks.
- Keep icing covered with a damp cloth until ready to use to prevent hardening.
Notes
If you’re making the dough ahead of time, wrap it tightly in plastic wrap and refrigerate. Before you begin rolling it out, bring it to room temperature. It’s really hard to roll it out if it’s cold!
Nutrition
- Serving Size: 1 iced cookie
- Calories: 210
- Sugar: 30.6 g
- Sodium: 87.1 mg
- Fat: 3.3 g
- Carbohydrates: 43.3 g
- Fiber: 0.6 g
- Protein: 2.4 g
- Cholesterol: 15.4 mg