How to Make a Textured Buttercream Cake
Today I want to share How to Make Textured Buttercream Cakes. I have a couple of techniques for making horizontal lines or ridges in buttercream. Both techniques are easy and can be made rustic or elegant using only a few essential tools (you probably already have them)!
Originally published October 2017, updated June 2022.
Over the past several months, simple, textured buttercream cakes have been a really nice trend. I’ll share some of mine below, but every time I’ve posted one on Facebook, I’ve been asked How to Make Lines Texture on Buttercream Cakes.
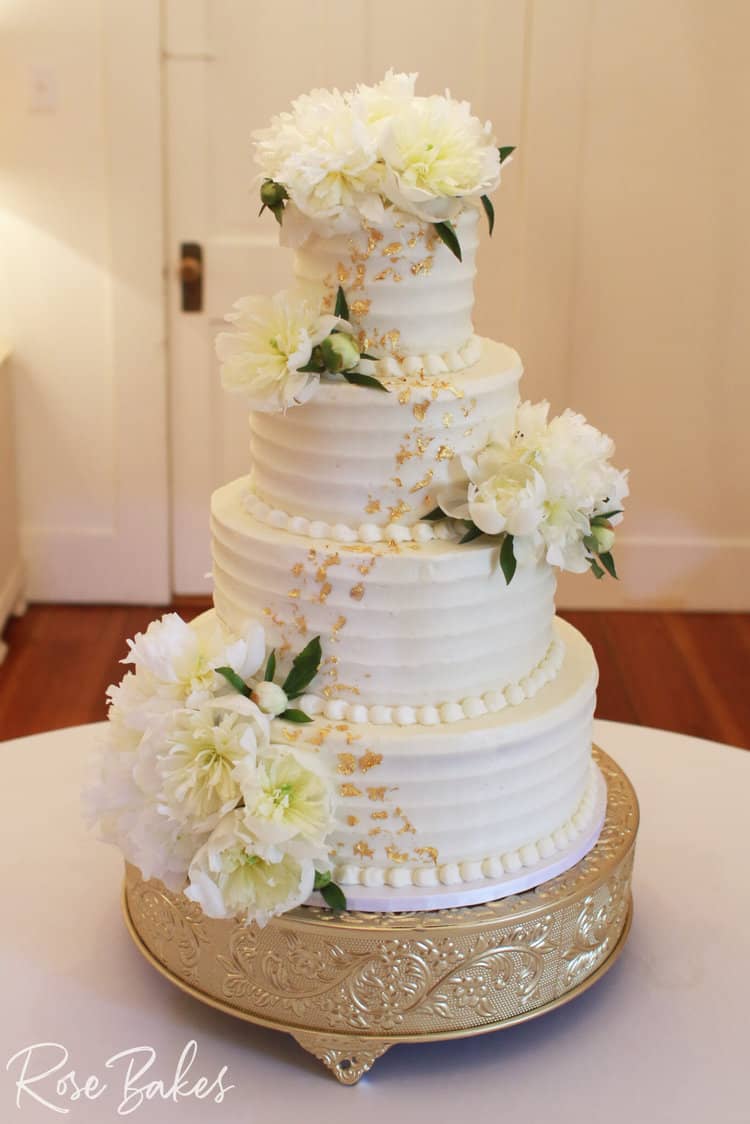
Because of the repeated requests, I’ve decided to share a couple of ways I’ve made them. First – the cake above was from this past weekend (June 2022), and it was done in a more elegant style.
How I made smooth, even stripes on the cake:
- First, I used this piping tip to add a generous layer of soft buttercream frosting onto the top and side of the cake. I used the smooth side of the comb to scrape down the buttercream and make it even.
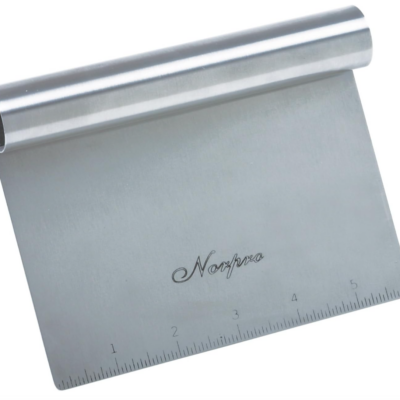
- Then, before the frosting crusted, I used this Stainless Steel Cake Comb to add the horizontal lines.
- Next, I boiled some water in a large shallow pan and dipped the comb in it to make it warm. I quickly wiped off the excess water with a Viva, then I made a second pass around the cake to get really clean, smooth lines.
- I added the texture to each tier, then chilled them in the fridge for about an hour before stacking. That way I could move the tiers easily without damaging the texture on the side of my cake.
- Lastly, after stacking and doweling the cake, I added a border using this large round tip for the buttercream pearls border. I have often used fondant for a pearl border too – see that tutorial here.
After I delivered the cake, I added the fresh flowers (peonies) using these cake spikes, then added 24K gold leaf. Here’s a photo before adding the gold:

Tools to make horizontal lines or ridges on a buttercream cake:
- Large Round Piping Tip
- Bench Scraper
- Scalloped Edge Cake Texture Comb
- Spoon – for a more rustic look. Use different size spoons for different size grooves.
- Offset Spatula – also gives a more rustic look and they are available in a couple of sizes
Rustic Lines Texture on Cake
In addition to the textured buttercream cake with the more polished look, I’m also sharing a cake design that’s more rustic. I have a short video of this technique down at the bottom!
For the more rustic technique, all you’ll need is a small offset spatula and I also recommend a bench scraper and turntable. That’s IT!
It’s so, super easy and the technique covers a multitude of flaws on a buttercream cake. The benefit of this technique over the icing comb is that you can choose a subtle texture or a more dramatic groove texture!
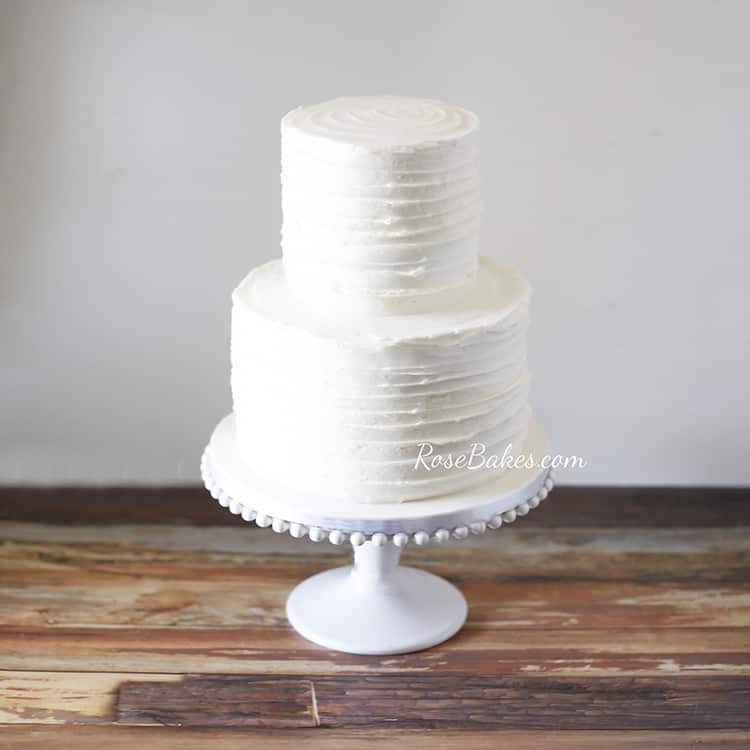
But first… let me show you some of my favorites with this “lines texture” I’m talking about. So this first cake I did 4 days after having surgery a few years ago:
Also, this lines texture is really elegant on a wedding cake and anybody can do it!

I was so incredibly happy with how it turned out – especially considering I was not feeling all that great that weekend! The addition of the fresh roses, lavender, and olive leaves (added by the florist) really did finish it perfectly!
Then there was this recent 50th Birthday Cake:
Small Rustic Lines on a Cake
For this cake, I actually used the rounded edge of a butter knife for small rustic lines. I don’t know if my client added a topper at the party or left it as it was, but the sheer simplicity is so appealing!
Another example was this wedding cake:

I’ve already shared this cake with more details (you can click here for more info on this cake), but it warranted mentioning again in this post!
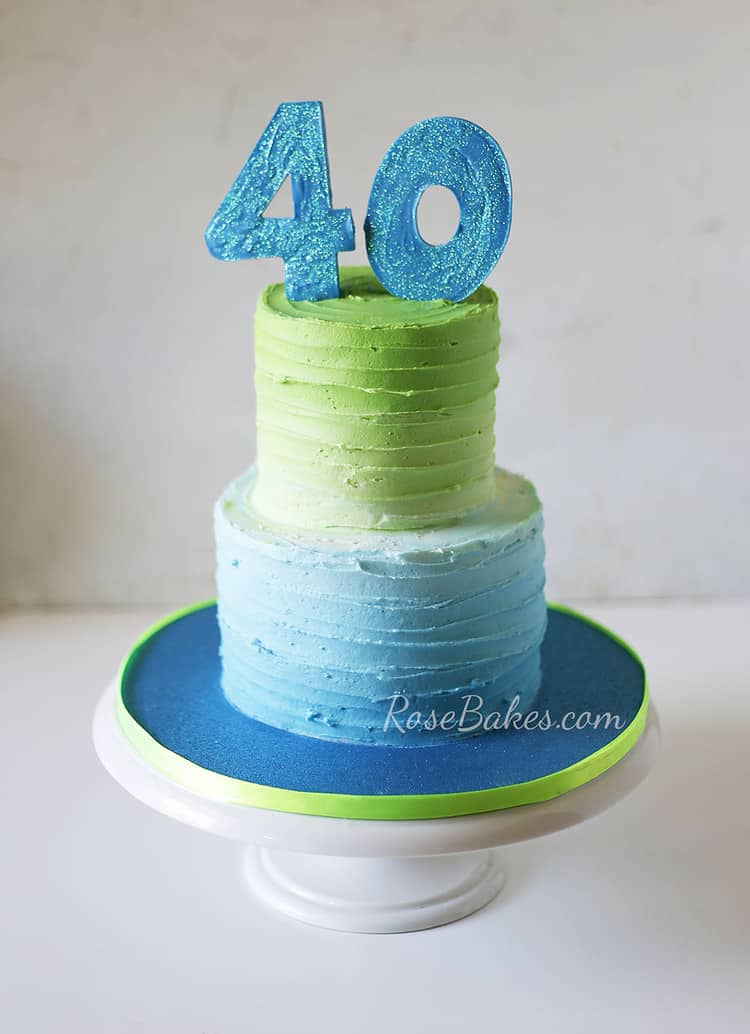
FUN 40th Birthday Cakes

This one (above) … it’s SO cute and bright. My husband declared that it was Miami Dolphins colors (although that was NOT the plan). You can click here for more details on it!
And then finally… the cake I made the video of. It was to celebrate a sweet, sweet friend’s mother’s 102nd birthday! That’s right you guys… 102 years old!! This was her cake:

Her only request each year is that her cake is PINK – which of course, I love!! So I did a single-tier ombre pink cake including lines on the top of the cake. So are you ready?
VIDEO: How to Make Rustic Buttercream Lines
It literally took me less than 15 minutes from starting to having it finished and ready to box up! The wedding cakes take longer than that obviously, but it’s still a very quick technique that makes for a beautiful finished product!
If textured buttercream is not the look you’re going for, be sure to check out this post for How to Smooth Frost a Cake and How to Get Sharp Buttercream Edges! I have a video for the smooth buttercream cake as well!
Shop for Equipment here:
 Buy Now →
  Buy Now →
Scallop Edge Frosting Texture Comb
Buy Now → Buy Now →
  Buy Now →
To make sure I’ve covered everything, here’s a summary for you…
Frequently Asked Questions
As mentioned above, you can use a cake comb, a spoon, an offset spatula, or even a butter knife. Scroll back up for all the details.
If you’re looking for lined texture, see all of my examples above. If you’re looking for other textures, you can use a spoon, a piping tip (for ruffles… see here), etc.
To create these line textures, you’ll want soft, smooth buttercream with medium consistency. You can test your buttercream by doing a spatula test. Using a spoon or spatula, dip into the buttercream and pull up. When you lift it up, there should be a slight curve or curl at the peak.


Thanks for sharing this video.
Maximum impact with little effort. Love it!
Just stunning. Thankyou!
Thank you, Rose for sharing your beautiful buttercream iced cakes with us at the Talk Of The Town Party. You are my feature this week – see you Tuesday at 6 pm!
Awesome, thank you!!
thank you for this!! I’ve been seeing videos for different textured cakes and love them!
Hi there! I cannot see the video on this post for some reason. Is there a way you could send it to me? I’d appreciate it!
It will not show up if you have an ad blocker. I can’t send it by email – sorry!