How to Use PME Bow Cutters (a product I love!!)
If you need to make bows for a cake… especially small ones, you need to get your hands on some PME Bow Cutters. This is one cake product I absolutely adore and today, I’m going to share with you How to Use PME Bow Cutters! Are ya ready?
The last time I used my PME Bow Cutters was for this cake:

Aren’t those little gold bows on top just perfection? Okay – it feels weird saying that about something I made…. like I’m bragging out loud (which is annoying), but they really were perfect, right?
Anywho – today I’m going to share with you how I made the bows with my favorite PME Bow Cutters!
Here’s what you’ll need for the bows:

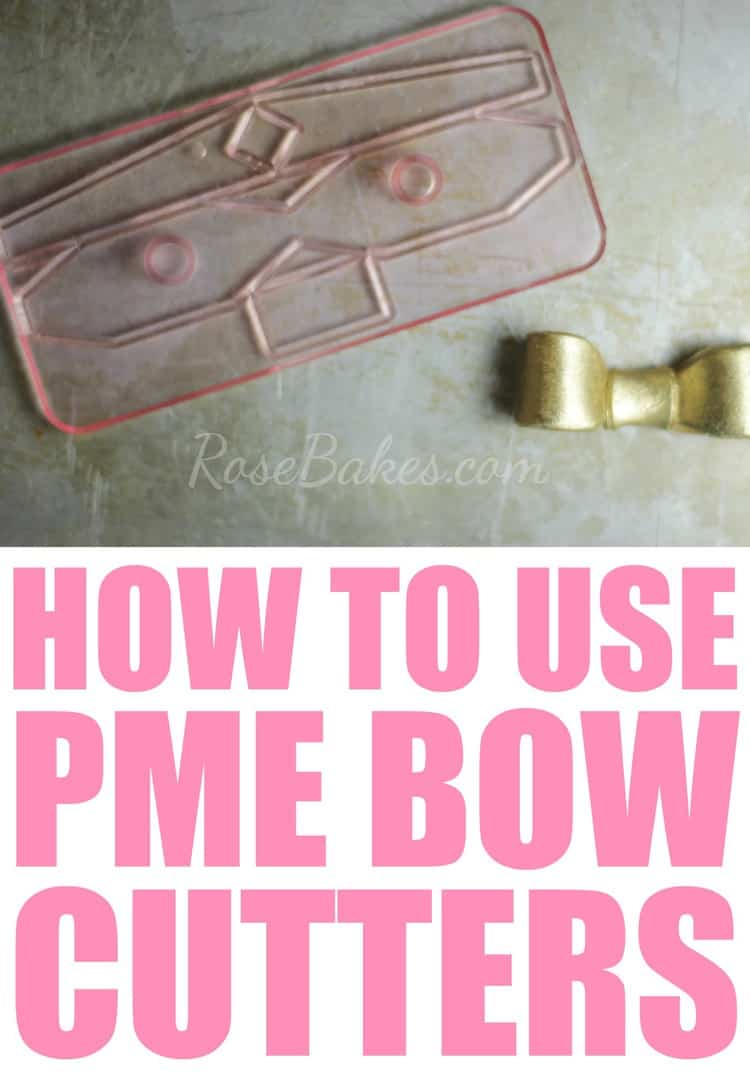
- PME Bow Cutter (they come in 6 sizes):
- Gum Paste or Fondant with Tylose added
- Xacto or Scalpel (to clean up edges)
- Shortening
- Small Rolling Pin
- Sugar Glue
- Small Paint Brush
Alrighty – when you have everything ready – get started!
How to Use PME Bow Cutters

Rub down your work surface with shortening then start by rolling out the fondant or gum paste to a thickness off about 1- 2 mm. These cutters don’t have the ability to cut through thick fondant so you have to roll it thin.

Press your cutter into the fondant, then wiggle it a little to get the cut as clean as possible. For whatever reason, I can never get it completely clean though… maybe you’ll have better luck!

Looking at the pic above – the long piece that has the narrow middle is the actual bow loops. The small rectangle is what’s used to loop around the middle. The 2 long pieces that meet in the middle are the tails for the bow. I’m not using tails in this tutorial but if you are – don’t throw those away. For reference, I used them on these cupcakes (so you can see what I mean):

Okay – back to the tutorial.

If you have messy edges, use a scalpel or Xacto to clean them up! (again… all I have laying here are the loops, tails and the center piece).

Flip the loop part over (so the best side is facing down) and paint on a small amount of sugar glue in the center.

For the smaller bow cutters, you won’t need any support, but I was making the largest of the bows and I wanted the loops to be really poofy, so I cut small sections of bubble tea straws, laid them on each end then looped the ends over to the center.

Add another dot of sugar glue in the center, then lay the little rectangular piece over the center.

Flip the whole thing over and then seal it with sugar glue on the back. I like to pinch it a little to give it more shape/character.

I stood them up to dry after giving them a little pinch. If you’re using colored fondant or want white bows – as soon as they’re dry, they’re ready to use! The smaller ones can be used immediately on cakes because they hold their shape rather well!

I like to “glue” them onto cakes with melted white chocolate or candy melts.
Wanna know how to make them gold – like I have them pictured above? Stay tuned for my next tutorial! Have any questions? Leave me a comment!
Until next time…
Happy Caking!
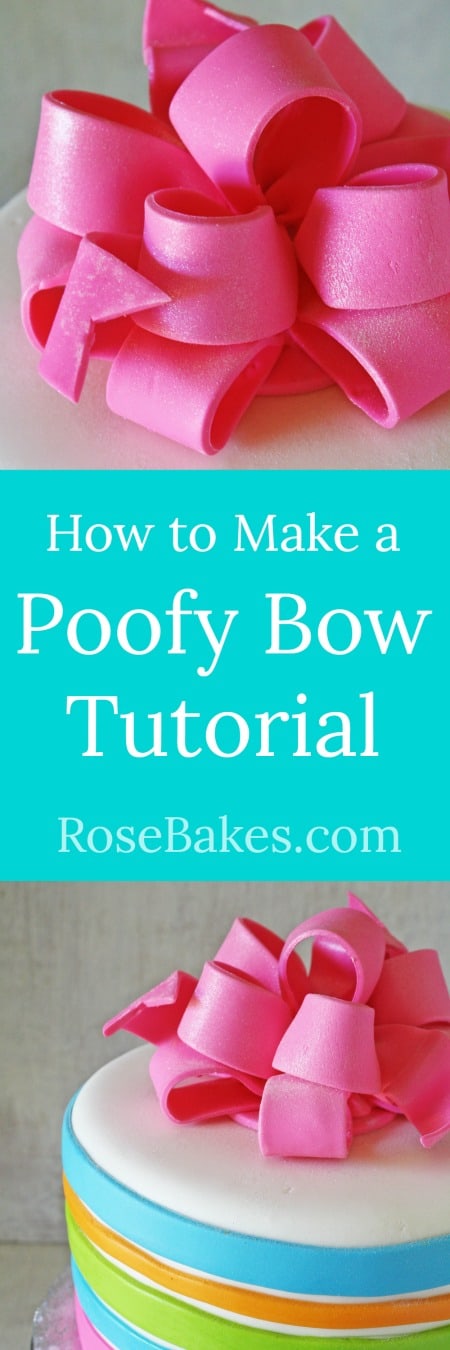
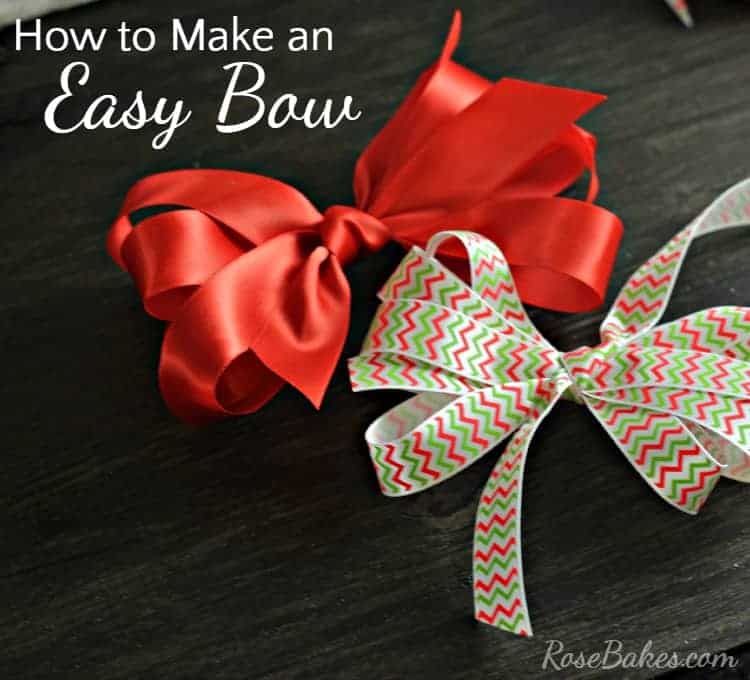
Interested in other fondant/gum paste bow tutorials? Check them out my other bow tutorials here (click on the pics to go to the tutorial):


Thankyou! These are adorable and your Princess Cake is too sweet for words!
Thank you so much!
How did you manage to get the shiny gold color on your fondant? I couldn’t find another tutorial. Thank you!
Imperial Luster Dust mixed with lemon extract to make a thick paint that I brush on.