Easy Cool Whip Candy (No-Bake Christmas Candy)
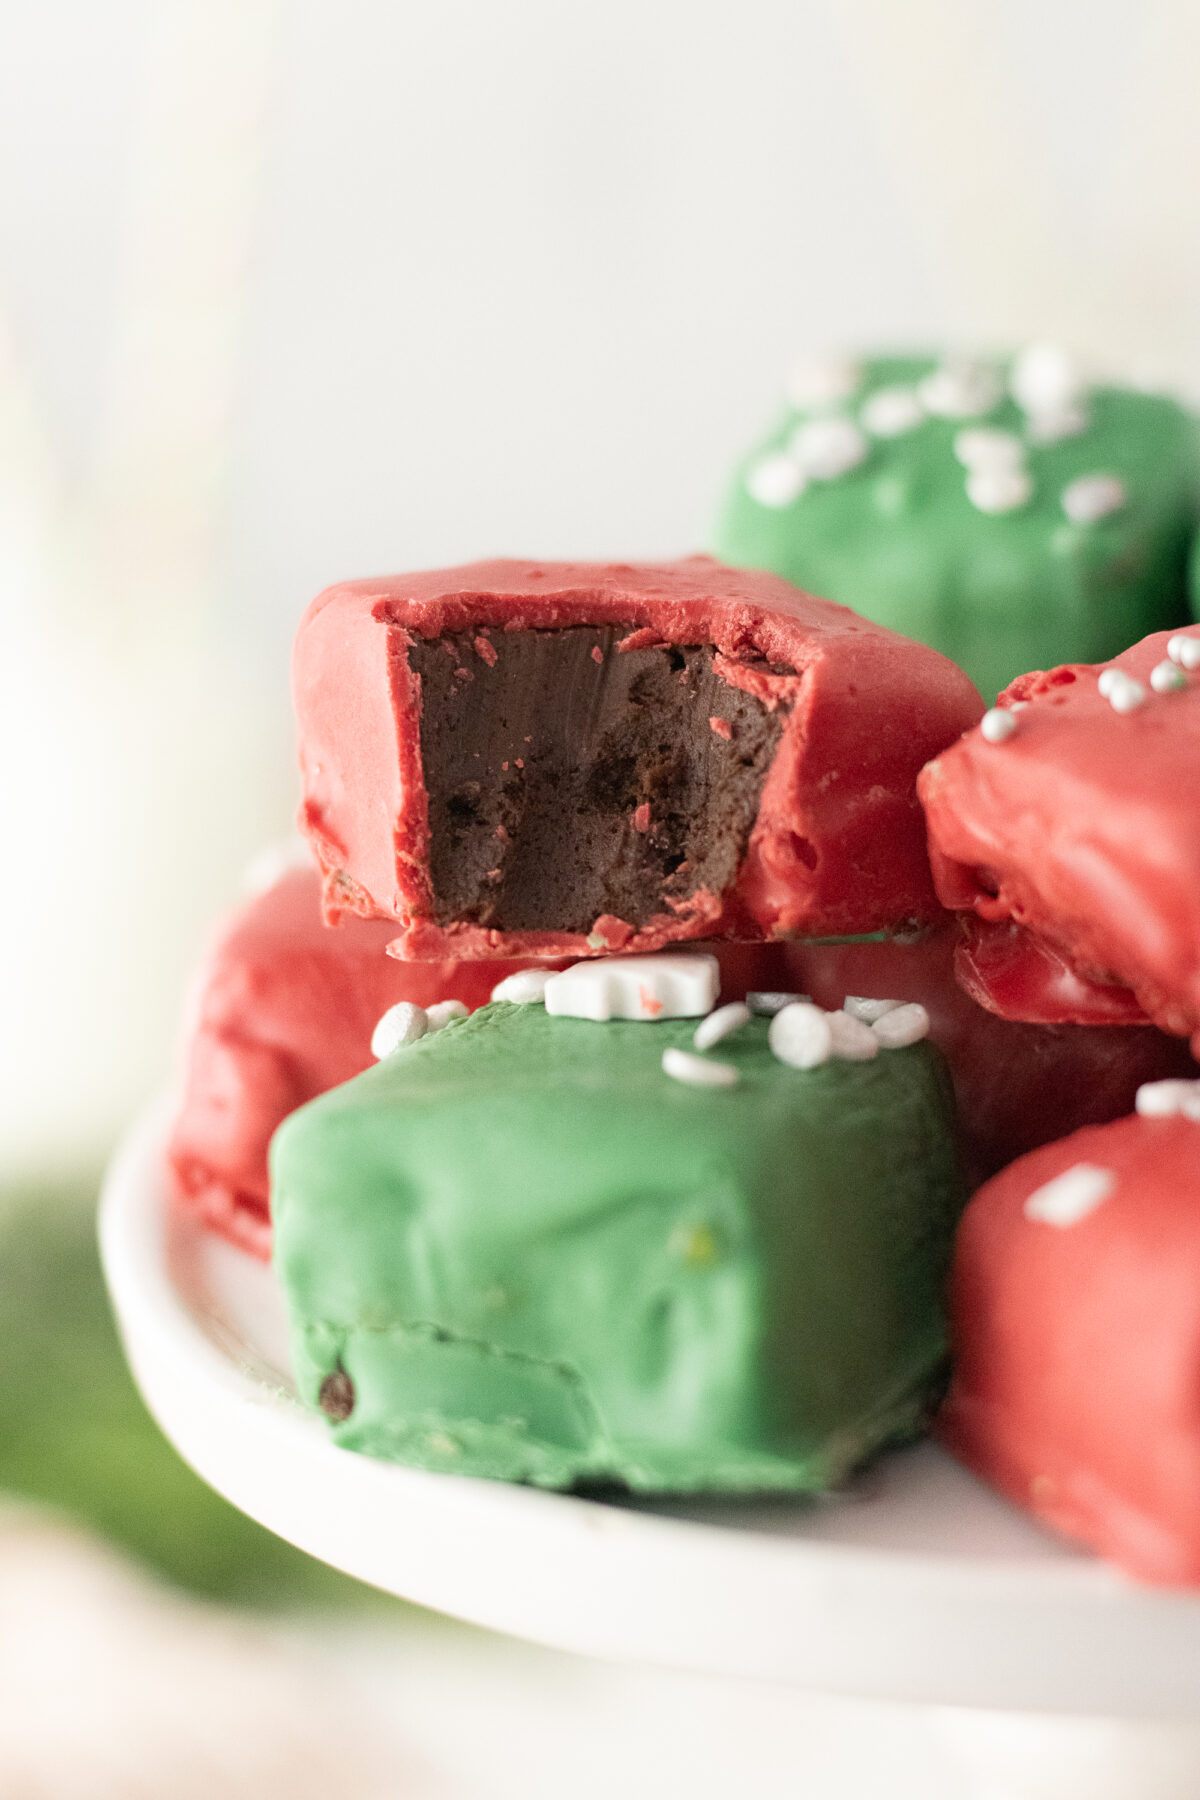
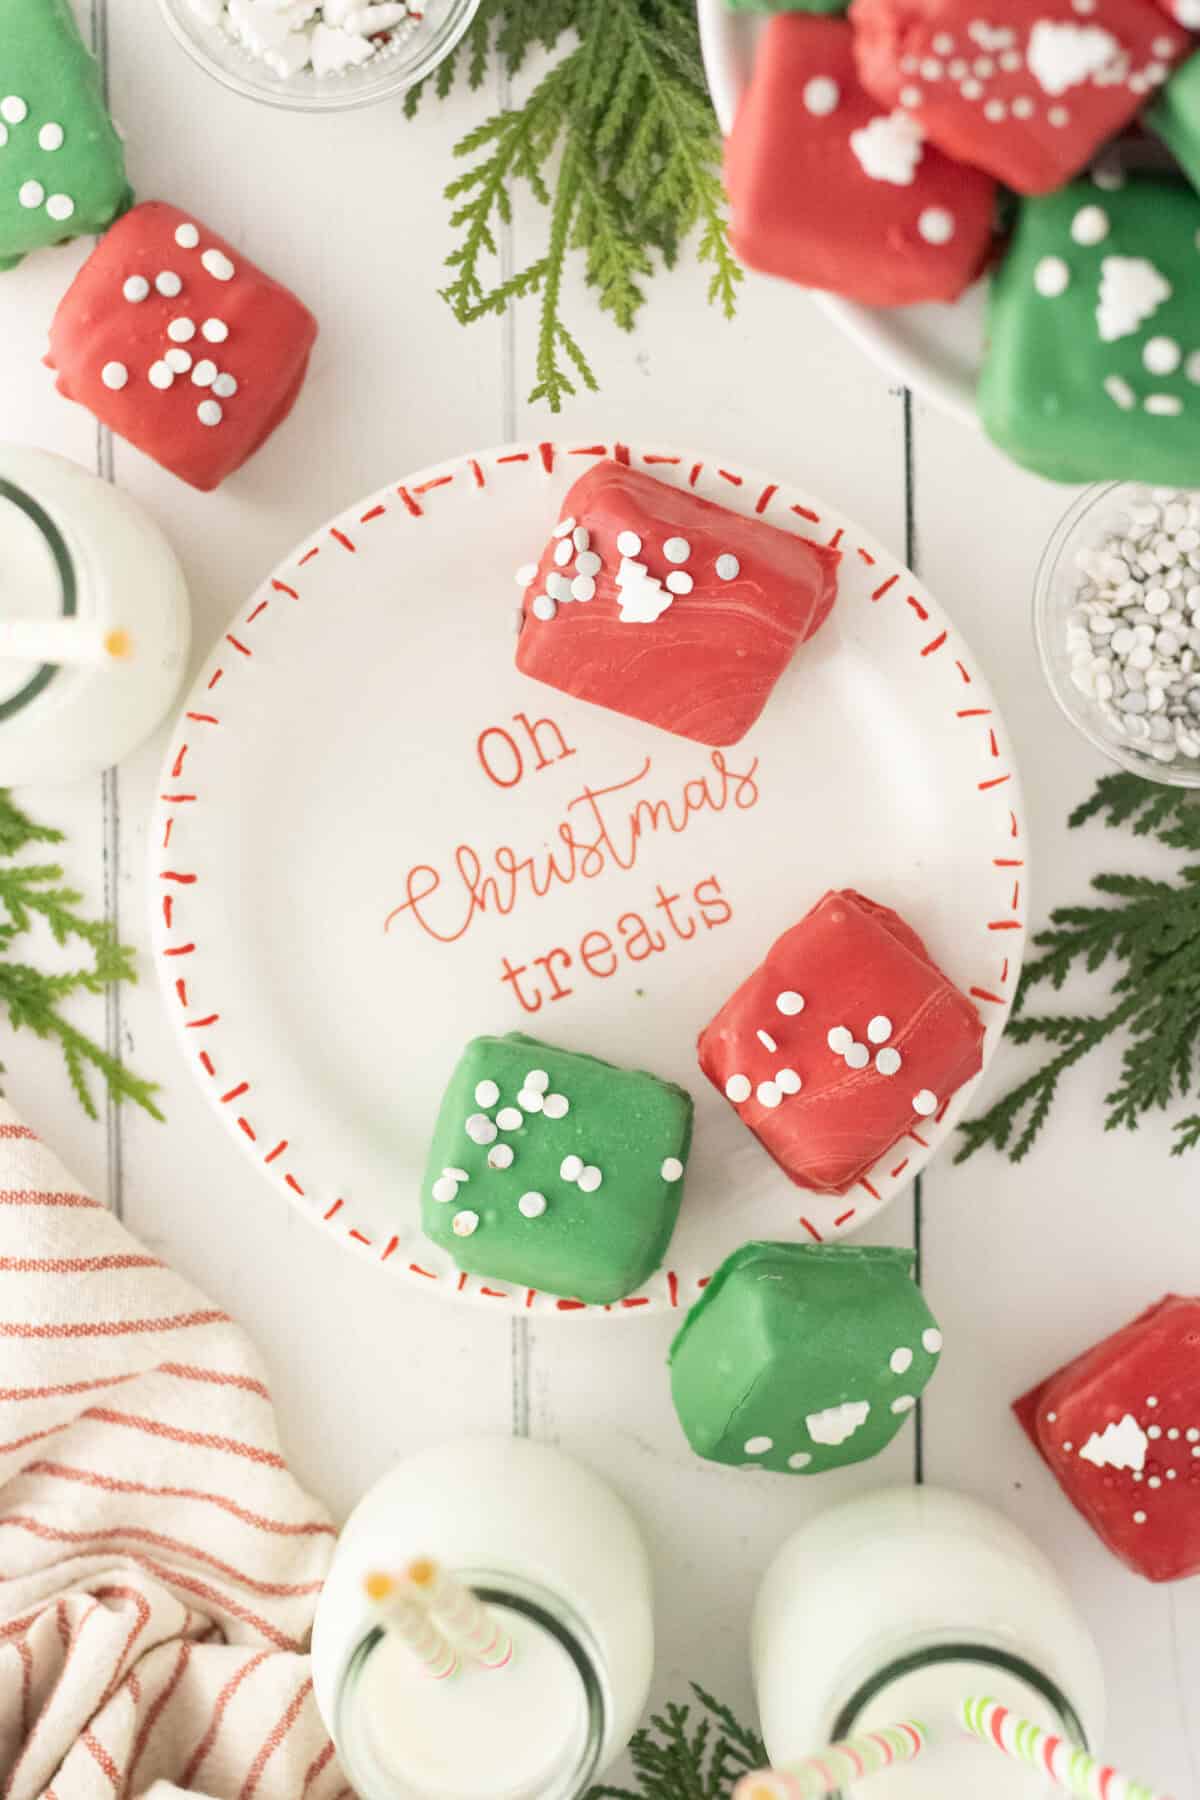
This Cool Whip Candy is a no-bake Christmas treat with a soft, fluffy chocolate center and a bright red-and-green candy shell. You can make it in the microwave with only 3 ingredients and no special equipment, so it’s perfect for the holidays, cookie trays, school parties, and homemade edible gifts. It’s one of those easy candy recipes the whole family can make together, and it looks so much fancier than the effort it takes!
Cool Whip Candy
I love a good no-bake treat during the holiday season! With a big family, holiday cake orders, and all the Christmas baking, the candy recipes that stick around at my house are the quick, simple, fun ones little hands can help with.
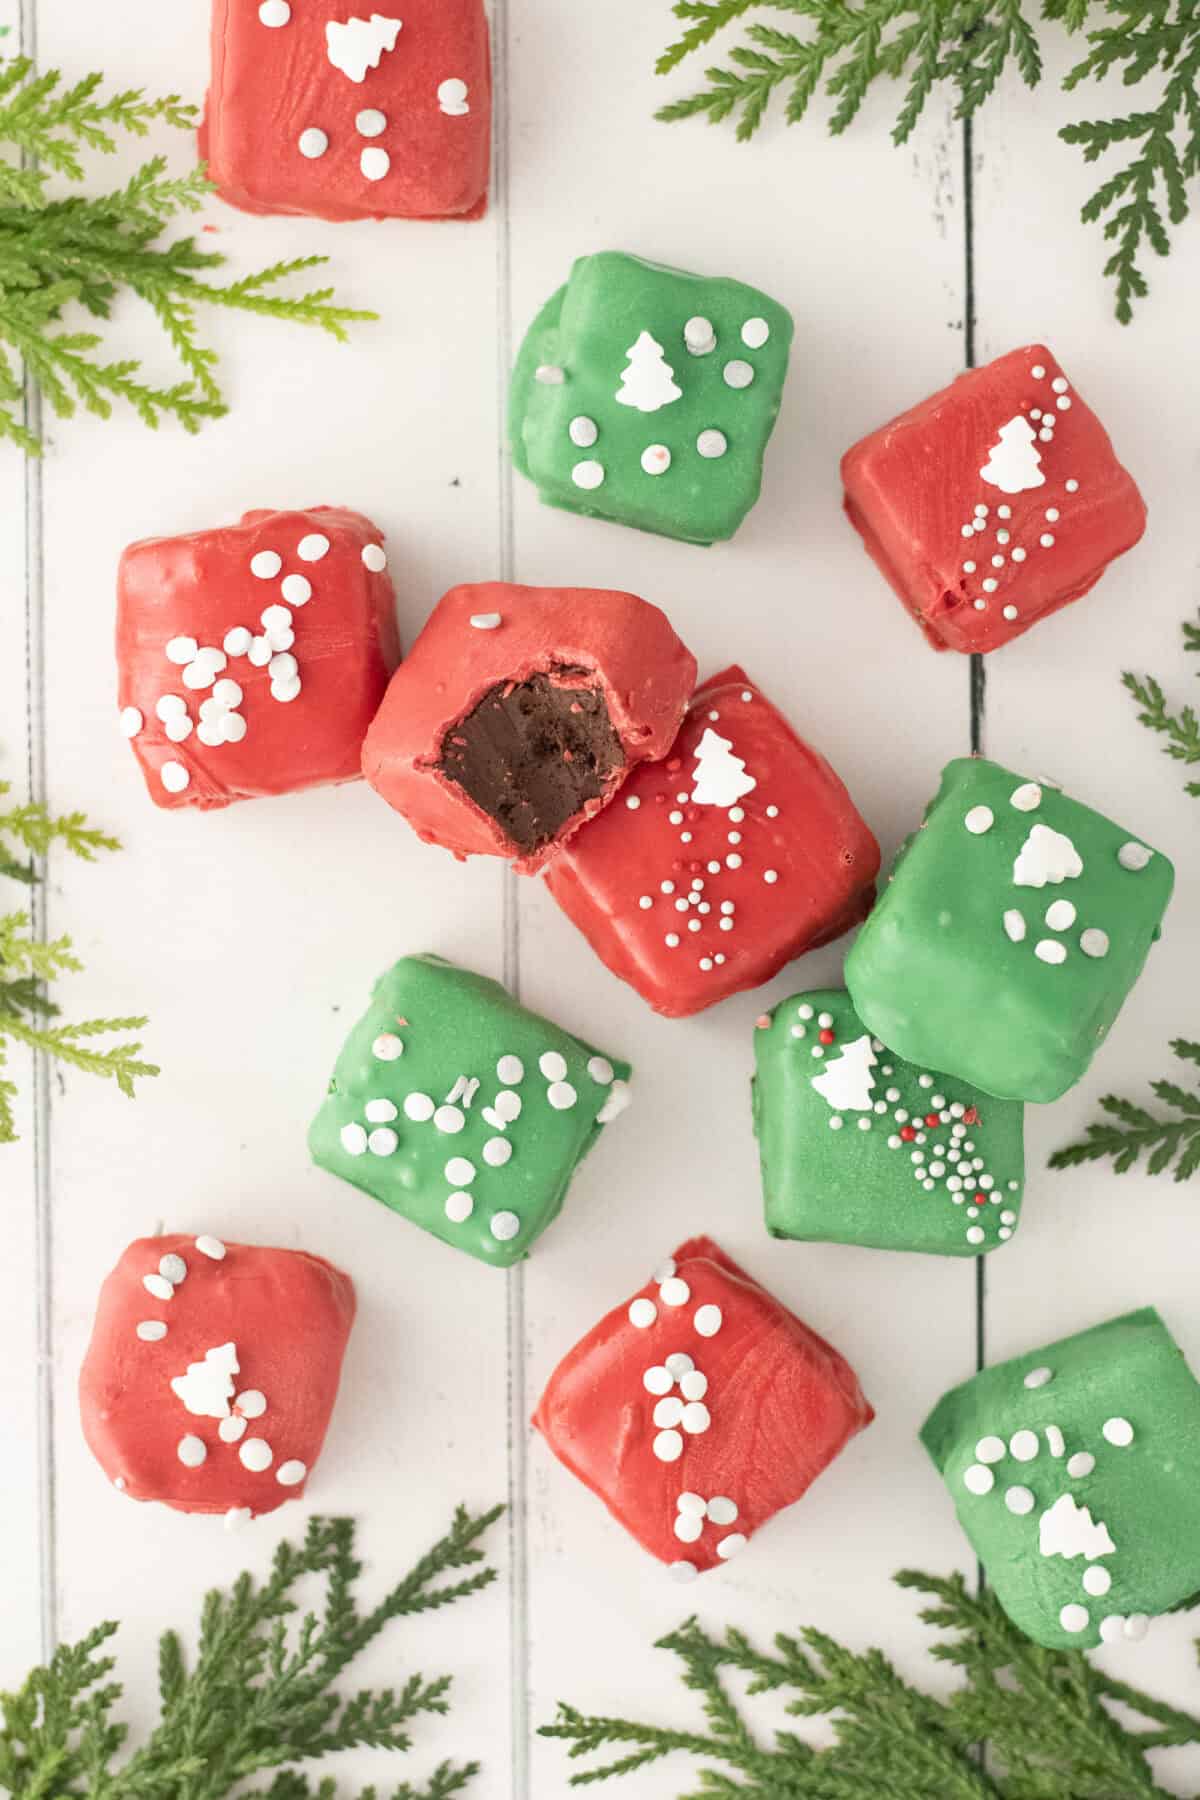
This old fashioned Cool Whip Candy recipe is all of that. The inside tastes like a cross between chocolate mousse and a chocolate truffle, and the light, airy texture reminds me of the fluffy center of a 3 Musketeers bar (it’s not an exact copycat, but that mousse-like center gets pretty close!).
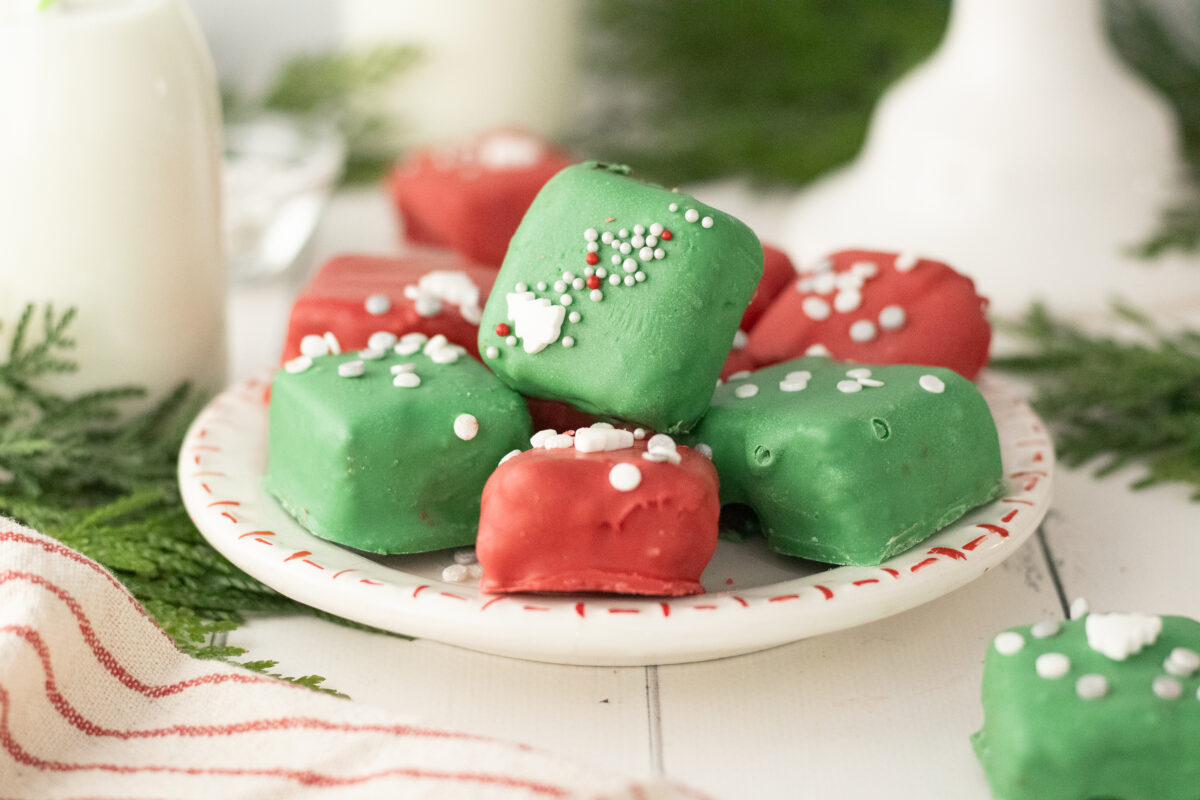
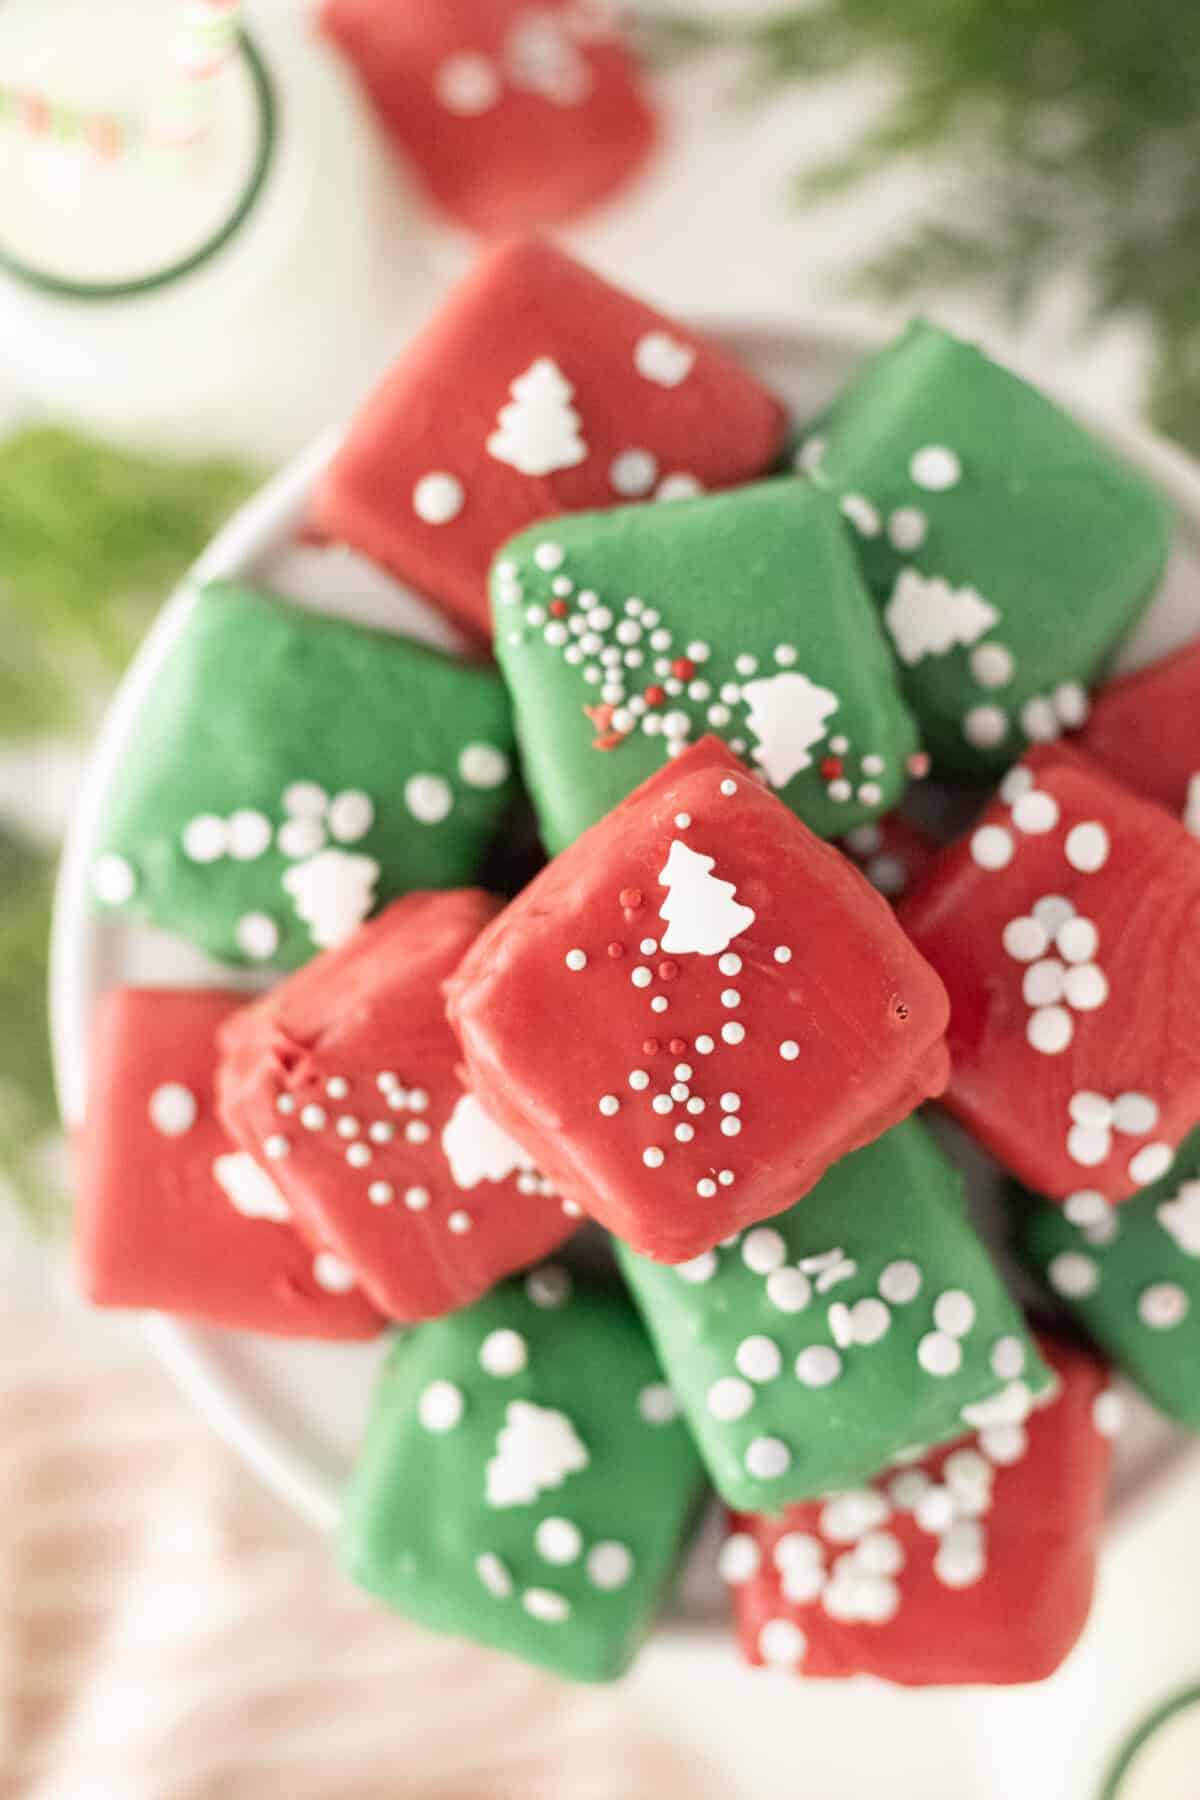
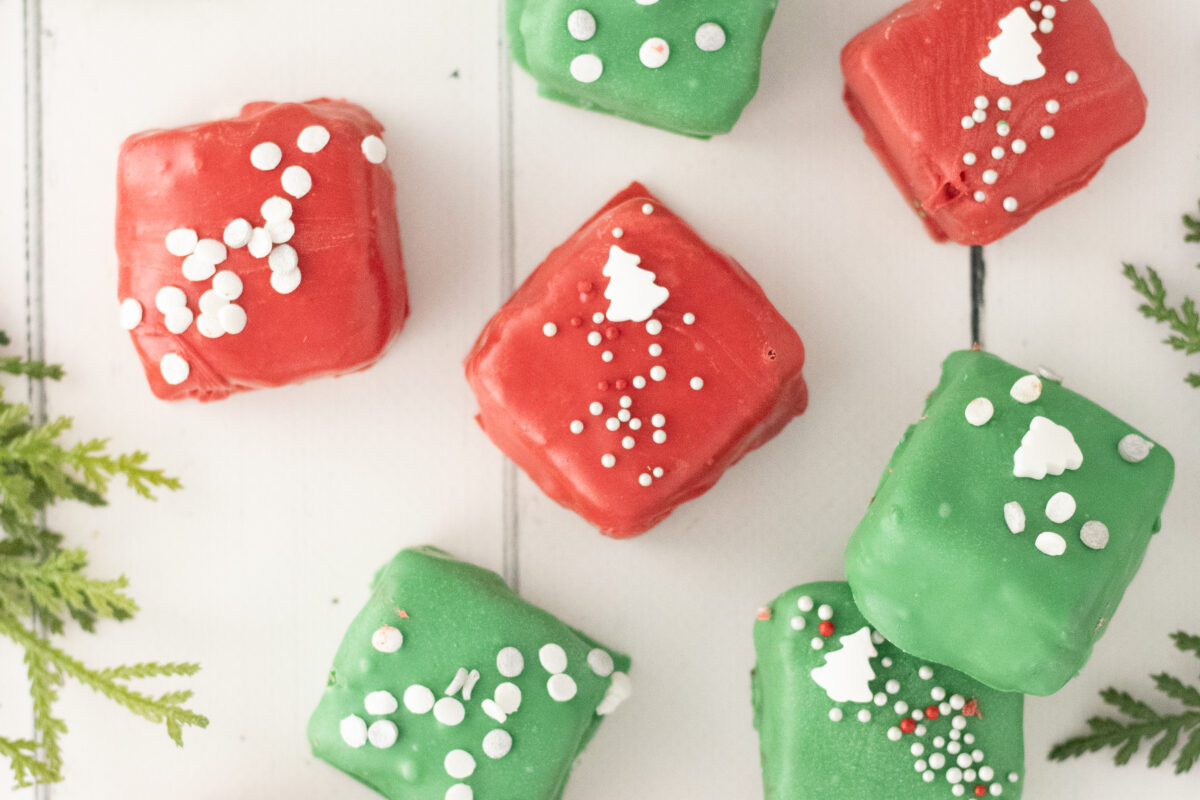
The red and green shells make them so festive on a holiday dessert table… and nobody has to know how simple they were to make 🙂
Why You’ll Love This Cool Whip Candy Recipe
- There’s no baking at all. You won’t need an oven, stovetop, air fryer, or candy thermometer for this one. Your microwave and freezer do all the work, which is great when the oven is already full of Christmas cookies.
- The center is so light and creamy. Folding whipped topping into melted chocolate gives you a fluffy chocolate center that melts in your mouth. It tastes like a classic candy bar (3 Musketeers) – fancy, but not really.
- It’s kid-friendly and festive. Kids can stir, dip, and (of course) add the sprinkles. Little helpers love having a real job in the kitchen during the holidays, and this recipe uses simple ingredients, so they have plenty to do.
Tools Needed
You probably already have everything you need in your own kitchen. (This post contains affiliate links. I may earn a small commission when you click through and make a purchase, at no additional cost to you.)
- 8×8 square pan (or a similar size baking dish)
- Parchment paper
- Large microwave-safe mixing bowl
- 2 small microwave-safe bowls
- Cookie sheet or baking sheet
- Sharp knife and cutting board
- Small offset spatula (optional, but so handy for spreading)
- 2 forks for dipping
Ingredients
This simple recipe for Cool Whip Candy Bites uses just a handful of ingredients, and there’s plenty of room for swaps.
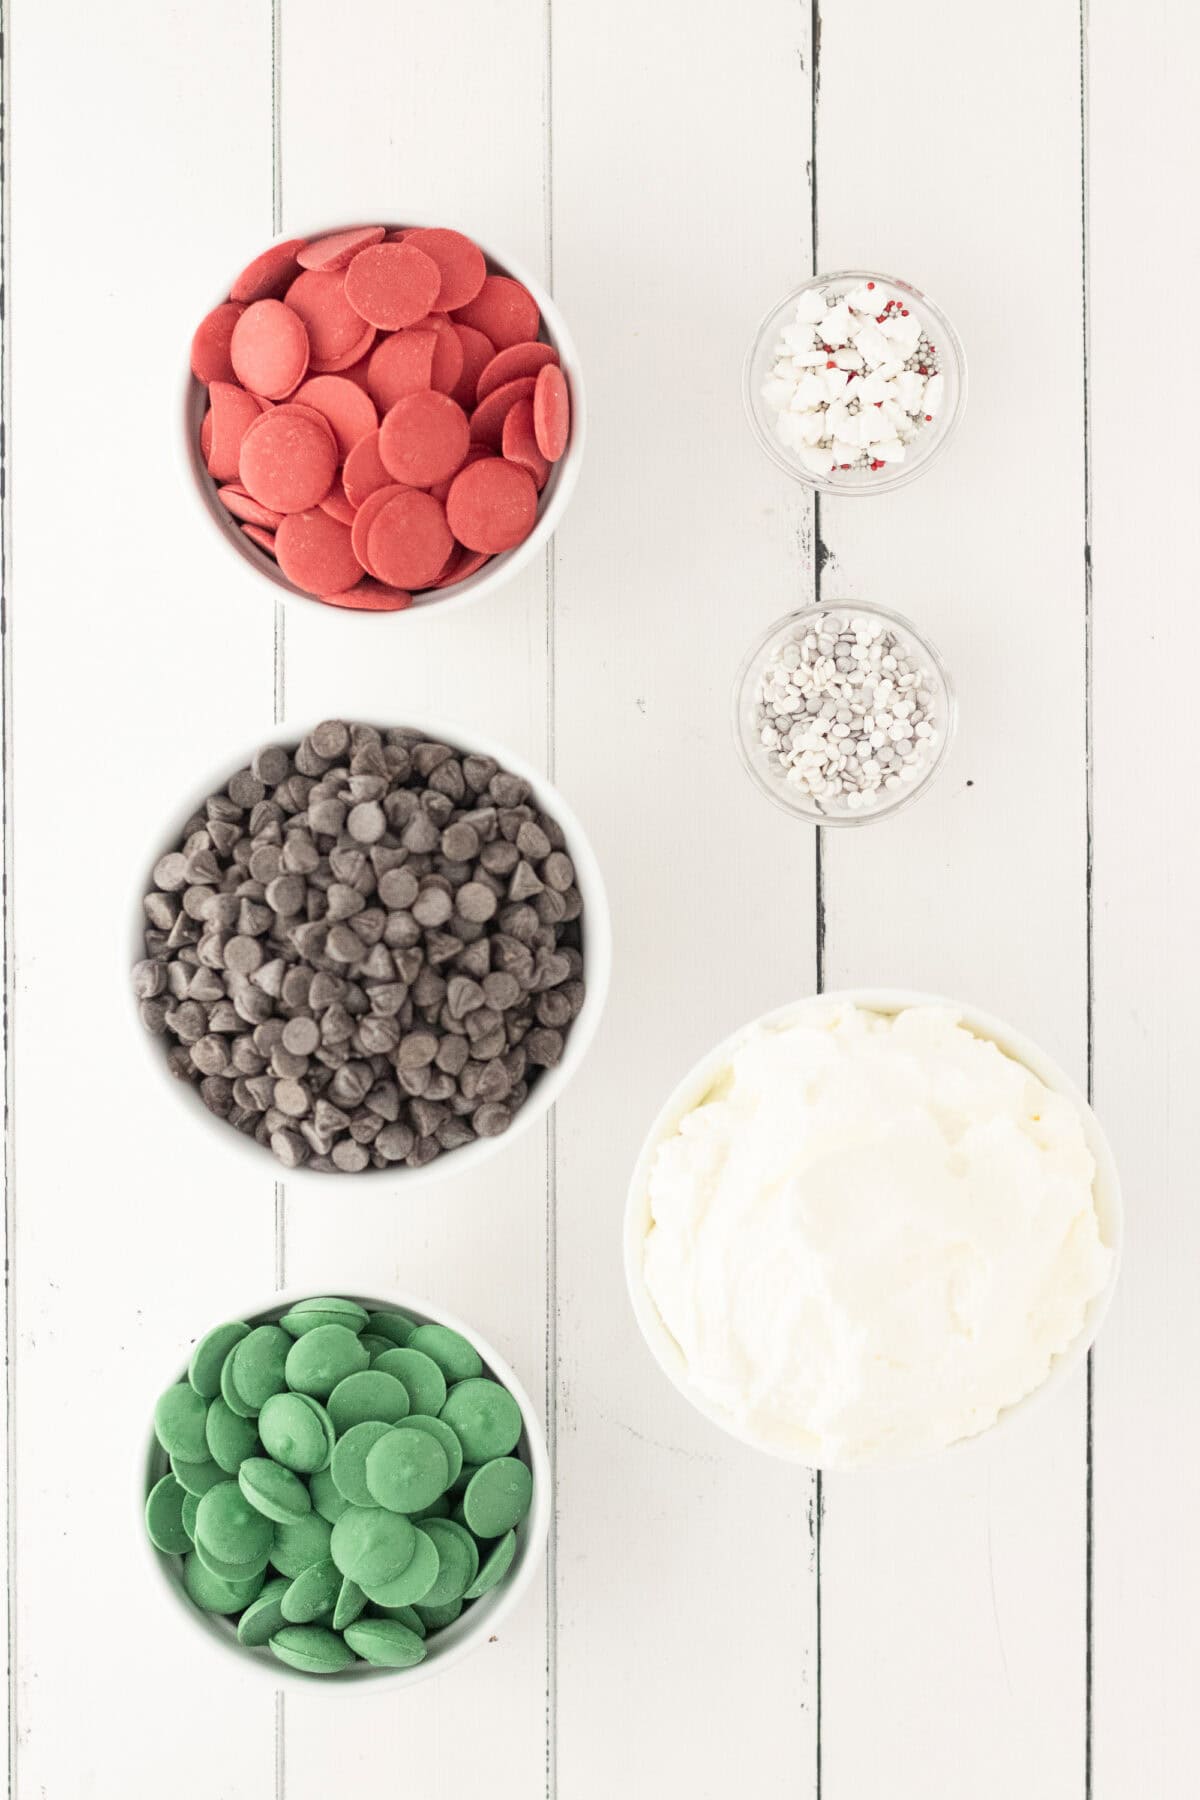
- Chocolate chips – milk chocolate chips or semi-sweet chocolate chips both work great. Dark chocolate chips are lovely for a richer filling. Store-brand chips are fine, but a good quality chocolate will melt more smoothly.
- Cool Whip – thawed in the fridge. A store-brand whipped topping works too.
- Red and green candy melts – also sold as melting wafers or chocolate wafers. Chocolate almond bark works as well.
- Christmas sprinkles – optional, or use your favorite toppings!
Find the full recipe with ingredient measurements in the recipe card below.
How to Make Cool Whip Candy
This recipe really only asks for a little bit of patience while things chill. Here’s how it all comes together.
- Prep the pan. Line your square pan with parchment paper, leaving some hanging over the sides so you can lift the candy out later.
- Melt the chocolate. Add the chocolate chips to a large bowl and microwave at 50% power for 1 minute, then stir. Keep going in 30-second intervals, stirring each time, until the melted chocolate is completely smooth.
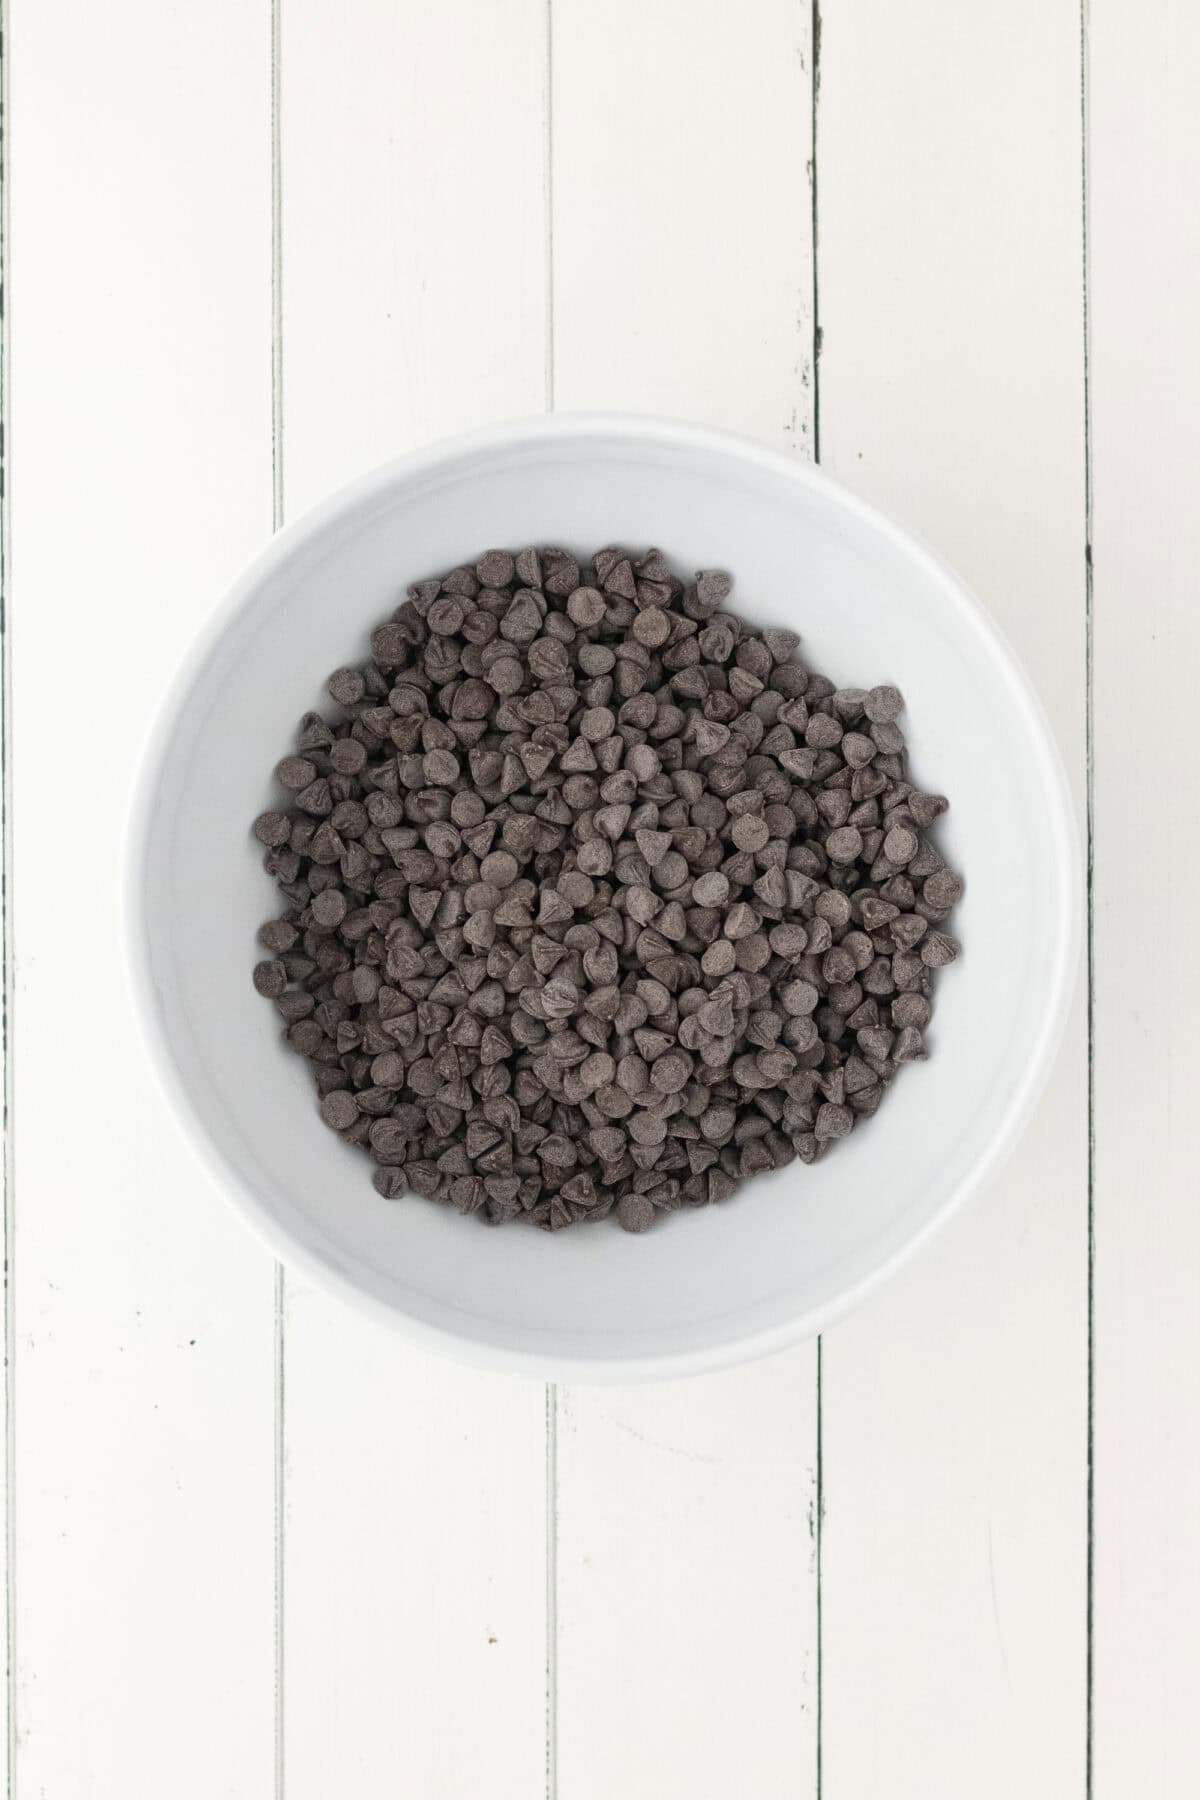
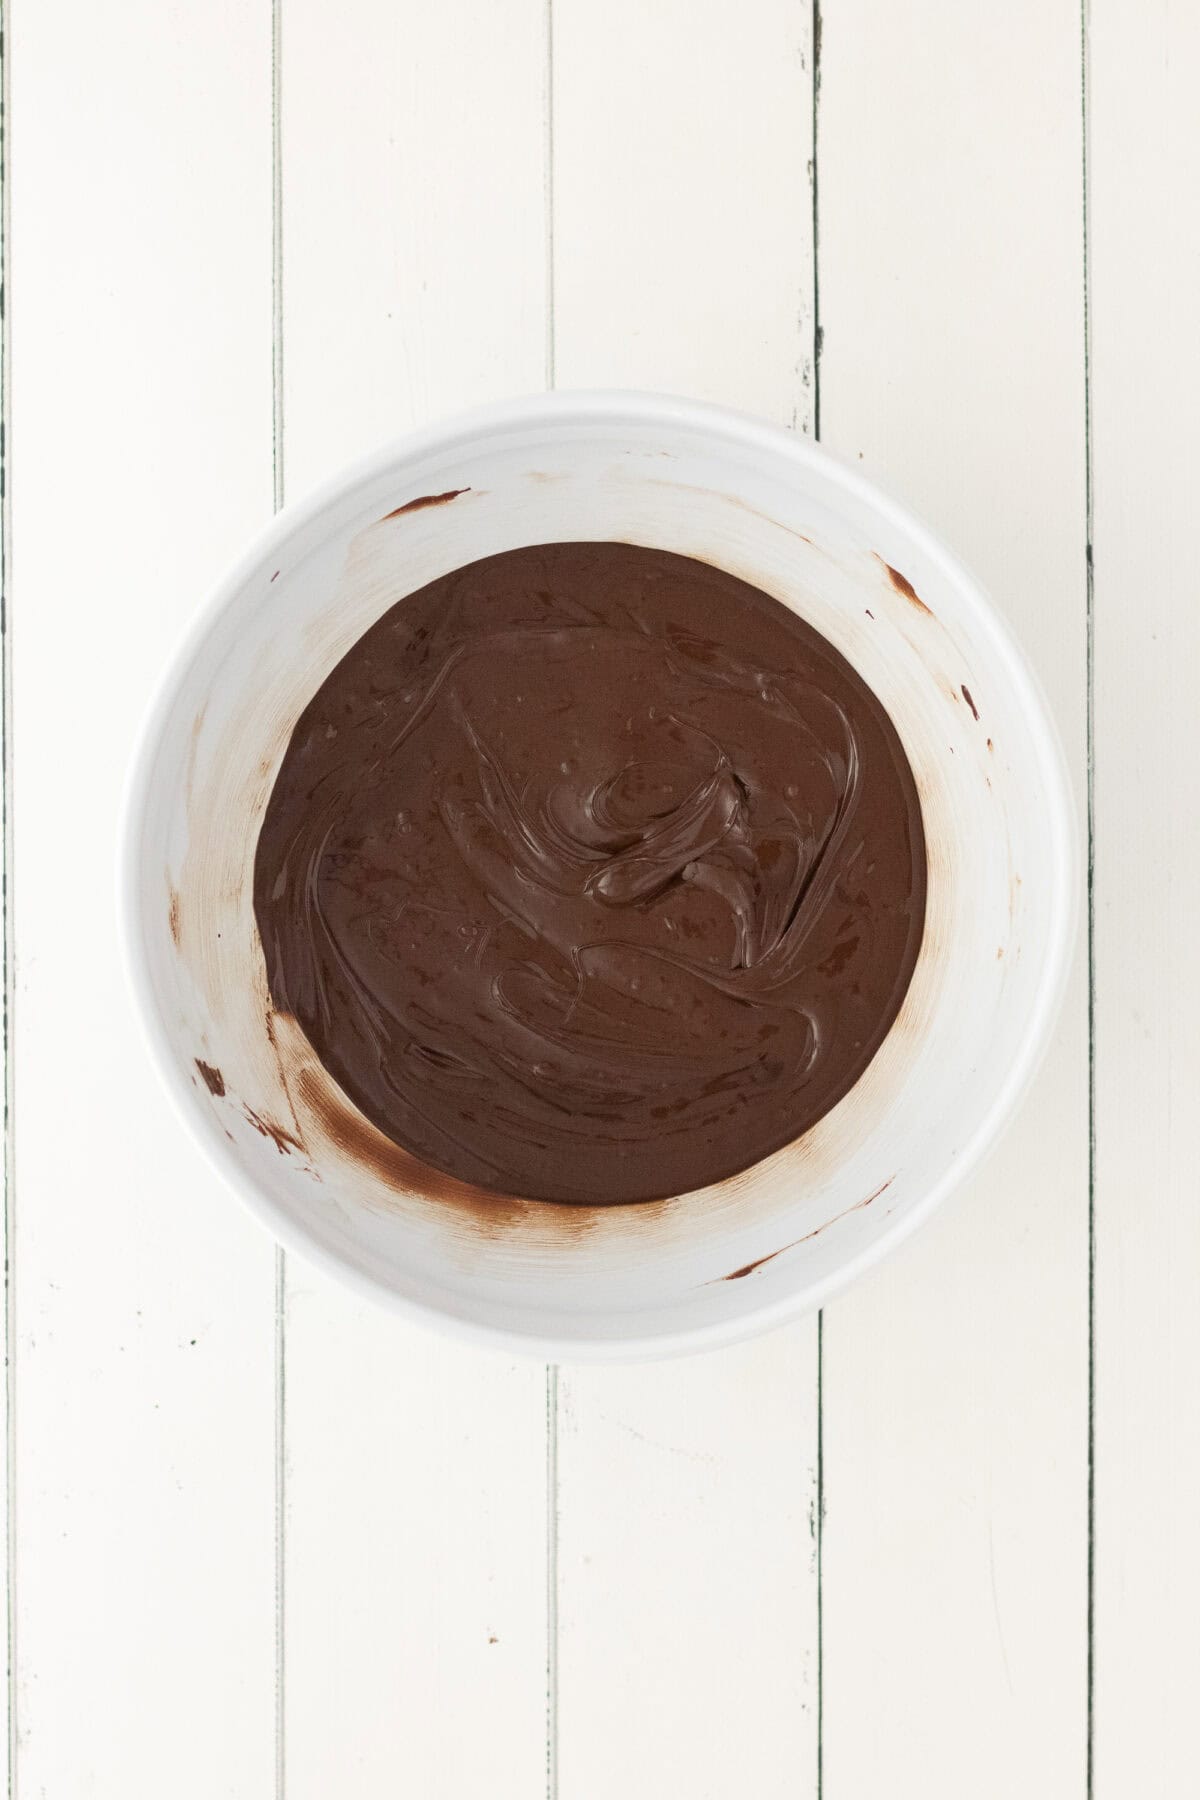
- Let it cool. Set the bowl aside for 10 minutes to cool to near room temperature. Hot chocolate will melt your whipped topping.
- Fold in the Cool Whip. Gently fold the Cool Whip into the chocolate mixture until it’s all one color. Go slow here so you don’t knock the air out.
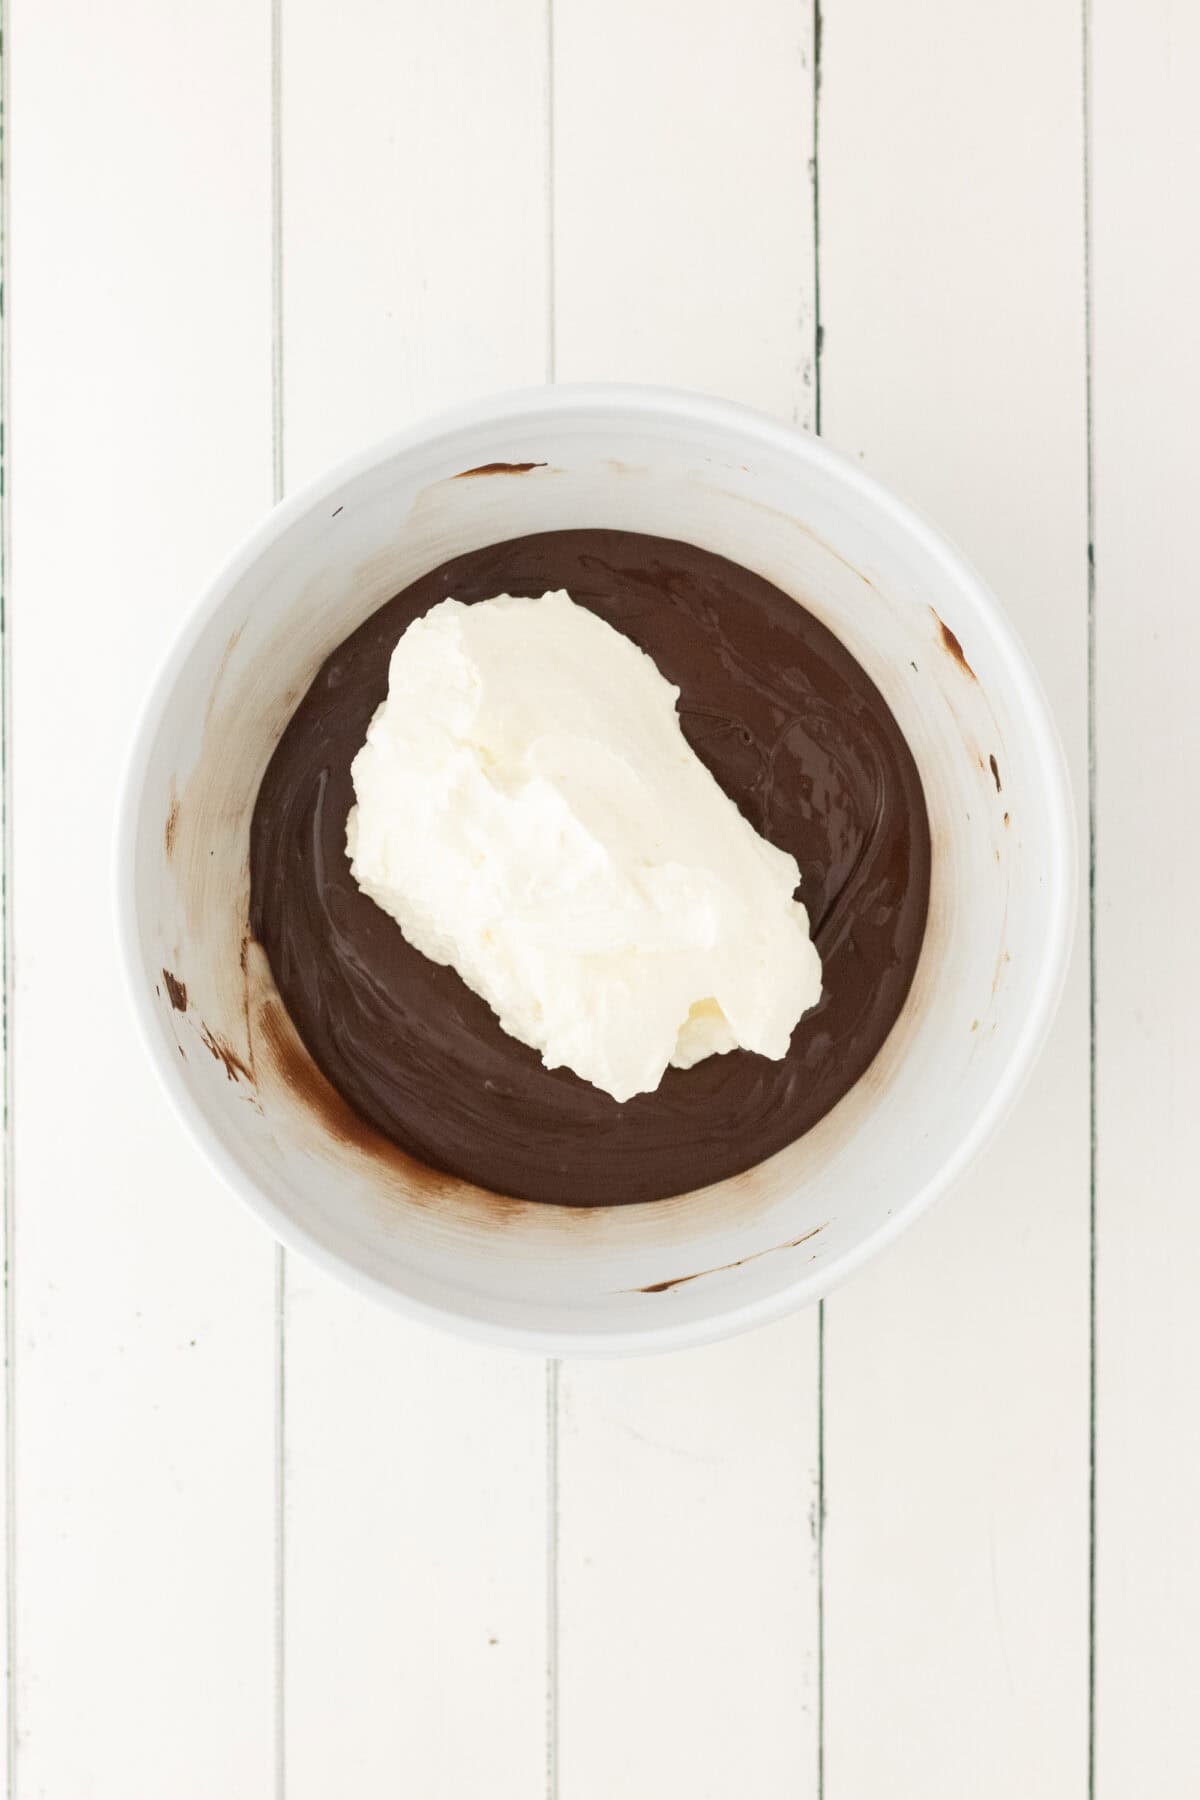
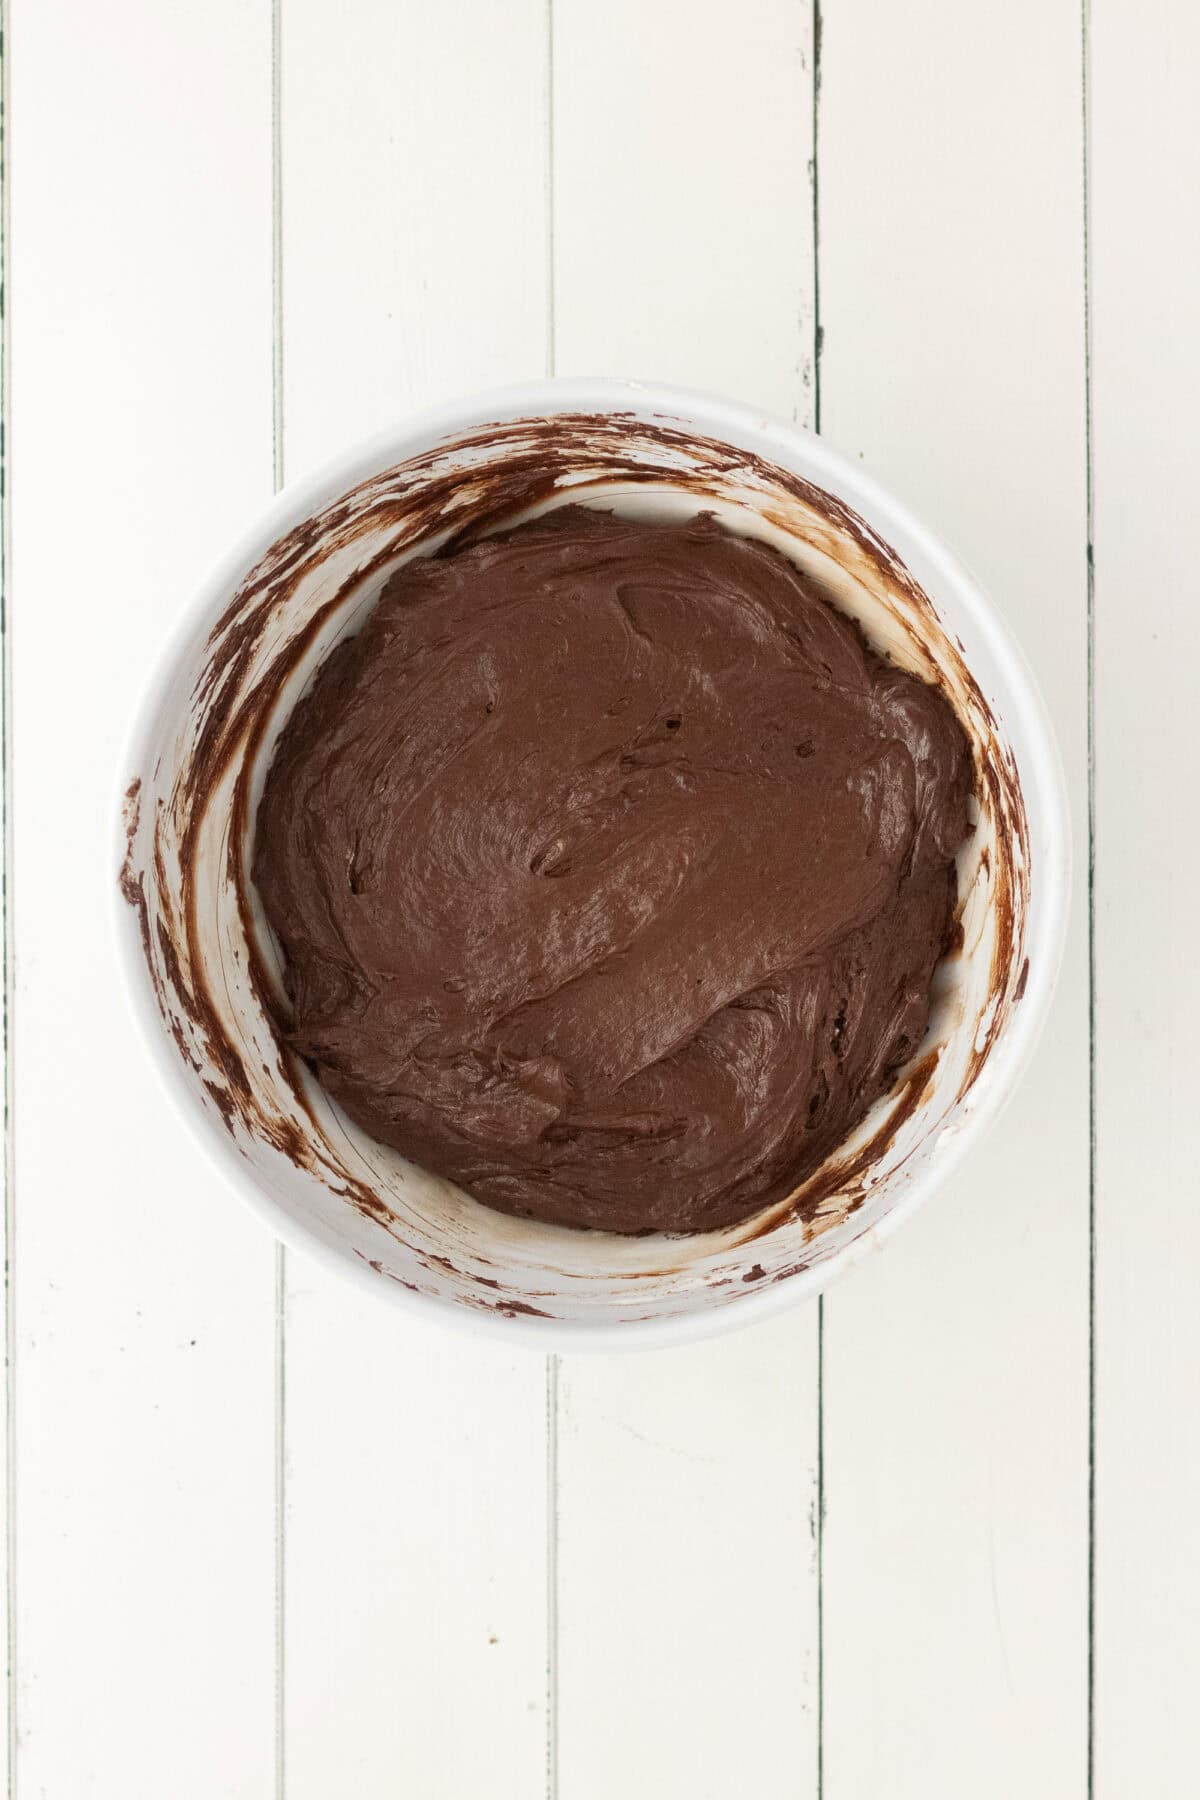
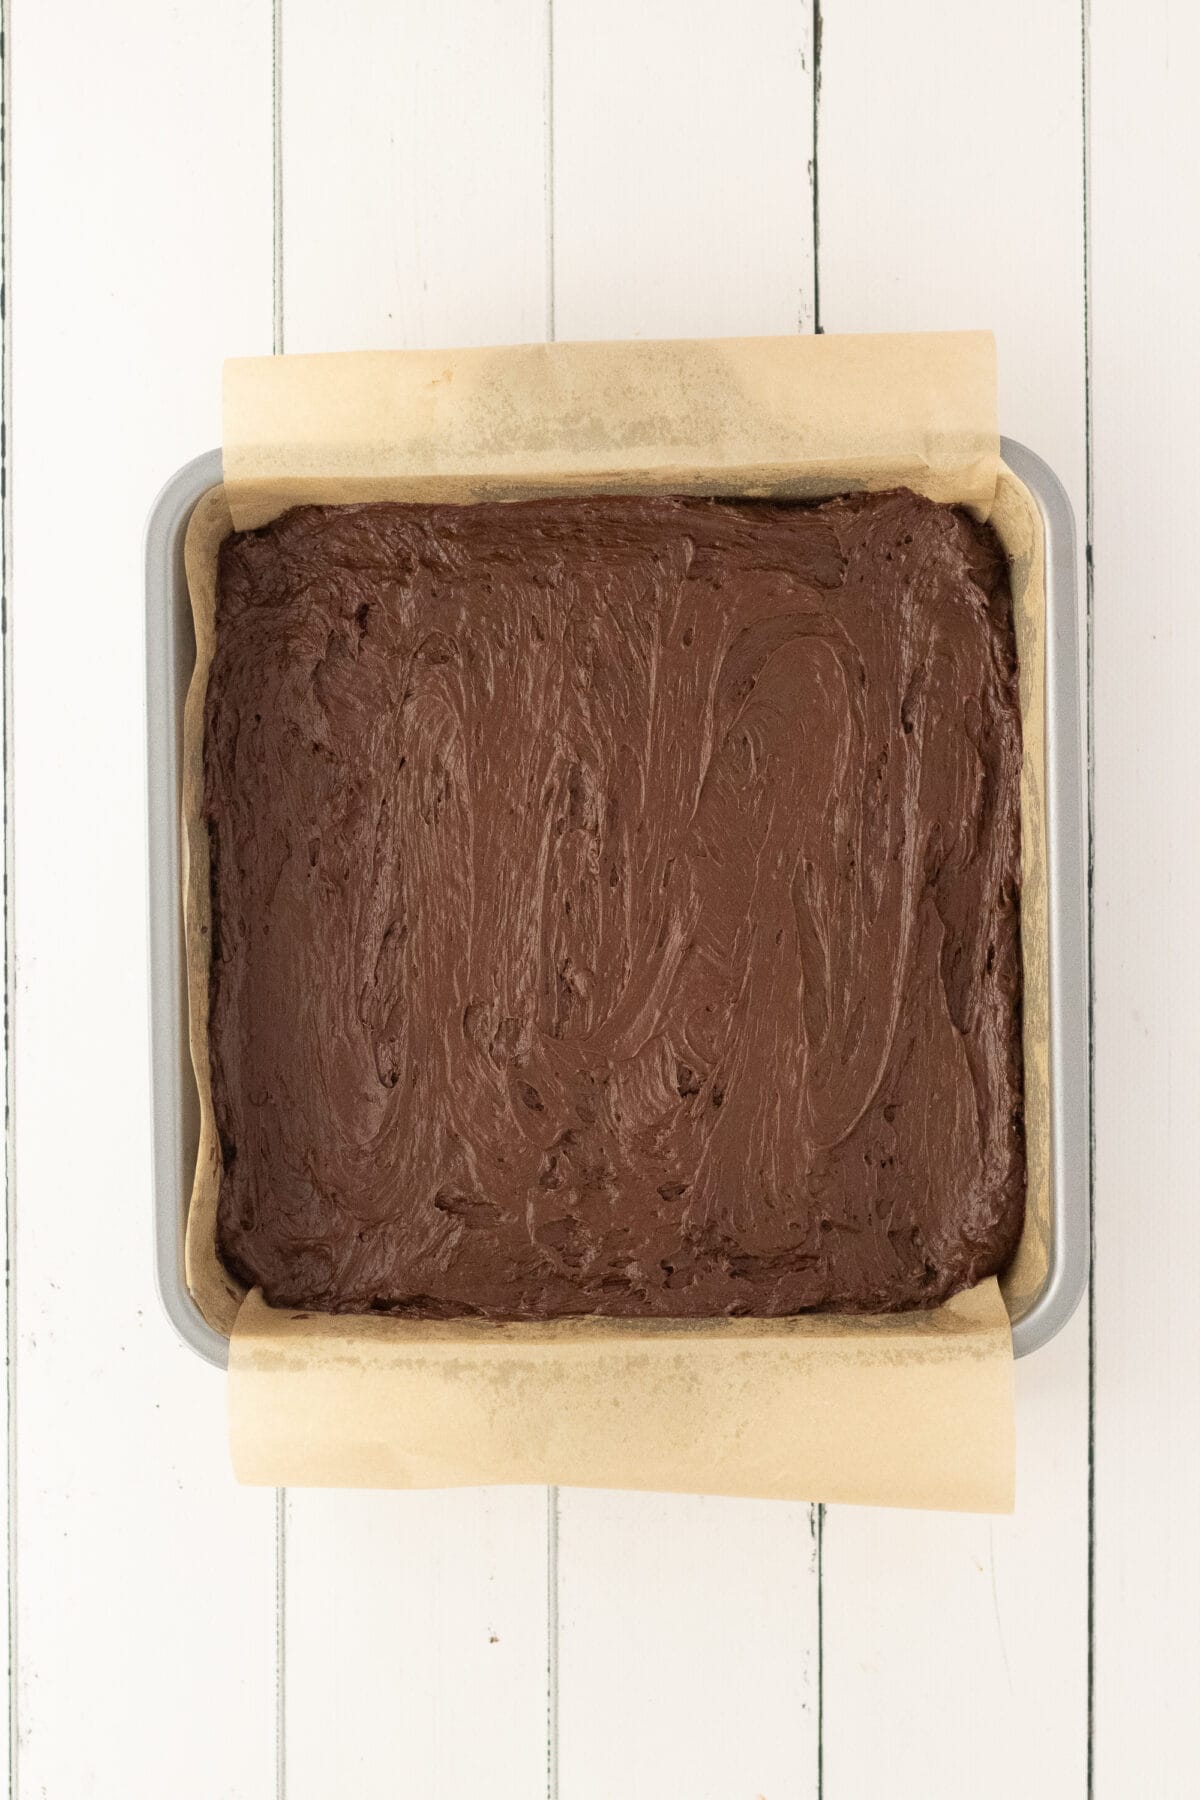
- Spread and freeze. Spoon the filling into the pan and smooth it into an even layer (a small offset spatula makes this so easy). Freeze for 20 minutes.
- Cut the squares. Lift the filling out using the parchment, set it on a cutting board, and cut it into 36 squares with a sharp knife.
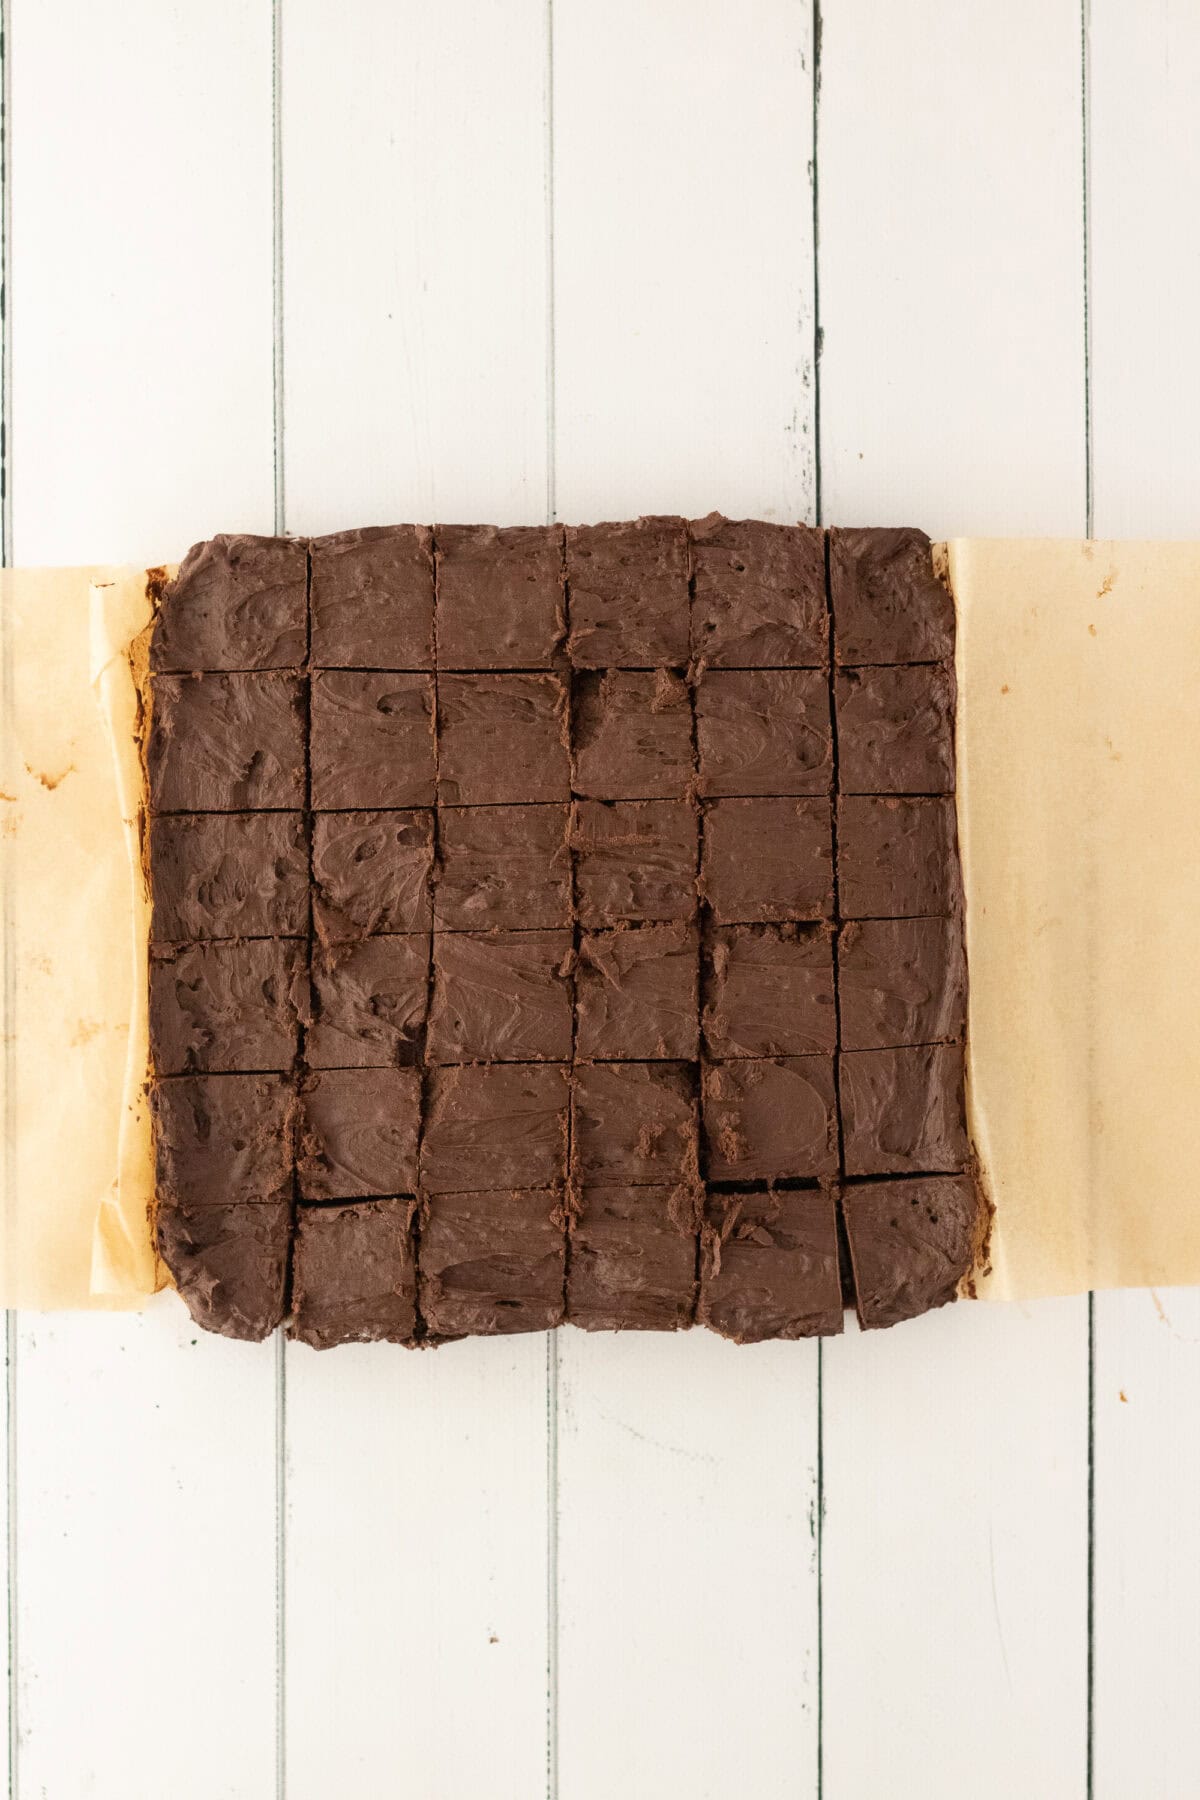
- Freeze again. Place the squares on a parchment-lined baking sheet and freeze for 15 more minutes.
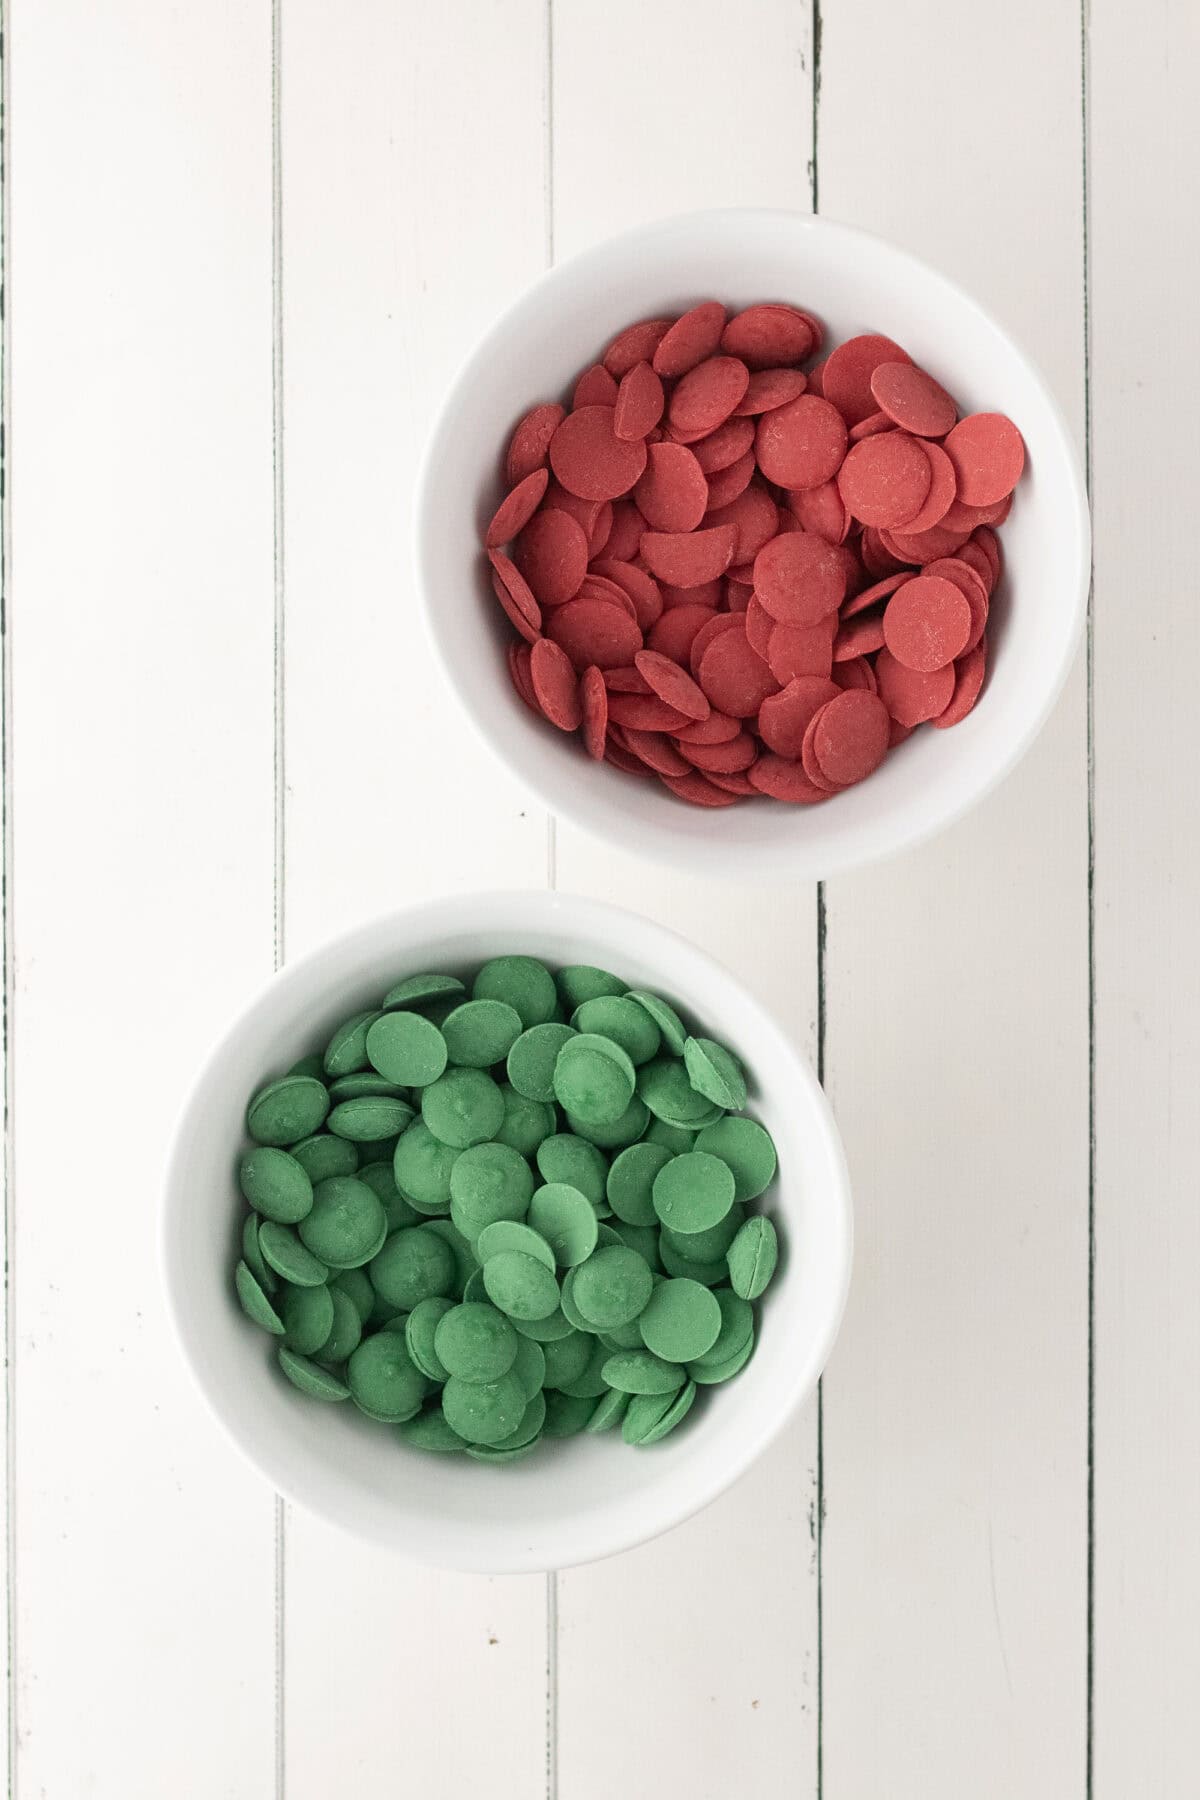
- Melt the candy melts. Melt the red and green candy melts in separate small bowls at 50% power, melting in short intervals and stirring between each.
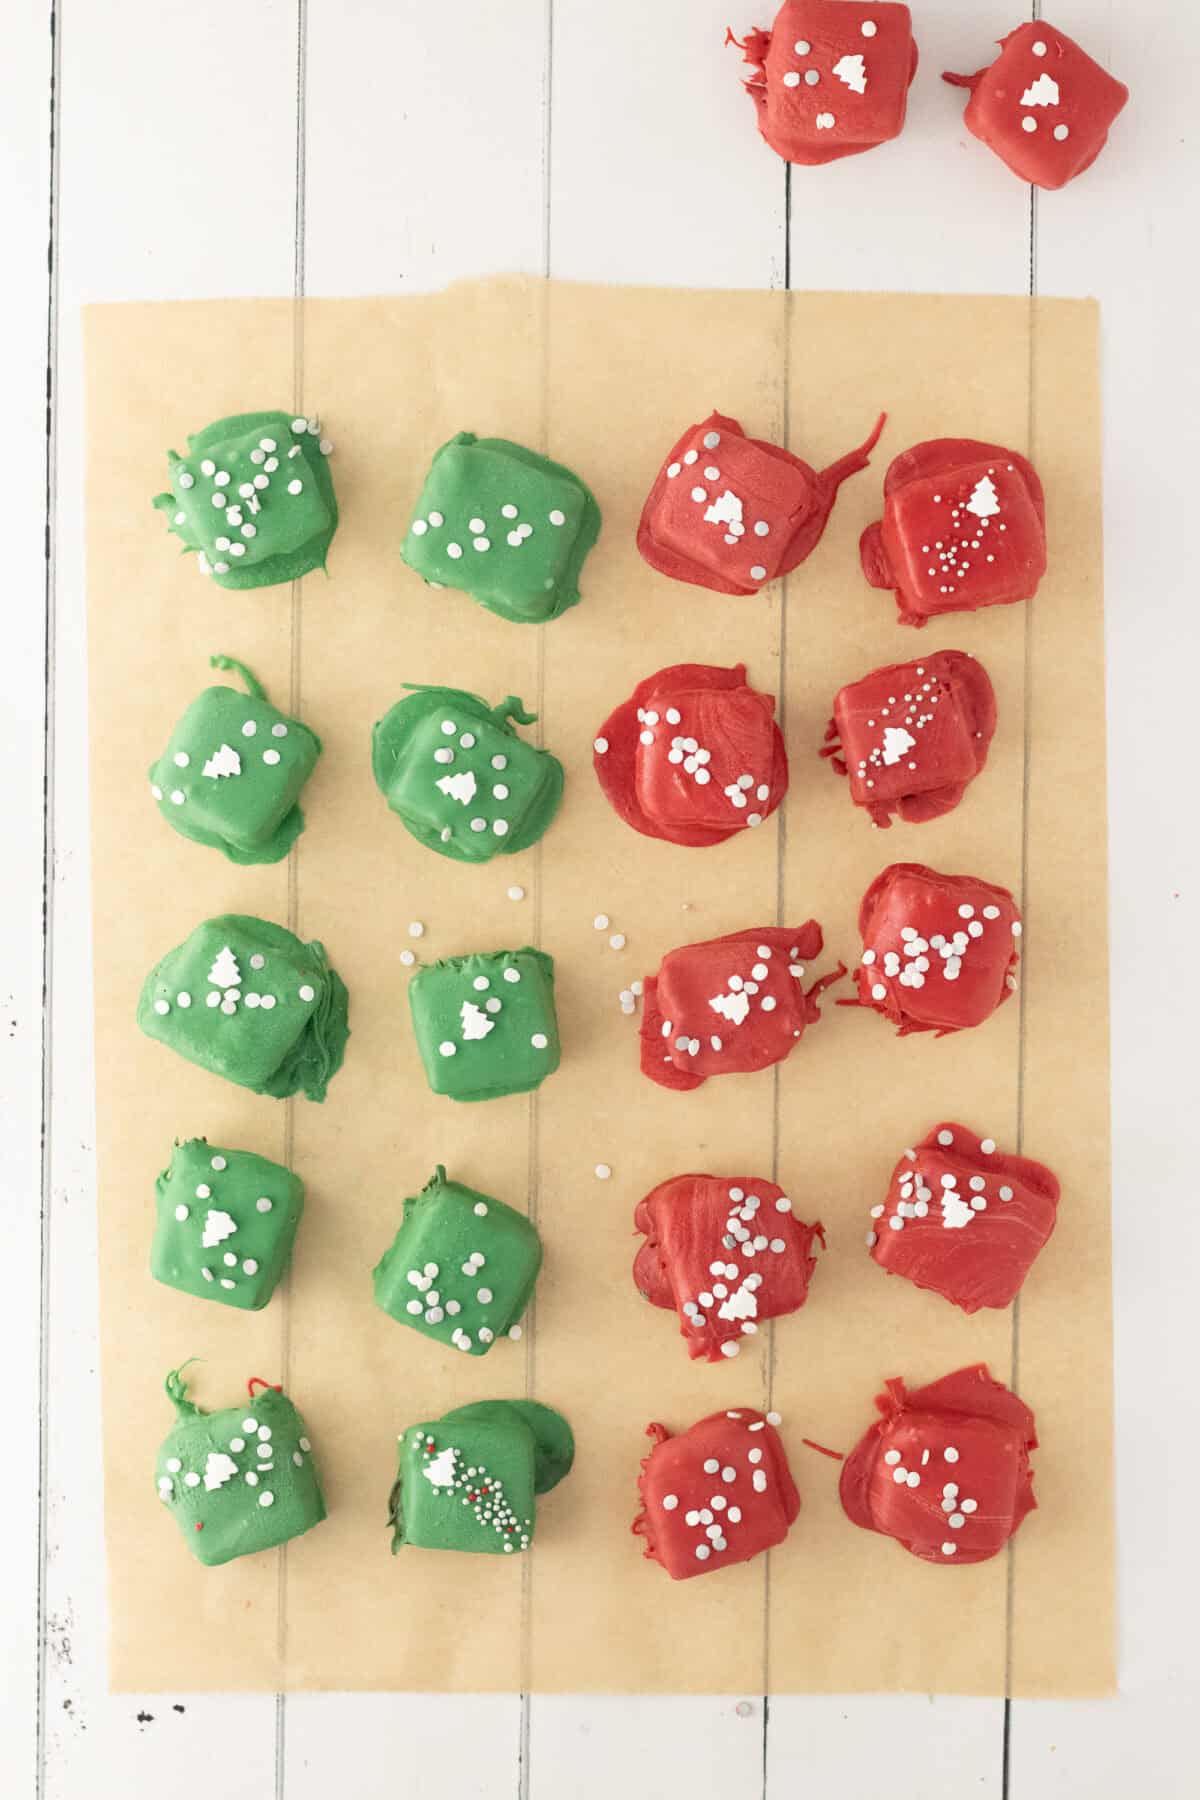
- Dip and decorate. Dip each square with a fork, tap off the excess chocolate, and set it on piece of parchment paper. Add sprinkles right away, before the shell sets.
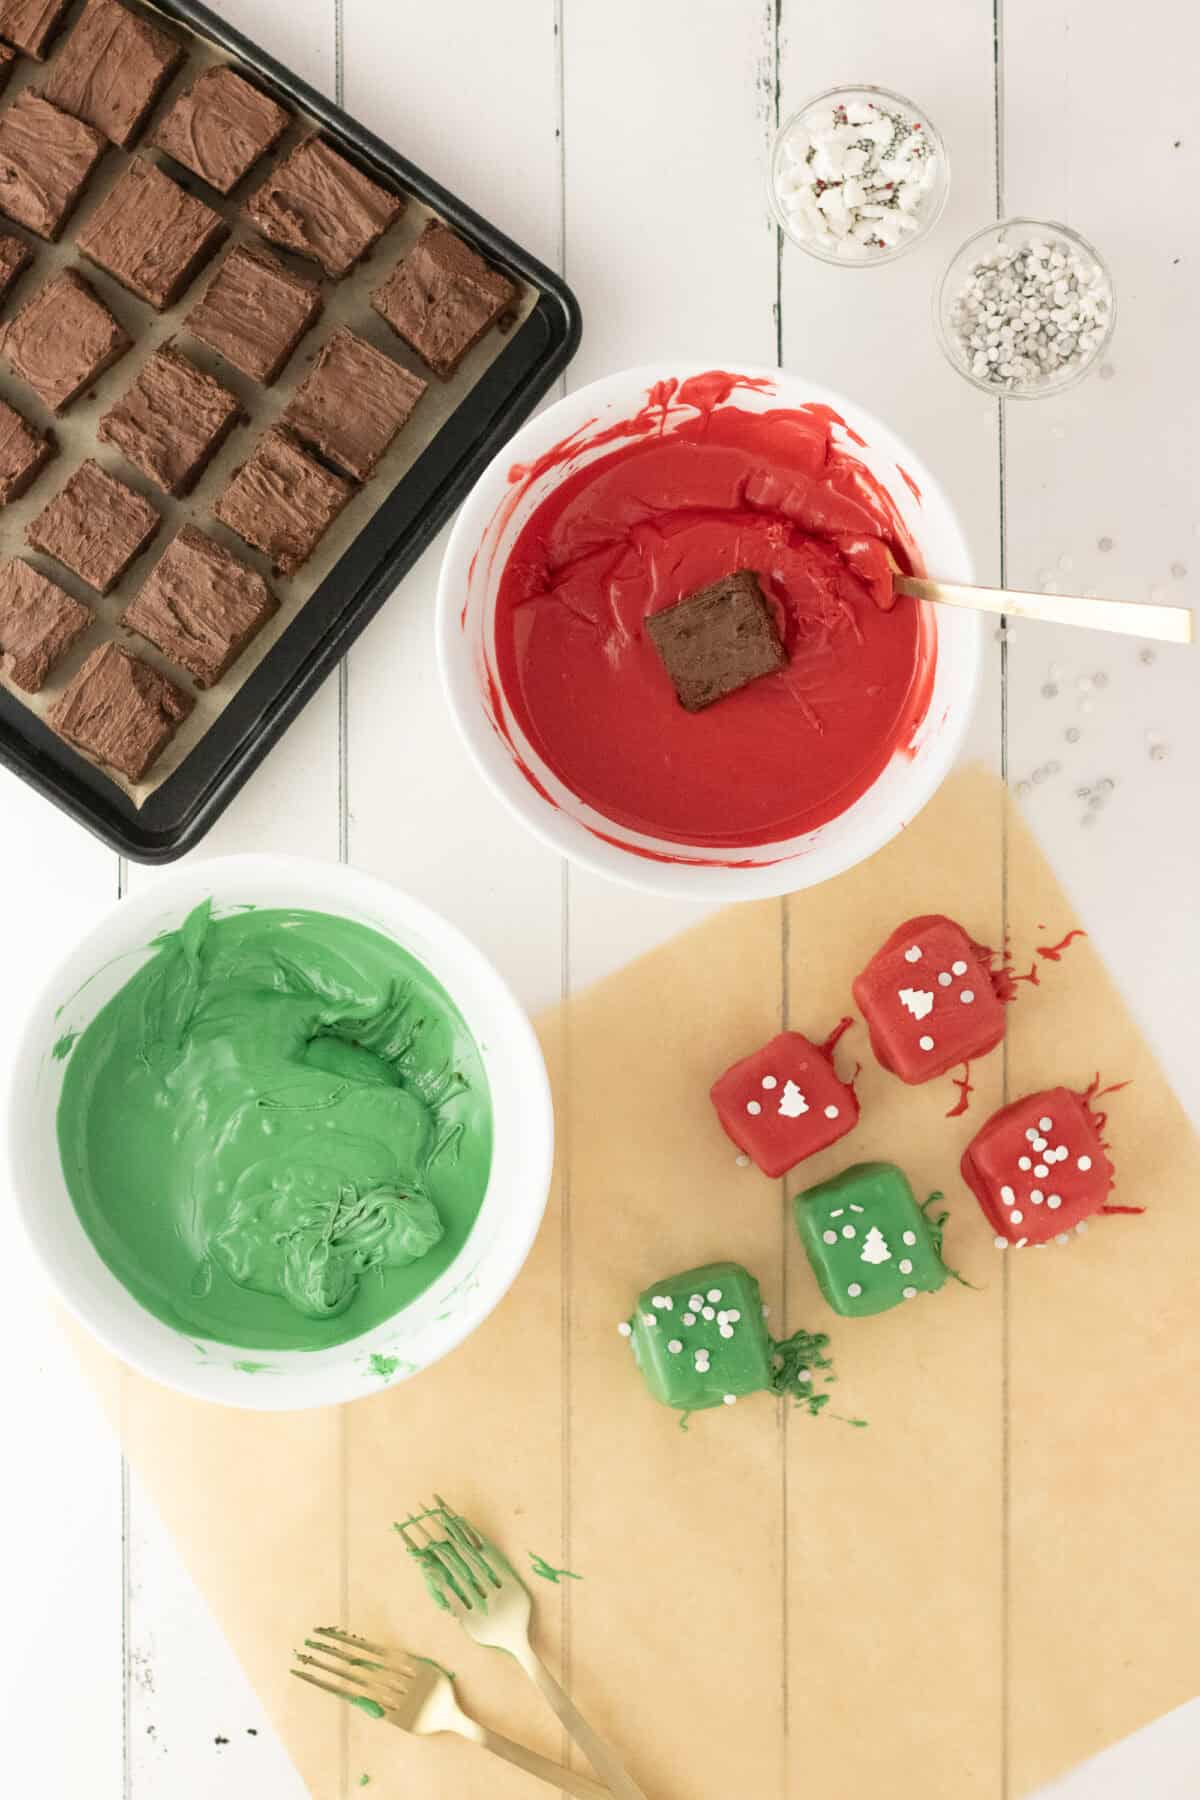
- Let them set. Let the candy harden for 10 to 15 minutes (or pop it in the freezer to speed things up), then serve and enjoy!
Pro Tips
- Fold the Cool Whip in by hand with a spatula. A hand mixer, even on medium speed, will deflate the whipped topping and you’ll lose that fluffy center.
- I use candy melts because they come pre-tempered, so you can melt them without a candy thermometer or worrying about exact temperatures.
- Keep a second fork handy. Use it to gently slide each candy off the dipping fork so the coating stays smooth.
- Wipe your knife clean between cuts for perfect squares.
- Candy melts thickening up before you finish? Just reheat them at 50% power for 30 seconds.
- Older candy melts can seize in the microwave. Stir in about a tablespoon of coconut oil, vegetable oil, or vegetable shortening while heating to loosen them up for dipping. Cheaper brands tend to need this more often.
Variations
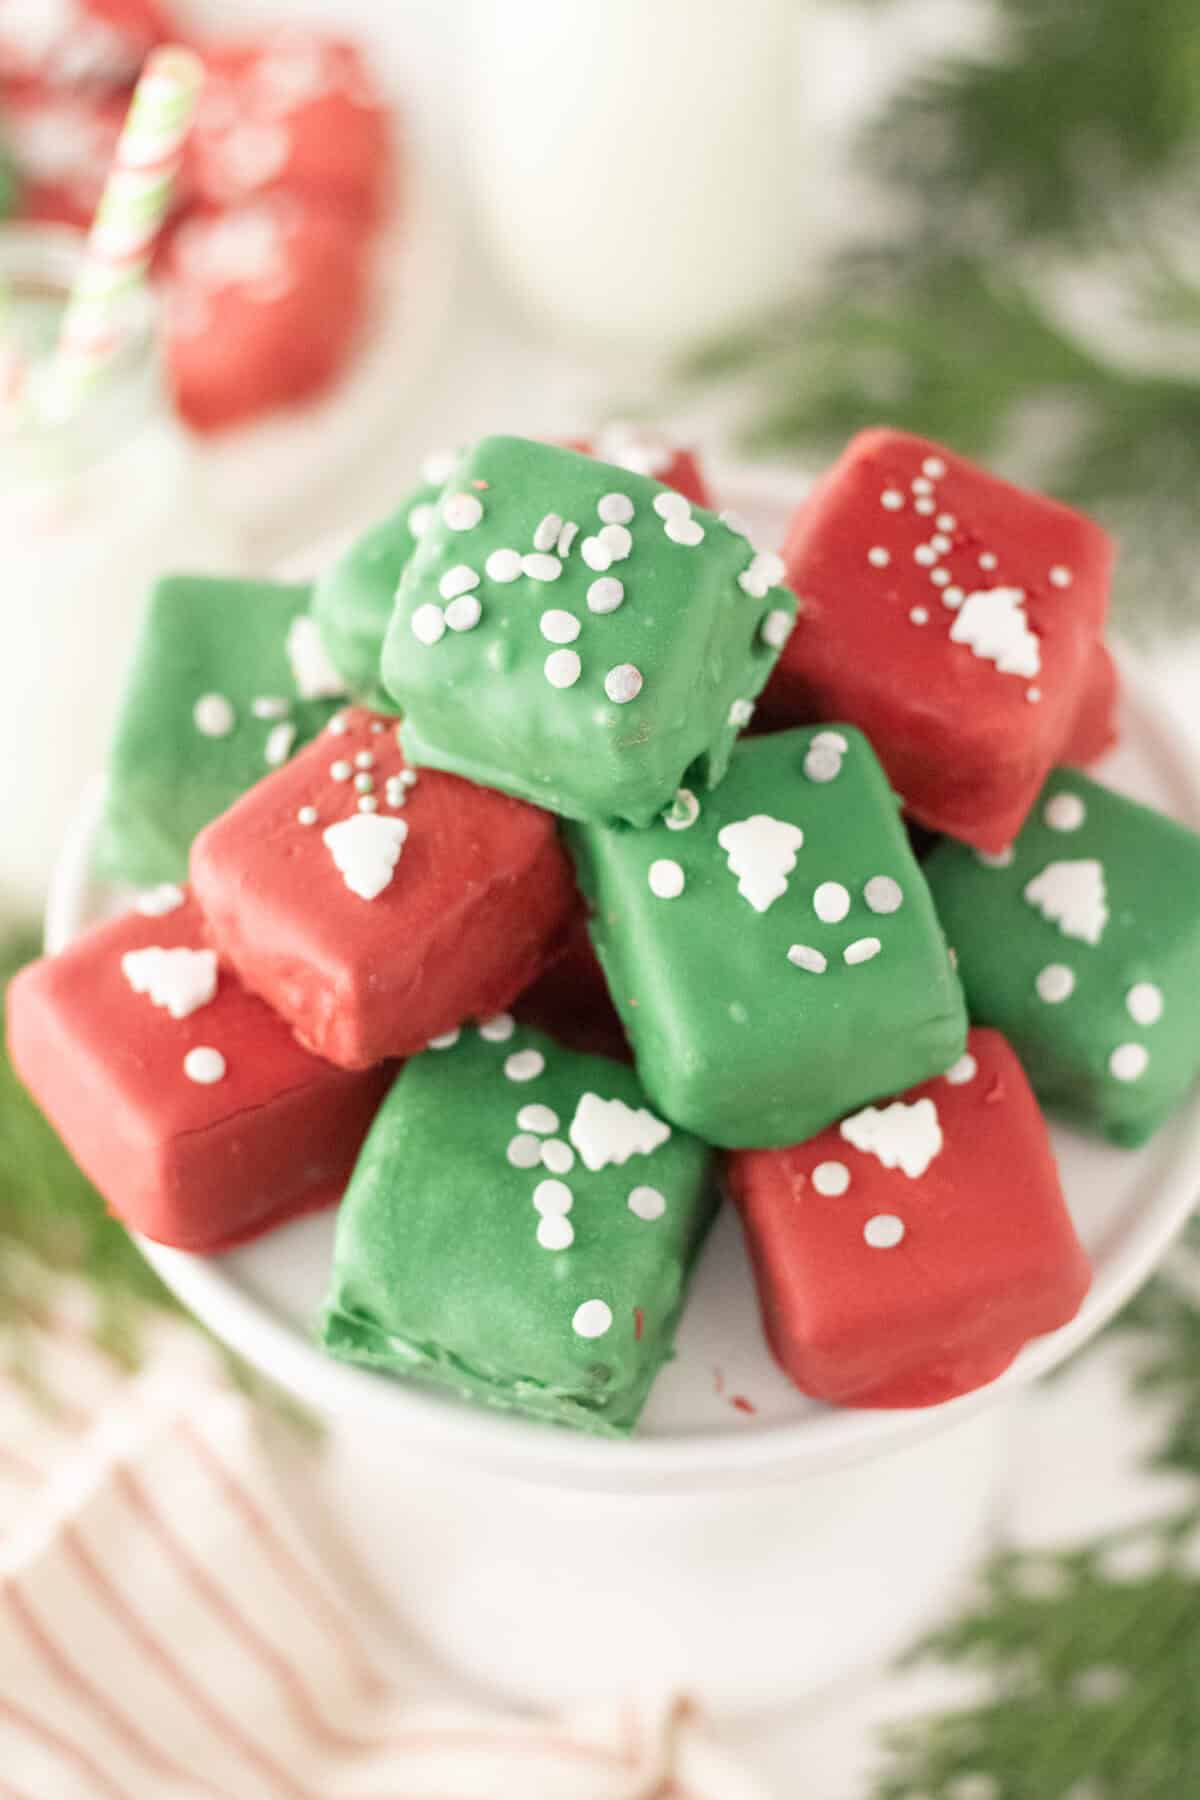
- Make them any time of year. Swap the red and green for chocolate candy melts, and these work for birthdays, Valentine’s Day, or just because.
- Change up the colors. Pastels for Easter, orange and black for Halloween, or your kids’ school colors.
- Try different toppings. Crushed peppermint, mini chocolate chips, or a drizzle of white chocolate all look so pretty.
Serving Suggestions
These are perfect on a Christmas cookie tray, at a holiday potluck, or tucked into a little tin as an edible gift for teachers and neighbors. They’re also wonderful with a mug of hot cocoa on a chilly night.
Storage Instructions
Store the candy in an airtight container in the fridge for up to 5 days. Serve chilled for the best melt-in-your-mouth texture, and don’t leave them at room temperature too long, since the center softens quickly.
To freeze, layer the pieces of candy between sheets of parchment or plastic wrap in an airtight container for up to 2 months. Thaw them in the fridge when you’re ready to serve.
FAQ
What chocolate type works best for the filling? Milk chocolate or semi-sweet chocolate chips are my go-to. Dark chocolate gives you a richer, less sweet center, so pick whatever your family loves.
Can I use white chocolate chips for the shell? Yes! White chocolate chips can be a little thick when melted, so stir in a small spoonful of vegetable shortening to help them coat smoothly.
Can I use homemade whipped cream instead of Cool Whip? I recommend sticking with Cool Whip or a store brand whipped topping. It holds its shape much better once it’s mixed with chocolate.
Can kids help make this? Absolutely. Little ones can stir and add sprinkles, and older kids can handle the dipping all by themselves.
How many pieces does one batch make? One batch of Cool Whip Candy makes 36 squares.
A Sweet Little Holiday Treat
The best part of this recipe is how something so simple can look so special on your Christmas table. It’s a sweet treat that satisfies every sweet tooth in the house, and I think it’ll become one of your favorite no-bake candies to make every year.
And once you’ve tried this homemade version of a fluffy candy bar center, you might just find yourself dreaming up more homemade candy bars inspired by your favorite candy bars! Next time you need a quick holiday dessert, grab the recipe card below and give it a try.
Tried one of my recipes? Please take a moment to leave a comment and a star rating… it helps me grow my blog, and I’d be so grateful!
Happy Caking!
More Christmas Candy Recipes
- Christmas Candy: Oreo Truffles
- No-Bake Grinch OREO Balls (Christmas Truffles)
- Saltine Cracker Toffee (Christmas Crack Recipe)
- Easy 3 Ingredient Chocolate Peanut Clusters
- Cream Cheese Mints Recipe (Christmas Mints)
- Easy White Chocolate Peppermint Bark (2 Ingredients + 10 Minutes)
- Easy Southern Pecan Pralines (No Candy Thermometer Required)
- Peanut Butter Snowballs Recipe

Easy Cool Whip Candy (No-Bake Christmas Candy)
Description
Cool Whip Candy is an easy no-bake Christmas candy with a light, fluffy chocolate center dipped in a festive red and green shell. It’s simple to make in the microwave, kid-friendly, and perfect for holiday cookie trays and edible gifts!
Ingredients
- 22–23 oz (624-652g) milk or semi-sweet chocolate chips (2 standard bags)
- 1 tub (8 oz, 225g) Cool Whip, thawed
- 12 oz (340g) red candy melts
- 12 oz (340g) green candy melts
- Christmas sprinkles (optional)
Instructions
- Line an 8×8 square pan with parchment paper. Leave a bit of the paper hanging over the sides to help you remove the candy from the pan.
- Place the chocolate chips in a large microwave-safe bowl. Microwave at 50% power for 1 minute, then stir. Continue microwaving at 50% power in 30-second increments, stirring between each, until the chocolate is smooth and melted. Depending on your microwave, this may take up to 5 minutes.
- Cool the chocolate for 10 minutes. Add the Cool Whip and gently fold it through the chocolate. Take your time so you don’t deflate the whipped topping.
- Spoon the chocolate filling into the prepared pan and spread it into an even layer. Freeze for 20 minutes.
- Remove the pan from the freezer, lift the chocolate mixture out of the pan, and cut into 36 equal squares.
- Place the squares on a cookie sheet lined with parchment paper. Freeze for another 15 minutes.
- While the filling chills, melt the red and green candy melts in separate small bowls at 50% power in 30-second intervals, stirring between each interval until smooth.
- Remove the filling from the freezer. Use a fork to dip each square into the melted candy, covering all sides. Tap the fork on the side of the bowl to remove any excess. Place on parchment and immediately scatter sprinkles over the top before the candy sets.
- Let the candy stand and harden for 10-15 minutes, or freeze to set faster. Once hardened, serve and enjoy.
Notes
- Store in an airtight container in the fridge for up to 5 days, or freeze for up to 2 months. Thaw in the fridge before serving.
- Candy melts come pre-tempered, so there’s no need to bring them to a specific temperature.
- Candy hardening before you finish dipping? Reheat at 50% power for 30 seconds.
- For a non-holiday version, use chocolate candy melts.
- Older candy melts can seize. Add a tablespoon of coconut or vegetable oil while heating to loosen them.
Nutrition
- Serving Size: 1 piece
- Calories: 202
- Sugar: 22.5 g
- Sodium: 21.5 mg
- Fat: 11.8 g
- Carbohydrates: 23.8 g
- Fiber: 1.3 g
- Protein: 2.5 g
- Cholesterol: 4.1 mg