Instant Pot Robin’s Egg Blue Cheesecake
This Instant Pot Robin’s Egg Blue Cheesecake recipe is easy, beautiful, and perfect for Spring and Easter! Save time and achieve delightful, creamy vanilla cheesecake with no cracks every time by baking it in your Instant Pot.

Instant Pot Robins Egg Blue Cheesecake
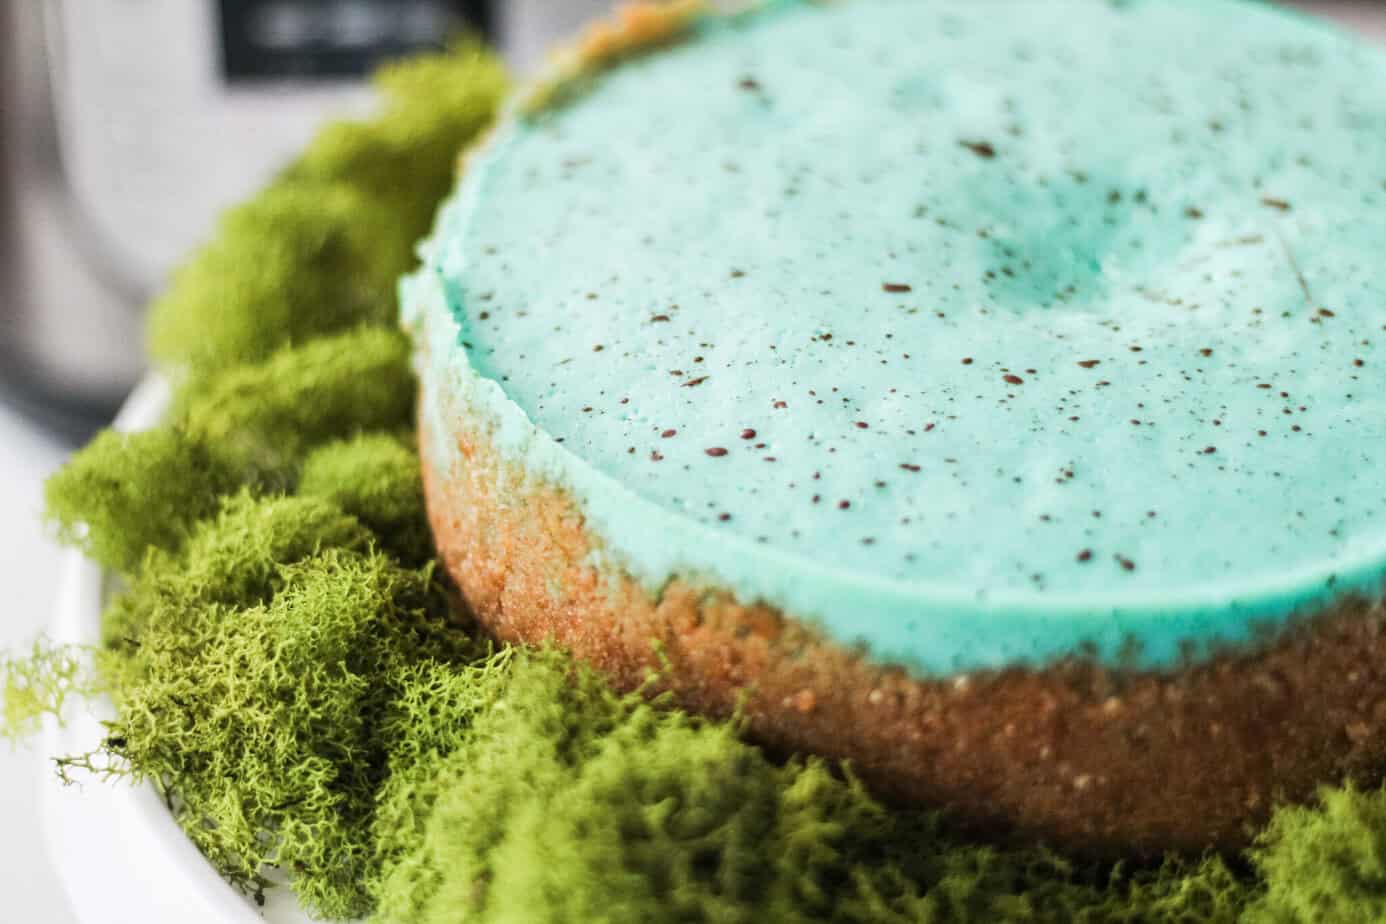
Today I have another Instant Pot dessert recipe for you! This pretty Robin’s Egg blue cheesecake is a great way to celebrate spring or make it as the star of your easy Easter desserts! It’s a festive pressure cooker recipe with pastel blue cheesecake and the speckles of robin’s eggs.
It’s a super creamy cheesecake to make and you don’t even need a water bath. It’s perfect for small gatherings or if you want to have a variety of sweets on a dessert table. This will quickly become a new favorite dessert.
Why You’ll Love This Instant Pot Cheesecake
A pressure cooker cheesecake has several benefits compared to baking it in a traditional oven:
Moist and Creamy Texture: The Instant Pot’s steam pressure cooking creates a humid environment that keeps your cheesecake from drying out, resulting in a silky-smooth, creamy texture without the risk of overbaking. An Instant Pot cheesecake is a perfect cheesecake.
No Cracks on the Surface: Thanks to the gentle, even heat distribution and steam, cheesecakes made in the Instant Pot are far less likely to develop cracks—a common problem with oven baking.
Faster and More Consistent Cooking: Unlike the lengthy baking and cooling process of the oven, the Instant Pot cooks your cheesecake in about 30 minutes (plus natural pressure release), significantly reducing overall cooking time.
No Need for a Water Bath: Cheesecakes baked in an oven often require a water bath to maintain moisture and ensure even cooking. The Instant Pot, with a little bit of water in the bottom, naturally creates a steamy environment, eliminating the hassle of wrapping pans in foil or setting up a water bath.
Perfect Size for Small Gatherings: Instant Pot cheesecakes are typically 6-7 inches in size—ideal for intimate gatherings or family desserts.

Video
More Instant Pot Cheesecakes
I’ve got you covered if you love a good Instant Pot Cheesecake recipe. Here are the Instant Pot recipes I have shared:
- Instant Pot OREO Cheesecake
- Instant Pot Banana Pudding Cheesecake
- Red, White and Blueberry Instant Pot Cheesecake with Cherry Pie Filling
- Instant Pot Chocolate Chip Cookie Dough Cheesecake
- Instant Pot Key Lime Cheesecake
- Hot Pink Valentine’s Day Cheesecake
- Instant Pot Cranberry Orange Cheesecake
- Instant Pot Chocolate Covered Strawberry Cheesecake with Rich Chocolate Ganache
- Instant Pot Eggnog Cheesecake
- Instant Pot Peppermint Cheesecake
- Instant Pot Sweet Potato Cheesecake
- Instant Pot Praline Cheesecake with Caramel Sauce
- Instant Pot Pumpkin Pecan Cheesecake with Chocolate Chips
- Instant Pot Funfetti Cheesecake
- Instant Pot Pumpkin Pie Cheesecake
- Instant Pot Nutter Butter Cheesecake
- Instant Pot Chocolate Cheesecake
- Instant Pot Raspberry Cheesecake
- Instant Pot Pecan Pie Cheesecake
- Instant Pot Traditional Cheesecake
- Instant Pot Mini Egg Cheesecake
Don’t have an Instant Pot? I have a post here for How to Convert an Instant Pot Cheesecake Recipe to an Oven-Baked Version!
Equipment Needed
- Instant Pot (or other brand of electric pressure cooker)
- Food processor (or rolling pin and a plastic ziptop bag)
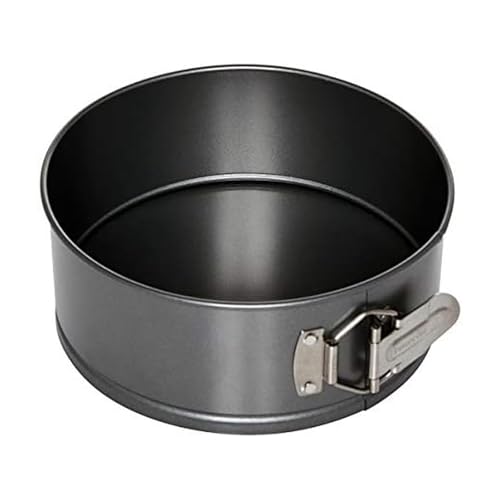
- 7-inch spring form pan
- Small glass or spoon
- Whisk, stand mixer, or electric hand mixer
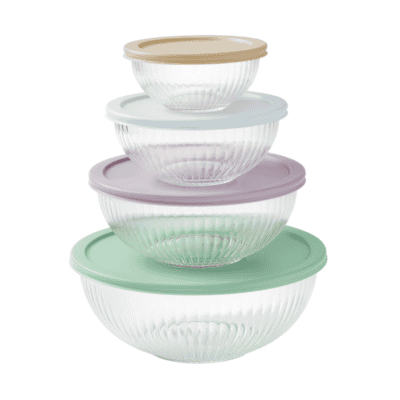
- Large Bowl
- Three medium bowls
- Instant Pot or other electric pressure cooker
Ingredients
These ingredients are all pantry staples and easy to find in a local grocery store.
- ● Graham Crackers or Graham Cracker Crumbs
● Sugar or Brown Sugar
● Melted Butter
● Cream Cheese
● Sugar
● Vanilla Extract
● Flour
● Eggs
● Sour Cream
● Blue Gel Food Coloring
● Cocoa
● Water
● Cooking Spray
Find the complete recipe with ingredients measurements in the recipe card below.
Substitutions
Graham Crackers. A Golden OREO crust is a great substitution for graham crackers, albeit a little sweeter.
Sour Cream. Plain Greek yogurt is a great substitute for sour cream if you need one.

How to Make an Easter Cheesecake
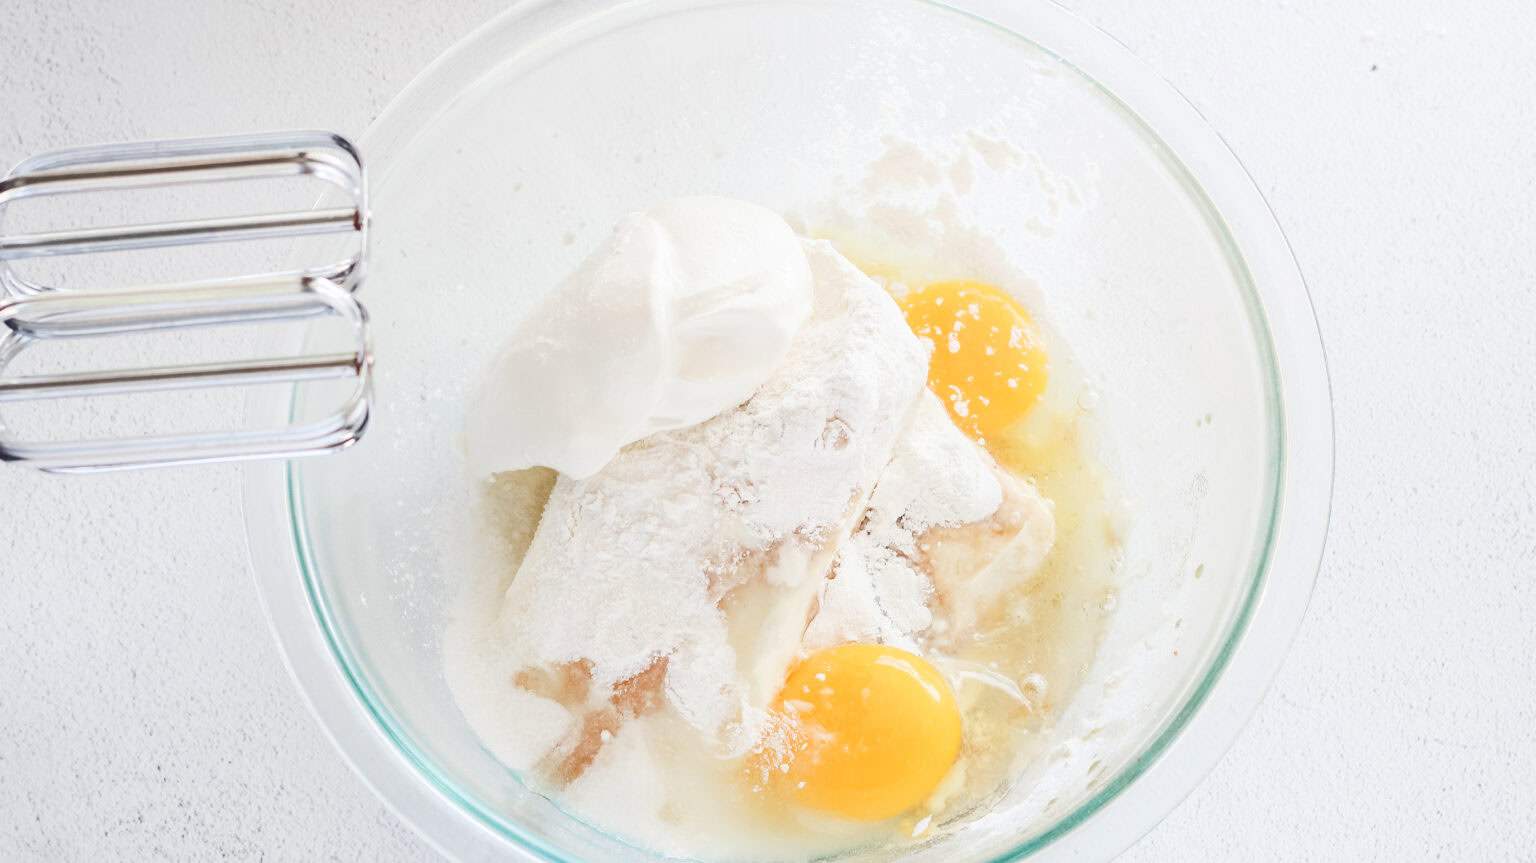
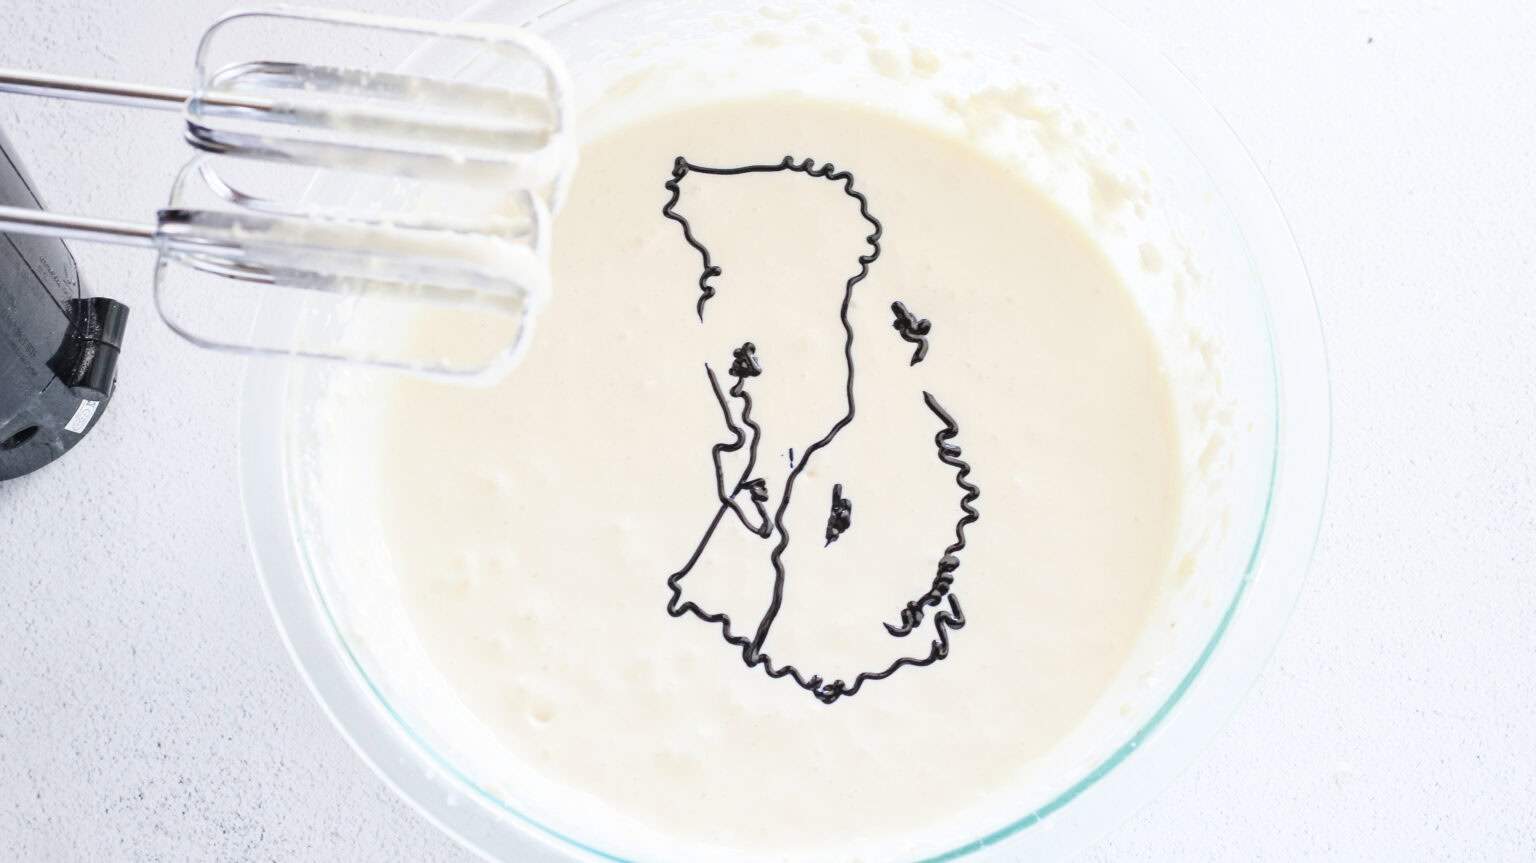
- Start by adding cream cheese, flour, vanilla, and sugar to a mixing bowl.
- Mix until smooth.
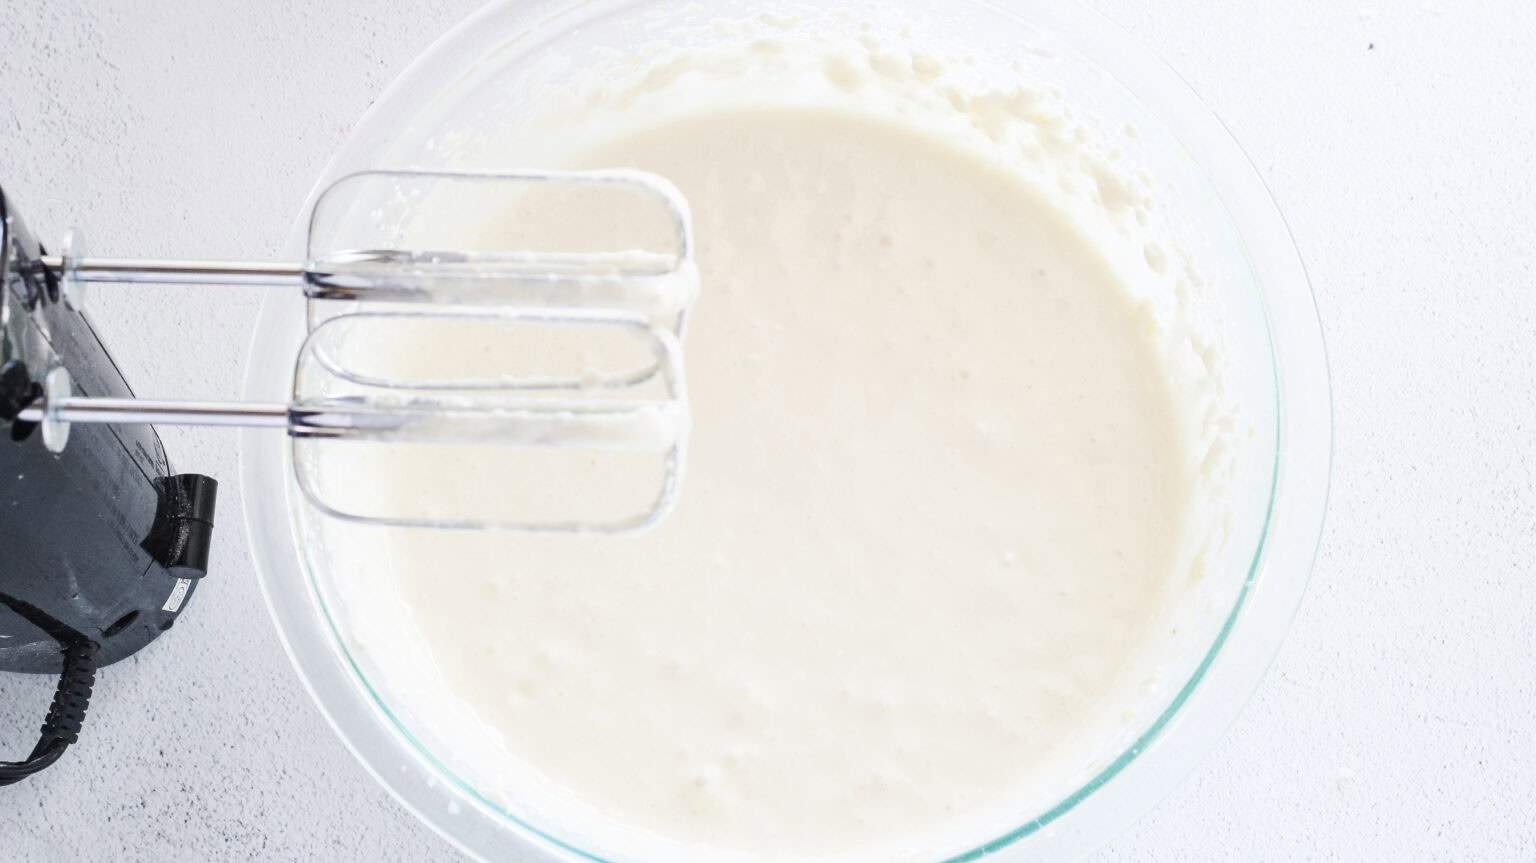
- Add in eggs and sour cream and beat on low speed until smooth and creamy.
- Add in a small amount of blue food coloring and mix until you achieve a pale robin egg blue cheesecake batter.
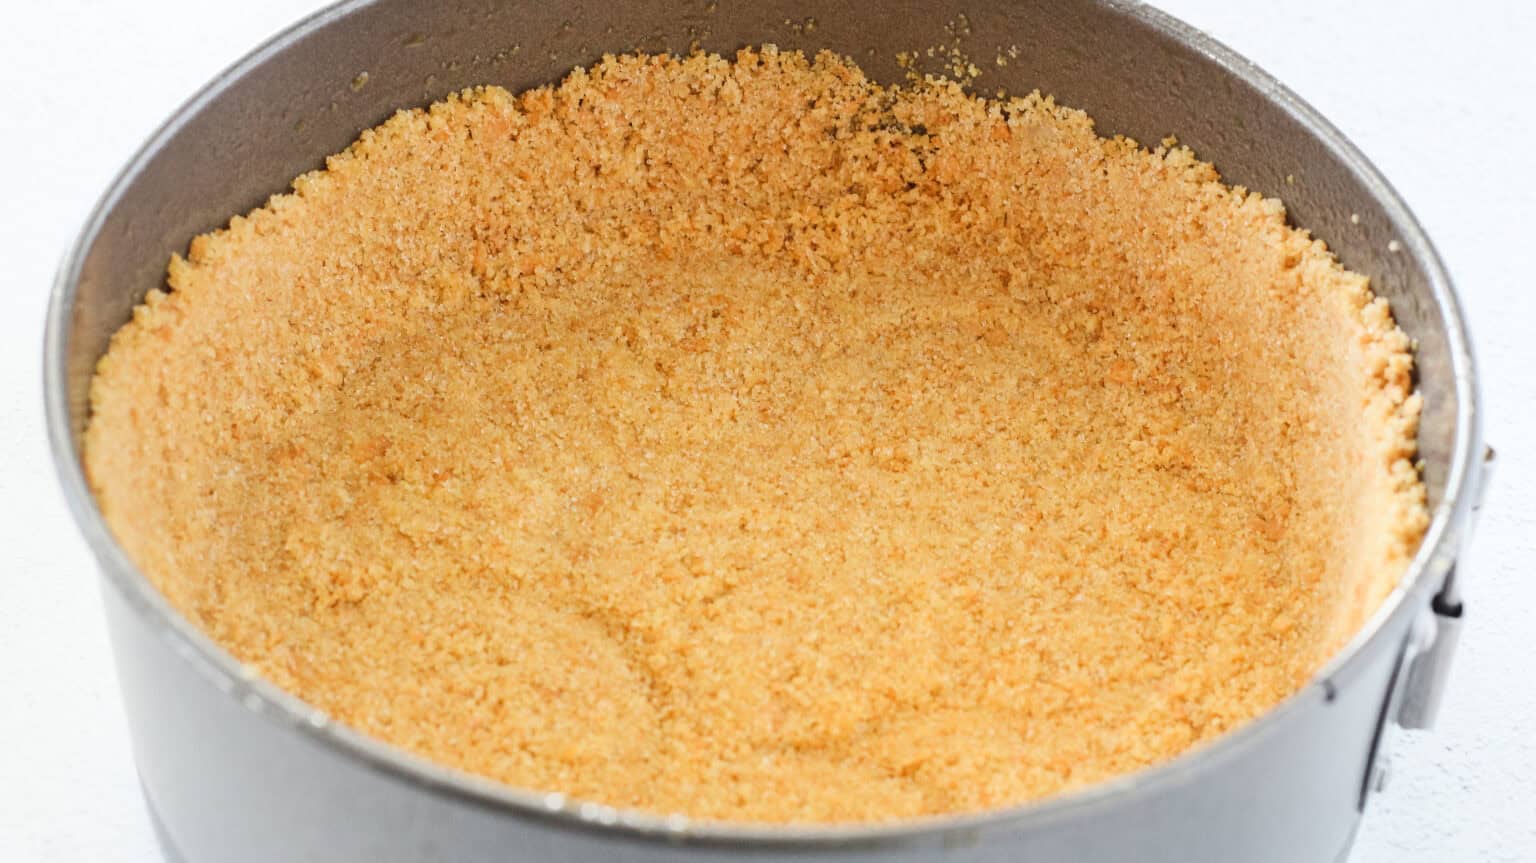
- Place your graham cracker into a food processor and grind up until fine.
- Add in sugar and melted butter and mix.
- Grease the springform pan and press crumbs into the bottom and on the sides of the pan with your hands or the bottom of a glass.
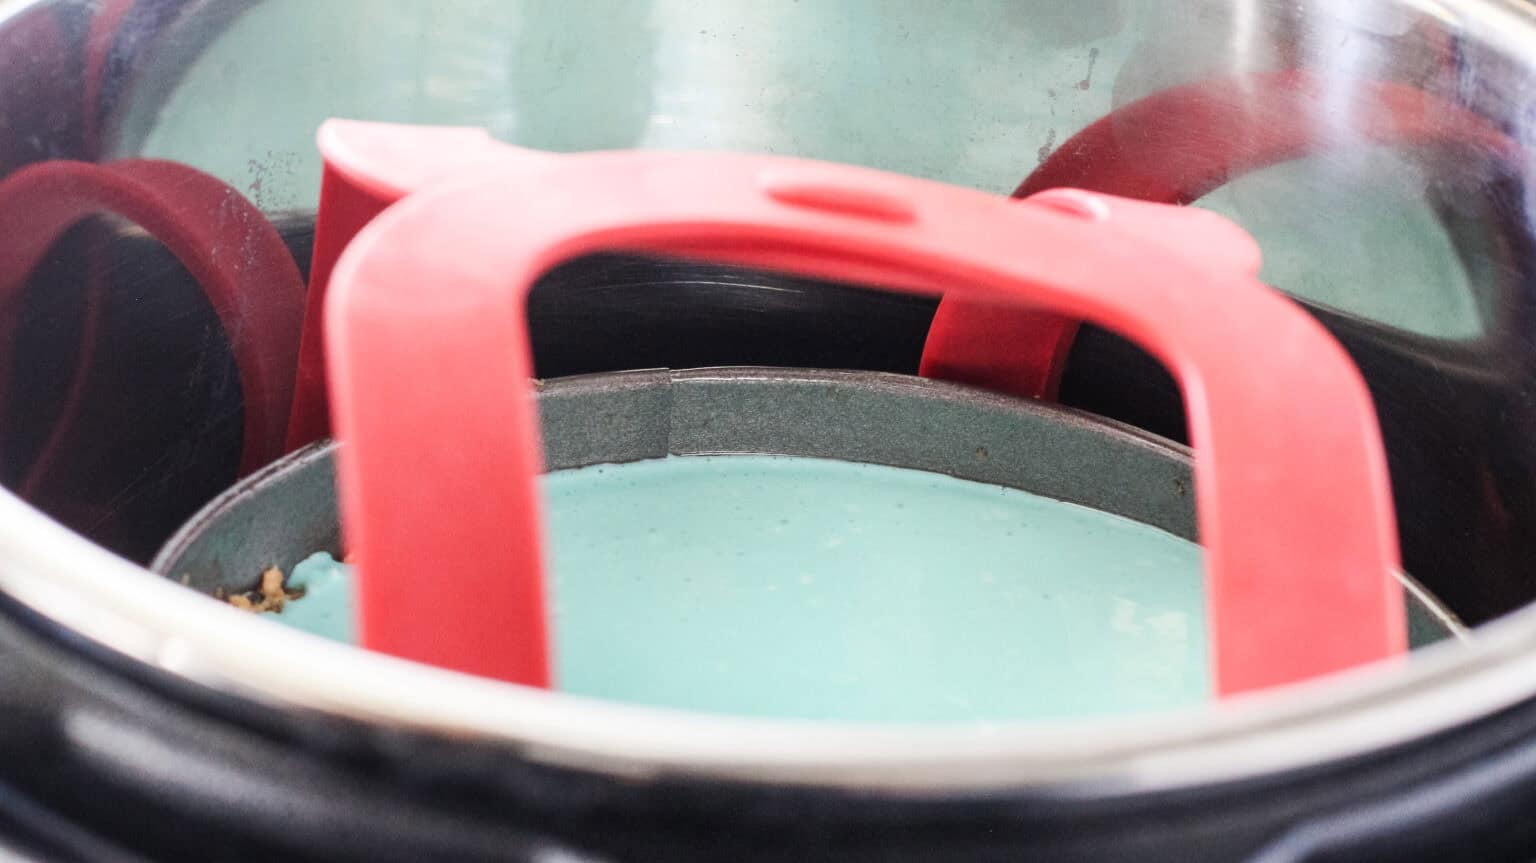
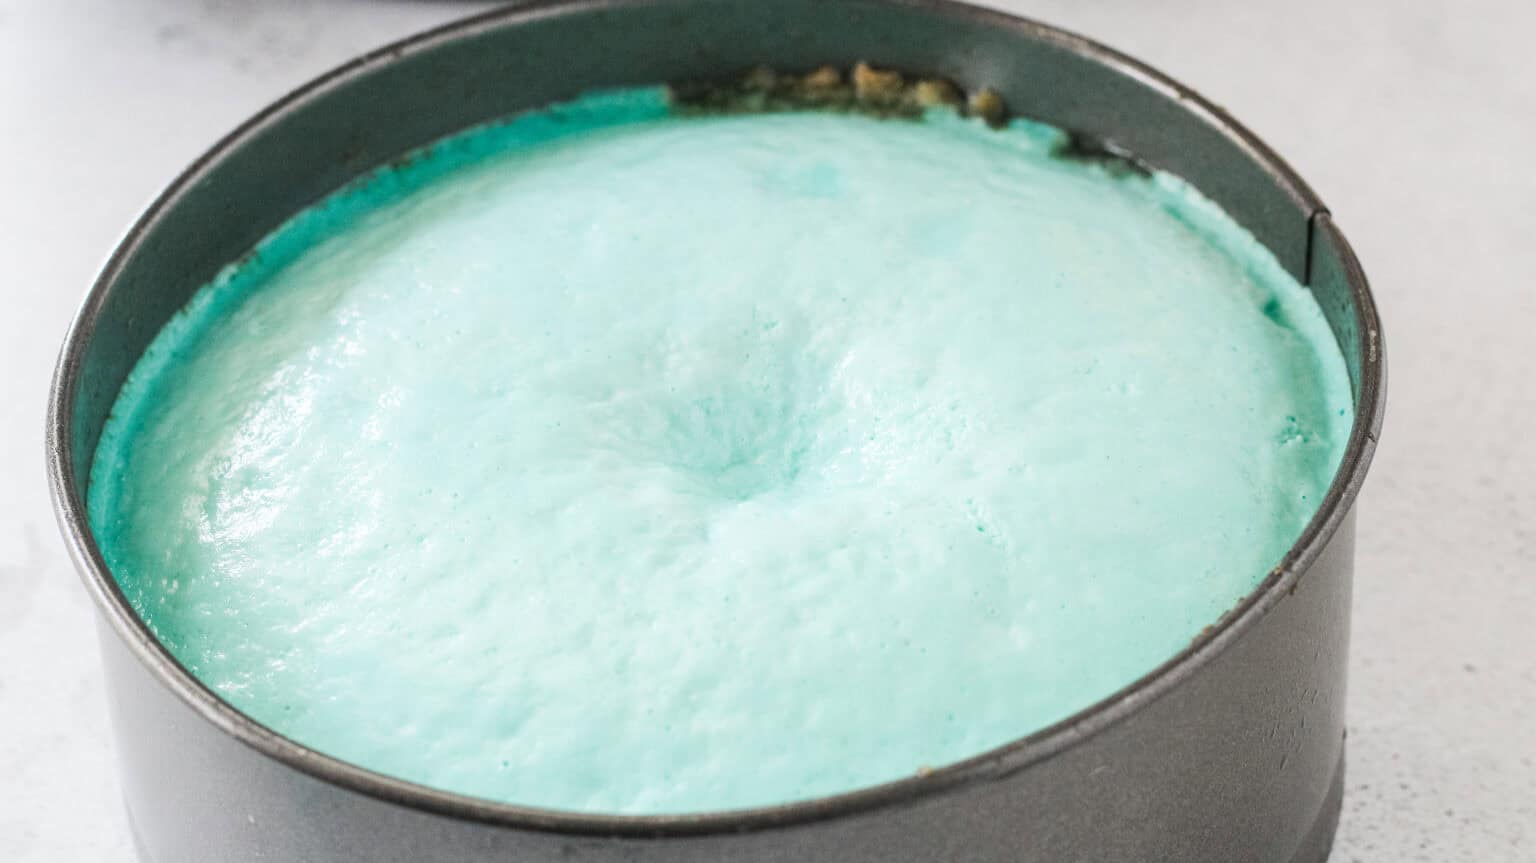
- Pour cheesecake filling on top of the graham cracker crust.
- Pour 1 and ½ cups of water into your instant pot. Place the pan in a tin foil sling, and lower into your pot. Secure lid.
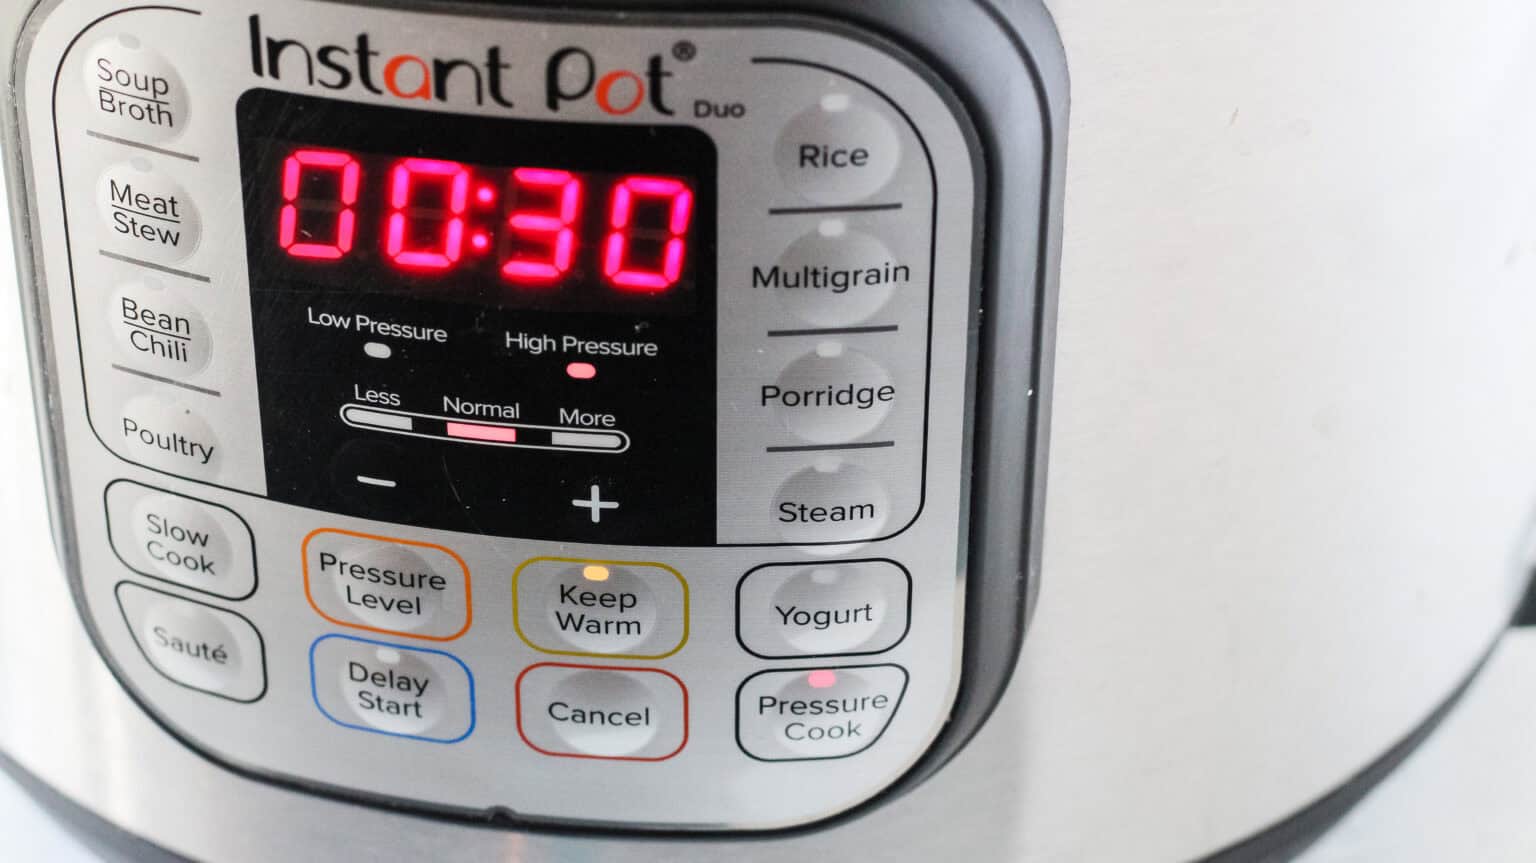
- Pressure cook on high for 30 minutes and then release pressure naturally for 15 minutes, then do a quick release.
- Remove cheesecake and blot up excess water with a paper towel.
- Let cool at room temperature on a wire rack. This is very important.
- Refrigerate for 4 hours.
- Mix together your cocoa and water until you have a paint consistency.
- Using a brush dip in the mixture and flick onto the top of the cheesecake. Let it dry.
- Serve and enjoy!
Robin Eggs Mini Cheesecakes
To make mini cheesecakes, grab four mason jars, use the recipe above and with these slightly altered instructions:
- After making the crust, spoon the mixture into the bottom of mason jars (use 4 oz jars for mini cheesecakes). Press down gently with the back of a spoon to compact the crust.
- Spoon the cream cheese mixture into the mason jars over the prepared crust. Leave about 1/2 inch of space at the top to allow for expansion.
- Gently tap the jars on the counter to remove air bubbles.
- After cooking in the Instant Pot on high pressure for 8-10 minutes, carefully remove the mason jars from the Instant Pot using tongs or a jar lifter.
- Let the cheesecakes cool in the jars at room temperature for 30 minutes.
- Add the speckling on top of the cake if desired.
- Afterward, refrigerate the jars for at least 4 hours, preferably overnight, to allow the cheesecakes to set.

Pro Tips
Use Room-Temperature Ingredients: Make sure all cold ingredients (cream cheese, eggs, and sour cream) are at room temperature before mixing. This ensures a smooth, lump-free batter.
Don’t Overmix the Batter: Overmixing can incorporate too much air, leading to cracks or a puffy, uneven cheesecake. Mix only until the ingredients are combined.
Wrap the Springform Pan in Aluminum Foil (Optional but Helpful!): Wrapping the bottom of the cheesecake pan in foil helps prevent condensation from making the crust soggy. Placing a paper towel on top of the pan, under the foil, absorbs excess moisture and prevents water droplets from pooling on the surface.
Tap the Pan to Remove Air Bubbles: After pouring the batter, gently tap the pan on the counter to release air bubbles. You can also swirl a toothpick through the batter to help.
Let It Cool Before Chilling: Allow the cheesecake to cool at room temperature for 30-60 minutes before refrigerating. Chill for at least 4 hours, or preferably overnight, to let the flavors develop and the texture set.
Clean Knife for Slicing: Dip a knife in hot water and wipe it clean between slices for perfectly smooth cheesecake servings!
Prepare the Springform Pan: To easily remove the cheesecake, use a prepared pan. Line the bottom of the pan with a circle of parchment paper and spray the sides with nonstick cooking spray. The parchment paper at the bottom of the springform pan makes it very easy to remove.
Use a Foil Sling: If you’d like, use a long piece of foil to make a sling sling to lower and lift the cheesecake out of the pressure cooker for easier removal!

Serving Suggestions
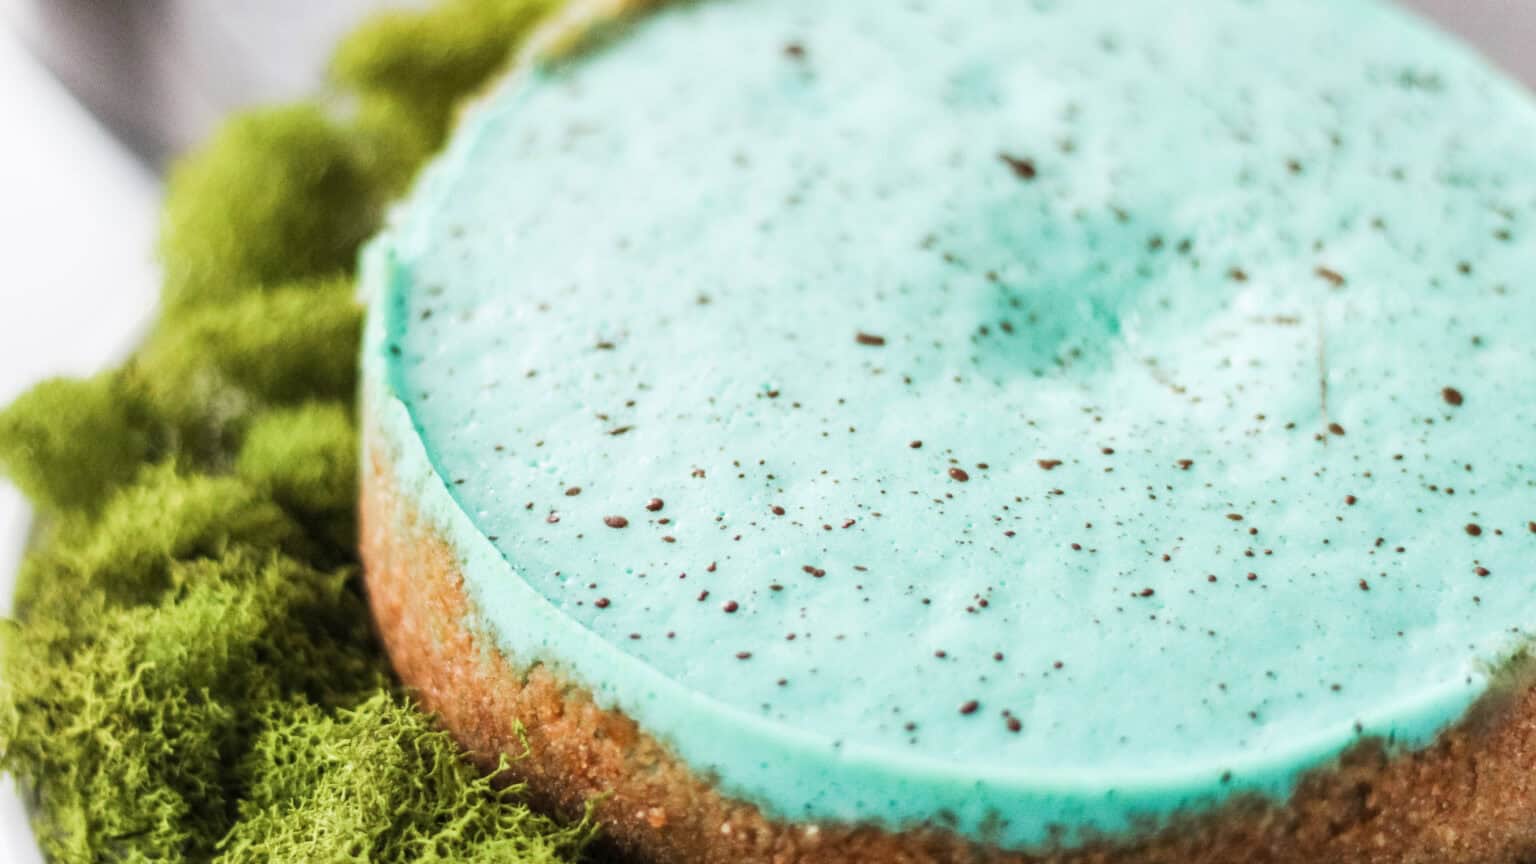
An Instant Pot Robin’s Egg Blue Cheesecake is a visually stunning dessert with a soft, pastel blue cheesecake filling that mimics the delicate color of robin’s eggs.
The cheesecake is perfect for spring celebrations, baby showers, or any event where you want to impress with a visually appealing, deliciously indulgent treat.
Storage Directions
Instant Pot cheesecake recipes stay fresh for 4-5 days in the refrigerator when properly stored.
- Refrigerate for Best Texture. Cover the cheesecake with plastic wrap or foil and refrigerate for at least 4 hours, preferably overnight for the best flavor and texture before serving.
- Store leftovers in an Airtight Container. If possible, place the cheesecake in an airtight container to prevent it from absorbing fridge odors.

More Delicious Recipes
- Dyed Potatoes for Easter Eggs (Easter Potatoes)
- Easter Rice Krispies Pops
- Easter Bunny Snack Mix
- How to Make Bunny Tail Cake Balls
- 13+ Easter Bunny Cakes
- Easter Egg Nest Cake
- Easter Egg Cake Pops
- Easy Easter Rice Krispie Treats
- A Pretty & Delicious Easter Skillet Cookie Recipe
Instant Pot Robin’s Egg Blue Cheesecake
Description
This Instant Pot Robin’s Egg Blue Cheesecake recipe is easy, beautiful, and perfect for Spring and Easter! Save time and achieve delightful, creamy vanilla cheesecake with no cracks every time by baking it in your Instant Pot.
Ingredients
- 1 sleeve of Graham Crackers
- 3 tablespoons of Sugar
- 4 tablespoons of Melted Butter
- 16 oz. of Cream Cheese
- 1/2 a cup of Sugar
- 2 teaspoons of Vanilla
- 1 and a 1/2 tablespoons of Flour
- 2 Eggs
- 1/2 a cup of Sour Cream
- Blue Gel Food Coloring
- Cocoa
- Water
- Cooking Spray
- 1 and 1/2 cups of Water
Instructions
- Start by adding cream cheese, flour, vanilla, and sugar to a mixing bowl.
- Mix until smooth.
- Add in eggs and sour cream and beat until smooth and creamy.
- Add in a small amount of blue food coloring and mix until you achieve a pale robin egg blue.
- Place your graham cracker into a food processor and grind up until fine.
- Add in sugar and melted butter and mix.
- Grease the springform pan and press crumbs into the bottom and on the sides.
- Pour cheesecake mixture on top.
- Pour 1 and ½ cups of water into your instant pot. Place the pan in a sling, and lower into your pot. Secure lid.
- Pressure cook on high for 30 minutes and then vent naturally for 15 minutes.
- Remove cheesecake and blot up excess water with a paper towel.
- Let cool at room temperature. This is very important.
- Refrigerate for 4 hours.
- Mix together your cocoa and water until you have a paint consistency.
- Using a brush dip in the mixture and flick onto the cheesecake. Let it dry.
- Serve and enjoy!

Notes
- Use Room-Temperature Ingredients: Make sure all cold ingredients (cream cheese, eggs, and sour cream) are at room temperature before mixing. This ensures a smooth, lump-free batter.
- Don’t Overmix the Batter: Overmixing can incorporate too much air, leading to cracks or a puffy, uneven cheesecake. Mix only until the ingredients are combined.
- Wrap the Springform Pan in Aluminum Foil (Optional but Helpful!): Wrapping the bottom of the cheesecake pan in foil helps prevent condensation from making the crust soggy. Placing a paper towel on top of the pan, under the foil, absorbs excess moisture and prevents water droplets from pooling on the surface.
- Tap the Pan to Remove Air Bubbles: After pouring the batter, gently tap the pan on the counter to release air bubbles. You can also swirl a toothpick through the batter to help.
- Let It Cool Before Chilling: Allow the cheesecake to cool at room temperature for 30-60 minutes before refrigerating. Chill for at least 4 hours, or preferably overnight, to let the flavors develop and the texture set.
- Clean Knife for Slicing: Dip a knife in hot water and wipe it clean between slices for perfectly smooth cheesecake servings!
- Prepare the Springform Pan: To easily remove the cheesecake, use a prepared pan. Line the bottom of the pan with a circle of parchment paper and spray the sides with nonstick cooking spray. The parchment paper at the bottom of the springform pan makes it very easy to remove.
- Use a Foil Sling: If you’d like, use a long piece of foil to make a sling sling to lower and lift the cheesecake out of the pressure cooker for easier removal!