Homemade No-Churn Coffee Ice Cream Recipe
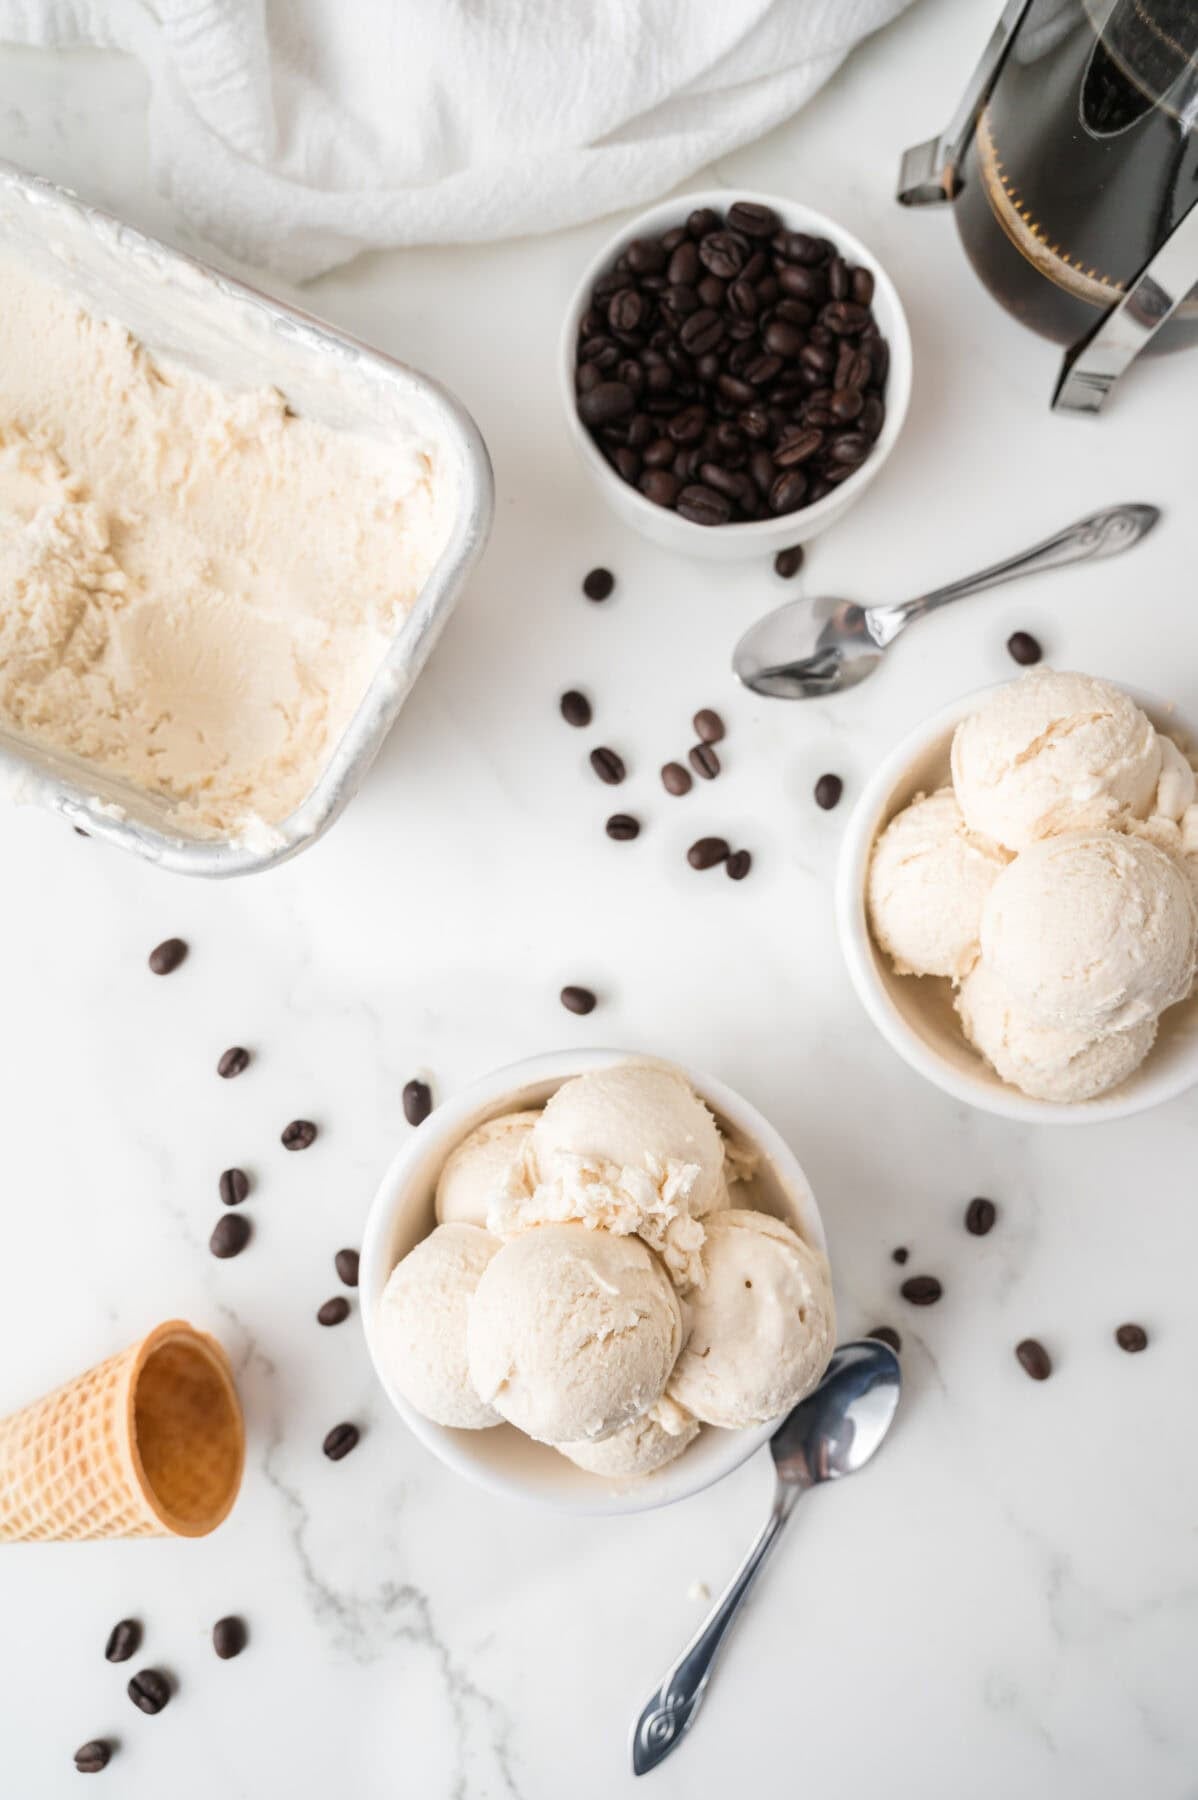
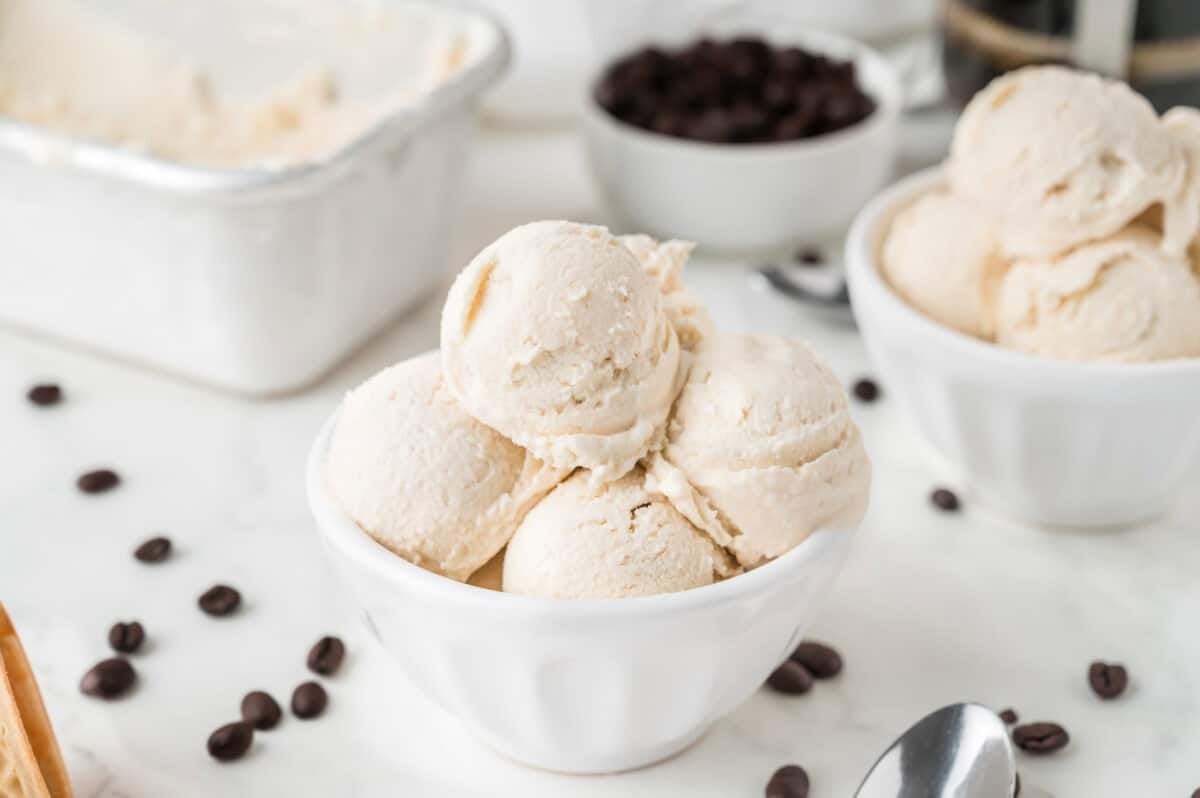
This creamy, dreamy Coffee Ice Cream is the perfect frozen treat for coffee lovers! Made with simple ingredients like heavy cream, strong brewed coffee, sugar, and vanilla, this no churn coffee ice cream recipe comes together in just minutes. The end result tastes like a vanilla bean frappuccino with espresso… but in rich, creamy ice cream form. It’s cold, smooth, loaded with delicious coffee flavor, and has the perfect amount of sweetness for an easy homemade dessert.
Love homemade ice cream? Check out ALL of my ice cream recipes here!
Homemade Coffee Ice Cream
Oddly enough, I don’t actually like or drink coffee. But hand me a coffee-flavored dessert or frozen coffee drinks, and I’m all over it!! My most favorite dessert of all time? Tiramisu.
If you love their coffee, lattes, and other coffee-flavored drinks, then you are going to love this coffee ice cream!
It’s made with just four simple ingredients, including your beloved coffee, and takes only 10 minutes to assemble before freezing overnight and enjoying the next day (dare I say, added to your morning cup of caffeine)!
Coffee and ice cream are one of my favorite flavor combinations, especially during the warmer months. This homemade coffee ice cream has a creamy texture, bold coffee flavor, and just enough vanilla to balance everything out beautifully. And you can use any type of coffee you love – I just recommend brewing it strong so the coffee really shines!
If you’ve never made your own ice cream, you’re going to be really happy with how easy it is to make.
The best part? You don’t need an ice cream machine, freezer bowl, or ice cream maker bowl to make this delicious coffee ice cream. This is a super simple, no-churn coffee ice cream recipe made with only a handful of ingredients and an electric mixer. You can easily make your own coffee ice cream and make it exactly the way you like it!
Check out another new recipe➡️ Lemon Cake Ice Cream (one of my No Bake Lemon Desserts)
Why You’ll Love This Best Coffee Ice Cream Recipe
- No ice cream maker needed
- Made with simple ingredients
- Rich coffee flavor without being overpowering
- Creamy texture with no custard mixture or egg yolks
- Easy to customize with chocolate chips, coffee beans, or whipped cream
- Perfect make-ahead dessert for your sweet tooth
- Freezes beautifully in a freezer-safe container
Equipment Needed
- Large mixing bowl (place in the freezer for 5 to 10 minutes before using)
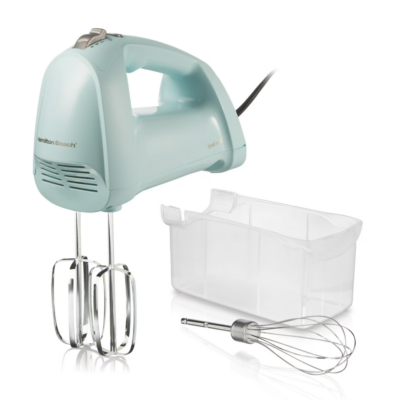
- Handheld electric mixer
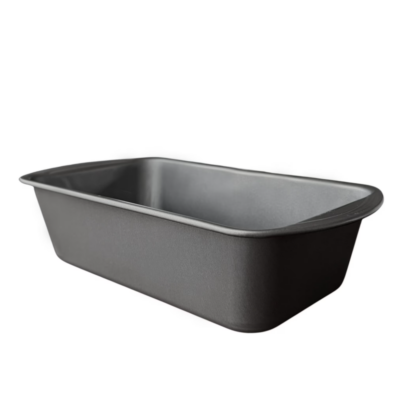
- 9×5-inch loaf pan
- Ice cream scoop
- Plastic wrap or an airtight container for storage
Ingredients
You only need 4 simple ingredients found at all grocery stores!
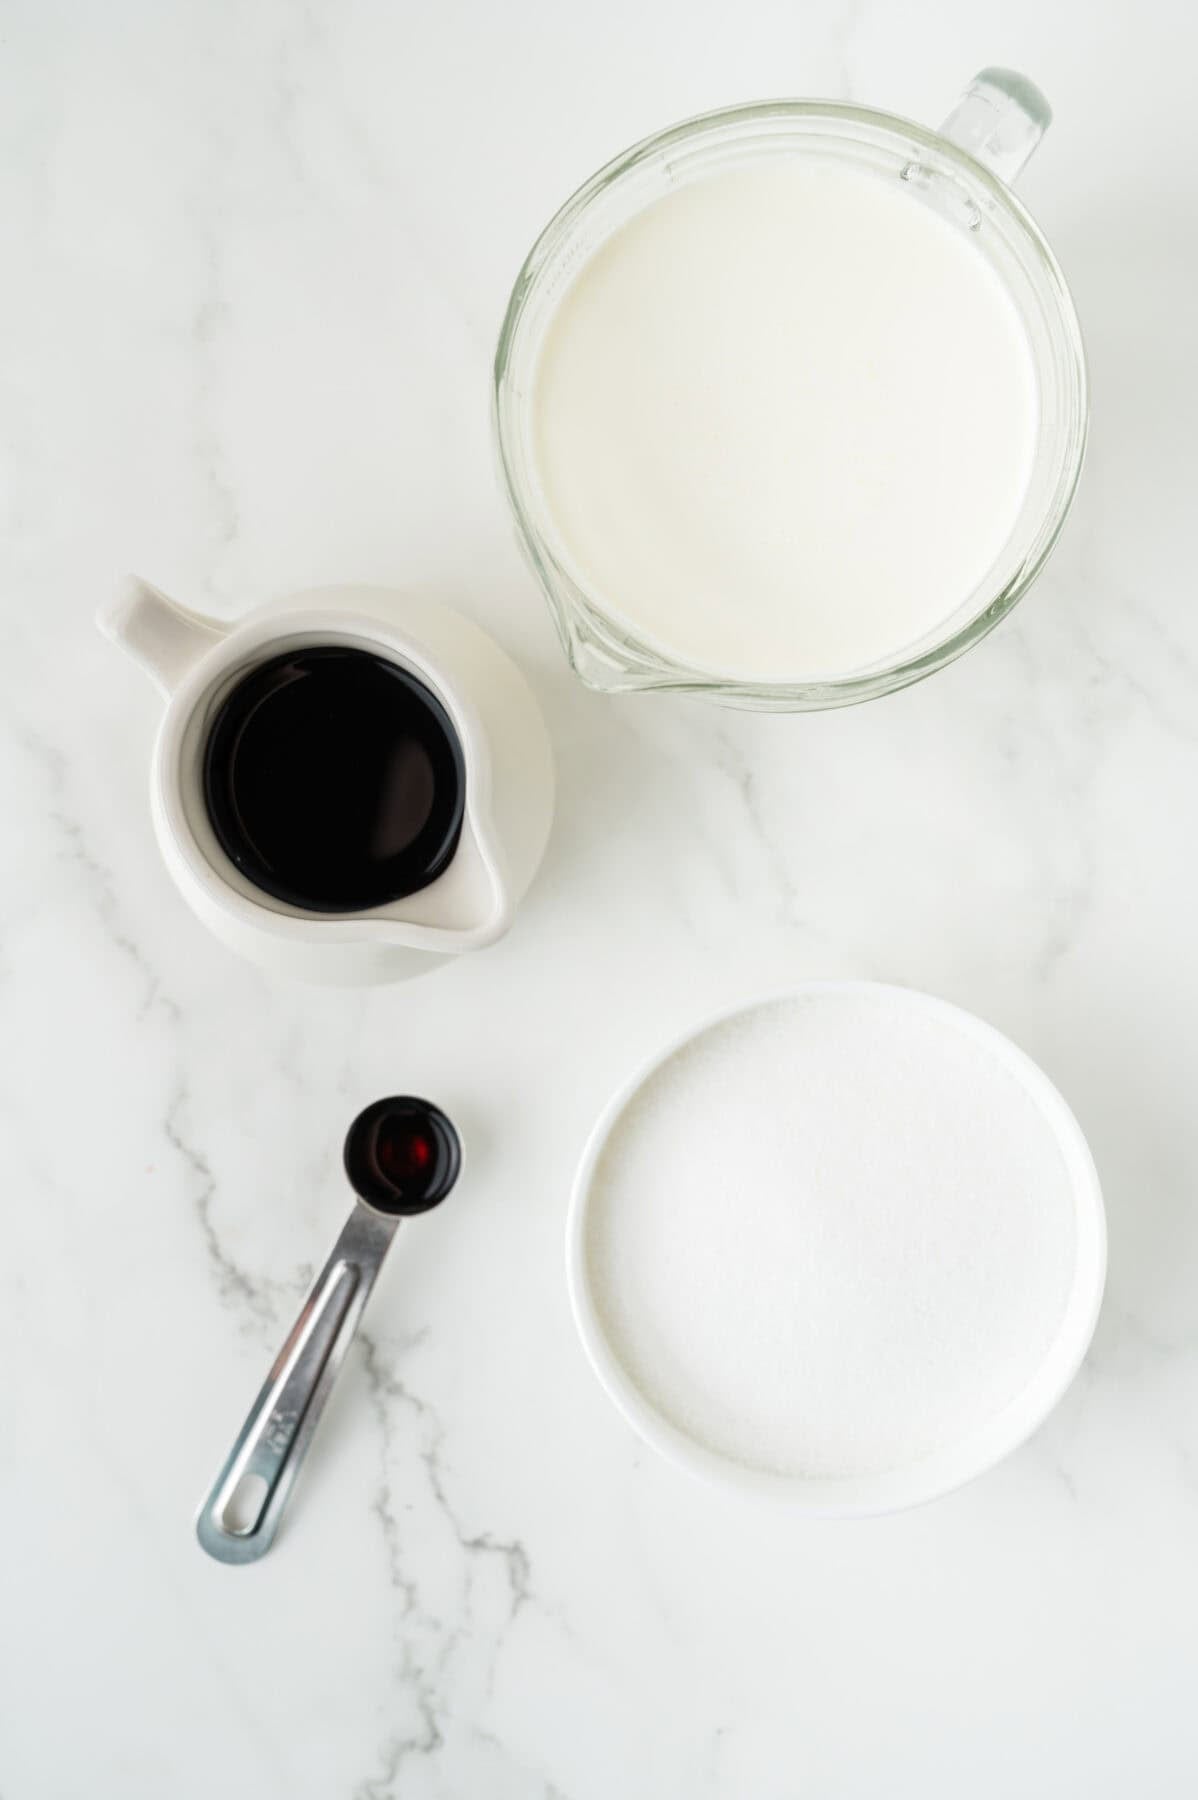
- Heavy whipping cream
- Granulated sugar
- Strong brewed coffee, cold – coffee can be made the old-fashioned way, then chilled, or you can use instant espresso powder or instant coffee granules
- Vanilla extract
Find the complete recipe with ingredient measurements in the recipe card below.
How to Make Coffee Ice Cream
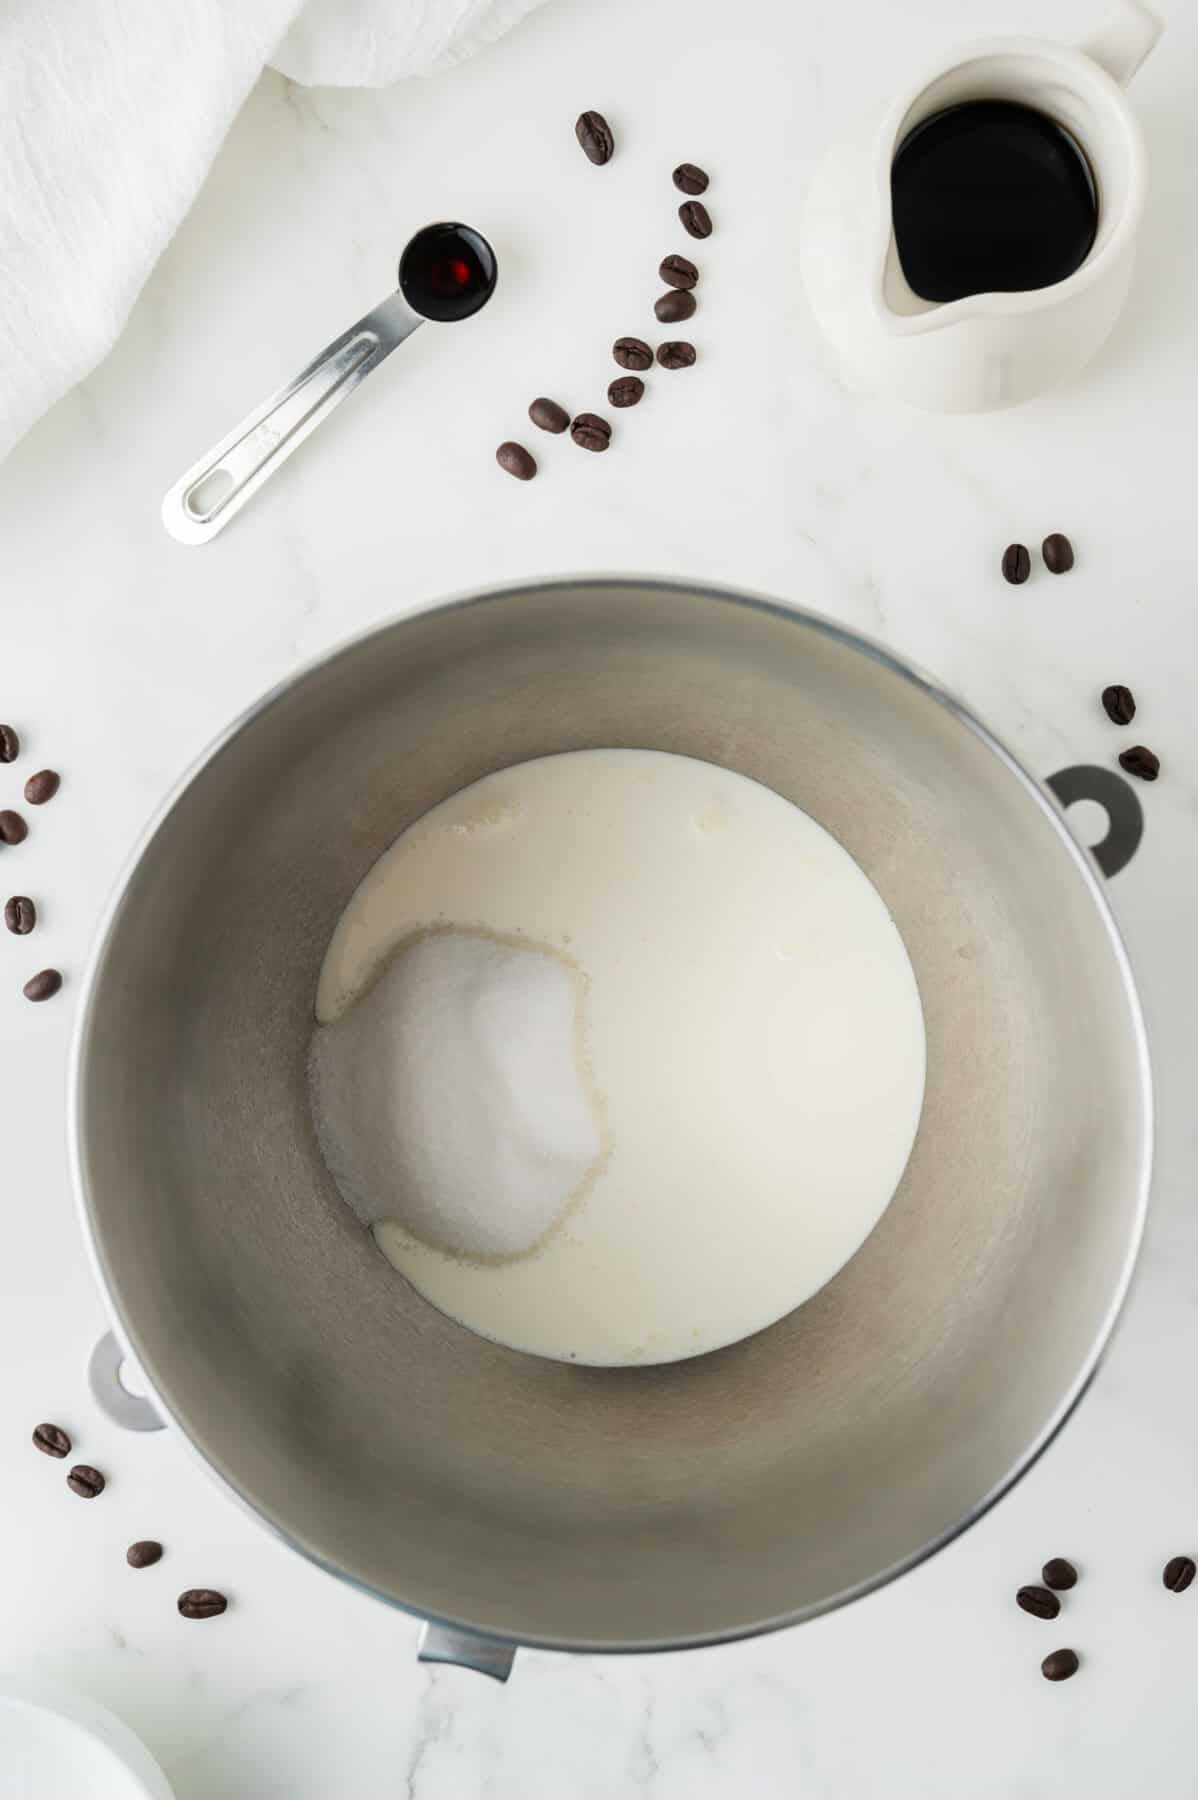
- Place your large mixing bowl in the freezer for several minutes before starting. A cold bowl helps the heavy cream whip faster, creating the best homemade coffee ice cream recipe.
- Pour the heavy cream and sugar into the chilled bowl. Using an electric mixer, beat until stiff peaks form, about 3 to 4 minutes.
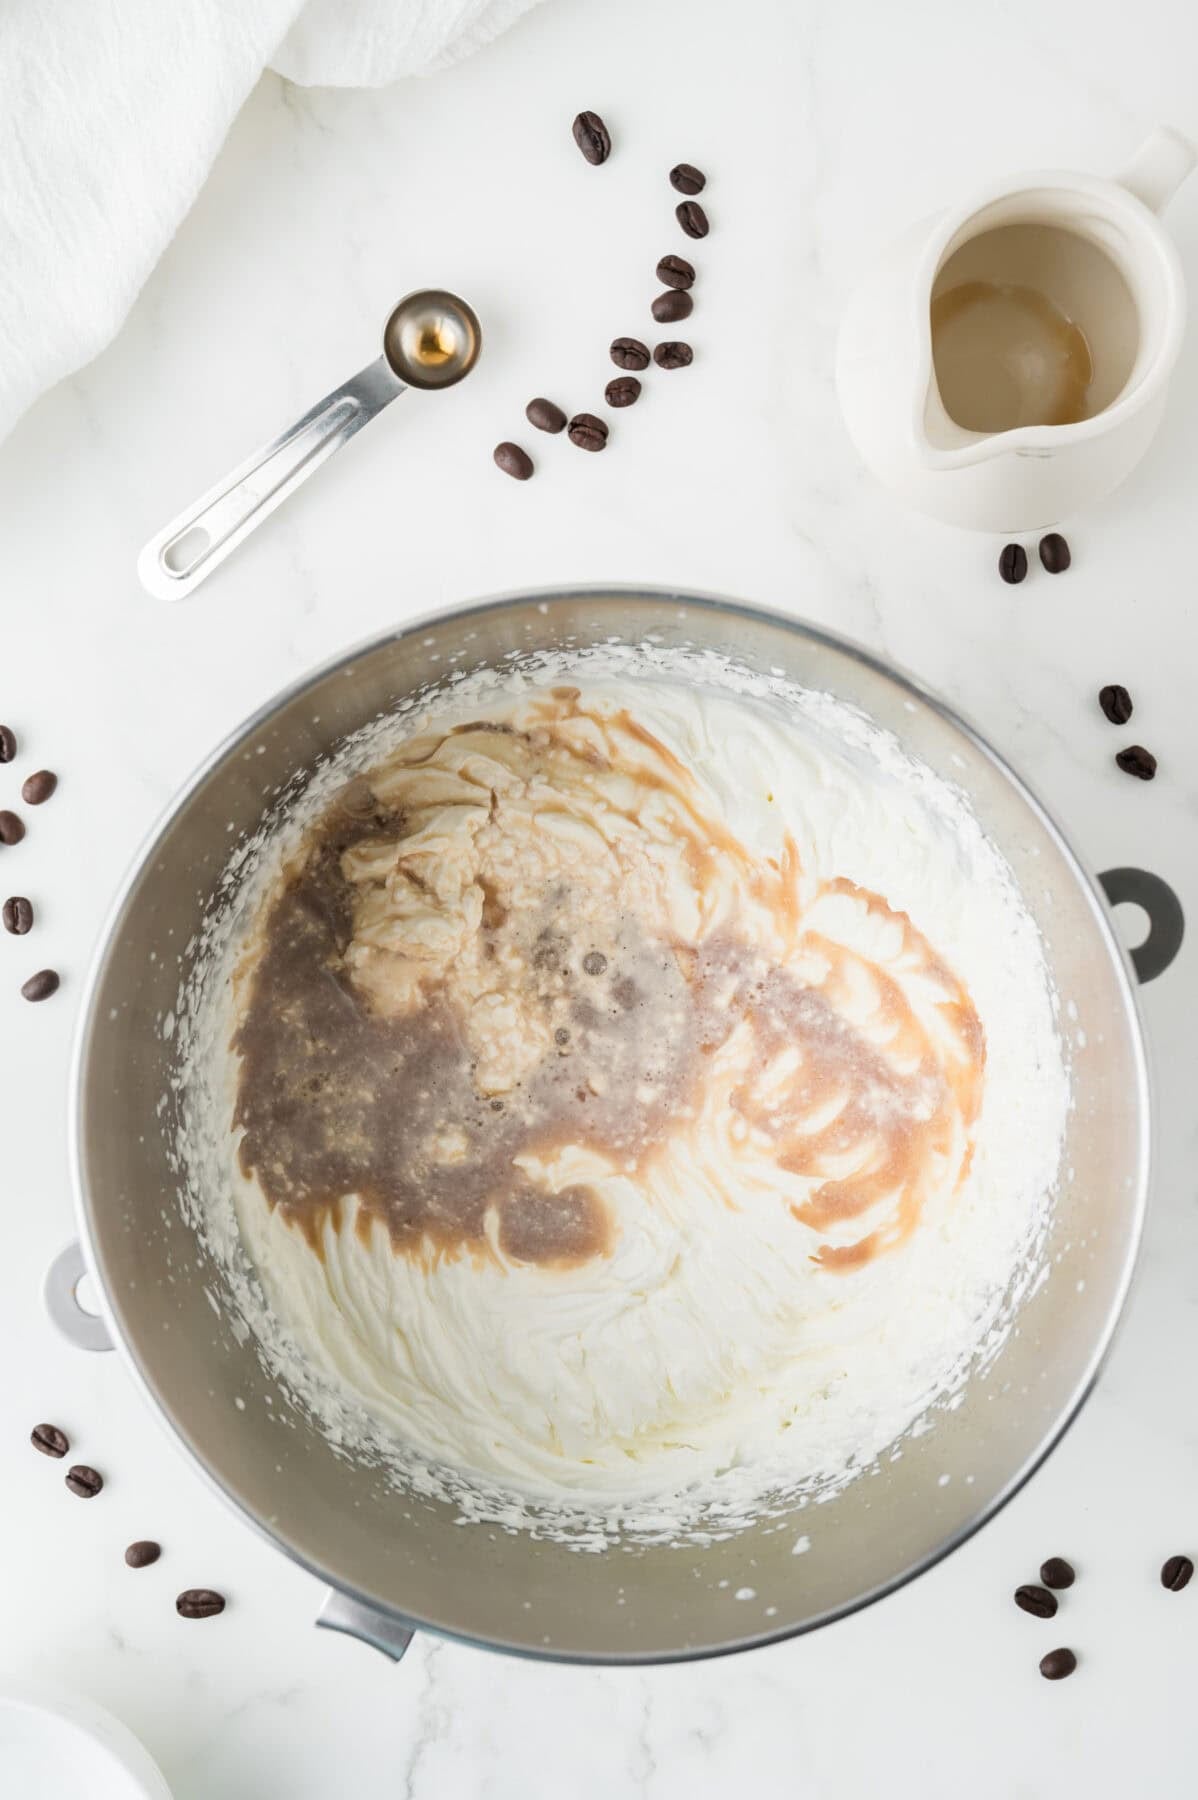
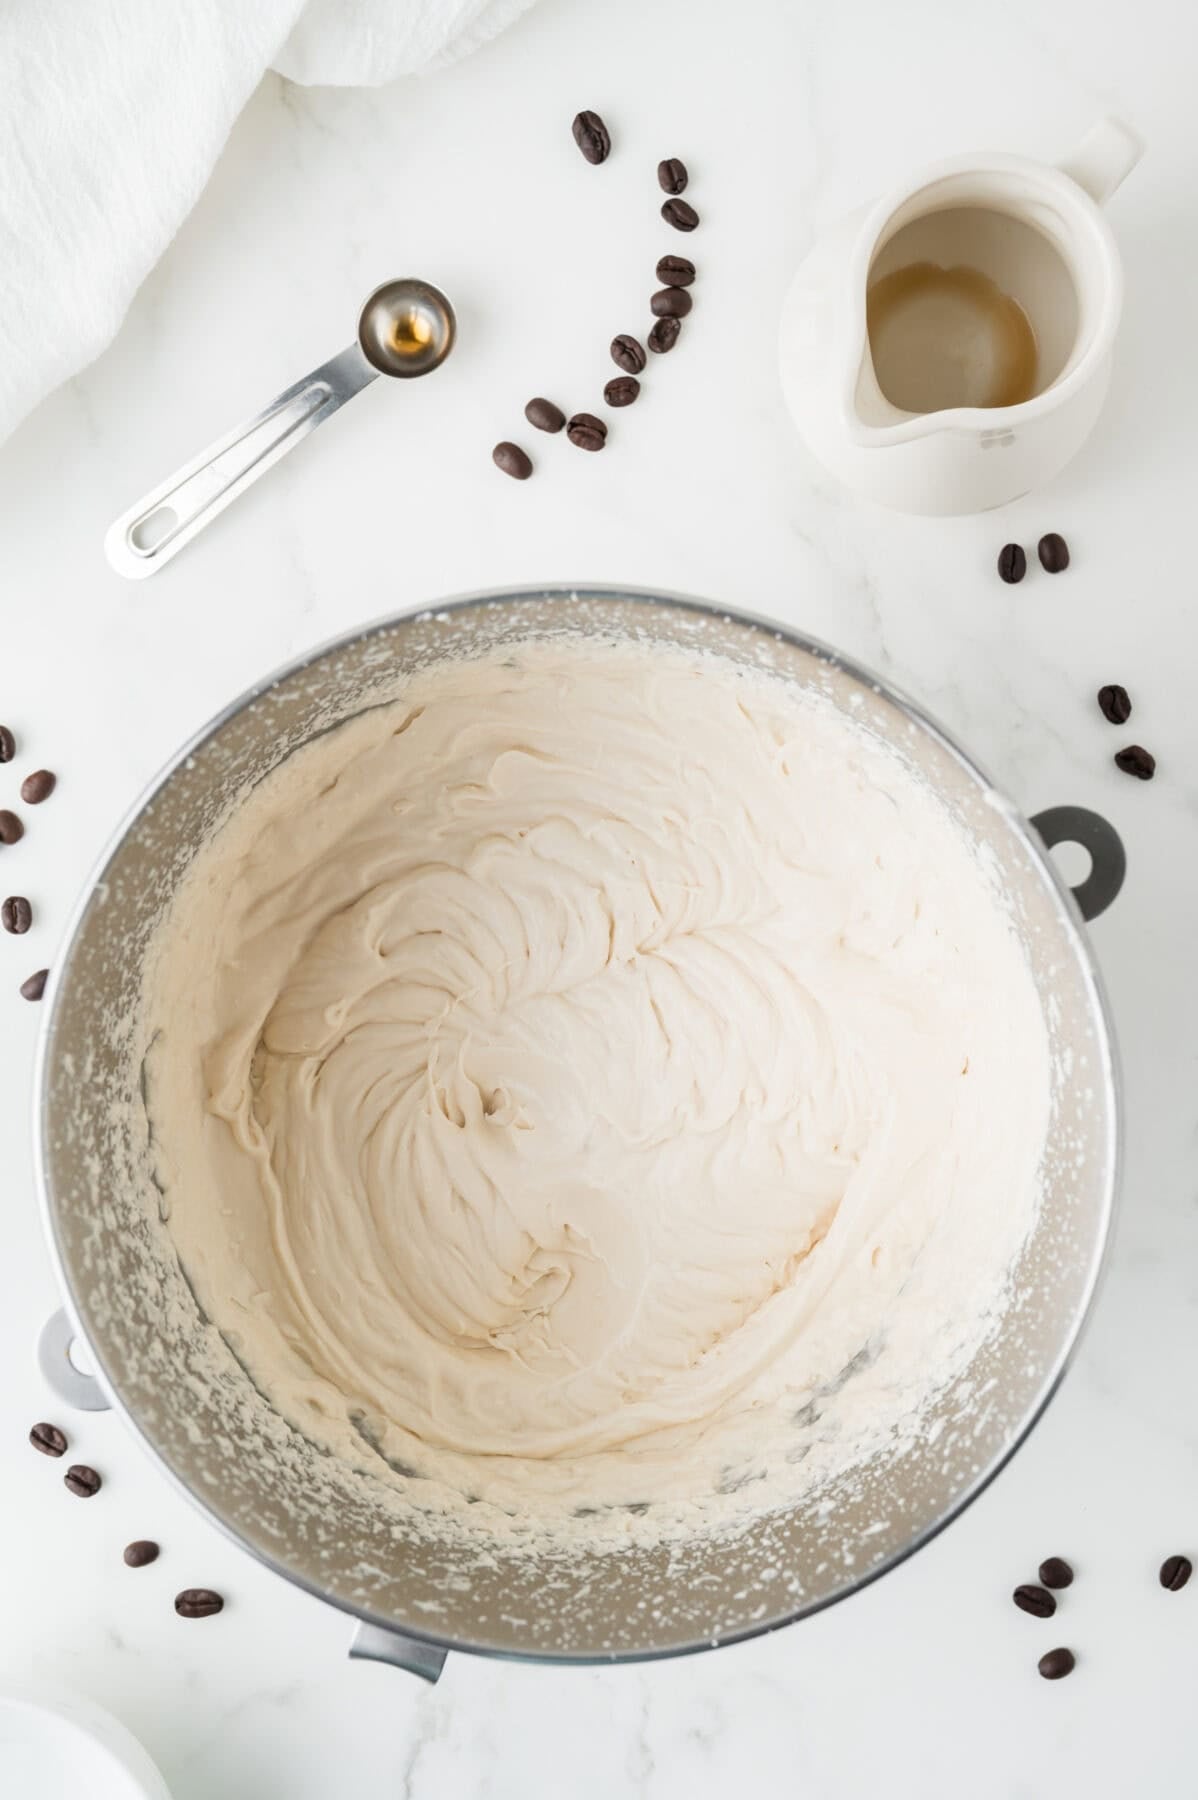
- Add the cold brewed coffee and vanilla extract. Continue mixing until the coffee ice cream mixture thickens again and soft peaks begin to firm up. The mixture will loosen slightly after adding the coffee, but keep beating until there is no visible liquid remaining.
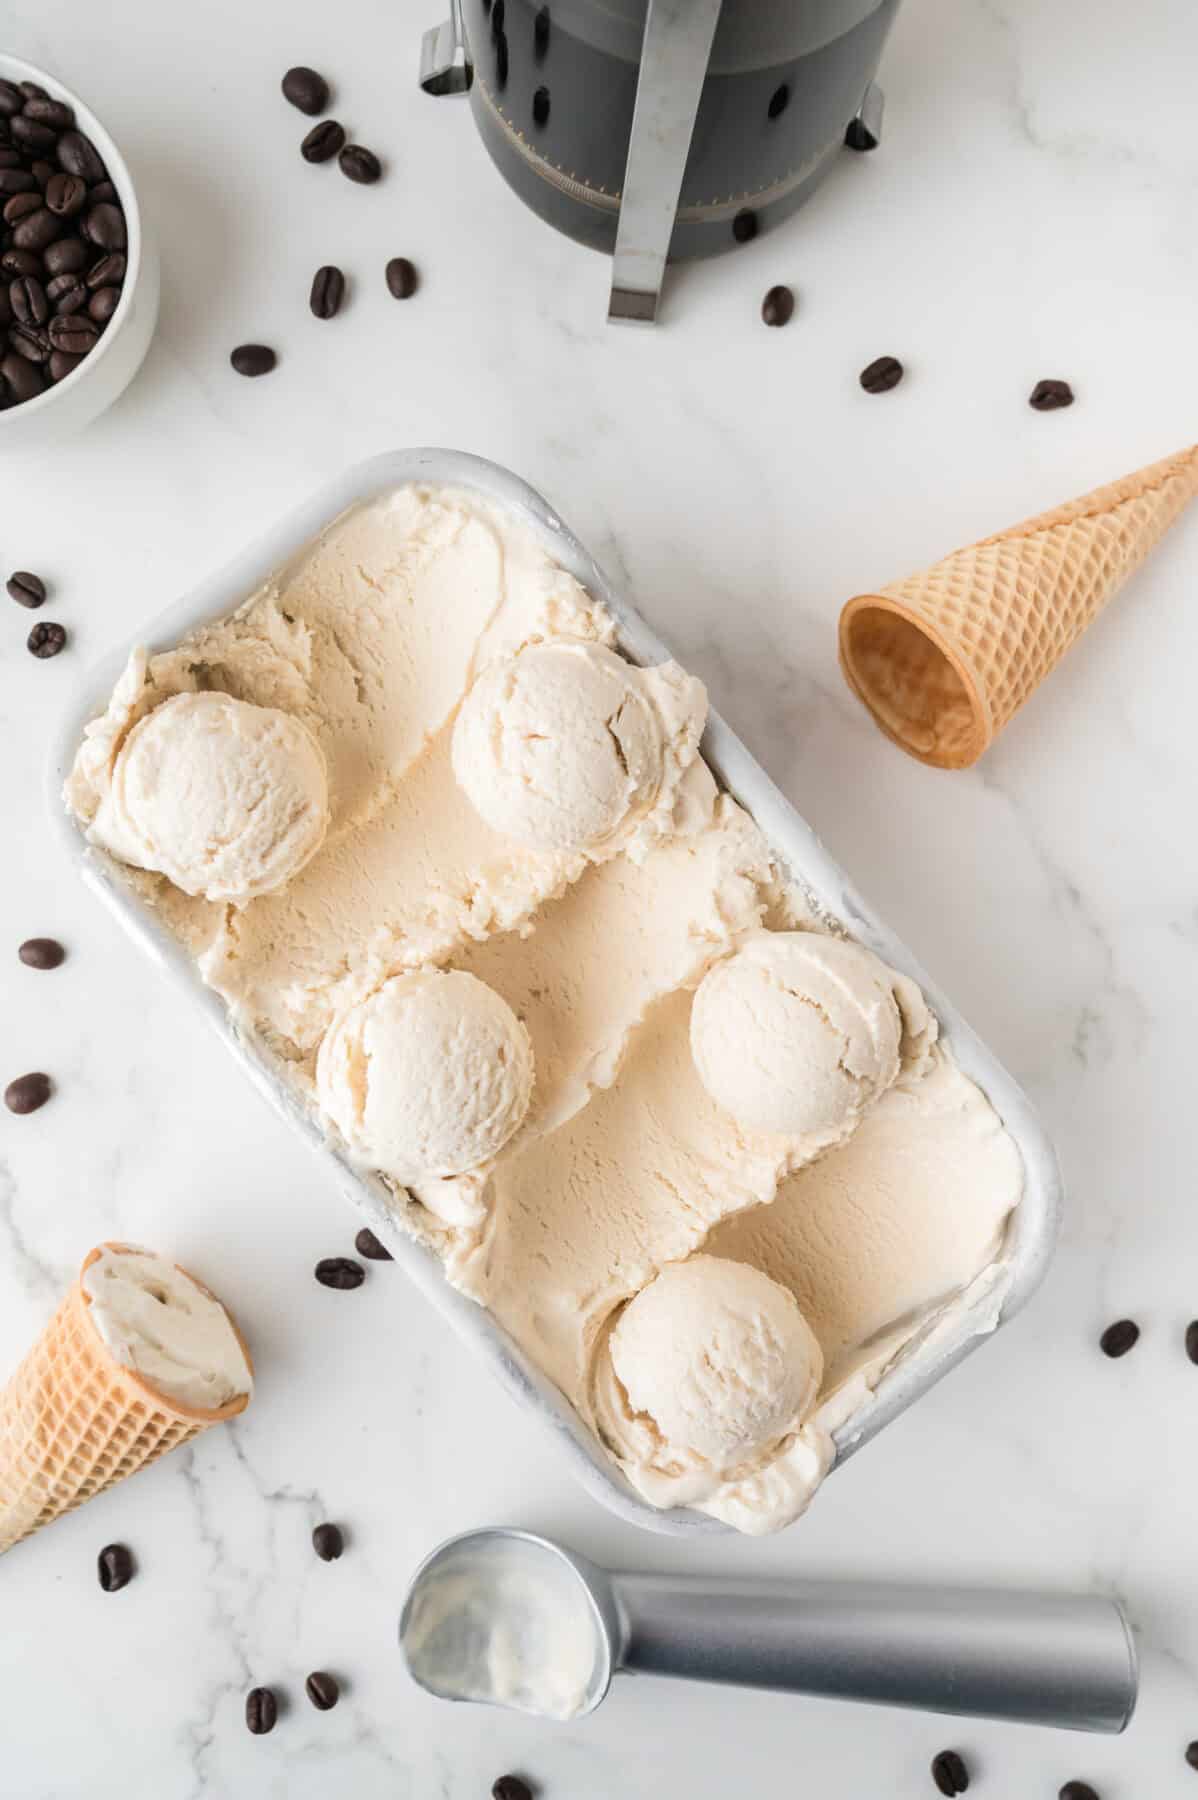
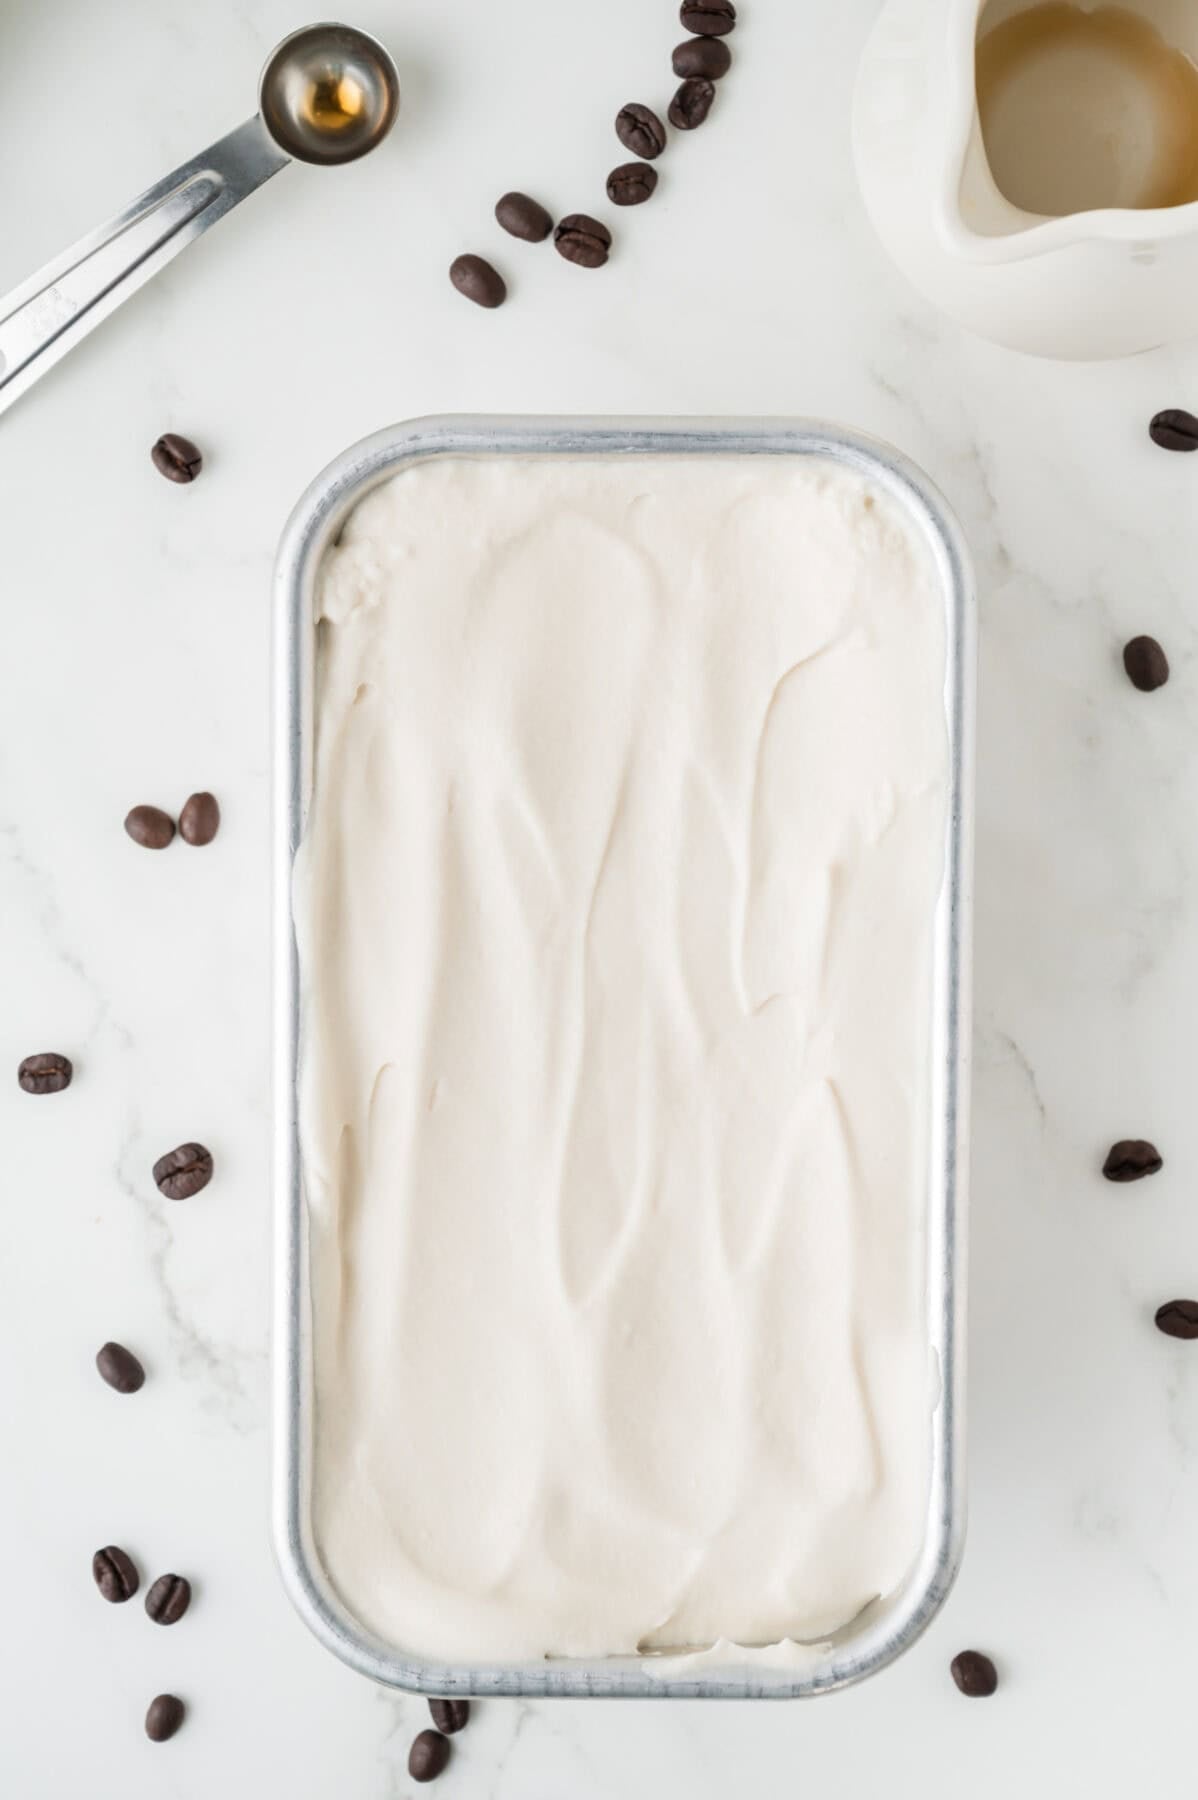
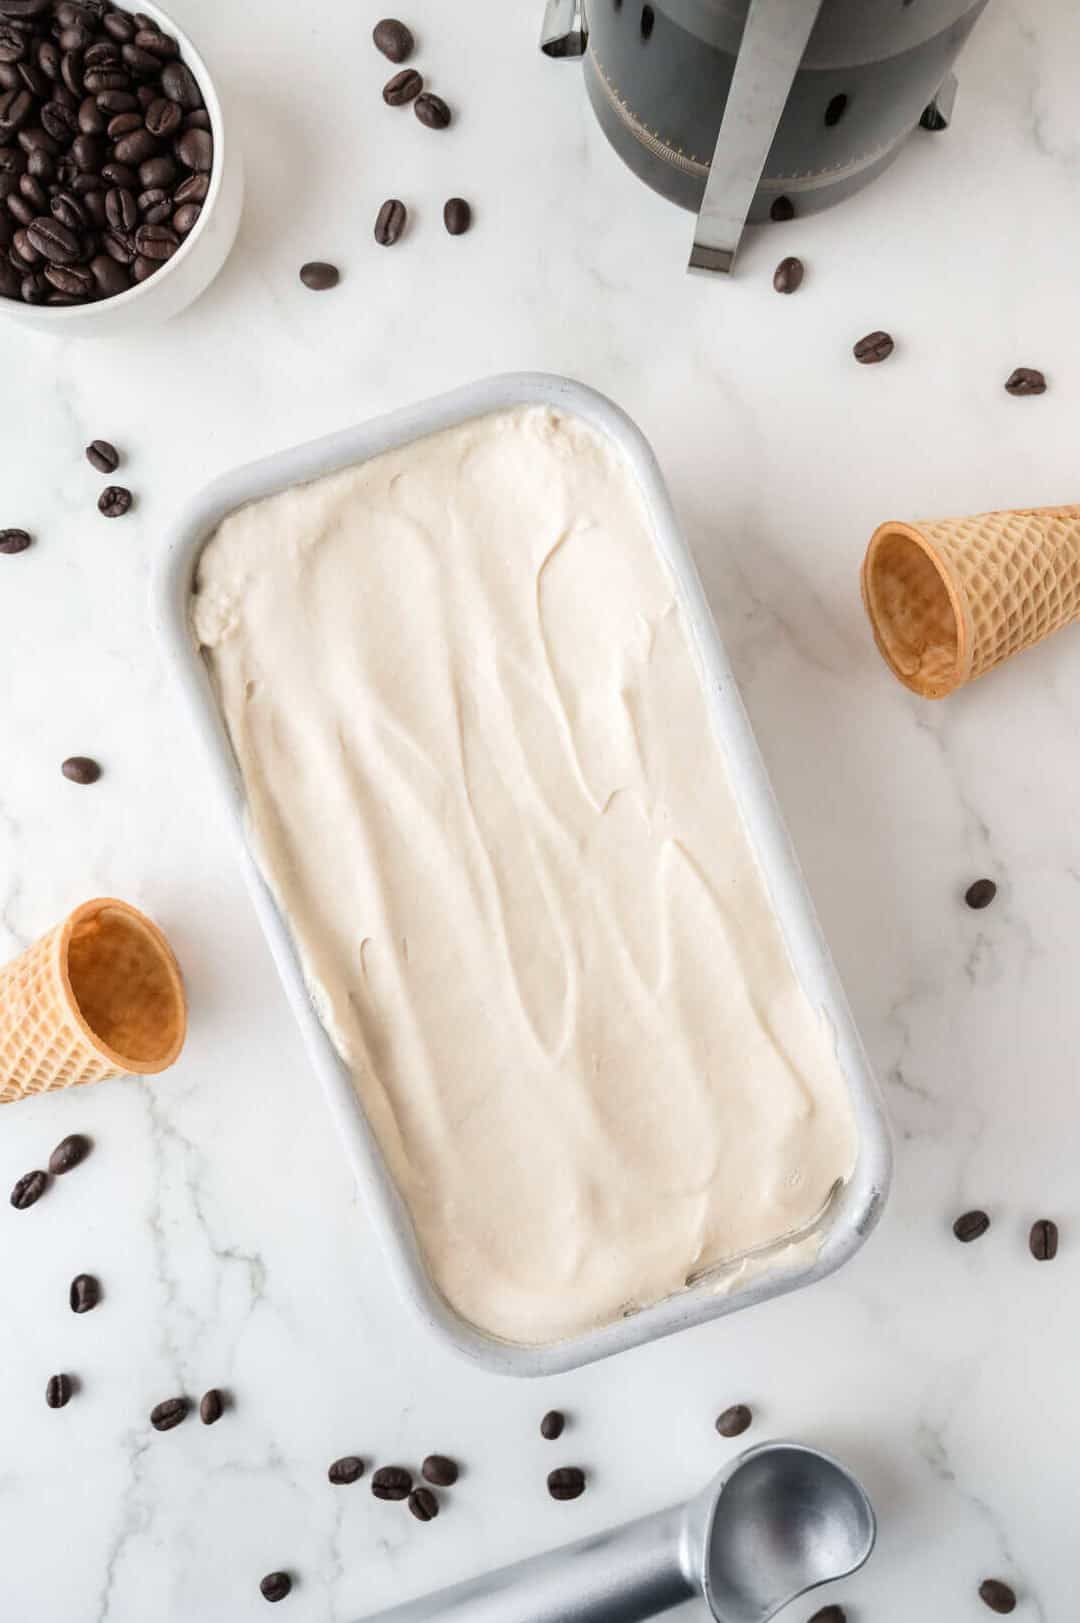
- Pour the creamy ice cream mixture into a loaf pan and smooth the top.
- Cover tightly with plastic wrap or transfer to a tightly sealed container to help prevent freezer burn and ice crystals.
- Freeze for at least 7 hours or overnight.
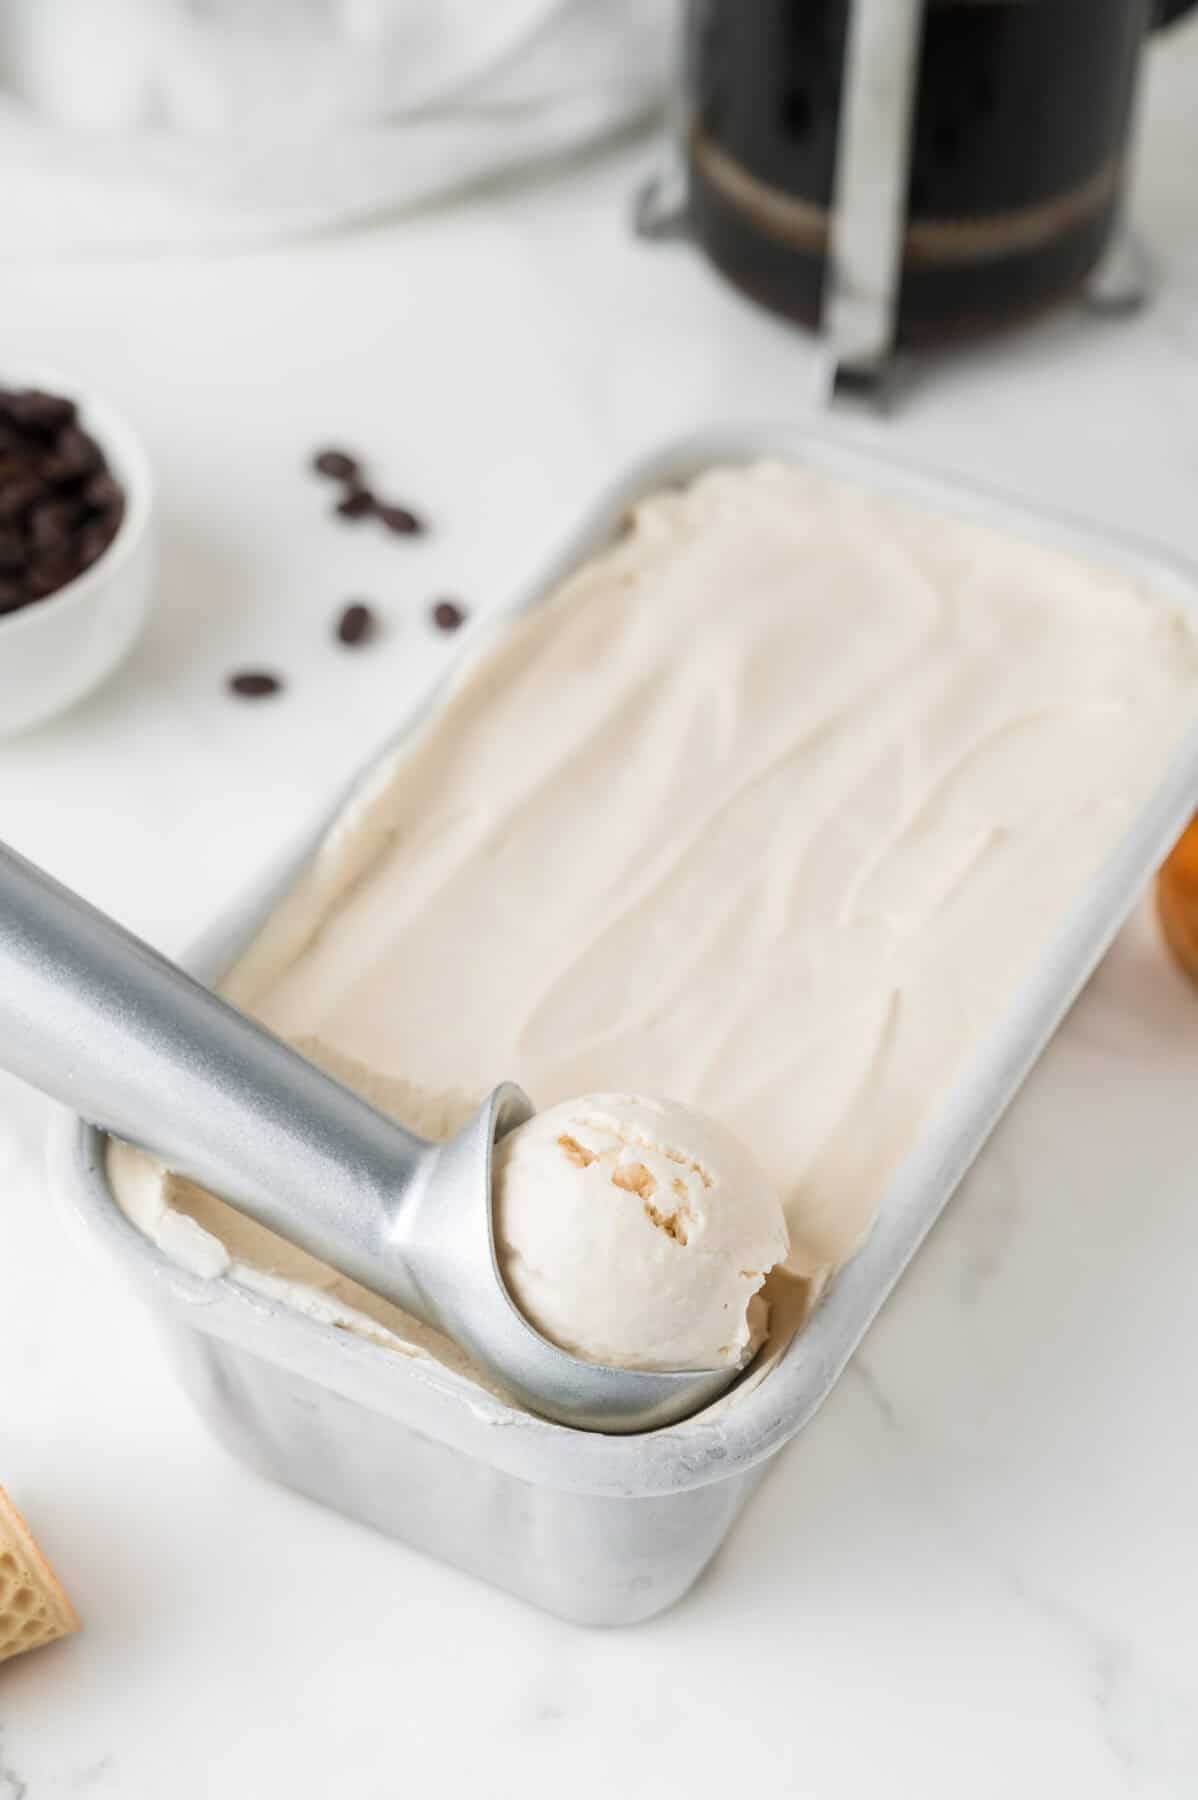
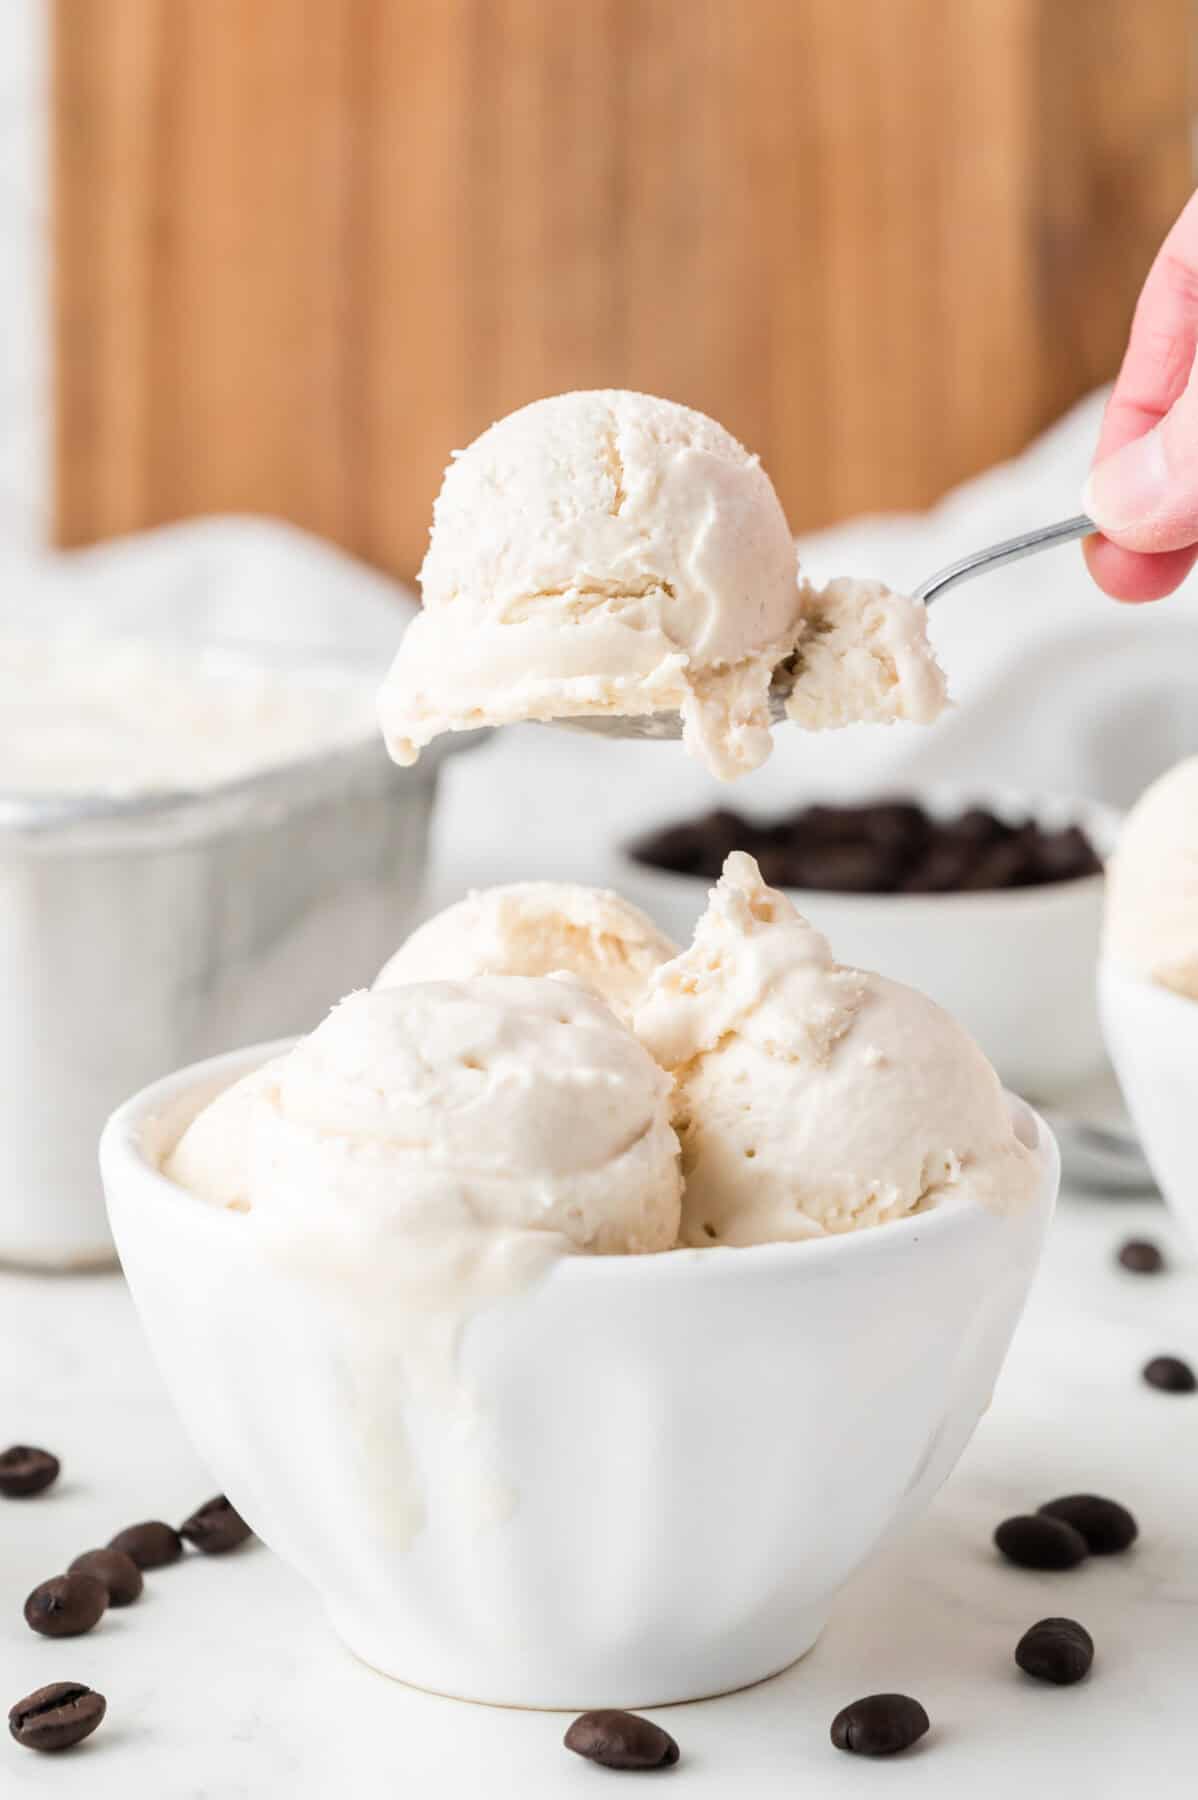
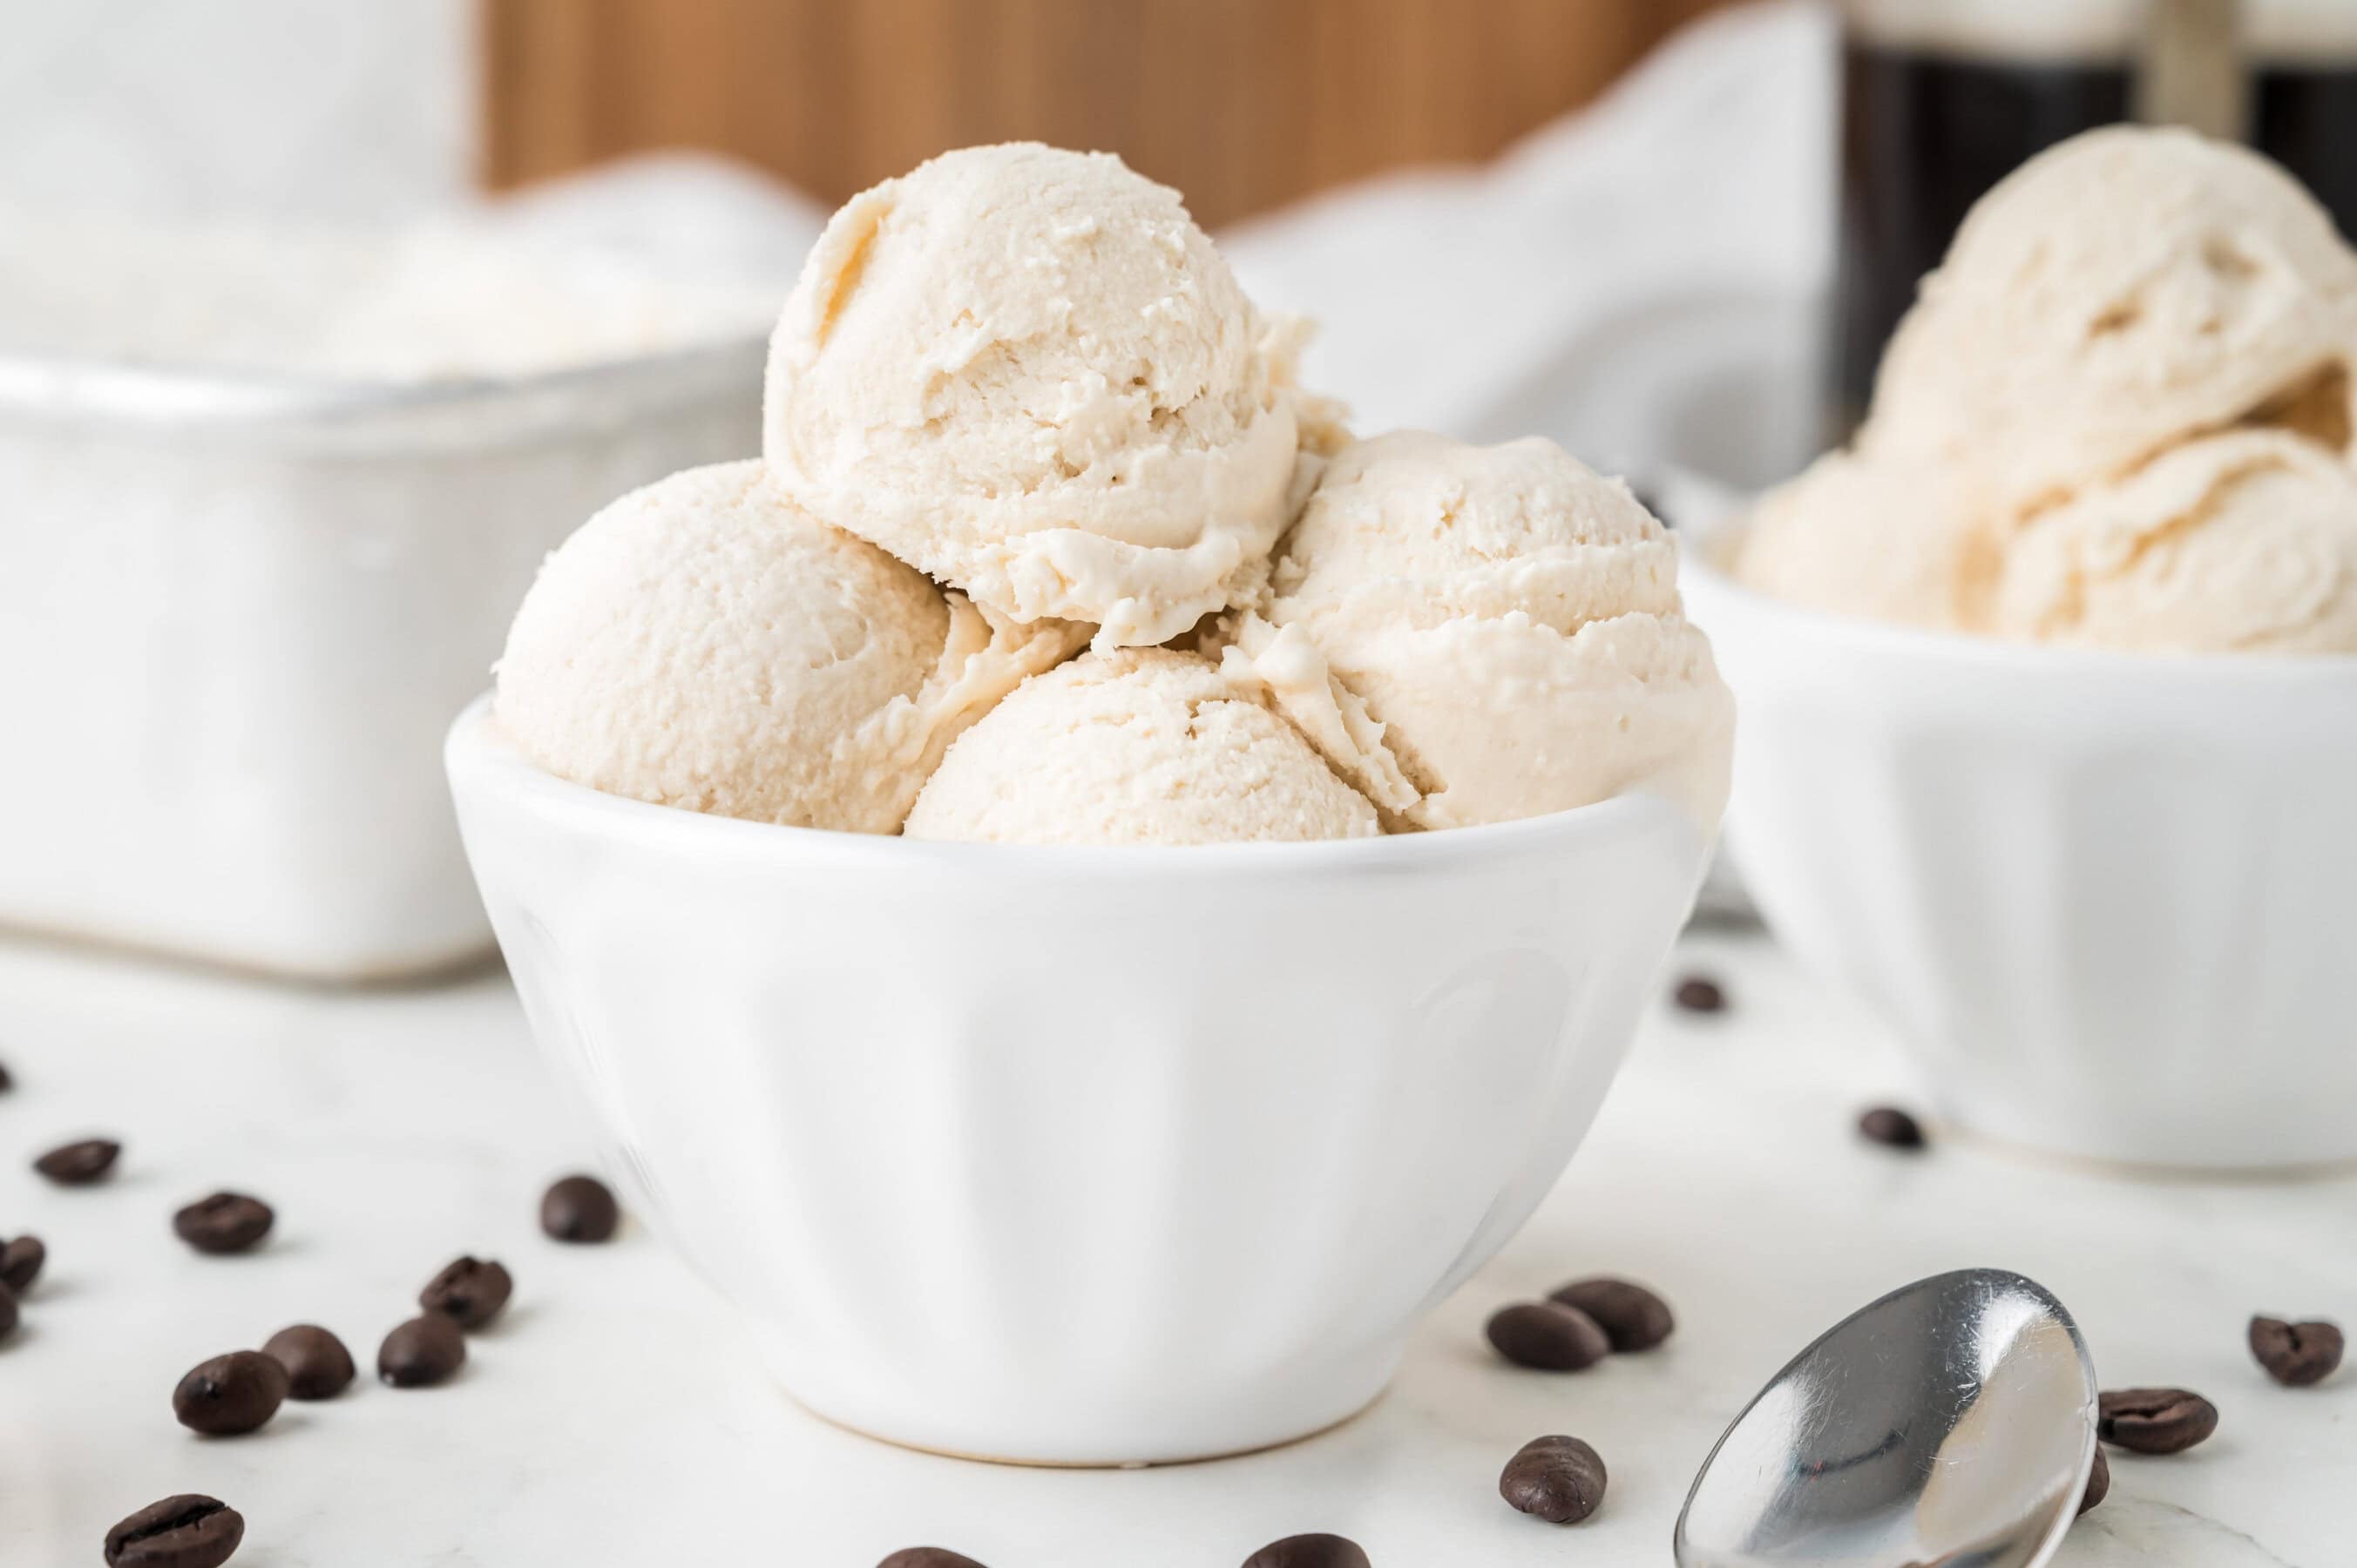
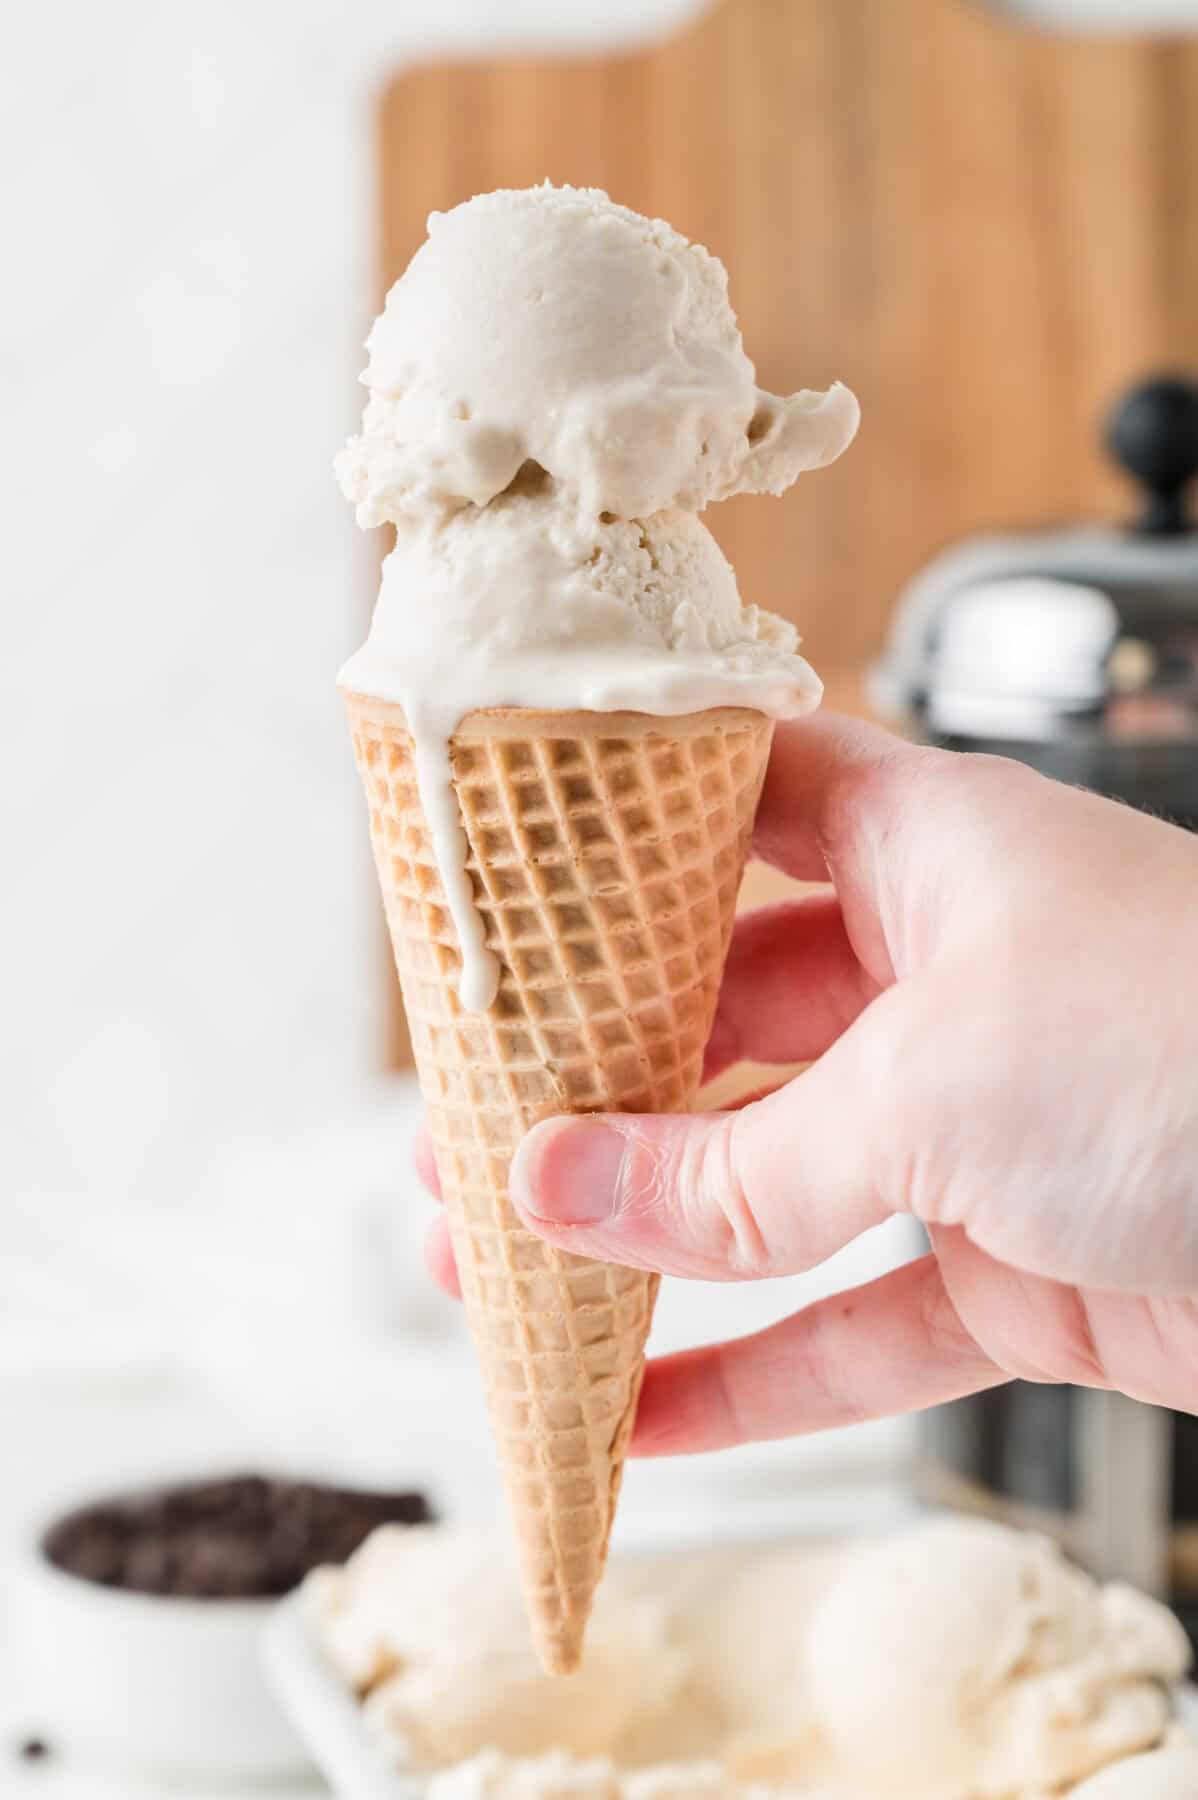
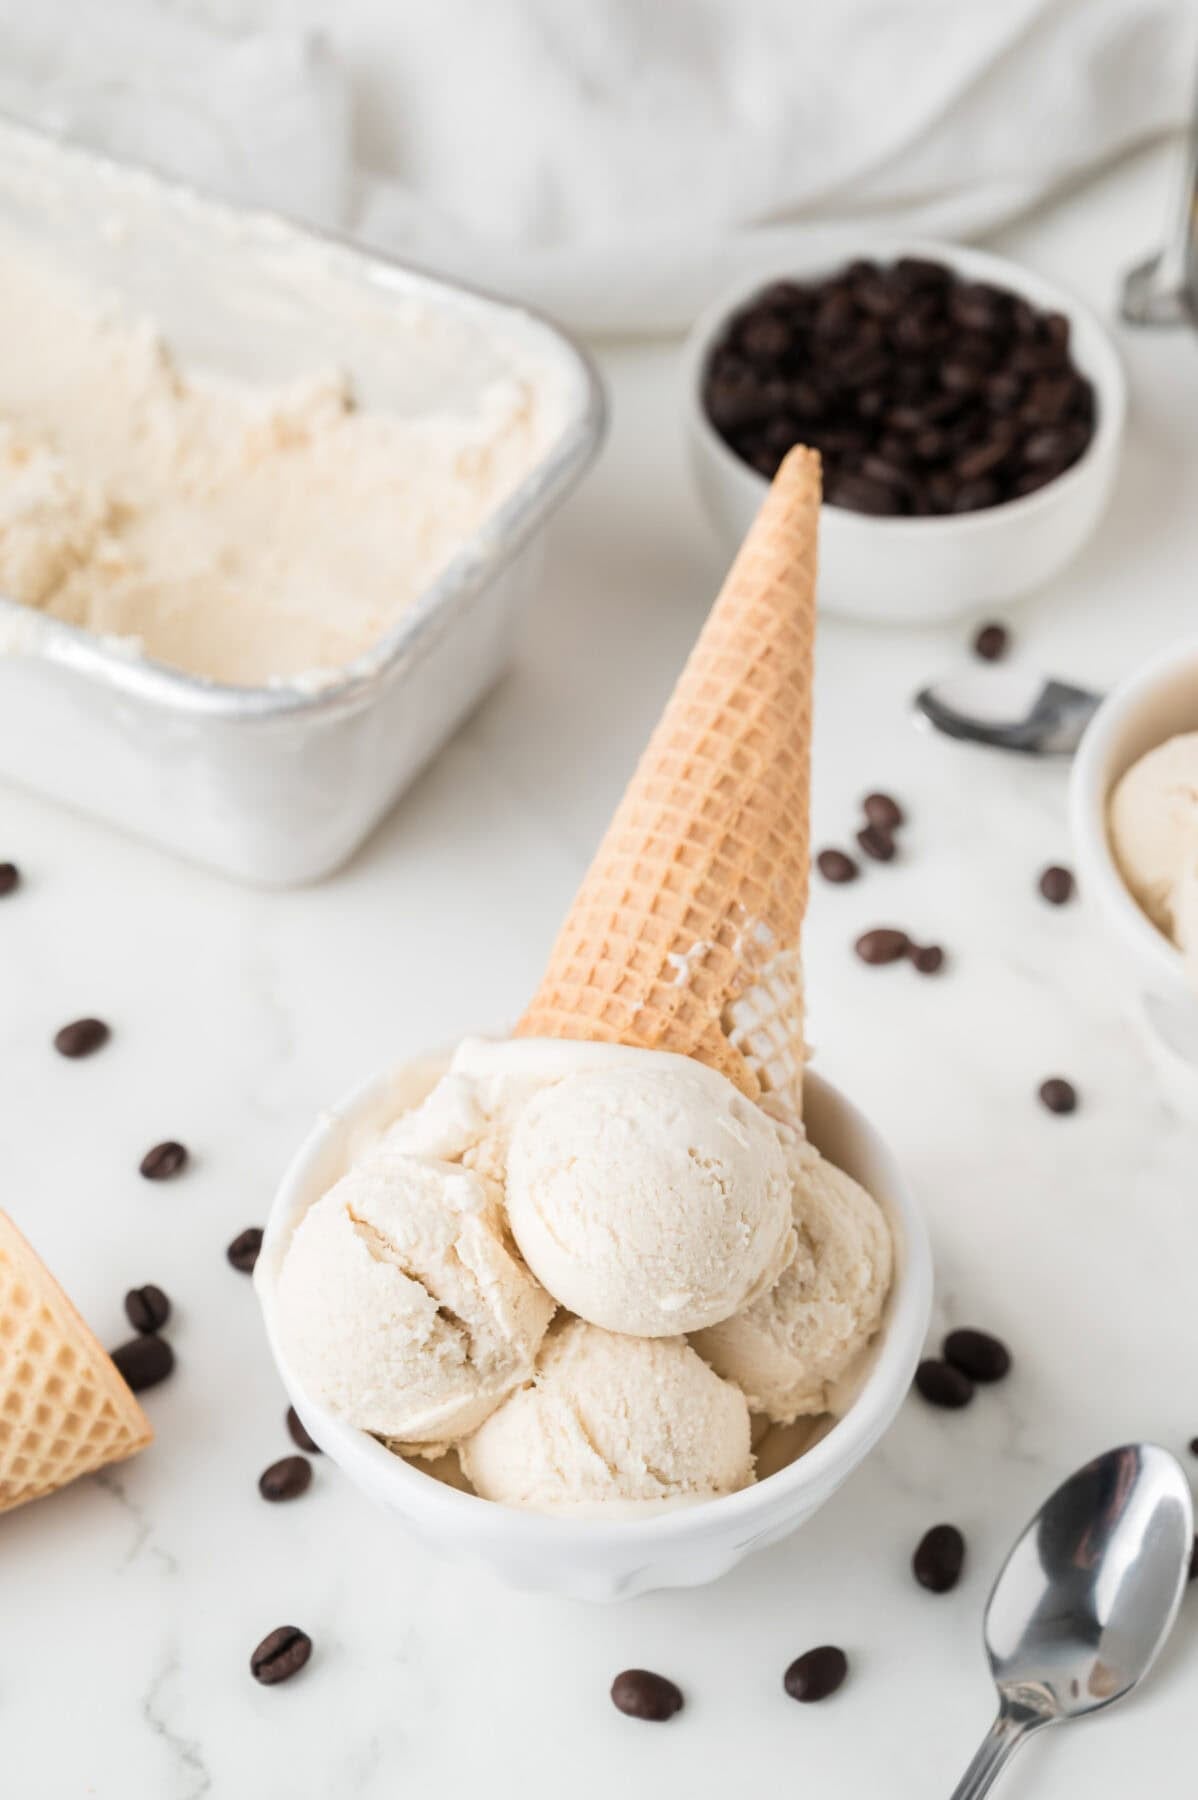
- The next day, let the ice cream sit at room temperature for 5 to 10 minutes before scooping and serving. Serve in a bowl, sugar cone or try your hand at a homemade waffle cone!
Pro Tips
- Chill your mixing bowl beforehand for faster whipping.
- Use strong coffee for the best coffee flavor.
- Don’t overmix once the coffee is added or the texture can become grainy.
- Store leftovers in an airtight container or storage container to keep the ice cream creamy.
- Add chocolate chips or crushed coffee beans for extra texture and flavor.
- Top with whipped cream for an extra indulgent dessert.
- This recipe works great in a loaf pan or any freezer-safe container.
Variations
- Chocolate Coffee Ice Cream – Fold mini chocolate chips or chunks of chocolate ice cream into the mixture before freezing.
- Mocha Flavor – Add a couple of tablespoons of chocolate syrup into the ice cream mixture before freezing and/or drizzle chocolate syrup on top to add chocolate flavor to this delicious ice cream
- Boozy Version – Add a splash of coffee liqueur for an adult dessert option.
Storage Instructions
Store your homemade ice cream in a tightly sealed airtight container in the freezer.
For the creamiest texture, place plastic wrap directly on top of the ice cream before sealing the container. This helps reduce ice crystals and freezer burn.
Enjoy within 1 to 2 weeks for best results.
Frequently Asked Questions
How strong does the coffee need to be?
This recipe was tested using coffee brewed with 2 tablespoons of ground coffee per cup of water. It gives the ice cream a delicious coffee flavor without being too strong.
How will I know it’s done freezing?
The no-churn ice cream is ready when you can insert a butter knife into the center and it comes out clean without liquid or overly soft ice cream attached.
Can you really taste the coffee flavor?
Absolutely! The coffee flavor is noticeable and delicious while still balanced by the creamy vanilla flavor.
How firm should the mixture be before freezing?
You should be able to get the mixture to a point where there is no liquid and all of the ingredients are starting to form firm peaks, but it will not firm up as much as the stiff peaks you got when you beat together just the heavy cream and sugar.
How long does it take to thaw?
Usually about 5 to 10 minutes at room temperature is enough to soften it for easy scooping.
Yes — if the coffee you use to make it has caffeine, then the ice cream will have caffeine too!
The amount of caffeine will depend on the type of coffee you use and how strong it’s brewed. For a caffeine-free option, see below.
Can I Use Decaf Coffee?
Absolutely! You can easily make this Coffee Ice Cream with decaffeinated coffee if you want all the delicious coffee flavor without the caffeine. Simply substitute your favorite decaf brewed coffee or even decaf instant coffee granules in the same amount listed in the recipe.
This is also a good idea when serving kids, enjoying a late-night dessert, or sharing with anyone sensitive to caffeine. The result still has that creamy coffee shop flavor and delicious coffee ice cream taste!
More Frozen Dessert Recipes
Looking for more creamy ice cream and frozen treats? Try these next time:
This easy coffee flavored ice cream is one of those recipes you’ll want to make again and again. With simple ingredients, rich coffee flavor, and no ice cream machine required, it’s the perfect homemade dessert for coffee lovers everywhere.

Homemade No-Churn Coffee Ice Cream Recipe
Description
This creamy, dreamy Coffee Ice Cream is the perfect frozen treat for coffee lovers! Made with simple ingredients like heavy cream, strong brewed coffee, sugar, and vanilla, this no churn coffee ice cream recipe comes together in just minutes. The end result tastes like a vanilla bean frappuccino with espresso… but in rich, creamy ice cream form. It’s cold, smooth, loaded with delicious coffee flavor, and has the perfect amount of sweetness for an easy homemade dessert.
Ingredients
- 2 cups Heavy Cream
- 1 cup Granulated Sugar
- 3/4 cup Coffee, strongly brewed & cold
- 1 teaspoon Vanilla
Instructions
- In a cold mixing bowl, beat together the heavy cream and sugar until firm peaks form, about 3-4 minutes.
- Then add in the coffee and vanilla and beat again until peaks start to firm again, about 5 or so minutes.
- Pour the mixture into your loaf pan and let set in the freezer for 7+ hours.
- Once the 7+ hours are up, or you let it freezer overnight, let thaw and enjoy in bowls or cones!

Notes
- Chill your mixing bowl beforehand for faster whipping.
- Use strong coffee for the best coffee flavor.
- Don’t overmix once the coffee is added or the texture can become grainy.
- Store leftovers in an airtight container or storage container to keep the ice cream creamy.
- Add chocolate chips or crushed coffee beans for extra texture and flavor.
- Top with whipped cream for an extra indulgent dessert.
- This recipe works great in a loaf pan or any freezer-safe container.
Nutrition
- Serving Size: 3/4 cup
- Calories: 321
- Sugar: 41.4 g
- Sodium: 14.1 mg
- Fat: 17.3 g
- Carbohydrates: 41.4 g
- Fiber: 0 g
- Protein: 1.4 g
- Cholesterol: 54.2 mg


Rose, thank you for sharing this amazing recipe with us at SSPS 415. You are being featured on Monday
Thanks so much!! xo
Coffee ice cream? Yum. No churn? Yes! This looks delish. Featuring when my link party opens. Thanks for sharing!
What can I replace the heavy cream with to make it non dairy?
Thanks for asking! I haven’t personally tested a dairy-free version, but a plant-based heavy whipping cream alternative should give you the closest results. Full-fat canned coconut cream may also work, though it will add a coconut flavor. I wouldn’t recommend using regular non-dairy milks like almond or oat milk, since they won’t whip the same way and the texture will be quite different. If you give it a try, I’d love to hear how it turns out! 😊