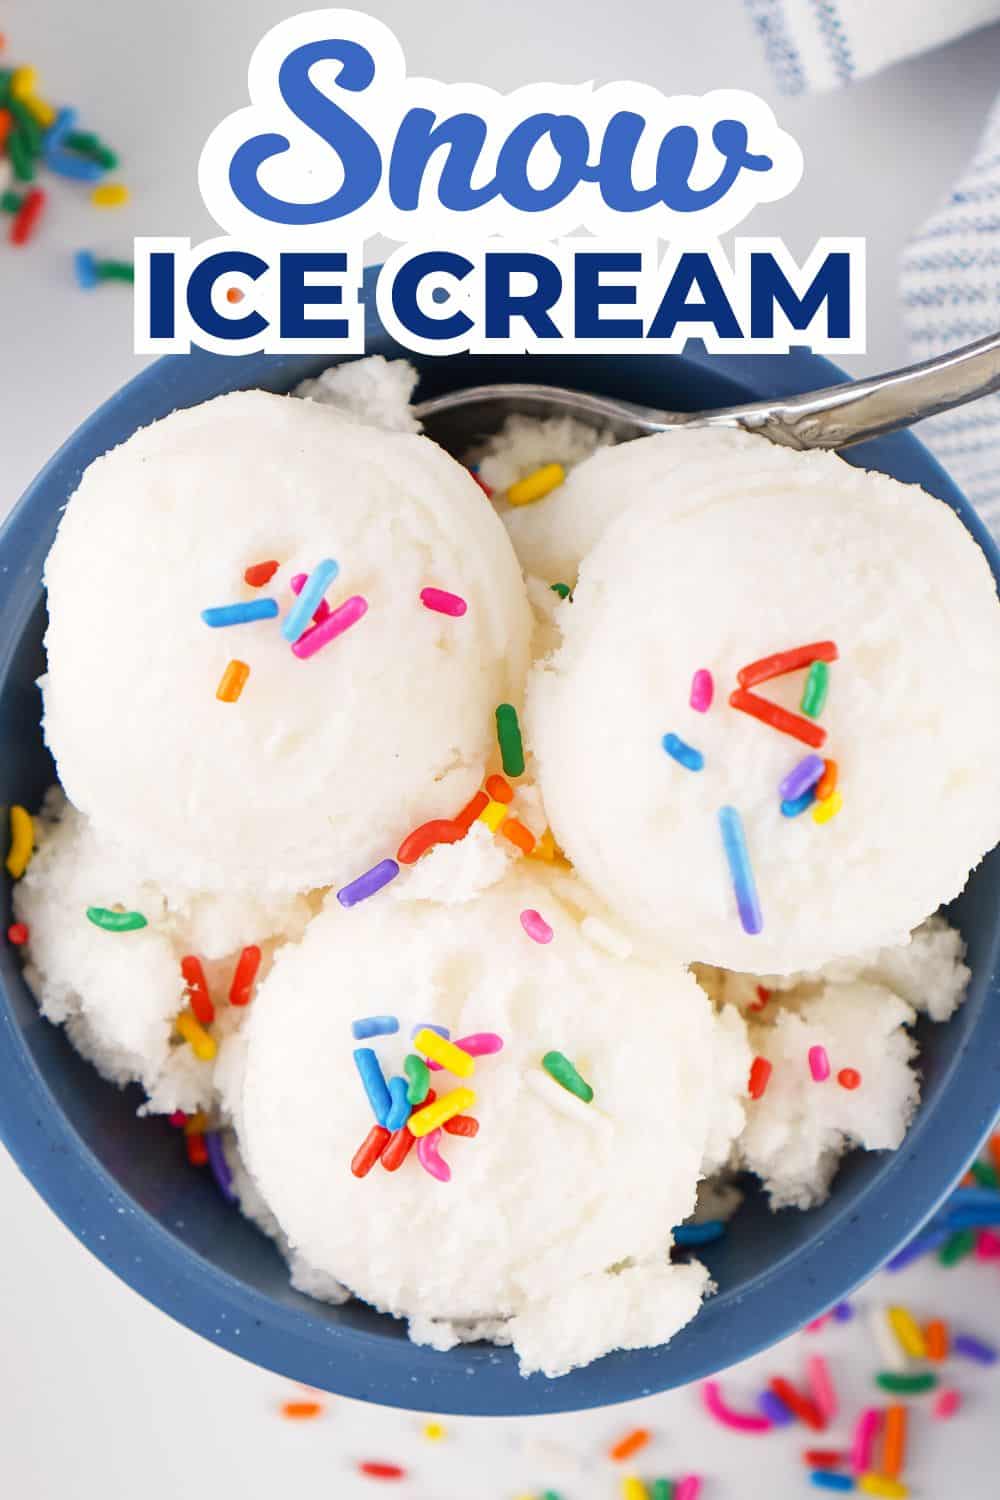
How to Make Snow Ice Cream (Easy Recipe)
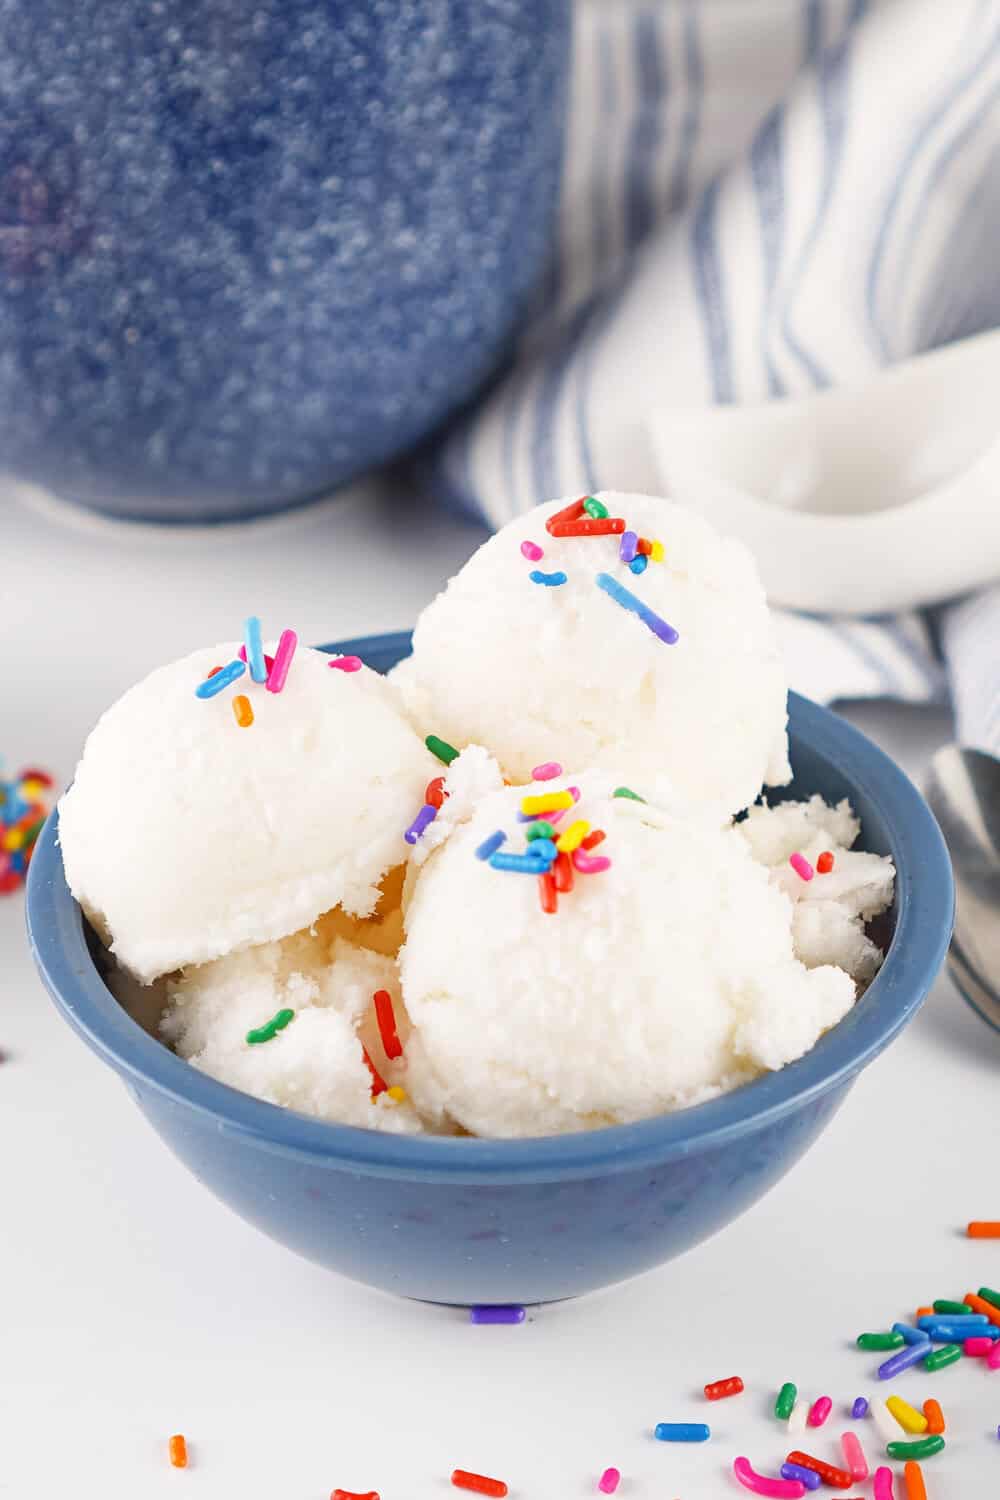
Snow Ice Cream is a fun, nostalgic winter treat that many people remember from childhood. Recipes can vary depending on where you’re from, but this version is a classic, simple recipe that anyone can make. With just milk, sugar, and vanilla mixed into fresh, ice-cold snow, it’s an easy way to turn a snowy day into a little bit of winter magic.
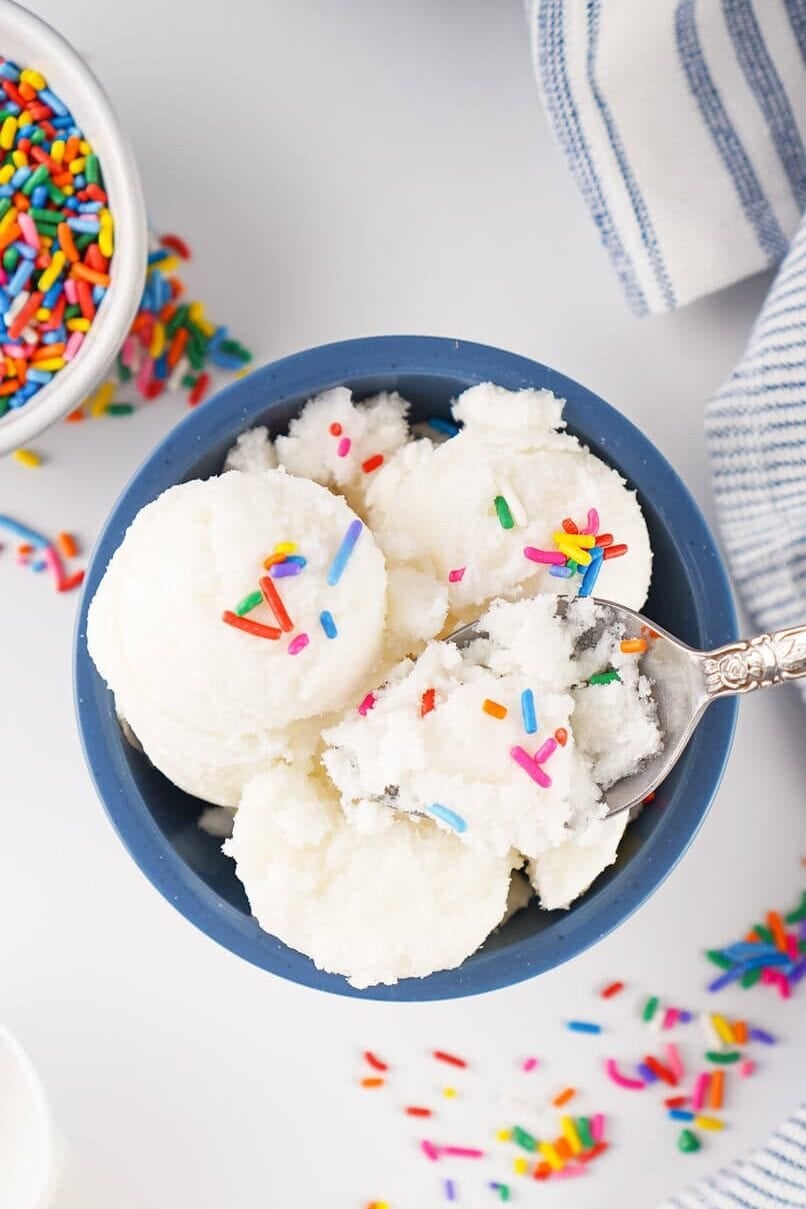
Snow Ice Cream
There’s got to be something magical about waking up to a snow day and looking out the window to see several inches of snow blanketing your yard. Growing up in southern Mississippi, this is not something I got to experience very often, but we did make Snow Ice Cream when we lived in Idaho, and if we are lucky enough to get a little snow here, it’s certainly something we bring back!
I mentioned this in my email newsletter, but during the most recent ice storm, we didn’t get any ice or snow at my house. But my friend Shannon did, and she was kind enough to make this recipe and share it!
For many families, if you are lucky enough to live in places with real winter, the first snow of the season means one thing: it’s time to whip up this recipe for snow ice cream!
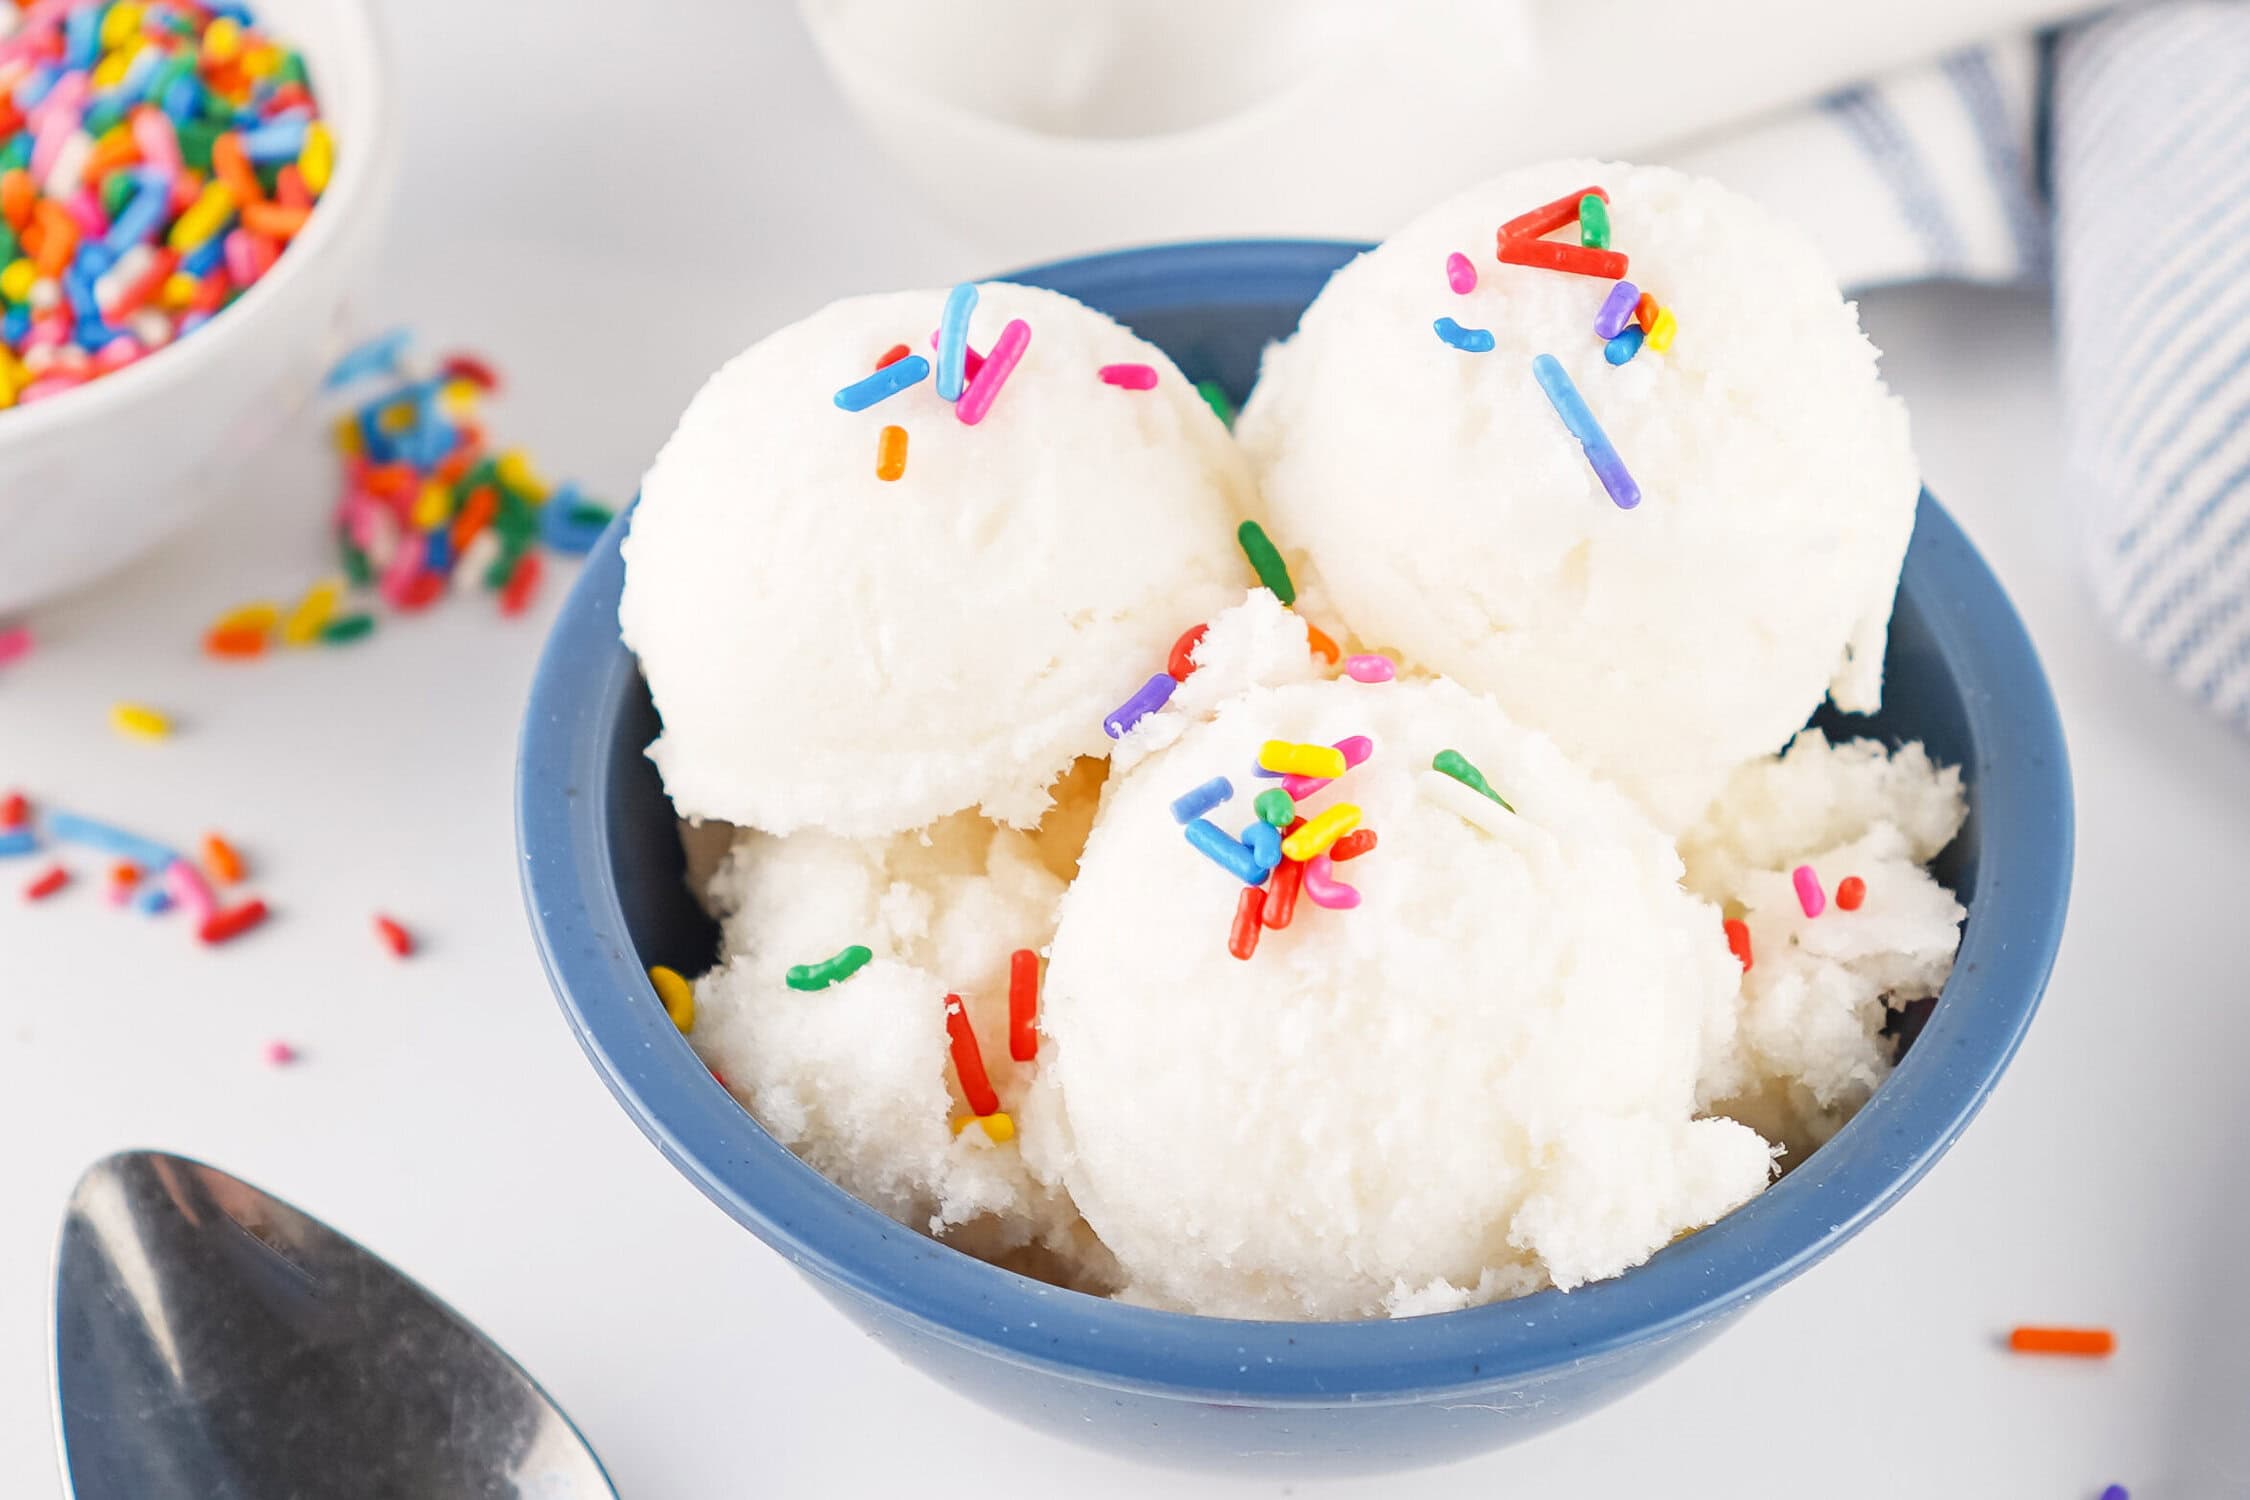
This easy snow ice cream recipe turns fresh, fluffy snow into a delicious, sweet treat! Unlike store-bought ice cream or traditional ice cream that requires an ice cream maker, this homemade snow cream is one of the most fun things you can make with the kids.
The best part? You only need simple ingredients that you probably already have in your kitchen.
Reasons to Love Snow Ice Cream
- Perfect for Snow Days: When school or work is canceled, snow cream ice cream is one of the easiest ways to have a lot of fun, make the most of a snowy day, and create a family tradition.
- Quick and Easy: This recipe comes together in about 5 minutes with very little prep or cleanup.
- A Fun Family Activity: Letting the kids help gather the white stuff is part of the fun and makes it feel extra special.
- Simple Ingredients: Just milk, sugar, vanilla, and snow, no long ingredient lists or hard-to-pronounce extras.
- More Than a Dessert: It’s not just about eating it; it’s about the experience of making something together from fresh snow.
- Completely Customizable: Use different types of milk, add toppings, or adjust the consistency to fit your family.
Tools Needed
- Large Bowls
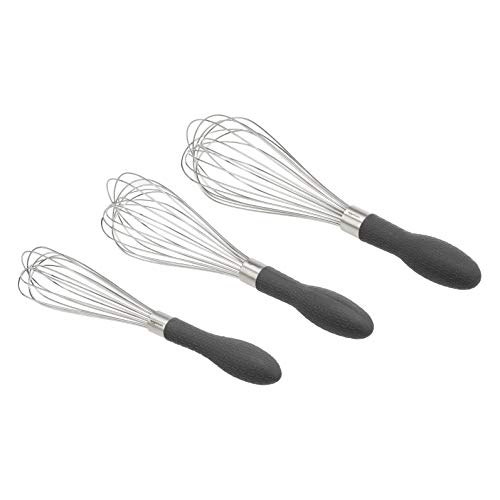
- Whisk or Hand Mixer
- Measuring Cups and Spoons
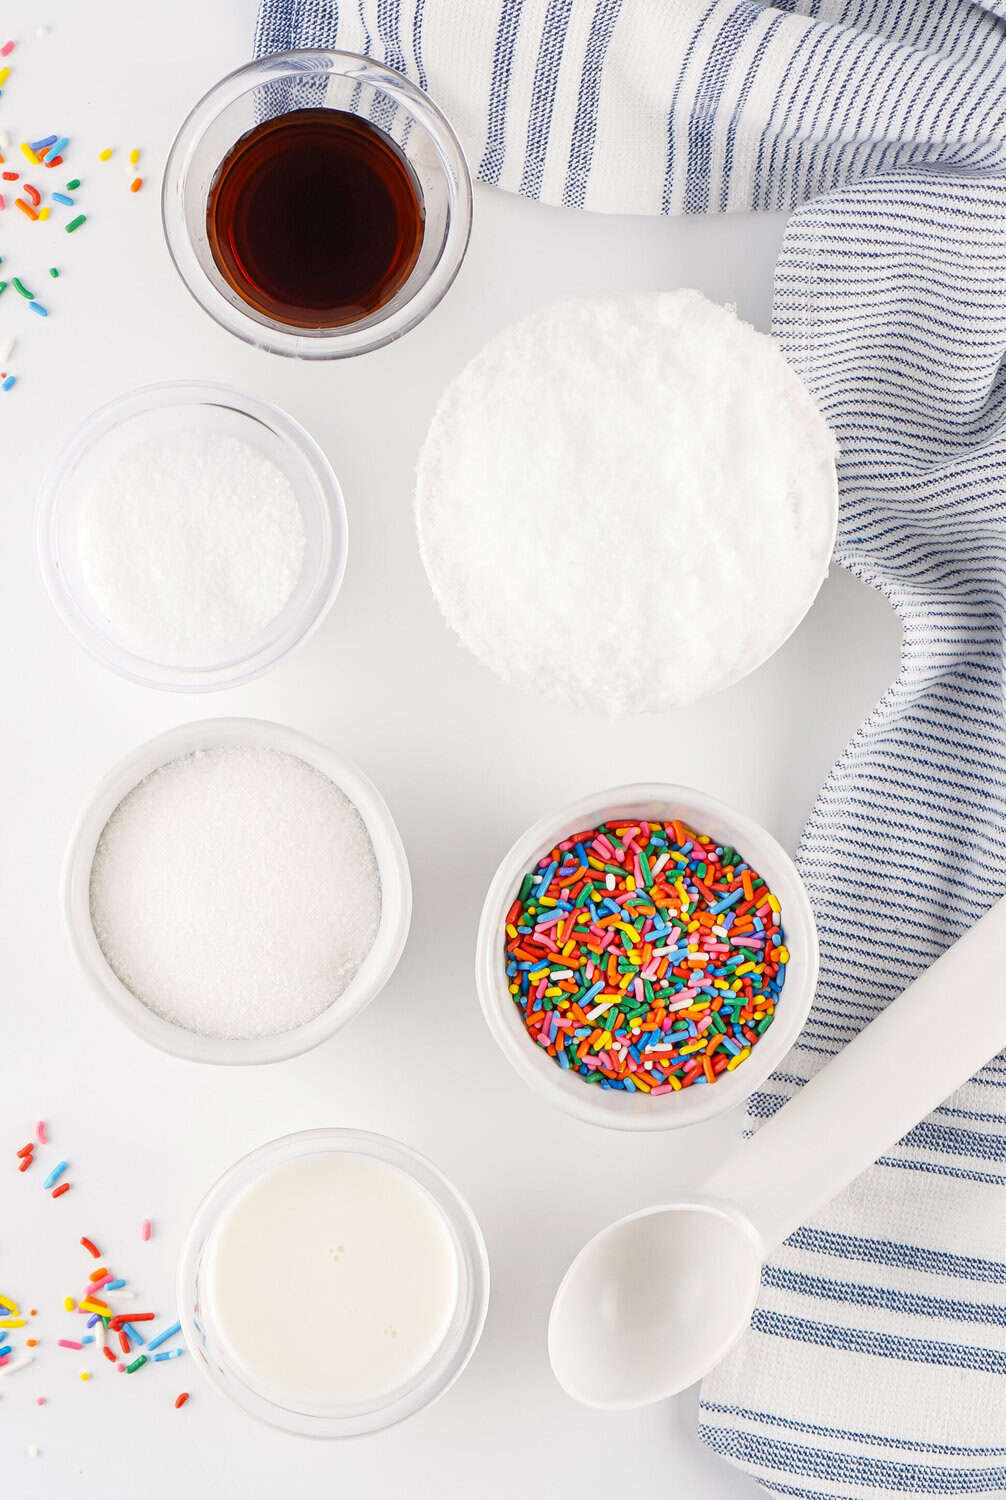
Ingredients
This ingredients list is as easy as it gets (as long as you have fresh snow)!
- Fresh Snow – collect it from any clean surface in your yard or set out a bowl to collect the snow as it falls. Obviously, if you’re gathering already-fallend snow, avoid yellow snow or snow from areas that have been walked on.
- Milk – any kind of milk will work. Whole milk has the best flavor in my opinion, but use what you have or prefer, including almond milk.
- Sugar
- Vanilla Extract
- Salt (optional)
- Sprinkles (optional)
How to Make Snow Ice Cream
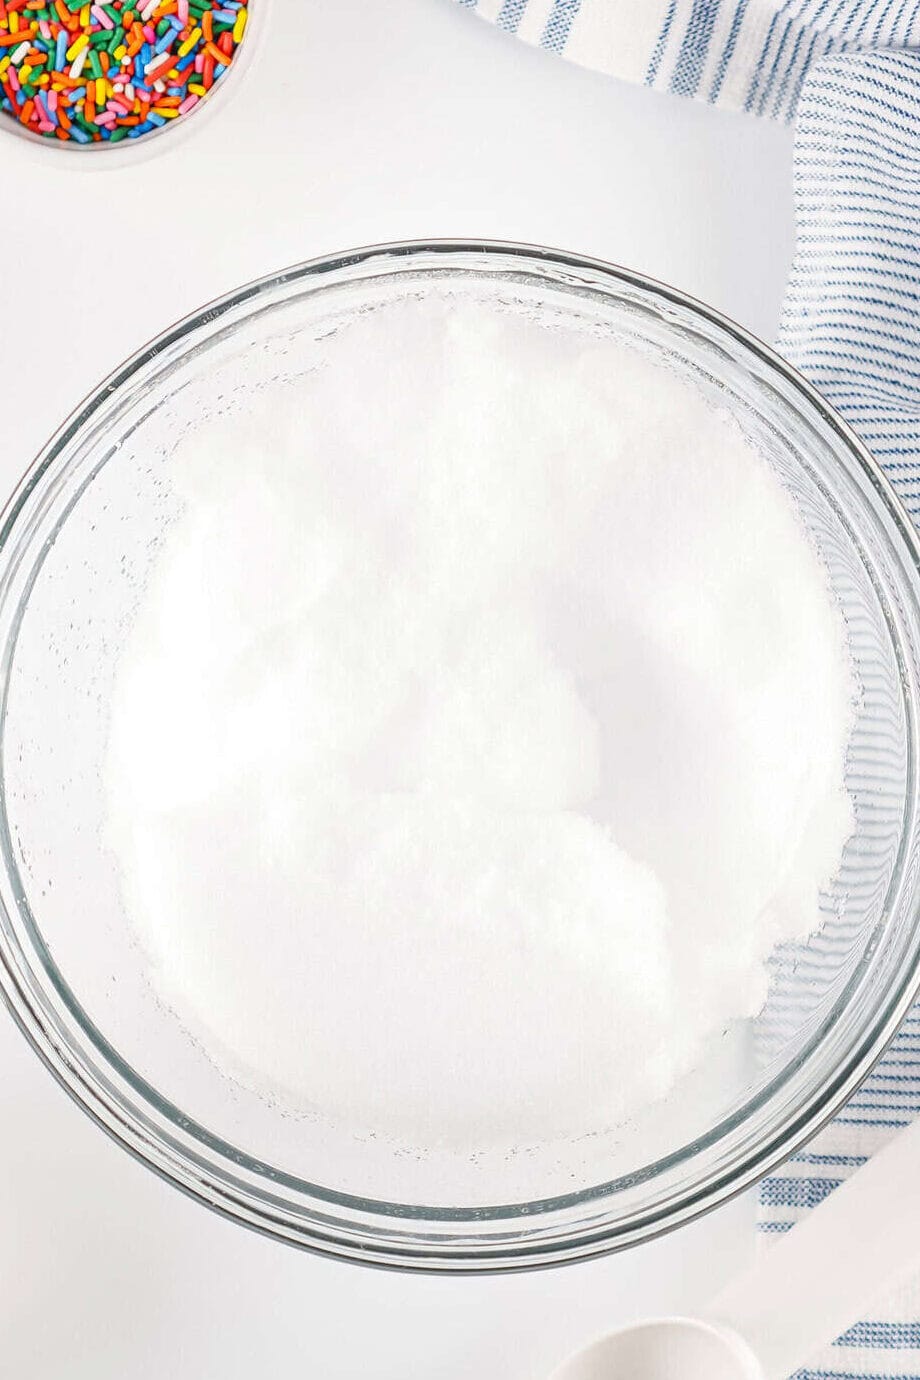
- Collect your snow in a large mixing bowl. You can scoop up snow already fallen or set a big bowl outside and catch the snow directly in your clean bowl (this tip came from Shelly in the comments!).
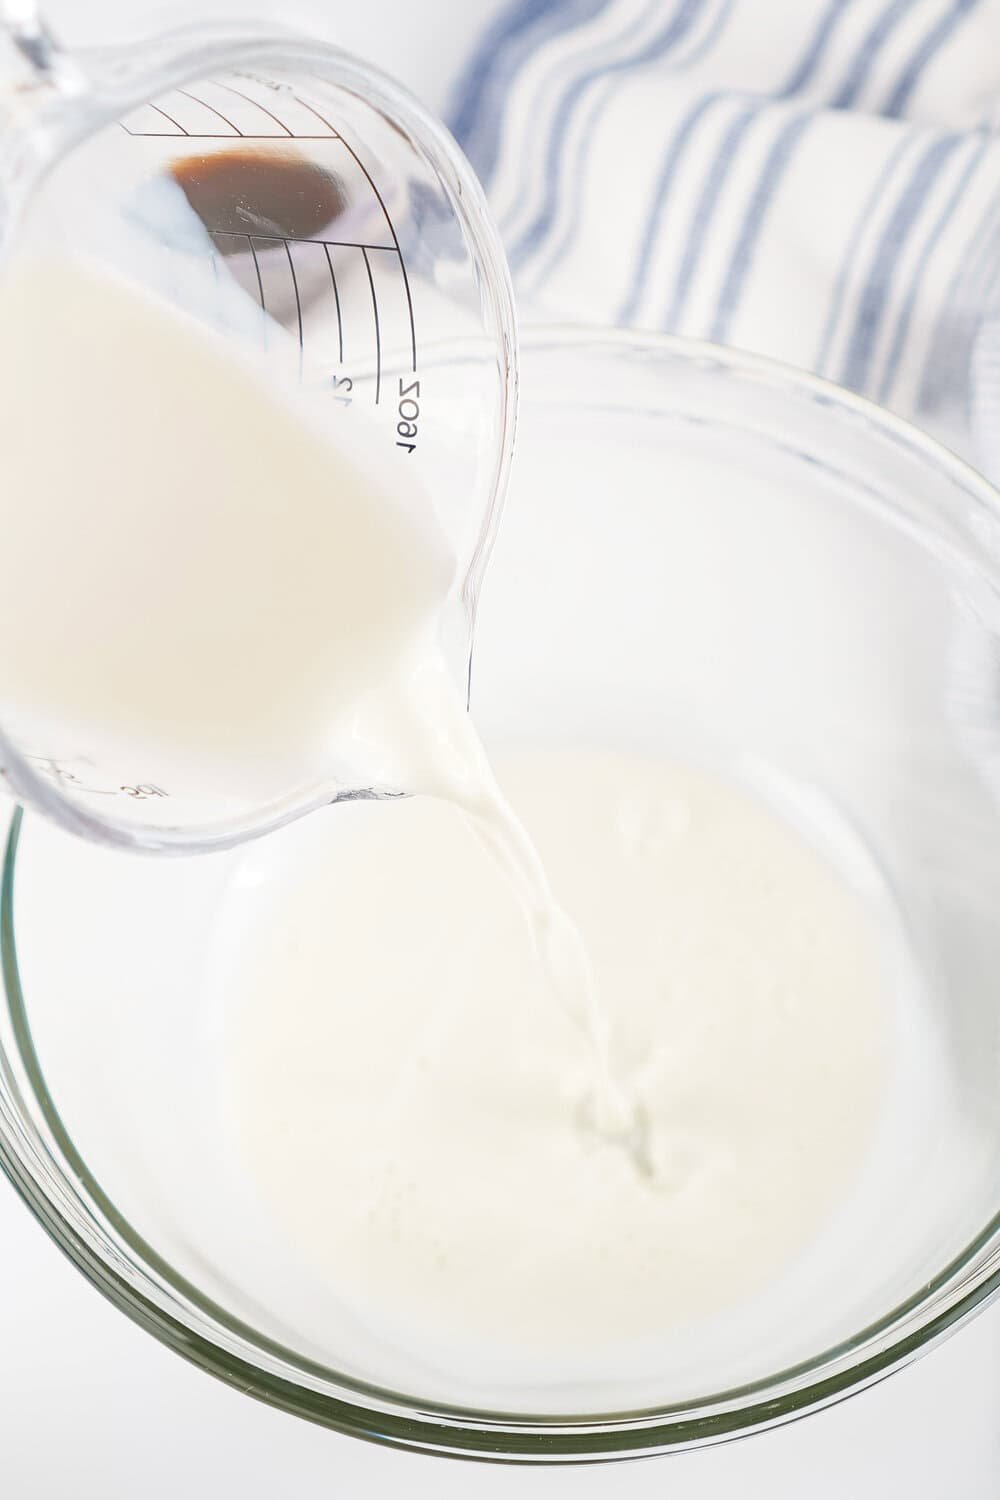
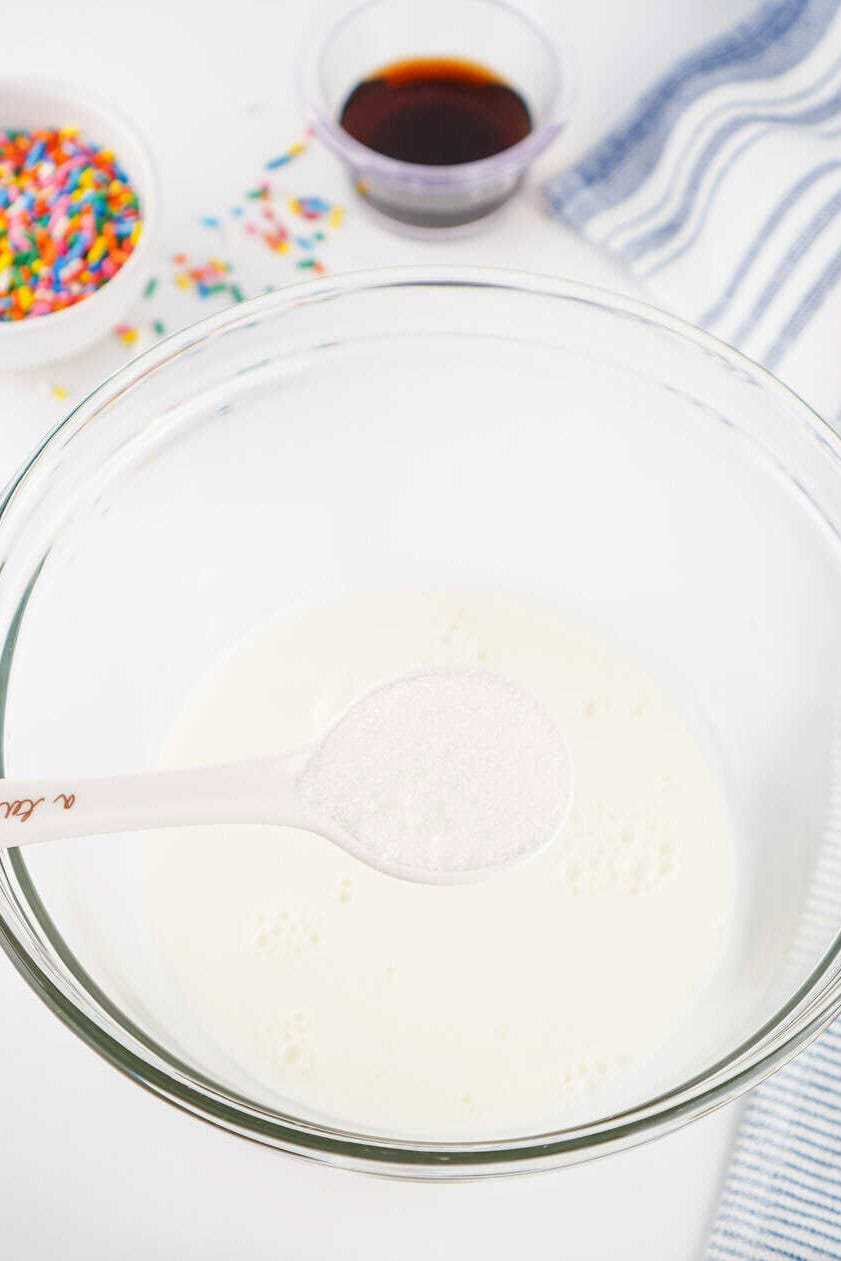
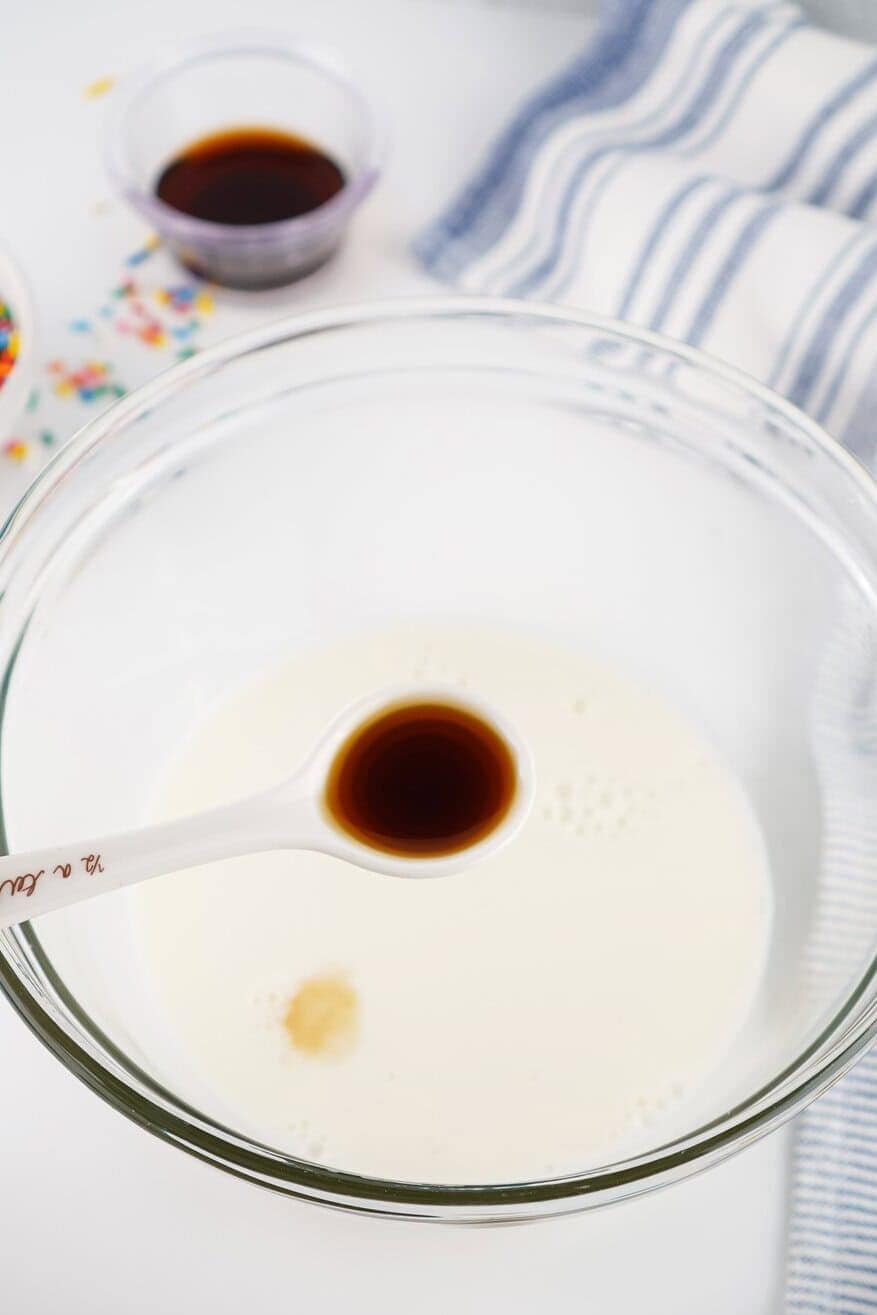
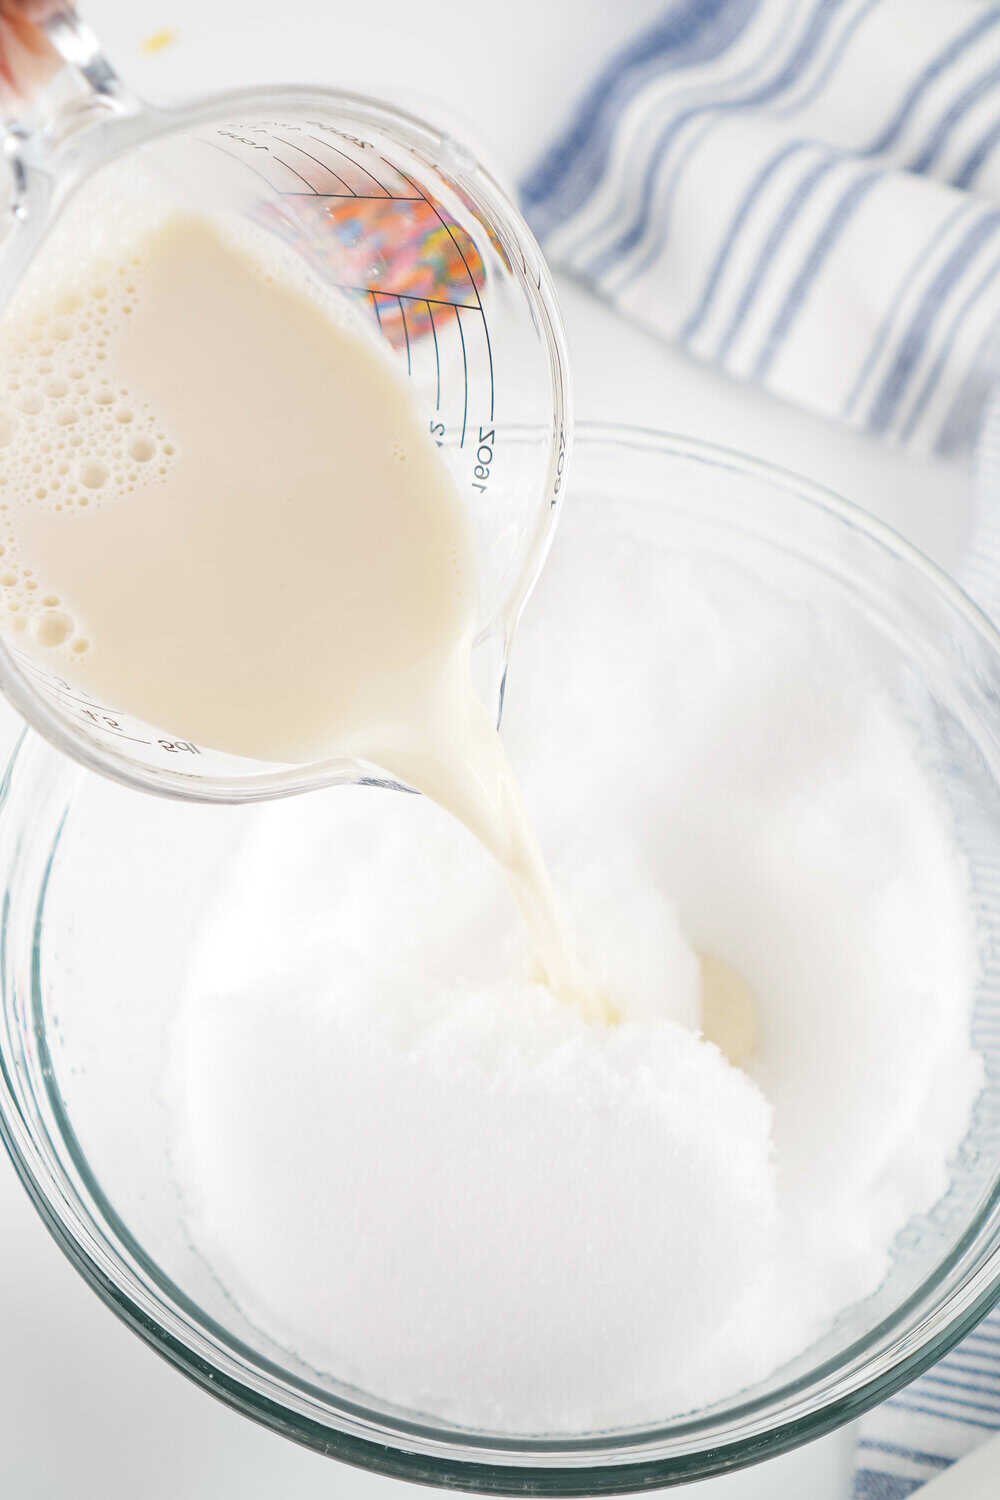
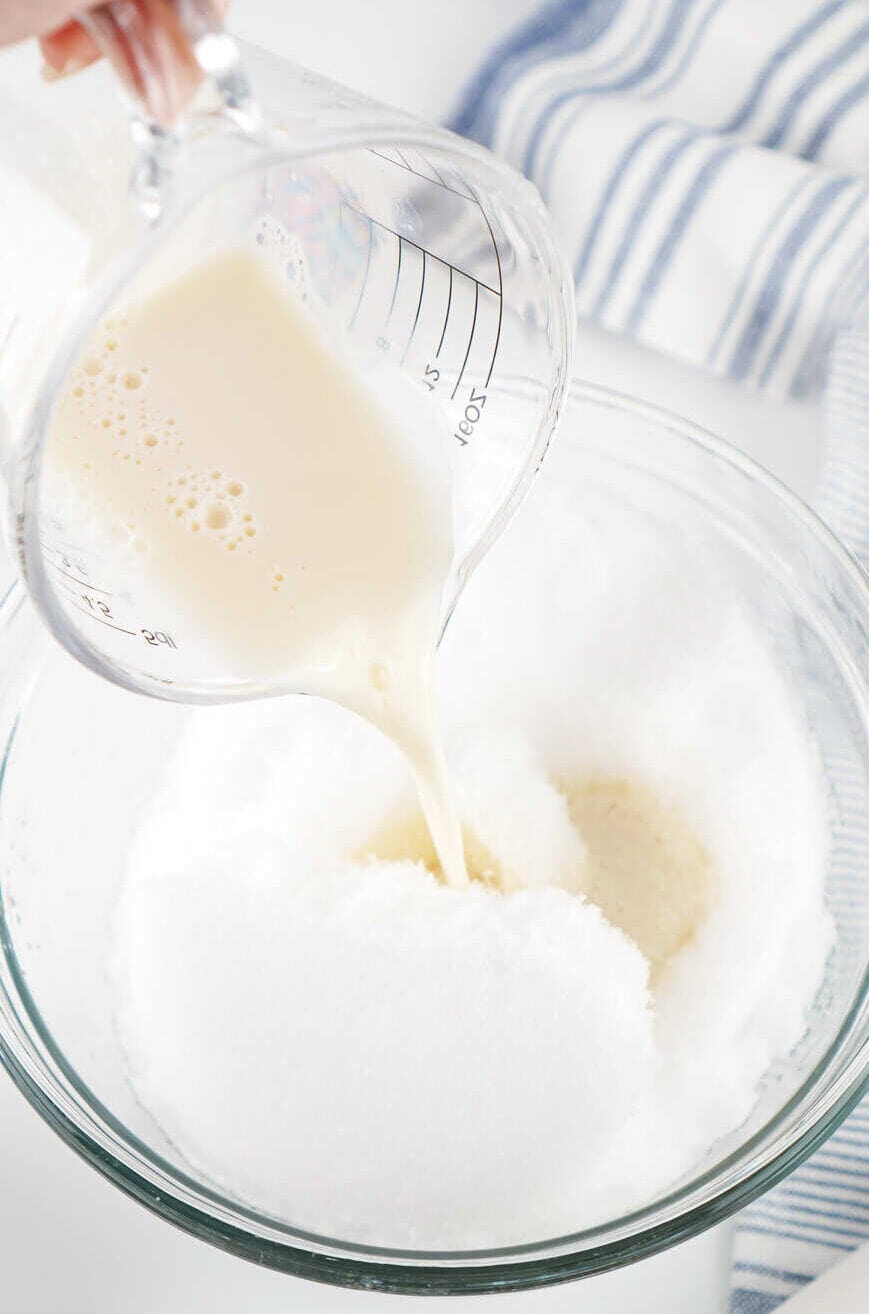
- Grab another mixing bowl and combine the milk, sugar, salt, and vanilla extract. Mix well.
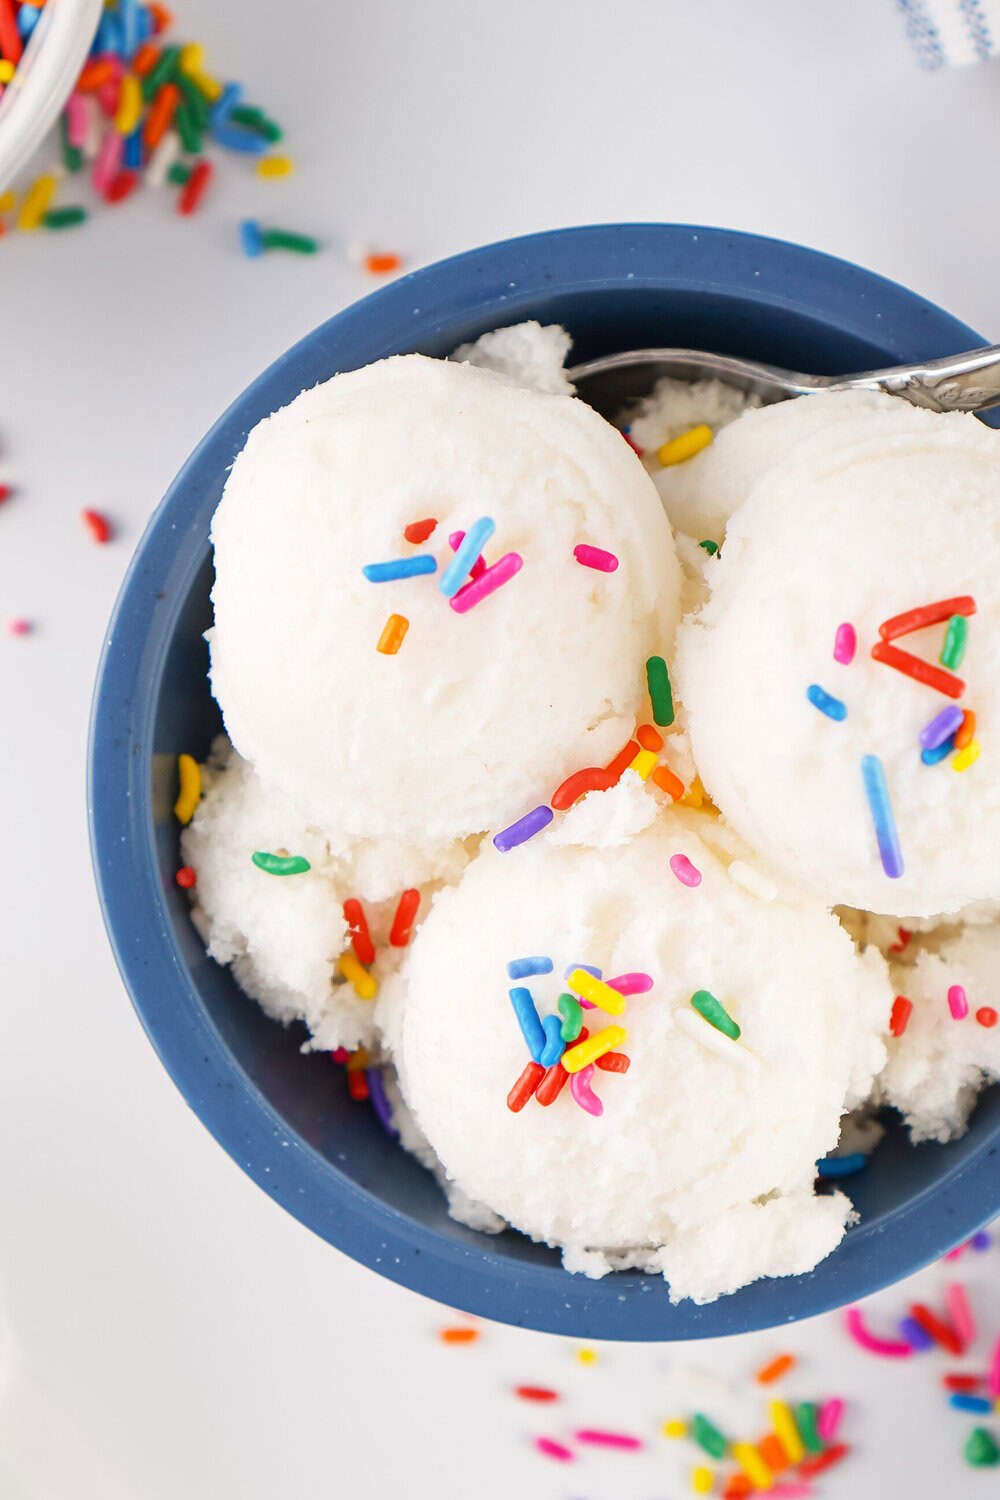
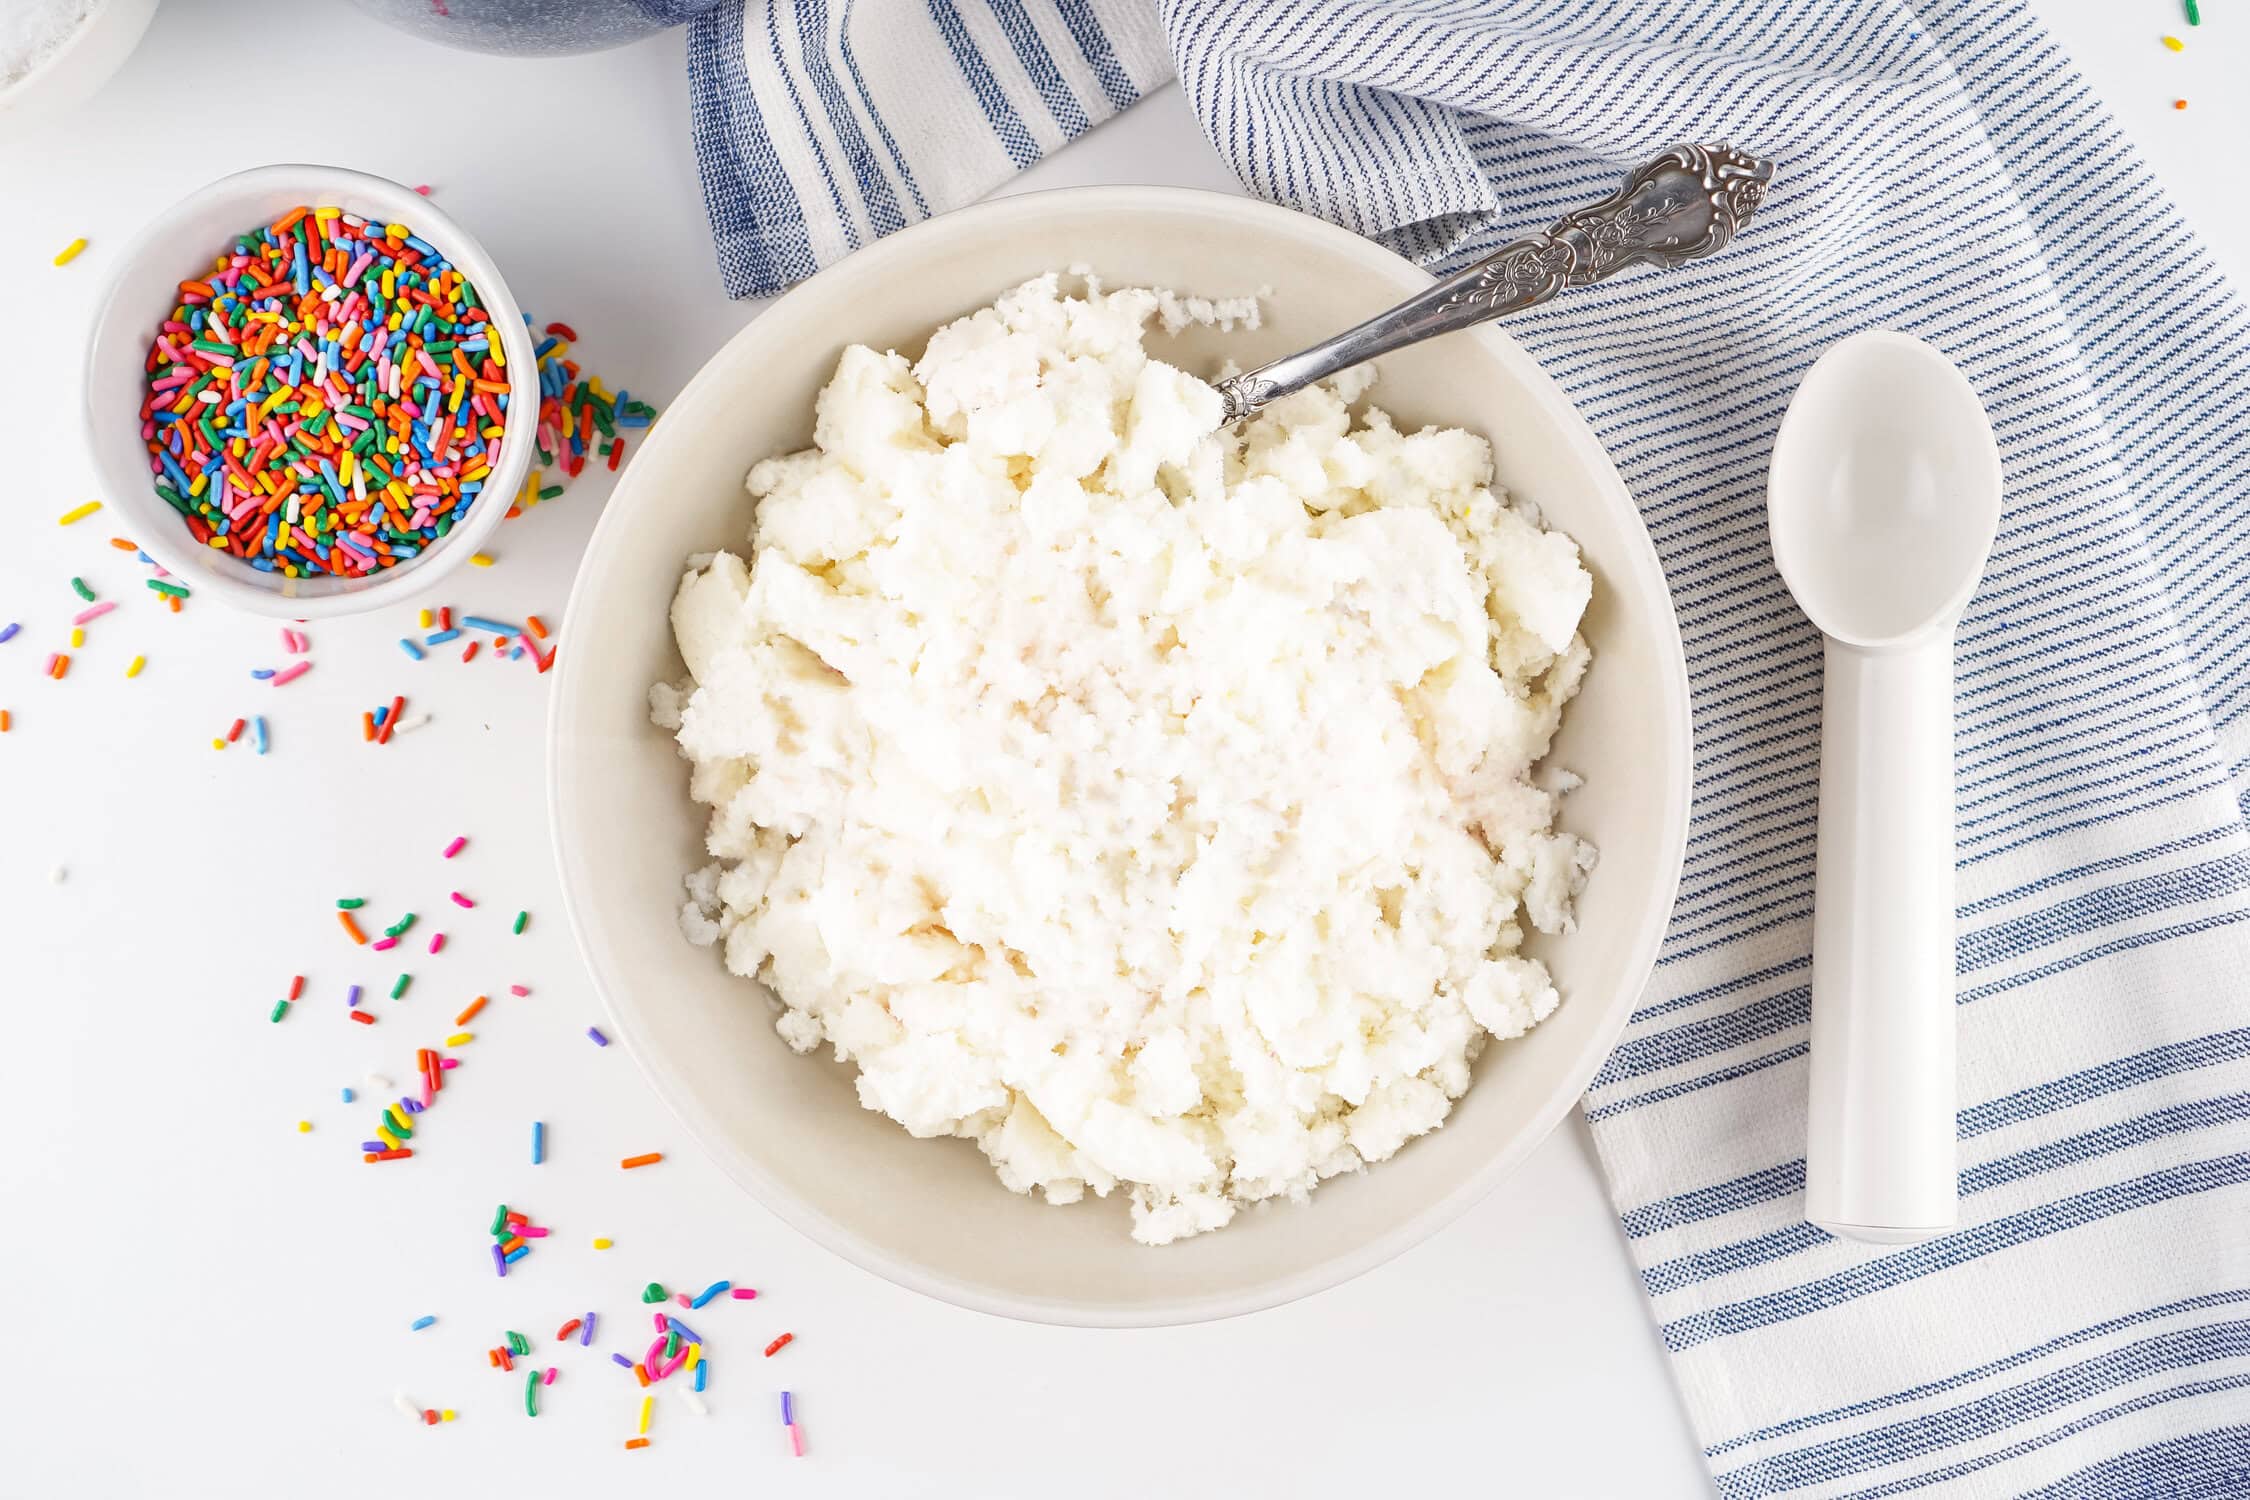
- Pour the milk mixture over the snow and mix until fully combined and the sugar is dissolved.
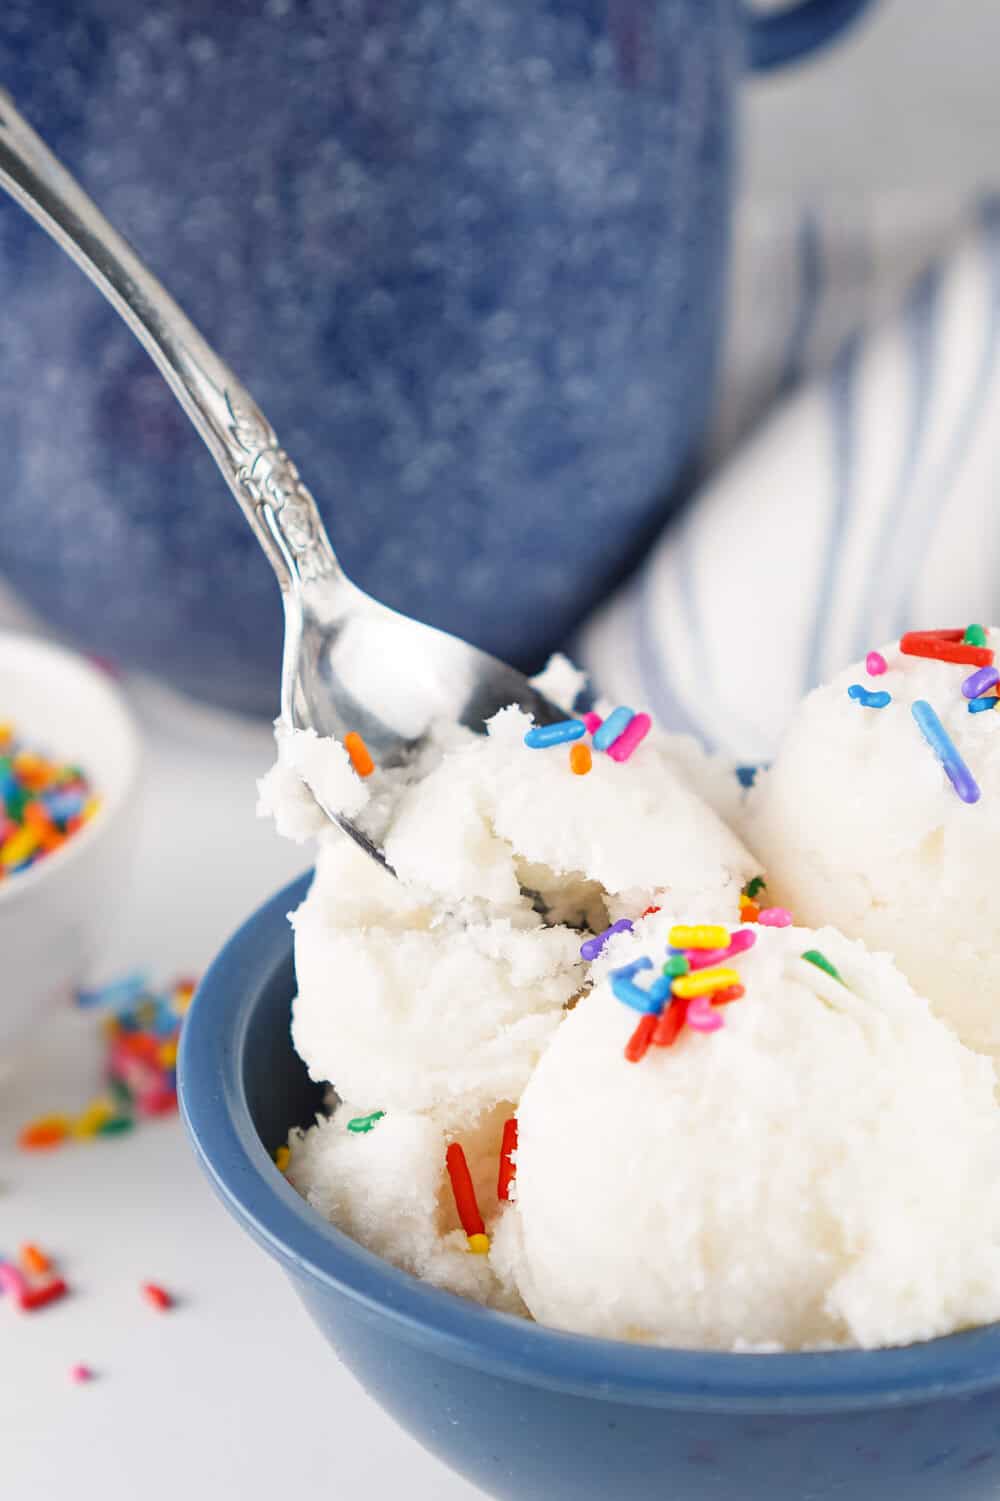
- Add sprinkles (if desired) and serve immediately. Enjoy!
Pro Tips
Choose Snow Wisely. Always use fresh, clean snow from a recent snowfall, and scoop it from an area away from roads, driveways, or anywhere pets or animals might have been. You’ll need several inches of snow to gather enough for this recipe, and one good snowstorm usually gives you plenty of the good stuff to work with. You can also set a big bowl outside and catch the snow directly in your clean bowl (this tip came from Shelly in the comments!).
Serve immediately. Unlike regular ice cream, snow ice cream is best served right away. Scoop it into bowls and add your own toppings – rainbow sprinkles, chocolate chips, chocolate syrup, fresh fruit, or any other ice cream toppings you love. Some families even use Kool-Aid packets to create different colors and flavors.
Adjust the consistency: Everyone prefers a slightly different texture with this classic dessert. Fresh, fluffy snow makes it lighter, while heavier snow creates a denser ice cream, so add more or less snow until it gets to the right consistency, depending on what your family likes.
Experiment with Milk Options: Regular (whole) milk is the best choice IMHO, but you can absolutely change it up. Make Snow Ice Cream with condensed milk and it’s extra rich, and almost like traditional ice cream. Coconut milk adds a fun twist, and heavy cream makes it extra decadent. Some old-fashioned recipes call for evaporated milk or even raw eggs, but I’d personally skip the eggs.
Get Creative with Flavors: The basic recipe is delicious on its own, but it’s also fun to play with. Try adding chocolate syrup to the milk mixture for chocolate snow ice cream, stir in chocolate chips, or top it with fresh fruit. You can even set up a little topping bar and let everyone customize their own bowl.
Timing Is Everything: This is one of those recipes you can’t make ahead or save for later. Unlike store-bought ice cream, snow storm ice cream doesn’t store well and really needs to be enjoyed right away. So as soon as the snow forms, grab a big bowl and start making your snow ice cream!
No snow? The main ingredient in this recipe is obviously having enough snow, but if you live in the deep South like me but still want to make something like homemade snow ice cream, you can use shaved ice as a substitute. It’s not going to be the same, but you can pretend and still have so much fun with your kids.
Variations
- Rich and Creamy Version: Replace regular milk with sweetened condensed milk and add heavy cream for an ultra-decadent version that’s closer to traditional ice cream.
- Chocolate Snow Cream: Add 3 tablespoons of cocoa powder to the milk mixture or drizzle chocolate syrup throughout. Fold in chocolate chips for extra texture.
- Tropical Twist: Use coconut milk instead of regular milk and top with fresh fruit like mango or pineapple chunks.
- Maple Snow Cream: Reduce the sugar slightly and add pure maple syrup for a flavor that’s especially popular in New England.
- Cookie Dough Delight: Fold in small pieces of edible cookie dough or crushed cookies after mixing.
- Berry Blast: Puree fresh or frozen berries into the milk mixture before adding the snow for a fruity twist.
The great thing about all of these variations is that you can easily make any flavor that you or your kids like and it can be such a fun recipe.
FAQ
Absolutely! The best part about this homemade snow ice cream is that you don’t need an ice cream maker or any special equipment. The snow itself provides the icy texture, so all you need is a large mixing bowl and a spoon.
You can use any milk you have on hand. Whole milk provides the richest flavor, but sweetened condensed milk, coconut milk, almond milk, evaporated milk, or any other milk alternative works fine. Each creates a slightly different flavor and texture, which makes it fun to experiment next time.
The recipe calls for 6 cups of snow, but the texture of the snow varies depending on weather conditions. Light, fluffy snow from a fresh snowfall may require up to 8 cups to achieve the desired consistency, while heavy, wet snow might only need 4-5 cups. Start with 6 and adjust as needed.
Unfortunately, no. Homemade snow ice cream should be eaten immediately and doesn’t store well. Once it melts and refreezes, it won’t have the same creamy texture. Think of it like snow cones – best enjoyed fresh!
As long as you collect fresh, clean snow, it’s generally safe. Avoid the first snow if you live in an urban area (as it can collect atmospheric pollutants), and never eat yellow snow or snow that’s been on the ground for several days. Also, avoid snow that’s been walked on or driven on or “used” by pets or other animals, obviously.
More Frozen & Ice Cream Recipes
- Homemade Ice Cream Recipe (in your Kitchenaid)
- Pralines and Cream Ice Cream (No Churn!)
- Oreo Ice Cream Cake
- Homemade Cookie Monster Ice Cream
- No Churn Banana Pudding Ice Cream
- Little Debbie Swiss Rolls Ice Cream Recipe (No Churn)
- Little Debbie Honey Bun Ice Cream Recipe
- Little Debbie Christmas Tree Cakes Ice Cream
- 5 Ingredient Little Debbie Cosmic Brownie Ice Cream
- 5-Ingredient No Churn Blueberry Ice Cream
- Little Debbie Strawberry Shortcake Rolls Ice Cream Recipe
- Easy Homemade Vanilla Ice Cream (in my Bosch Mixer)
- Raspberry Lemon Sorbet
- Easy Ice Cream Sandwich Cake (Perfect for a Crowd!)
- Homemade Dutch Chocolate Ice Cream (aka Homemade Wendy’s Frosty Recipe)
- Homemade Waffle Cone Recipe
- How to Make Snow Ice Cream (Easy Recipe)

How to Make Snow Ice Cream (Easy Recipe)
Description
Snow Ice Cream is a fun, nostalgic winter treat that many people remember from childhood. Recipes can vary depending on where you’re from, but this version is a classic, simple recipe that anyone can make. With just milk, sugar, and vanilla mixed into fresh, ice-cold snow, it’s an easy way to turn a snowy day into a little bit of winter magic.
Ingredients
- 6 Cups Fresh Clean Snow
- 2/3 Cup Milk
- 4 Tablespoons White Granulated Sugar
- 1/2 Tablespoon Vanilla Extract
- 1/8 Teaspoon Salt (optional)
- Sprinkles (optional)
Instructions
- Collect your snow in a large mixing bowl.
- Grab another mixing bowl and combine the milk, sugar, salt, and vanilla extract. Mix well.
- Pour the milk mixture over the snow and mix until fully combined and the sugar is dissolved.
- Add sprinkles (if desired) and serve immediately. Enjoy!


Notes
- Choose Snow Wisely. Always use fresh, clean snow from a recent snowfall, and scoop it from an area away from roads, driveways, or anywhere pets or animals might have been. You’ll need several inches of snow to gather enough for this recipe, and one good snowstorm usually gives you plenty of the good stuff to work with.
- Serve immediately. Unlike regular ice cream, snow ice cream is best served right away. Scoop it into bowls and add your own toppings – rainbow sprinkles, chocolate chips, chocolate syrup, fresh fruit, or any other ice cream toppings you love. Some families even use Kool-Aid packets to create different colors and flavors.
- Adjust the consistency: Everyone prefers a slightly different texture with this classic dessert. Fresh, fluffy snow makes it lighter, while heavier snow creates a denser ice cream, so add more or less snow until it gets to the right consistency, depending on what your family likes.
- Experiment with Milk Options: Regular (whole) milk is the best choice IMHO, but you can absolutely change it up. Sweetened condensed milk makes it extra rich, and almost like traditional ice cream, coconut milk adds a fun twist, and heavy cream makes it extra decadent. Some old-fashioned recipes call for evaporated milk or even raw eggs, but I’d personally skip the eggs.
- Get Creative with Flavors: The basic recipe is delicious on its own, but it’s also fun to play with. Try adding chocolate syrup to the milk mixture for chocolate snow ice cream, stir in chocolate chips, or top it with fresh fruit. You can even set up a little topping bar and let everyone customize their own bowl.
- Timing Is Everything: This is one of those recipes you can’t make ahead or save for later. Unlike store-bought ice cream, snow ice cream doesn’t store well and really needs to be enjoyed right away. So as soon as the snow forms, grab a big bowl and start making your snow ice cream!
- No snow? The main ingredient in this recipe is obviously having enough snow, but if you live in the deep South like me but still want to make something like homemade snow ice cream, you can use shaved ice as a substitute. It’s not going to be the same, but you can pretend and still have so much fun with your kids.


Growing up in Maine, this is a familiar and comforting recipe. Another is Snow Candy, made with packed snow and real maple syrup. Heat maple syrup to the hard ball stage, then pour in whatever shapes you like onto the packed snow. Voila! Maple Snow Candy!! And once the syrup is eaten, the Snow has a delicious maple flavor, too.
That sounds amazing!!
We got snow today, so I set a bowl out when it started. It tasted like old fashioned homemade vanilla ice cream! Everyone loved it.
How fun and what a great way to collect the fresh snow!